
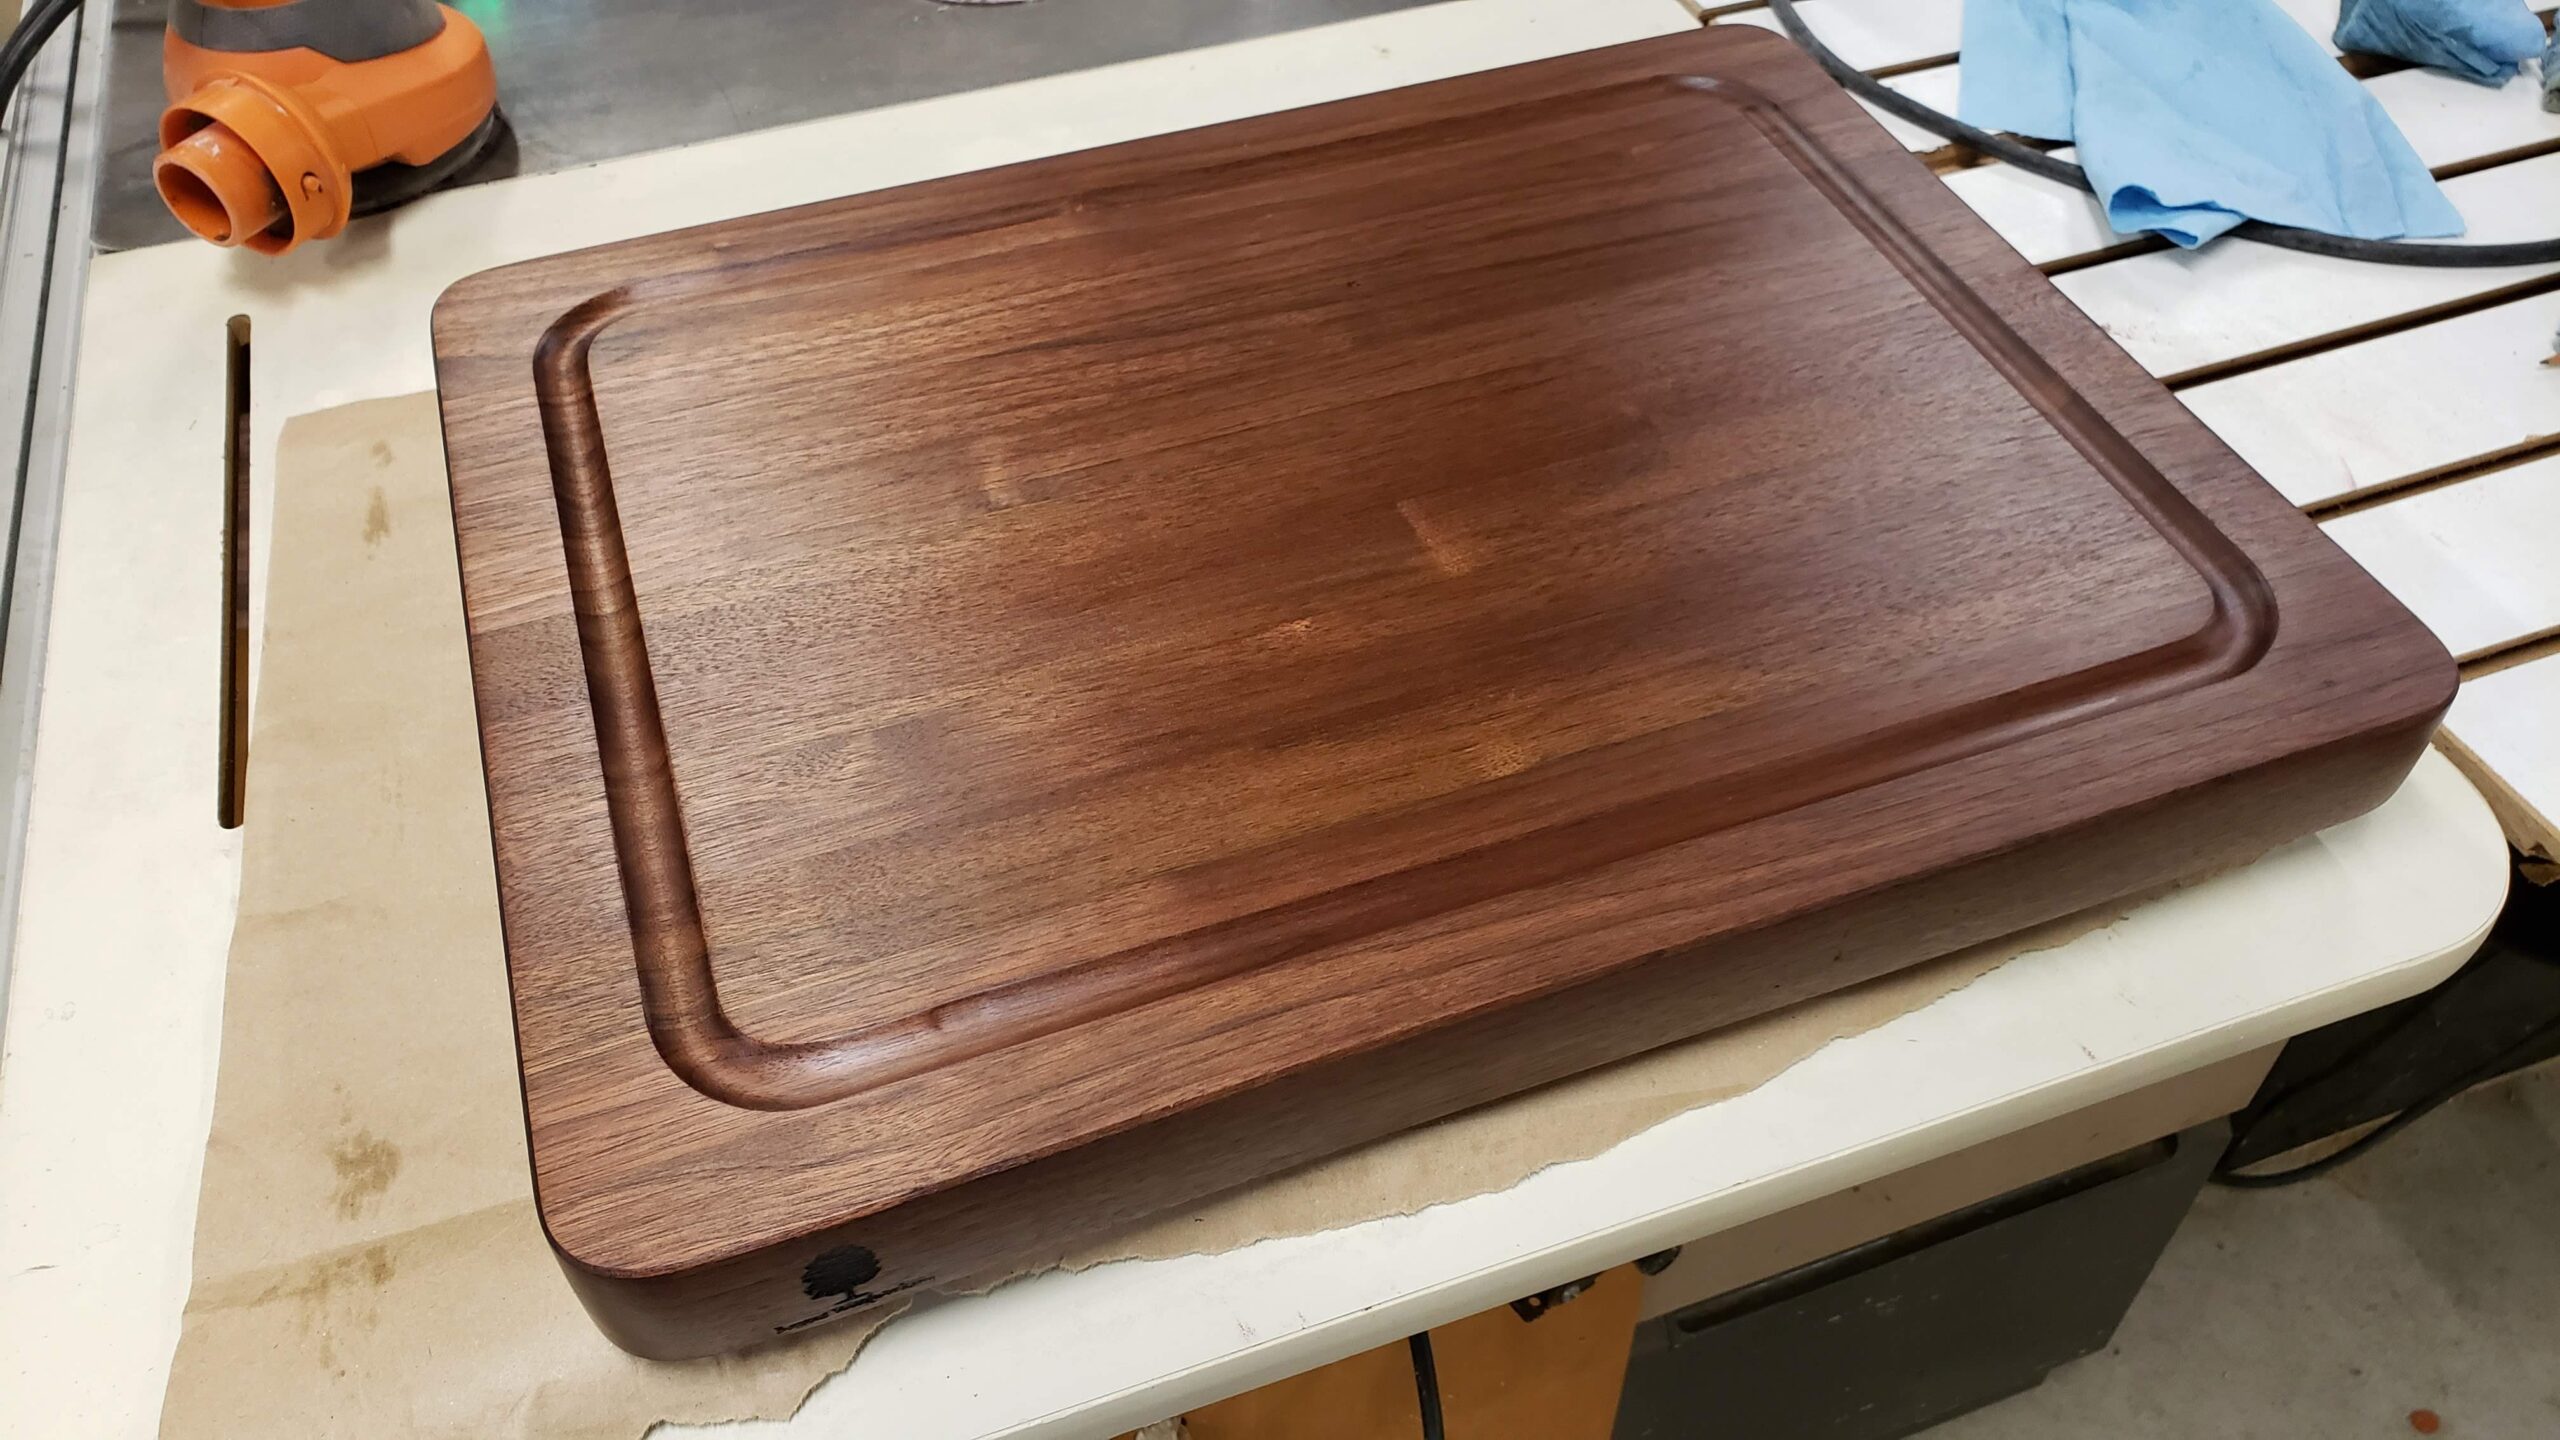
Fertigation

Ever since installing drip irrigation to our gardens, it has greatly reduced the amount of time spent each day watering.  One of the things I wanted to add from the start was a fertigation system.  We currently have 5 zones set up on 2 timers.  I plan to add 2 more zones to one of the timers, and add an additional timer with 3 zones.
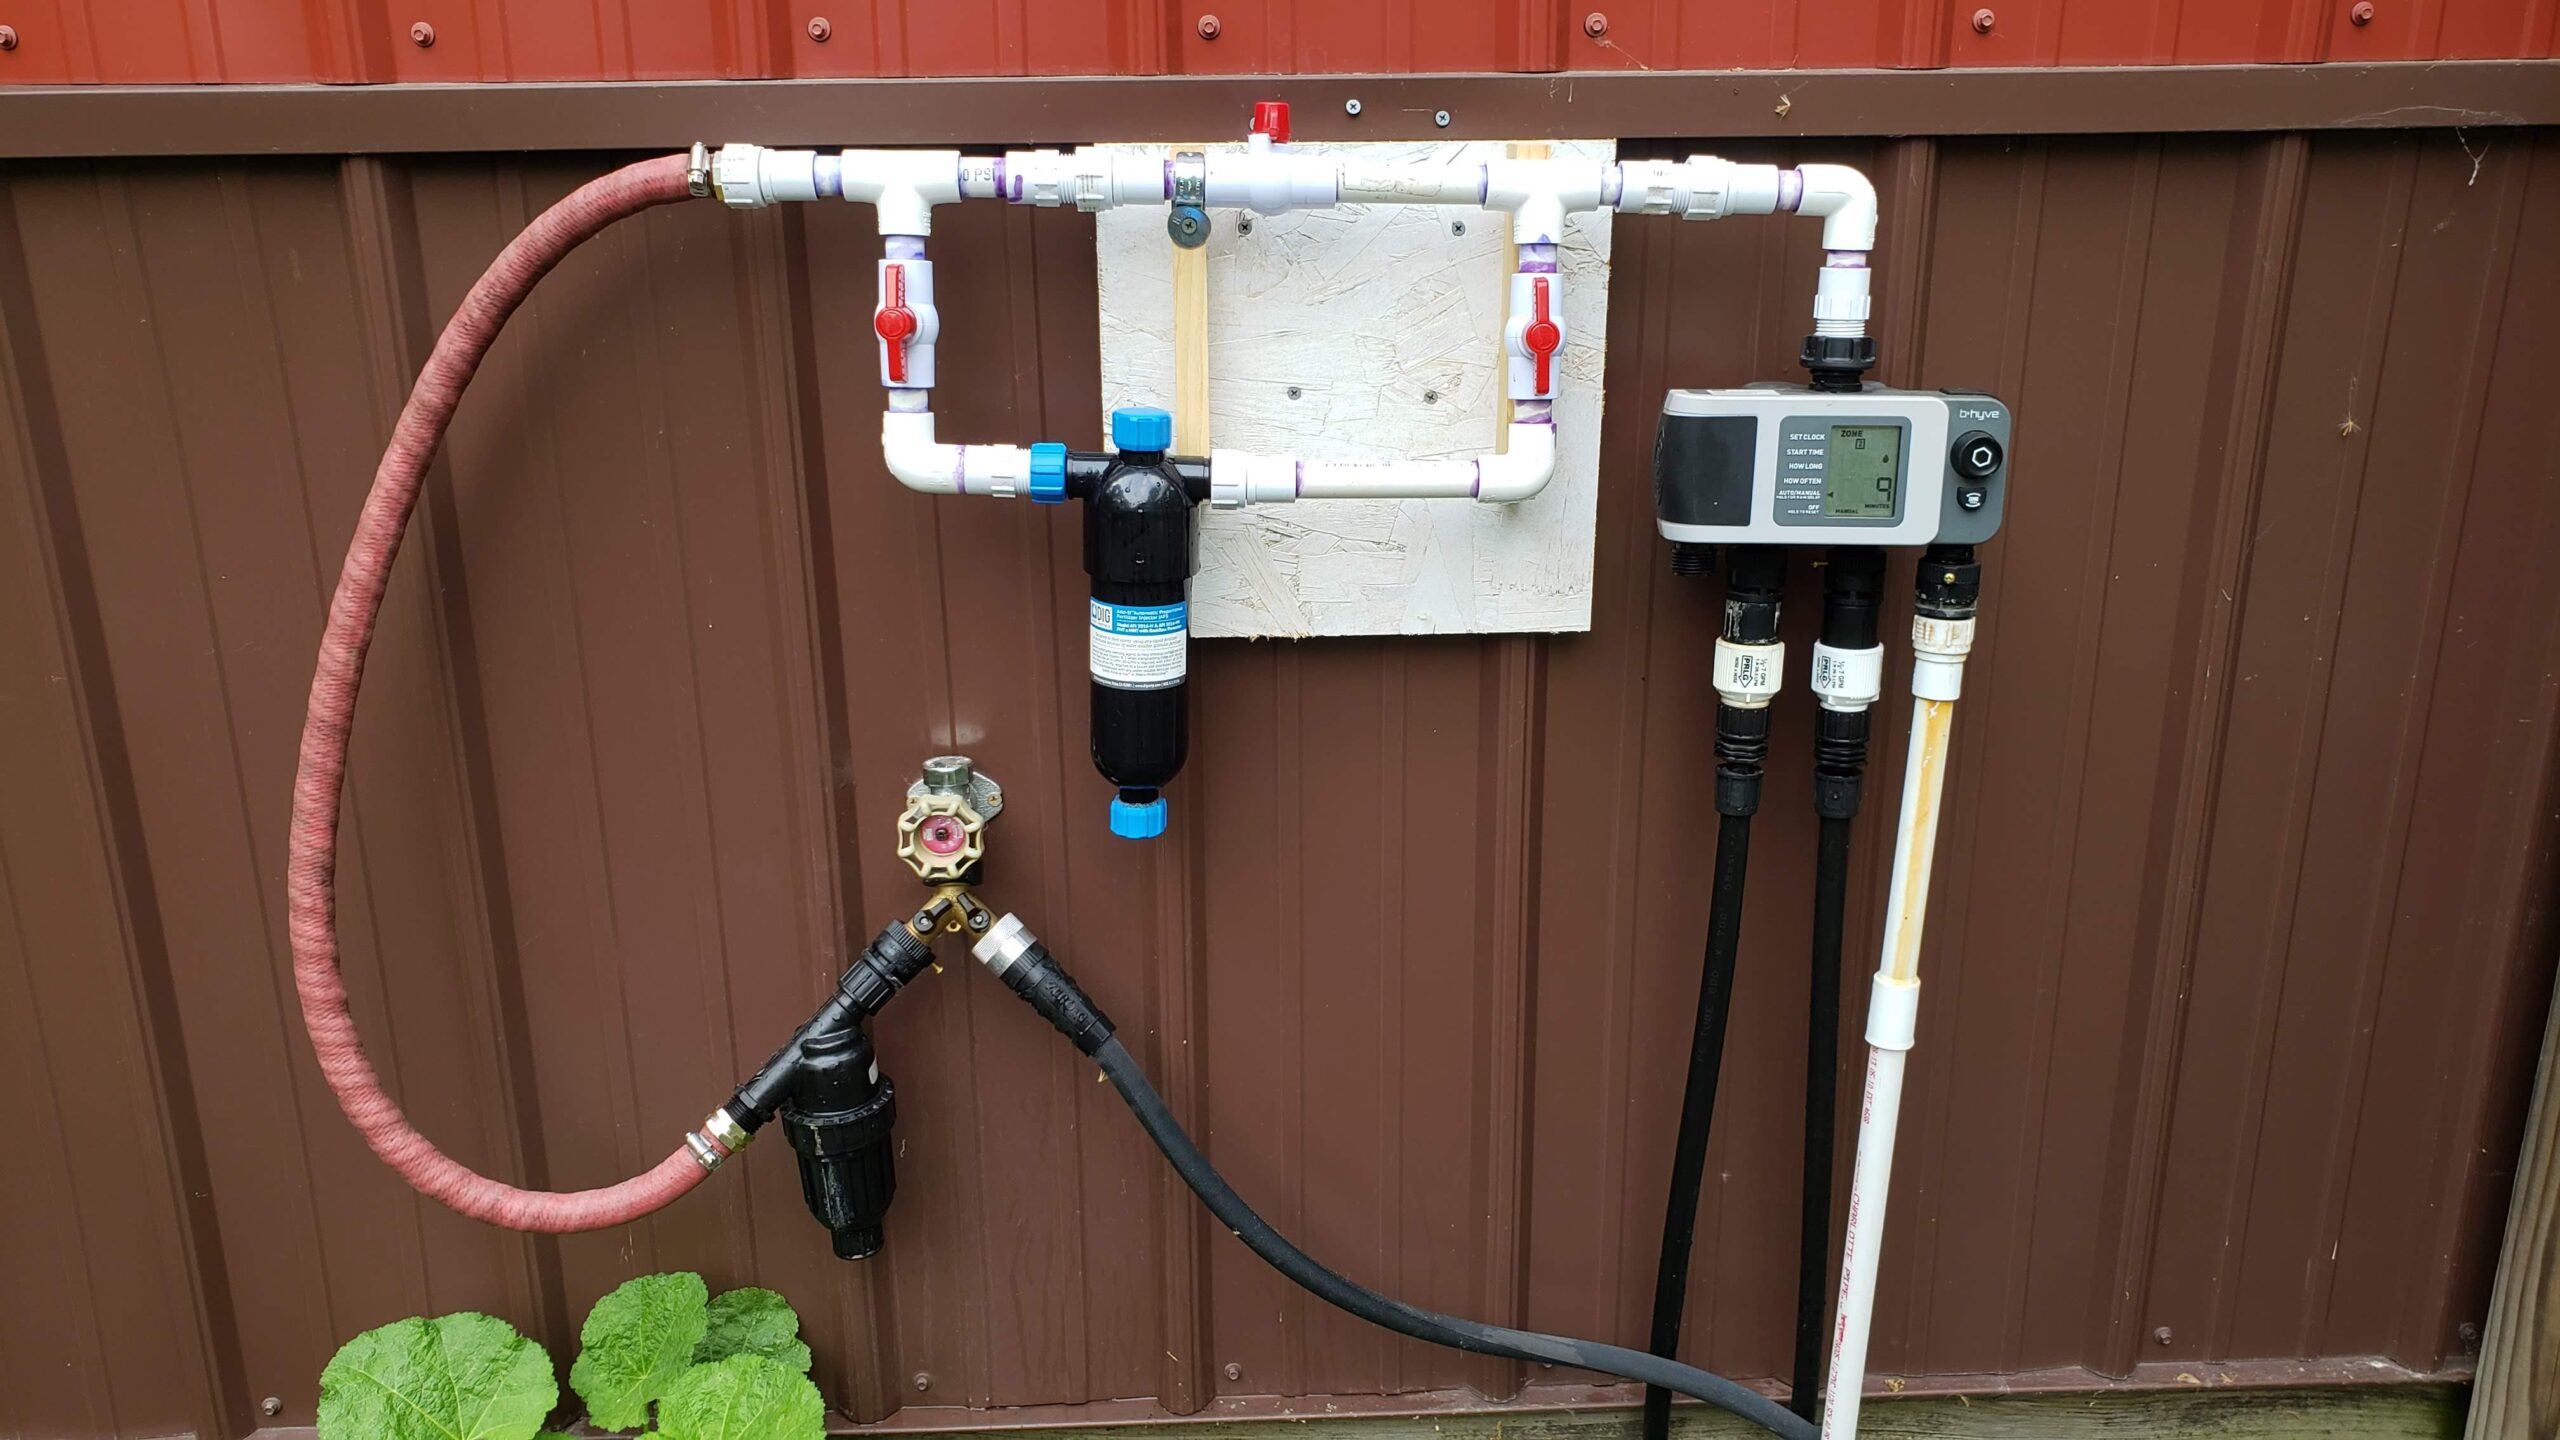
Fertigation Setup

Fertigation Setup

Continue reading

Posted in Gardening, Homestead | Leave a comment

The Littles are Sleeping!

They are all asleep, and that lasted about 10 minutes.  They came home on May 7th for comparison here is how they fit in that box back then.  The Littles on May 7th
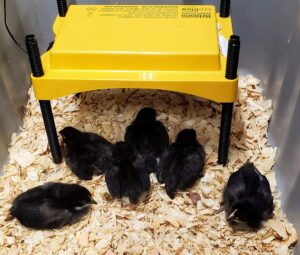
They now take up the entire box and stand about as tall as the sides.  Introducing them to the big kids can be a little complicated especially since we have a rooster.  Max is a good guy but if anything makes a weird noise or moves to quick he freaks out and well tries to create the new generation.  This is hard on the girls who are his size I worry about these girls who are much smaller.  For the past month I’ve been taking them and their tub outside and putting them in a fenced in area just outside of the big kid fenced in area.  They can look at each other and get used to each other and maybe that will reduce some fighting.  The past week or so I’ve been shutting the inner door to the big kids and opening the other inner door so the Littles can get in the inner pen and inside the coop.  It just so happens that there is a hen that we believe was injured by Mac in one of his attempts at romance.  To keep her safe we have her in a small caged area from night to morning when we come down to let the big kids into the main pen.  She is getting better, thanks for asking, but still not well enough to get away from Max.  This has worked out with the Littles because they like her and she isn’t fast enough to teach them any hard life lessons.  On top of that on several days another one of the hens would be in the inner pen and I wasn’t making a big deal about getting them out.  So far so good.  If I can rotate enough of the hens in with the Littles they may be fine with each other when the Littles go out full time.  For now I’m waiting a few more weeks till the Littles are Max’s size.  At least that way they will stand a chance against him and hopefully have learned from the girls to run and don’t make weird noises.

I hate to break this to Max but he is kind of small for his breed and these girls are a breed that is large, they will be larger than him.  Look out Max there coming for you!
Posted in Homestead | Leave a comment

Cabela’s 36″ Griddle – Happy Father’s Day

Cabela's 36" griddle

The Father’s Day gift that just keeps on giving.  Bill received his gift early, and has used it just about everyday.  If you are still looking for gift ideas and you have a griller in your life I would highly suggest one of these.  It is listed on the website for $349.98 the day we  bought it at the store it was on sale.  The sales flyer said it was $50.00 off but there had been an additional in store mark down of another $50.00.  Our purchase price was $249.98!  The stores offer free assembly of their grills which we did not take advantage of.  They also offer free shipping for orders of $50 or more which we did take advantage of.   We went to the store to purchase the griddle and a bundle package that contains a vacuum sealer, meat grinder, and meat slicer.  They had the griddle in stock but not the bundle package so we had that shipped directly to our house.  It arrived earlier than expected and all pieces were in great shape.  (I love the vacuum sealer oh my gosh how I love that thing.)

https://www.cabelas.com/shop/en/cabelas-4-burner-gas-griddle
Continue reading

Posted in Reviews | Leave a comment

RYOBI ONE+ 18V Patio Cleaner with Wire Brush Edger – REVIEW

Years ago I bought the RYOBI Cordless Leaf Blower and regretted it.  It was light weight, easy to use, and I thought it would give our youngest son a way to help clean the upper deck.  Plus it would be easier than our gas blower which was difficult to start.

The RYOBI had no power, whenever I took it outside, the forest laughed at me.  It died of shame in less than a year.  Needless to say I was not impressed with RYOBI and even though I now owned the original battery plus a battery upgrade I was not interested in replacing the blower with the same model when it died.  I did not toss the batteries and charger bonus points for past me.

Enter the RYOBI ONE+ 18V Patio Cleaner with Wire Brush Edger.

Ryobi one+ paver cleaner with wire brush 18 volt with charger

Continue reading

Posted in Reviews | 3 Comments

Cheap Lathe Tools

About 20 years ago, Marisa and I went to a woodworking demo at a nearby woodworking store.  At this Demo, many tools were being displayed and demonstrated.  Among them, Dick Sing was turning Christmas ornaments on a Jet 1236 lathe.  His turning was so fluid and effortless.  He turned an ornament with a captive ring in about 10 minutes.  We were awestruck.  Marisa turned to me and said “You need one of those.”  We left with a Jet tablesaw, a Jet jointer, and, a Jet 1236 Lathe.

Continue reading

Posted in Reviews, Uncategorized, Wood Turning, Woodworking | Leave a comment

I Accidentally Bought Another Chainsaw

Ooops!  I saw a Jonsered CS 2240 on Ebay.  Ever since my 24 year old CS 2050 hasn’t been running well, I’ve wanted another mid size chainsaw.  This 2240 showed up on one of my searches.  There were no bids, and only about 8 hours left, so I bid $100.  And won.  Ooops.  I mean, I did buy a DeWalt 20V chainsaw last year, which I will be reviewing shortly.  So, I didn’t REALLY need another one.  But can you ever have too many chainsaws?  I mean, really?

Jonsered CS 2240

Jonsered CS 2240

Continue reading

Posted in Homestead, Tools and Machinery | Leave a comment

Fly Fish Pen

Hello, welcome to this week with Wolf Studios!

brass hardware with images connected to fishing cast pen blank made from shop scraps

Recently I’ve been able to get another pen out and my word it’s turned out beautiful. The request I had for it was to use some type of wood, and we just so happened to have a few blanks we made a long while ago which were just some scrap pieces of wood from other pens.

Continue reading

Posted in Wood Turning | Leave a comment

Fellowes Office Suites Underdesk Keyboard Drawer Review

We recently purchased 3 of these during the office remodel.  I just installed one under the counter in the office today.  The price when we purchased was $32.49 each and it doesn’t look like that price has changed as of May 11, 2023.  Here are my thoughts so far:
http://<iframe sandbox=”allow-popups allow-scripts allow-modals allow-forms allow-same-origin” style=”width:120px;height:240px;” marginwidth=”0″ marginheight=”0″ scrolling=”no” frameborder=”0″ src=”//ws-na.amazon-adsystem.com/widgets/q?ServiceVersion=20070822&OneJS=1&Operation=GetAdHtml&MarketPlace=US&source=ss&ref=as_ss_li_til&ad_type=product_link&tracking_id=borouzenterpr-20&language=en_US&marketplace=amazon&region=US&placement=B0002LD0ZY&asins=B0002LD0ZY&linkId=0d3f83a7e139ec2a4d3108e87153a88b&show_border=true&link_opens_in_new_window=true”></iframe>

What was in the box:
Continue reading

Posted in Reviews | Leave a comment

Office Remodel

Where did all the posts go?

The shop was built with the intention of having office space in it.  For a long time that space was more of a hang out space where we took breaks while working on projects.  When I started working from home it became my space.  This worked because it had one desk and a credenza that we bought for $50 from Purdue Salvage in Lafayette Indiana a decade ago.   The two large cabinets that came out of our kitchen flanked the desk on either side.  We had two arm chairs that came to live here after my mother passed as our hang out chairs.  A small space heater that looks like a pot belly stove and lots and lots of shelves.

This is not a space you collaborate in.  It was also not working as a space that you create in.  It lacks space.  The first thing that needed to happen was the two huge space hogging cabinets needed to go.  They are well made cabinets which of course means they need to be shoe horned into some other space in the home because obviously you cannot just get rid of perfectly good cabinets, obviously.  Where should they go?  To the basement!  At which point I started dragging my feet and putting the project off BECAUSE the idea of getting them out of this small room, back to the house, and then down the stairs into the basement was not sounding like fun.  Plus it wasn’t  like I was thinking about how great they would look down there or how much better the space would be.

Then I had a new thought, a better thought, a thought that had never been thought before.  We will put them in the space formally known as garage.garage floor

This house has a two car + garage, when we first moved in this was where the shop went.  One of the first things we did was painted the floor which has held up for 15 years!  A challenge is that around one side and the front of the garage there is this raised area.  It’s not really big enough to do much with but it’s big enough to mess up your shop plans.  It also becomes a horrible safety hazard you had to watch yourself to make sure you were not going to step off it while carrying something heavy or dangerous or trip over up it if you were working on the main floor.

When the shop moved out we decided to put a wall up on the front of it and create a mud room.  This also had storage kind of like a butlers pantry.  But the space wasn’t designed as much as it organically grew out of everything unwanted.

There are so many bad life choices here it’s hard to know where to start.  You might also be asking how did we get from office remodel to this tragedy?

Because of these 2 large brown cabinets

Ignore the toilet paper and grocery bag, these are the two large cabinets that used to flank our refrigerator.   They are deep about 26.5″ deep and wide about 24″ wide and tall about 6′ tall.

But what to do with all the stuff that was already in this butlers panty?  Okay here we go:

  1. The three upper cabinets which were acting as lower cabinets with a counter on them come out of the pantry.  Move down to the shop and go up over the laser engraver/3d printer/small engine repair areas.
  2. The counter moves into the office to make one long shared desk.  We just need to add another 3′ section to cover that wall.  As soon as I get to town to get some more American Walnut stain.
  3. The two white melamine shelf units come out and get painted Expresso so that they match the other shelf unit and pick up the tones from these two large cabinets.
  4. The wire rack goes back in but not as a 4′ section that sat on the counter but it is not a full height wire shelf unit.
  5. The cabinet that had been built as a prop for a play stays but will get painted expresso like the rest of the shelves.
  6. The large shelf unit that was already expresso stays but moves over closer to the prop shelf unit.
  7. The carpet comes out.
  8. Tile goes in but of course Menards doesn’t sell the same tile that is in the rest of the mud room floor, of course.
  9. The maroon felt on the walls comes down, don’t ask, and white PVC sheet goods go up.   I already had a full sheet of this that I bought for another project, 7 years ago, and patching and priming and painting the walls was going to take forever so why not use this.  Just for luck lets buy another sheet and for fun lets make sure the colors are just slightly different. sigh.  In my defense I’m not even sure that Walmart sells the paint color that is on the one wall that is currently painted.
  10. Finally a light in the room that is “installed” or at least not dangling from a single screw.
  11. Two 2×2 sets of shelves out.  One is currently in the kitchen at the end of the counter holding my cookbooks.  The other has not found a home yet.

So far in the shop remodel we have one large section of counter up.  Shelves above the counter from above the window to the ceiling.  The single desk and credenza are still here but are together again on the back wall.  We put them on bed legs to raise them up so that the mini fridge can live under the desk.  There will be under desk mounts for the pc’s and keyboard/mouse trays plus a drawer from an old office unit will go between us.  Those arm chairs well they will now be desk chairs.  The inkjet, laser printer, and 3d printer will all live on the new credenza/single desk counters.  Plus the photography setup stuff can stay setup over there.

It’s been over a week now and nothing is finished.  I just got a functioning pc setup yesterday.  The garage is still littered with stuff that came out of the butlers pantry area and the shop space is almost unusable because of everything that came out of the office but has not found it’s way back in again.  This was supposed to be a 1 day 0 dollar redo.

So far we are at $290 for the butlers pantry alone.  Honestly that was where the most money was spent.  Unless of course you count the fact that Bill bought a new pc and two monitors for the shop office.  To be fair we shopped Purdue Salvage and monitors there were only $50 for 26″ Dell monitors with built in extra’s.  The pc was also refurbished/salvaged.

It is shocking how quickly costs start to add up.  The flooring in the pantry was where the most money went.  Each box was $50 and we needed 3 of them plus the grout.  The next biggest expense in there was the paint and primer for the shelves.

Stay tuned for revels of how both areas turned out.  Just as soon as I figure out how to put it all back together again.

Posted in Uncategorized | Leave a comment

EcoGlow 20 Safety 600 Brooder from Binsea


I first heard about this brooder from The Chicken Chick you can find her webpage here https://the-chicken-chick.com/ Years ago what brought me to her page was poop, I’ve been a fan ever since.  While some of the things she does are above my pay grade I applaud her passion.
Continue reading

Posted in Homestead, Reviews | Leave a comment