Link to Bootstrap Farmer video. Link to buy the kit from Bootstrap Farmer here.
The kit sells for $156.99 USD and is currently sold out as of 3/25/2026.
Here is what you get in the kit: 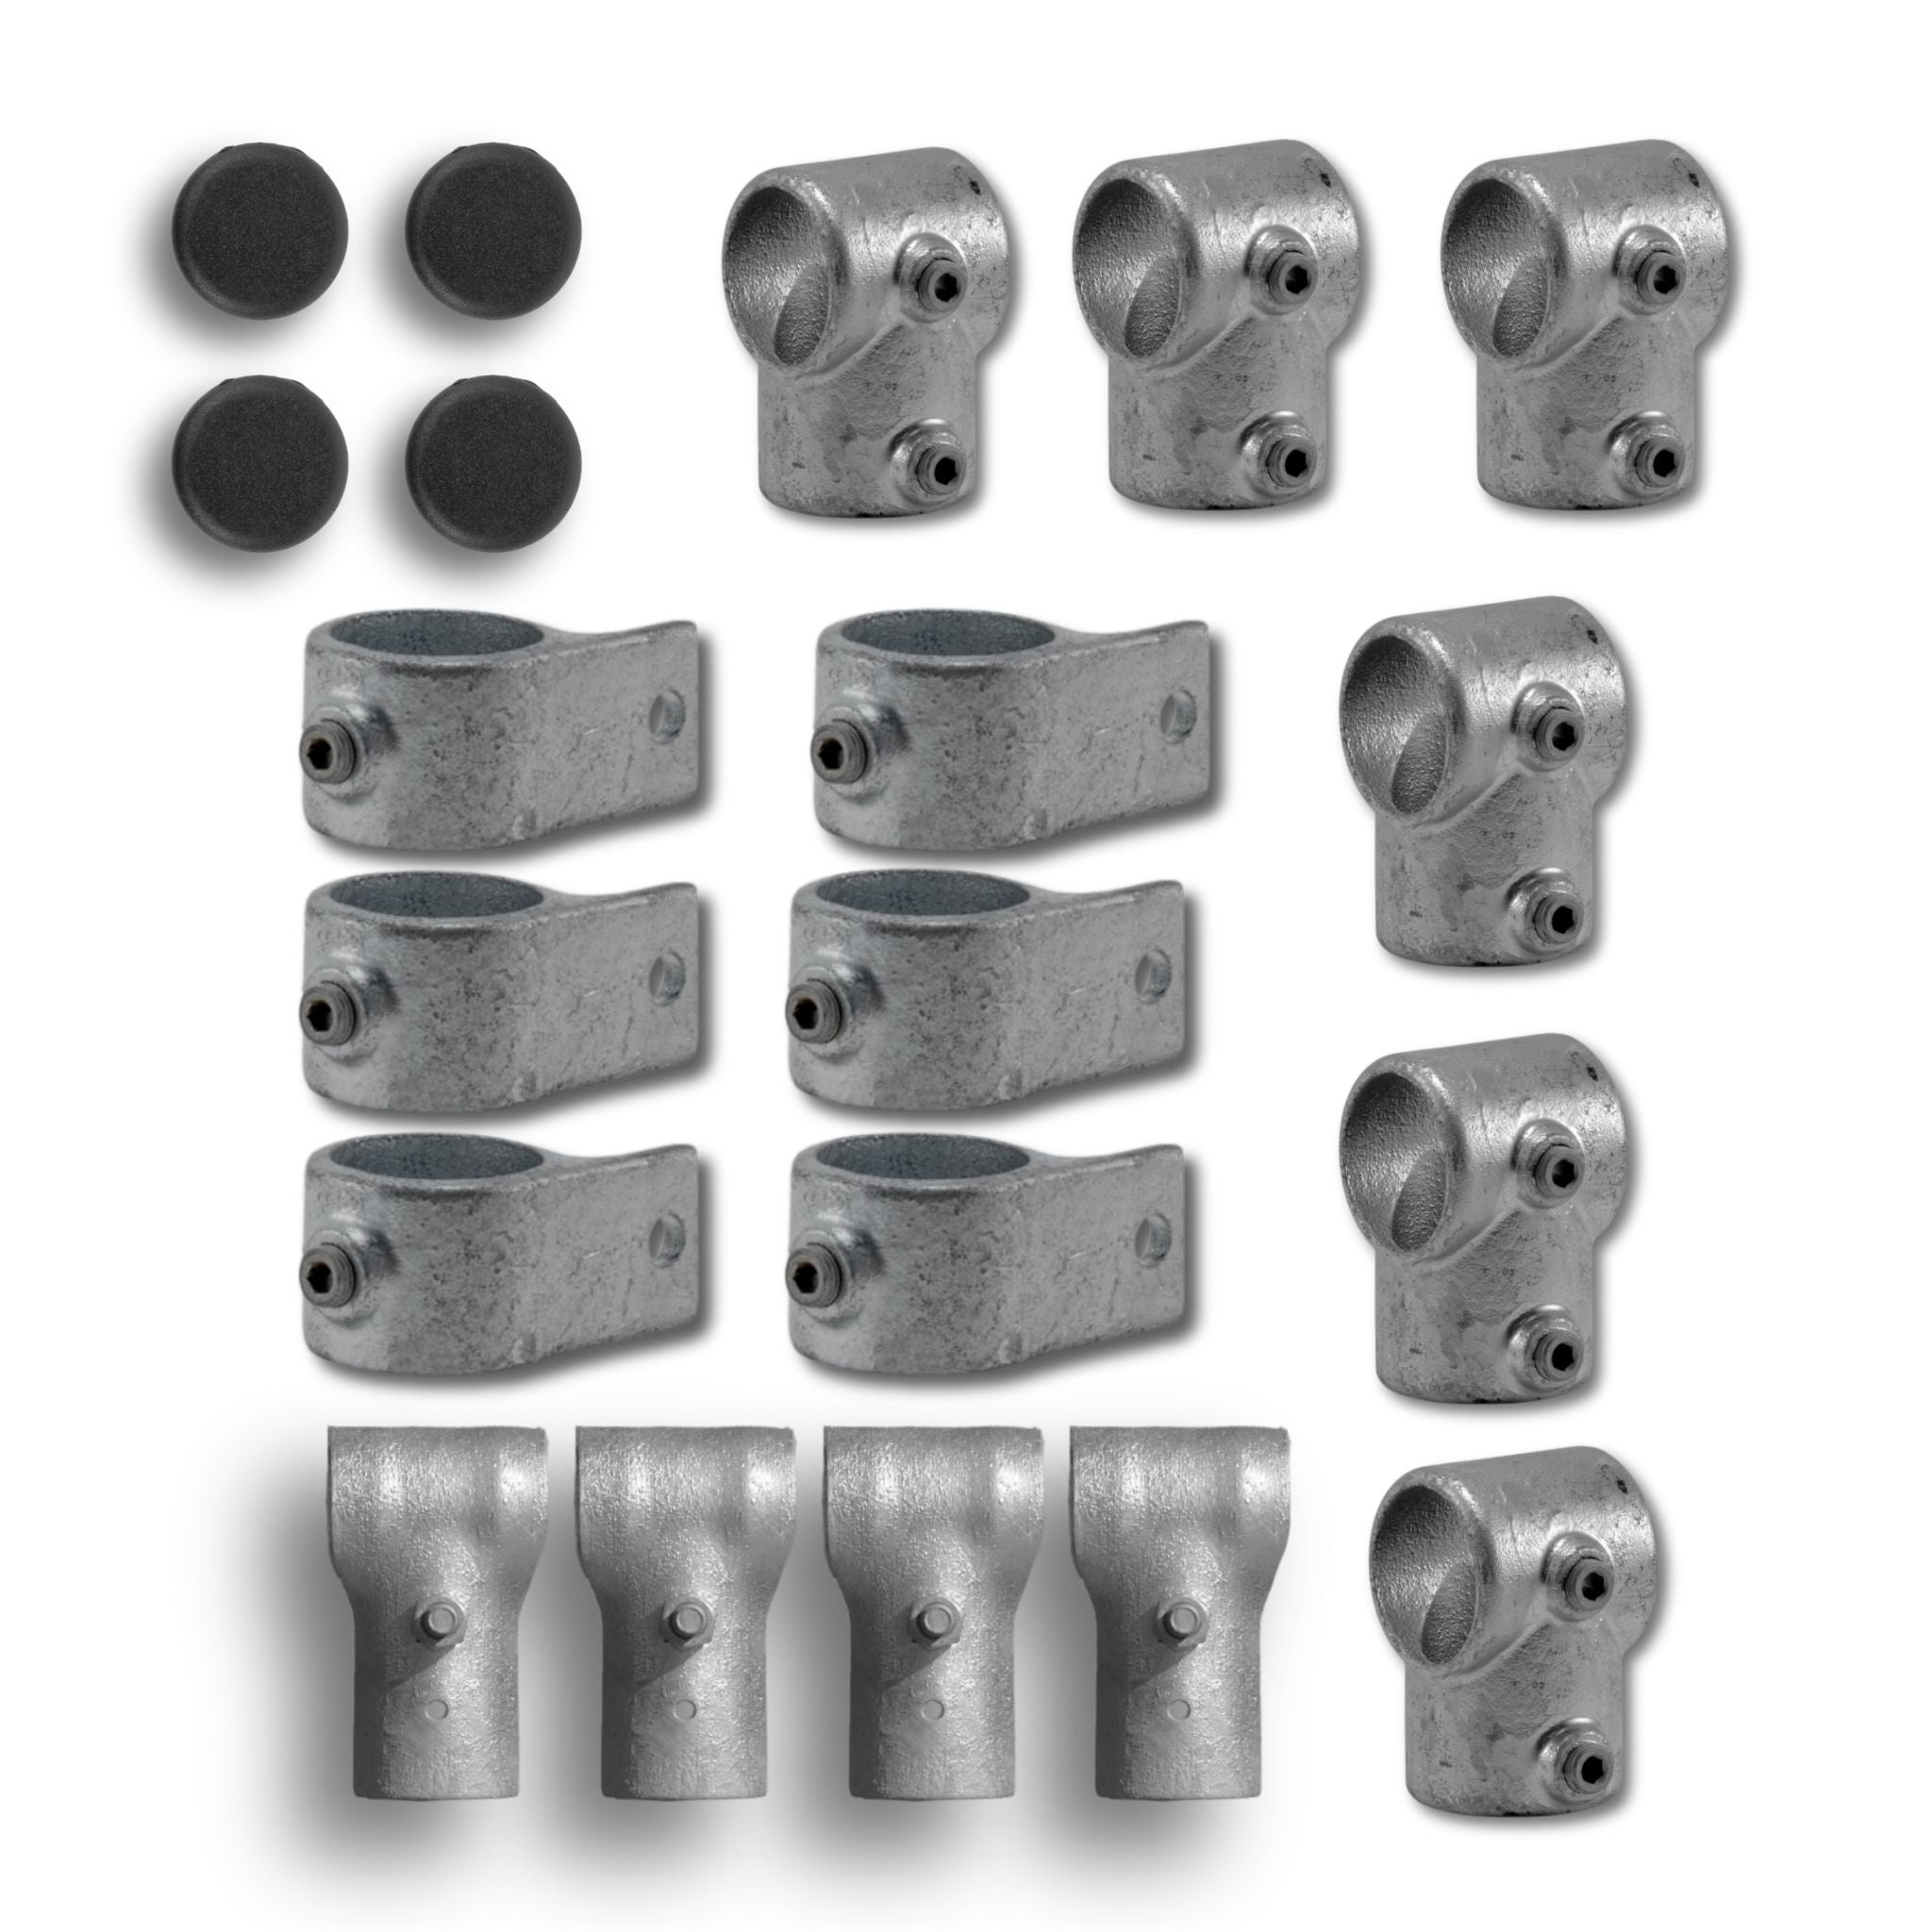
Kit Includes
2 rail clamps with bolts
6 EZ Tee fittings
6 EZ fixing pads
4 pipe caps
Printable PDF Build Instructions
You will then need to purchase the pipe and other supplies from a store near you or a website. This was exactly what I didn’t even know I wanted till I saw it.
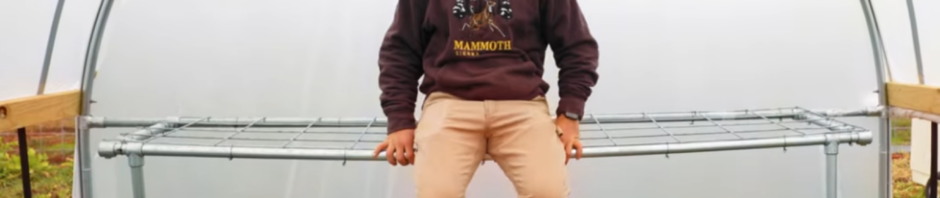
I’ve been moving flats from the basement to the small greenhouse in front of the house all week. I had questions about hardening off in a greenhouse vs waiting till it got warmer and following our usual method. If I could pop them in the greenhouse it would make things so much easier because the grow room is full and I have more to start and more to up pot.
To date I’ve moved snapdragons, (2) 6 packs of impatiens and parsley to the greenhouse. The snapdragons and parsley are loving it, the impatiens not so much. It got cold at night and both 6 cells turned to mush. I would love to be able to move the rest of the parsley, snapdragons, onions and the brassicas out but I’m running out of room. Currently I’m balancing things on the large pots on one side of the greenhouse because the other side has herbs that should come back and I don’t want to block the sun from them, plus the one side gets a little more shade. However, I am quickly running out of room and I still have more flats to move. Oh how I want shelves. I want them for both greenhouses but having them up front here right now would be so nice.
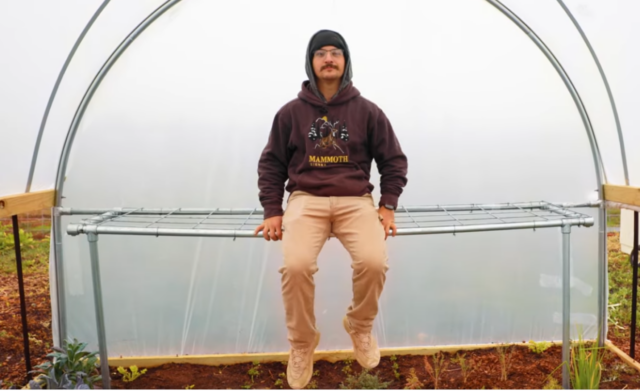
The little greenhouse has a plastic shelf unit on the back wall along with a container for potting mix and another for fertilizers. The two long walls are lined with large outdoor planters. My thought had been we could grow herbs in there year round, didn’t work like that but it was a grand idea. There is only 1 door and it has 2 zippers, both zippers no longer open all the way up. Getting anything in and out almost requires setting it on the ground and pushing it out and then crawling out/in. This greenhouse has a curved top/sides and is 12′ x 7′ with 3 small windows on each side. The plan all along was to put a “real” door in the front and to add some kind of shelving but we didn’t do it right away because we weren’t 100% sure how we would best use the greenhouse. A little bit of time living with it and discovering what was working, what we didn’t like and what we wished was better we are now ready to build it out.
Here are the things I know I want/like:
- One long wall gets more sun so we need to identify what should be planted on that wall and then figure out if those large pots are the best solution.
- Bill ran the drip irrigation on the timer in there last year and I cannot tell you how much I love it. Time saved, having things fertilized on a schedule that didn’t depend on me, and being able to leave for a night has been amazing.
- I think the green plastic cover has been good especially when I’m bringing out flats of starts. I think it helps to ease them into being outside.
- The little windows and the door allow air movement but nothing gets blasted by the wind.
- It does get hot in there on sunny days.
- We put strings of lights in it, which is mostly pretty, doesn’t really add any heat at night. The impatiens proved it is to cold for tender plants.
- I moved pots of mums in last fall and so far nothing looks like it is living, have to wait and see. The chives in the big planters are coming back as are some tulip bulbs I had tossed in one.
- So far it has kept all but one very determined stray cat out. Fingers crossed no other critters have gone in a mucked about.
- I like the shelves in there because I did keep supplies I needed when gardening on them and they were mostly protected from the weather. I also like having tubs of potting mix and fertilizer handy. We had an old plastic bin with a lift lid that I put the dirt bags in and I use cat litter buckets to hold the fertilizers. The lids close tight, and the cat buckets have handles plus everything can stack.
- I would really like to transition away from shelves holding the plant trays especially when they go outside. I would like a counter to set them on. In the past the upper shelves seem to shade out the lower shelves and the things in the back don’t get much light at all. Plus having to pull them out and push them in can get to be a pain (I know so much whining) and I would like to utilize more of the height in there.
- We have talked about having counter surface for years even before the greenhouse. Our hope is that it will make the light better for every thing out there plus it will be much easier to water. Pondering if an overhead misting solution might be doable just incase we had to be gone for a day or two.
- I would still like to have a place to store dirt, fertilizers, pots etc… Just because when the weather gets warmer I do like to sit out on the patio there and do my up potting and propagation.
- I want to have an upper shelf. Either as a place to store things or for larger plant pots like the strawberry pots we got last summer. Yes, I have this picture in my head of strawberries at eye level hanging for easy picking. Plus I won’t have to fight the birds for them. Do strawberries need pollinators?
- Because plans change and as the seasons go what we need from the greenhouse changes I wasn’t sure about committing to having installed shelving.
- I do not want anything that is going to be hard to put up/take down or that will require space to be stored.
- Whatever goes in there has to allow light and air to pass through.
It’s a long list but if we are investing time and money into the space I want to know what we want before we just start building. Having said that I was to the point where I was about to run to town and just buy some lumber and a roll of wire and come home and throw something together just so I can get these flats out. Then I found this system from Bootstrap Farmer and that’s when I knew what I had been wanting.
Because they are sold out and there isn’t any idea of when they might be back in stock Bill turned to Amazon. He had looked for things like this before when we were building using PVC but the cost was prohibitive. At $5 or so per hardware piece it didn’t math out. This time he found these pieces:
 20 Sets T Pipe Connector Tee Clamp Fittings, Fit’s 1/2″ EMT Conduit with PE Adapter Shims.
$23.88
20 Sets T Pipe Connector Tee Clamps Fittings, Fits 3/4″ EMT Conduit with PE Adapter Shims.
$24.62
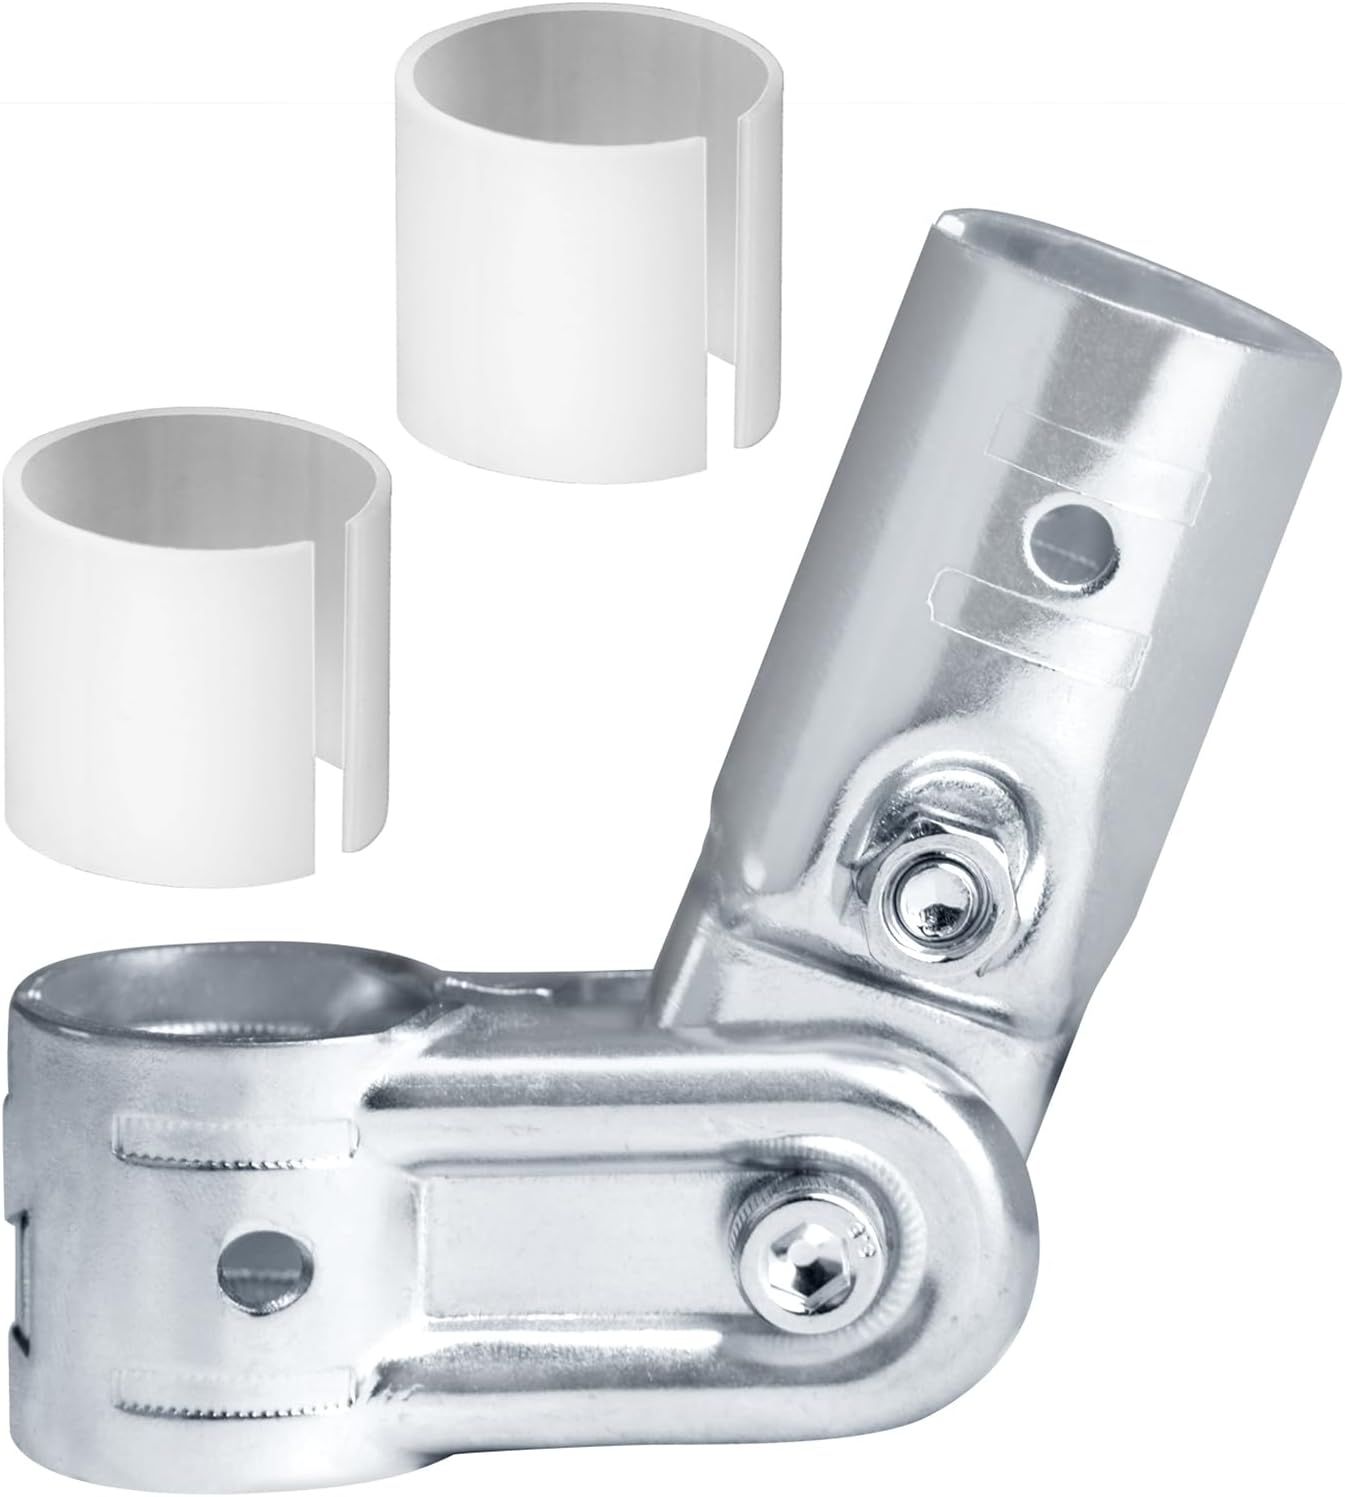
 12 Sets 90 Degree 3 Way Cross Pipe Connector Clams, Fits 1/2″ EMT Conduit with PE Adapter Shims.
$22.49

Tonight We will be running to Home Depot because it is the closest store to us. That’s where we will pick up some 2″x4″s and conduit. Why the 2″x4″ because if we are taking Big Red to town we might as well pick some up because we will be needing them. For this project there will be some framing on the 7′ front door wall. There may also be some framing on the 7′ back wall where the first shelf will go. That shelf will probably not fold up. The walls slope in as they go up if we wanted that shelf to go up we would have to make it narrower. We can have it fold down. For now I think we are putting legs on the back and front to make it stationary. The two shelves on the sides will fold up. Because of that wall slope they will not be flush to the walls but we are not thinking that will be to big of a problem. The plan is to make the shelves just wide enough to hold trays so about 18″. The shelves themselves will be made from cattle panel cut to fit. We currently have a panel here that we had intended to make into tomato cages but we don’t need that for this summer because of where the tomatoes will be going.
We made the decision to take the lower screen porch out and it has two screen doors. One of those doors will be coming up here to the small greenhouse and the other will be going to the larger greenhouse. Which is part of the reason for getting lumber. The two zippers on the door were never loved but they did manage to make it about 2 seasons and are still technically working even if they don’t open all the way. It’s time to fix it right.
So far the connectors have cost $122.75
3/4″ 10′ EMT conduit is $8.98 x 25 = $224.50
total = $347.25
With the plan as it is now I think we will be able to not only get the shelves for the small greenhouse but we should be able to get the shelves for the big greenhouse too. Plus there will be leftover conduit which will not go to waste.
We should get:
1 – 7′ shelf
6 – 10′ shelves
In the end it would be a lot easier to order the kit from Bootstrap Farmer, plus with the PDF plan all the guess work gets taken out of the build and purchase. For us waiting wasn’t an option especially when Bill found the connector pieces reasonably priced.
As we go through the build there will be another post with the cuts, how the connectors are used, how they are mounted to the greenhouse and any other information we learn from the process. The Bootstrap kit was being mounting on the greenhouse they sell. The greenhouses we have are the inexpensive ones from Amazon so the idea has to be adapted to the structure we are building on. This is also a reason we are picking up lumber. In the event that the aluminum frames of the greenhouse either can’t support the weight or the movement of the shelves or possibly we just can’t physically mount the hardware because of where the frame pieces are (think the back wall, there is no framing on that wall which is why that shelf will be stationary) we might need to build a mounting frame from lumber.
If you are asking yourself if it wouldn’t have been cheaper/easier to just build the whole greenhouse from scratch, yep we ask that too. But remember these have been up for 2 years and we have very actively been using them. This is the first addition to them in that time frame. So for well under $200 we figured out that we do like having greenhouses. The larger one is actually moving this year because we realized for the second time that it’s placement needs to be changed. To move it the two of us pick it up and walk it to the new location. This time we will be securing it to the ground because this should be the final move. Plus a wind storm took the unsecured cover off it twice. The second time the cover ripped. Luckily it ripped on an end and we can easily redo that when we put the door on. Or we can buy a new cover for less than $100. At some point might we actually build a greenhouse with clear panels and a wood or metal frame? Maybe. Even if we do that these shelves, if they work and we love them, will just move. It’s an investment.