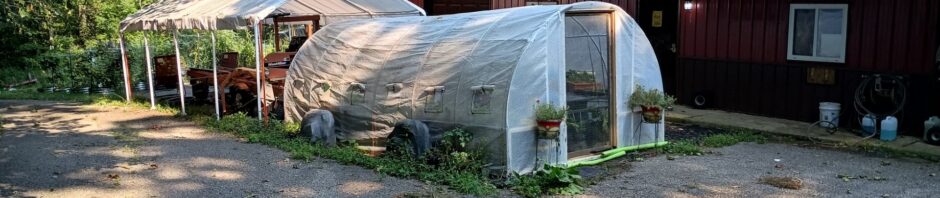
We love our greenhouses. They aren’t fancy. They weren’t expensive. They are cheap. But they’ve given us some protected areas for starting and growing a variety of plants.
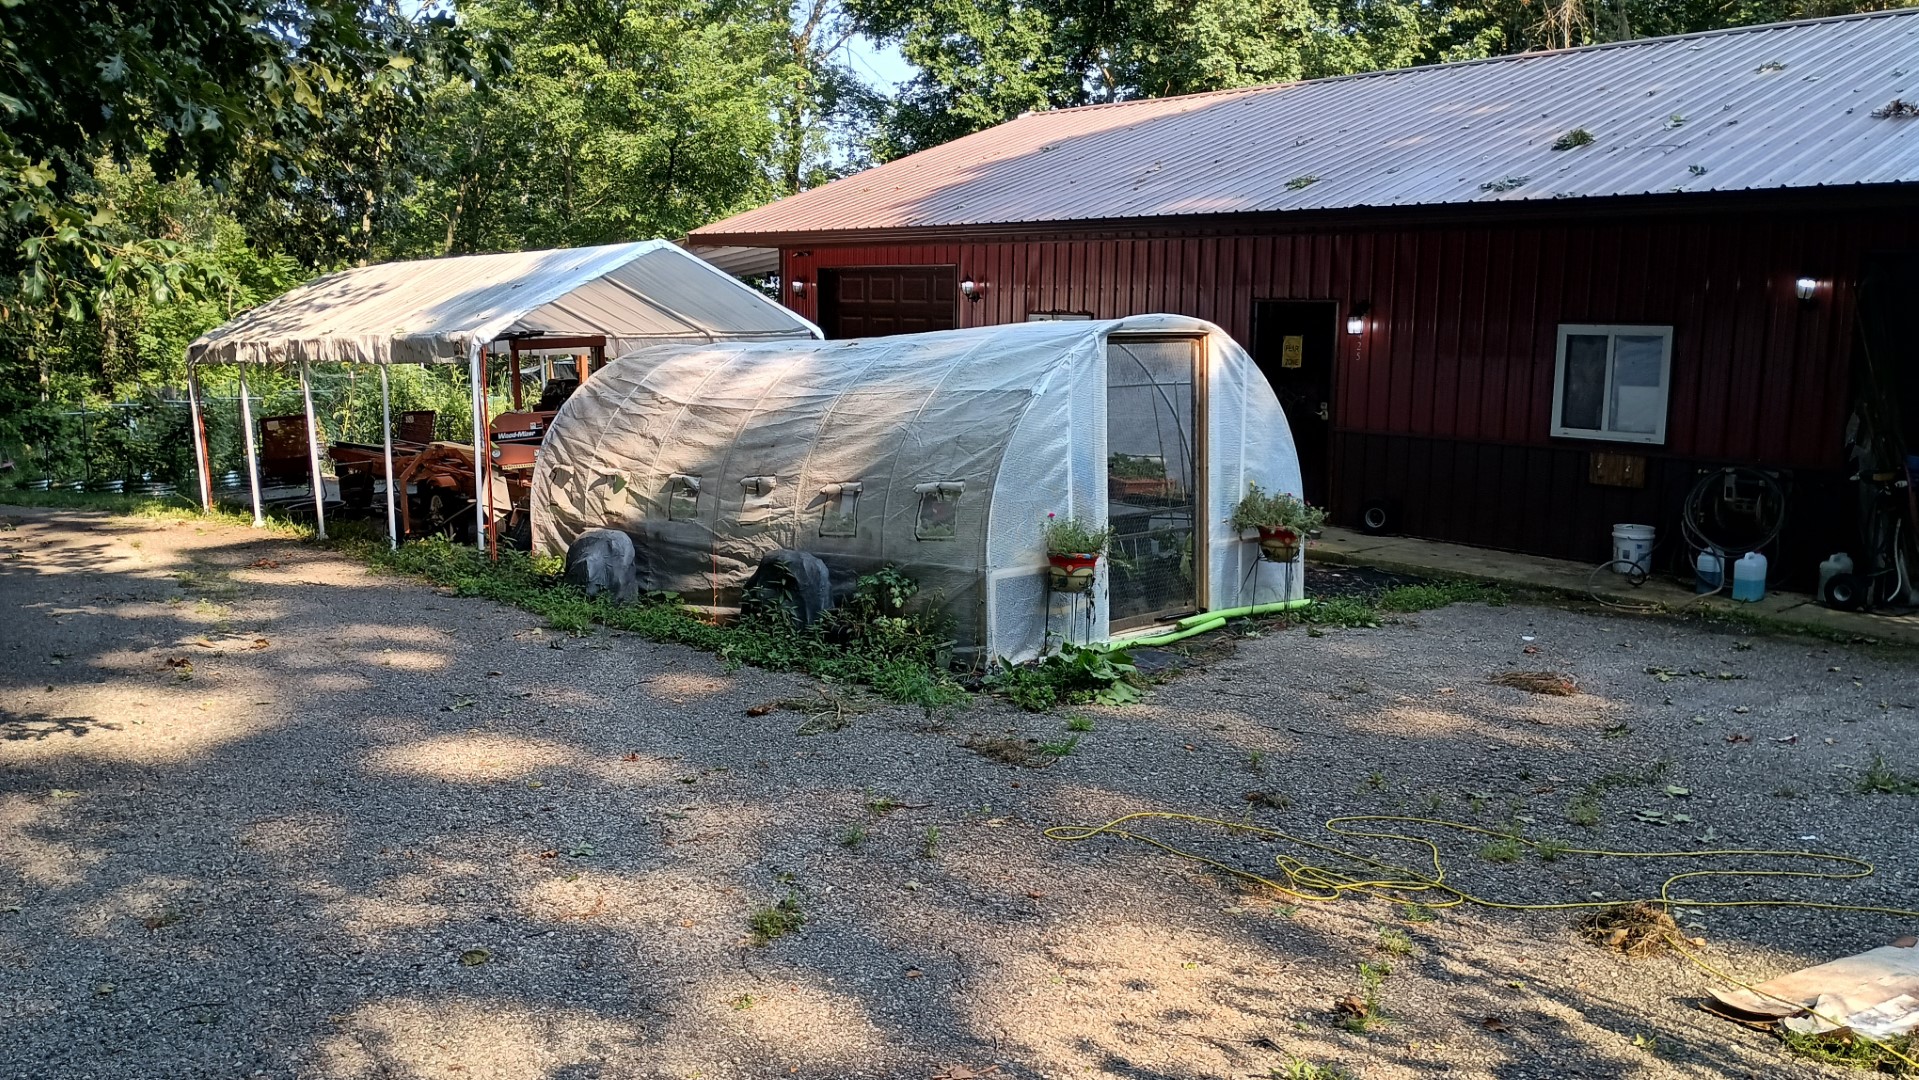
While we love them, the door zippers are frustrating. They are the cheapest, weakest, most poorly made zippers I believe on the whole planet. Every tab broke off of them, so I had to use a piece of twine tied to the tab loop in order to close them. The cover is stretched so tightly over the frame that there was a lot of stress put on these zippers, causing them to be very difficult to close, and they would separate under the stress. Numerous teeth broke, making zipping and unzipping very difficult. We knew early on that we would be building something to replace these doors.
My thought was to make a wooden frame that would sit inside the pole structure, and attach to the poles. The advertised height of the greenhouse is 7 feet. It’s actually closer to 6 1/2 feet. I decided to make the doors 6′ tall.
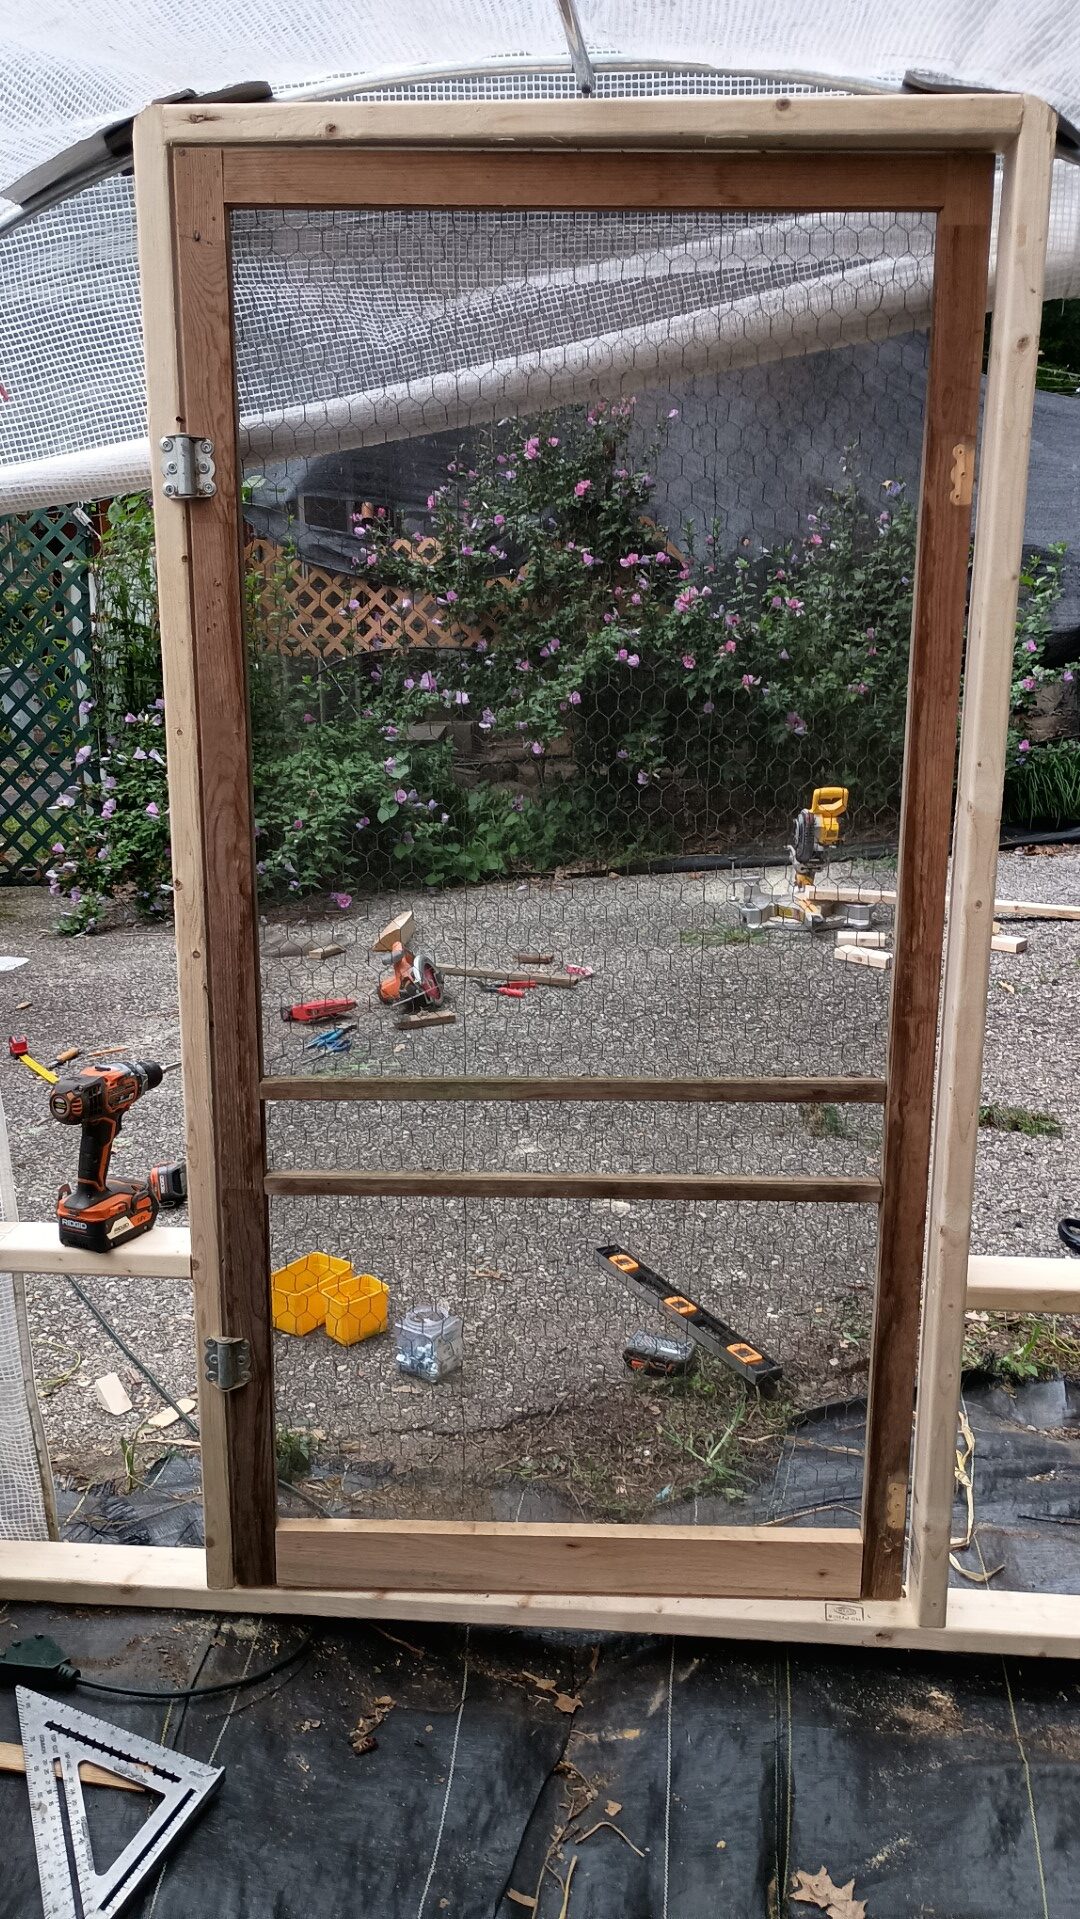
We had several inexpensive wooden screen doors that we’ve used for chicken runs and our lower deck. These are all 3′ wide. One issue we’ve had with them in these applications is the stile and bottom rail tends to rot at the bottom. So what I’ve done is replace the bottom rail with a sturdier and larger piece of wood. The door I used here had this issue, so I cut the stiles at 72″ and replaced the rail with a slightly thicker and wider oak board. I use 6″ screws driven through the stiles into the rail to securely join them. I also drove a 6″ screw into each side of the top rail.
Once the door was repaired, it was time to begin the framing.
The first step is to gather a lot of tools and spread them around the work area.
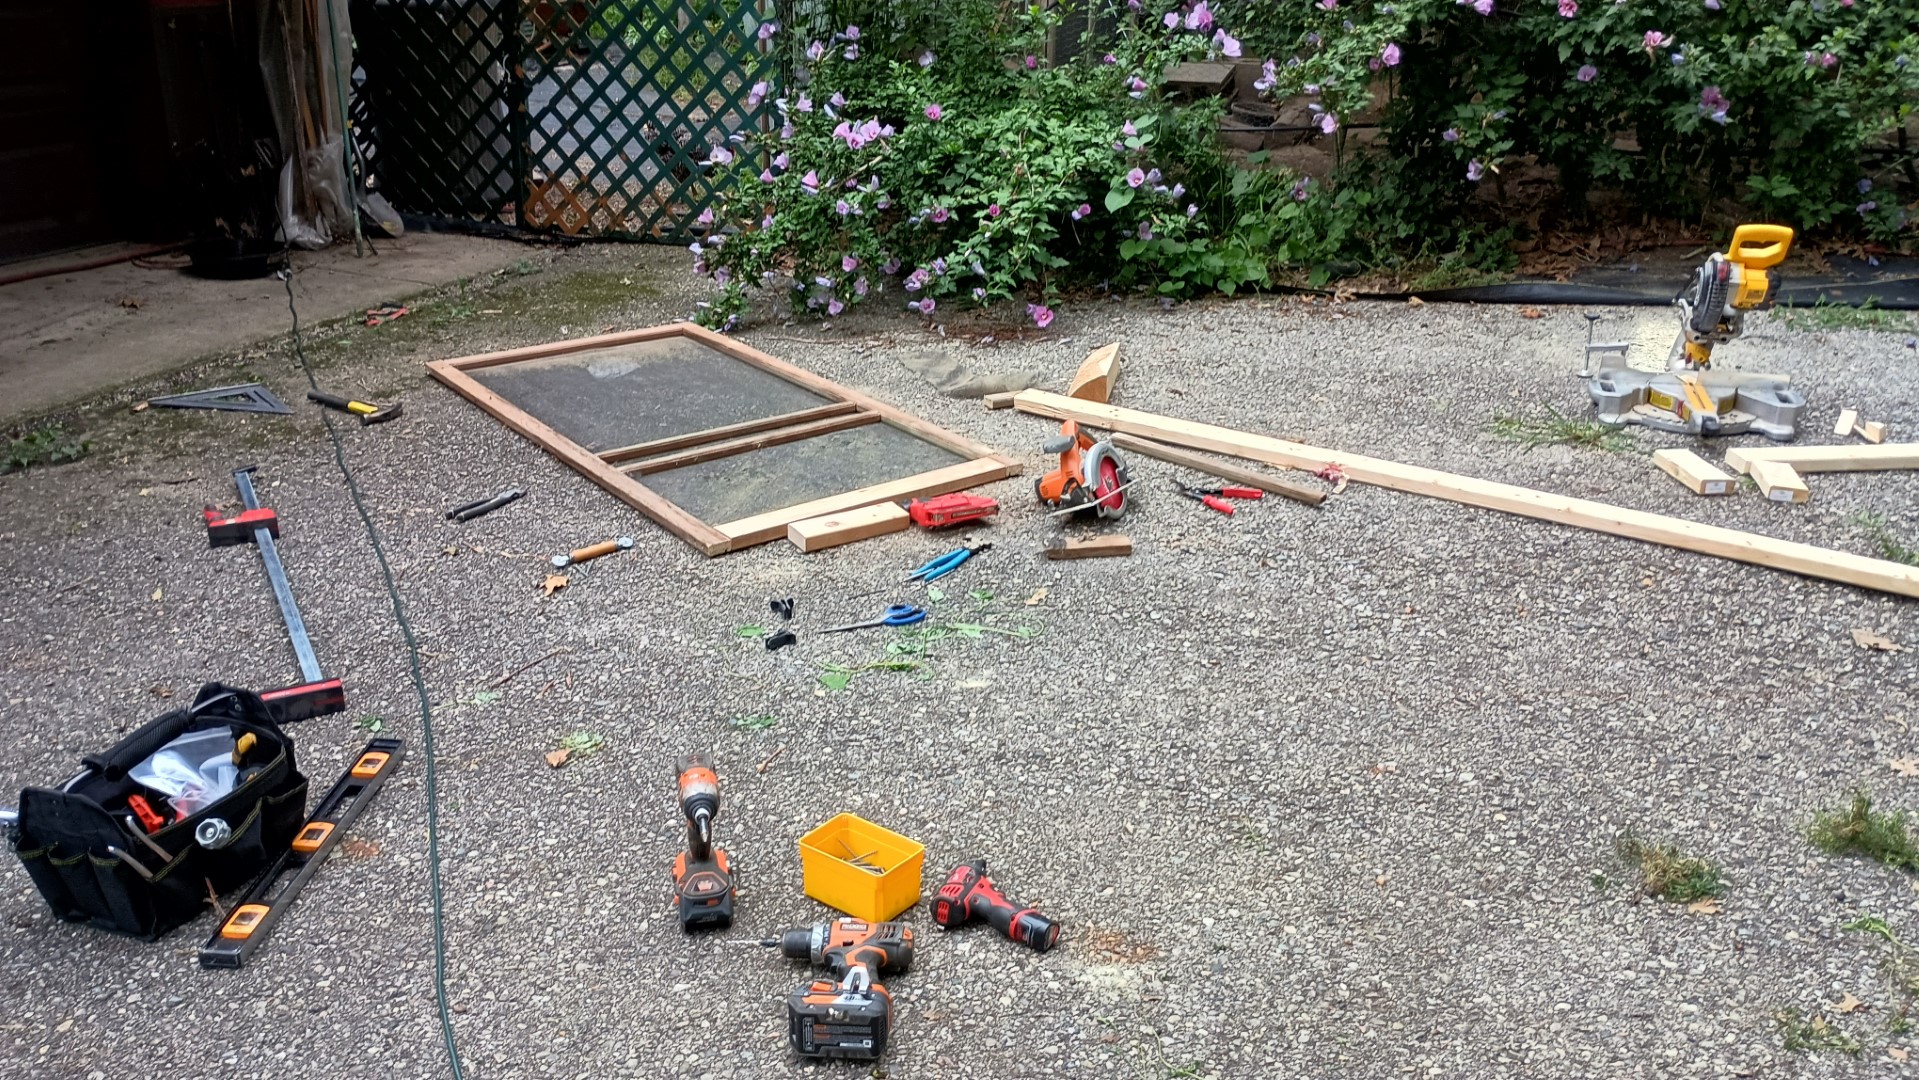
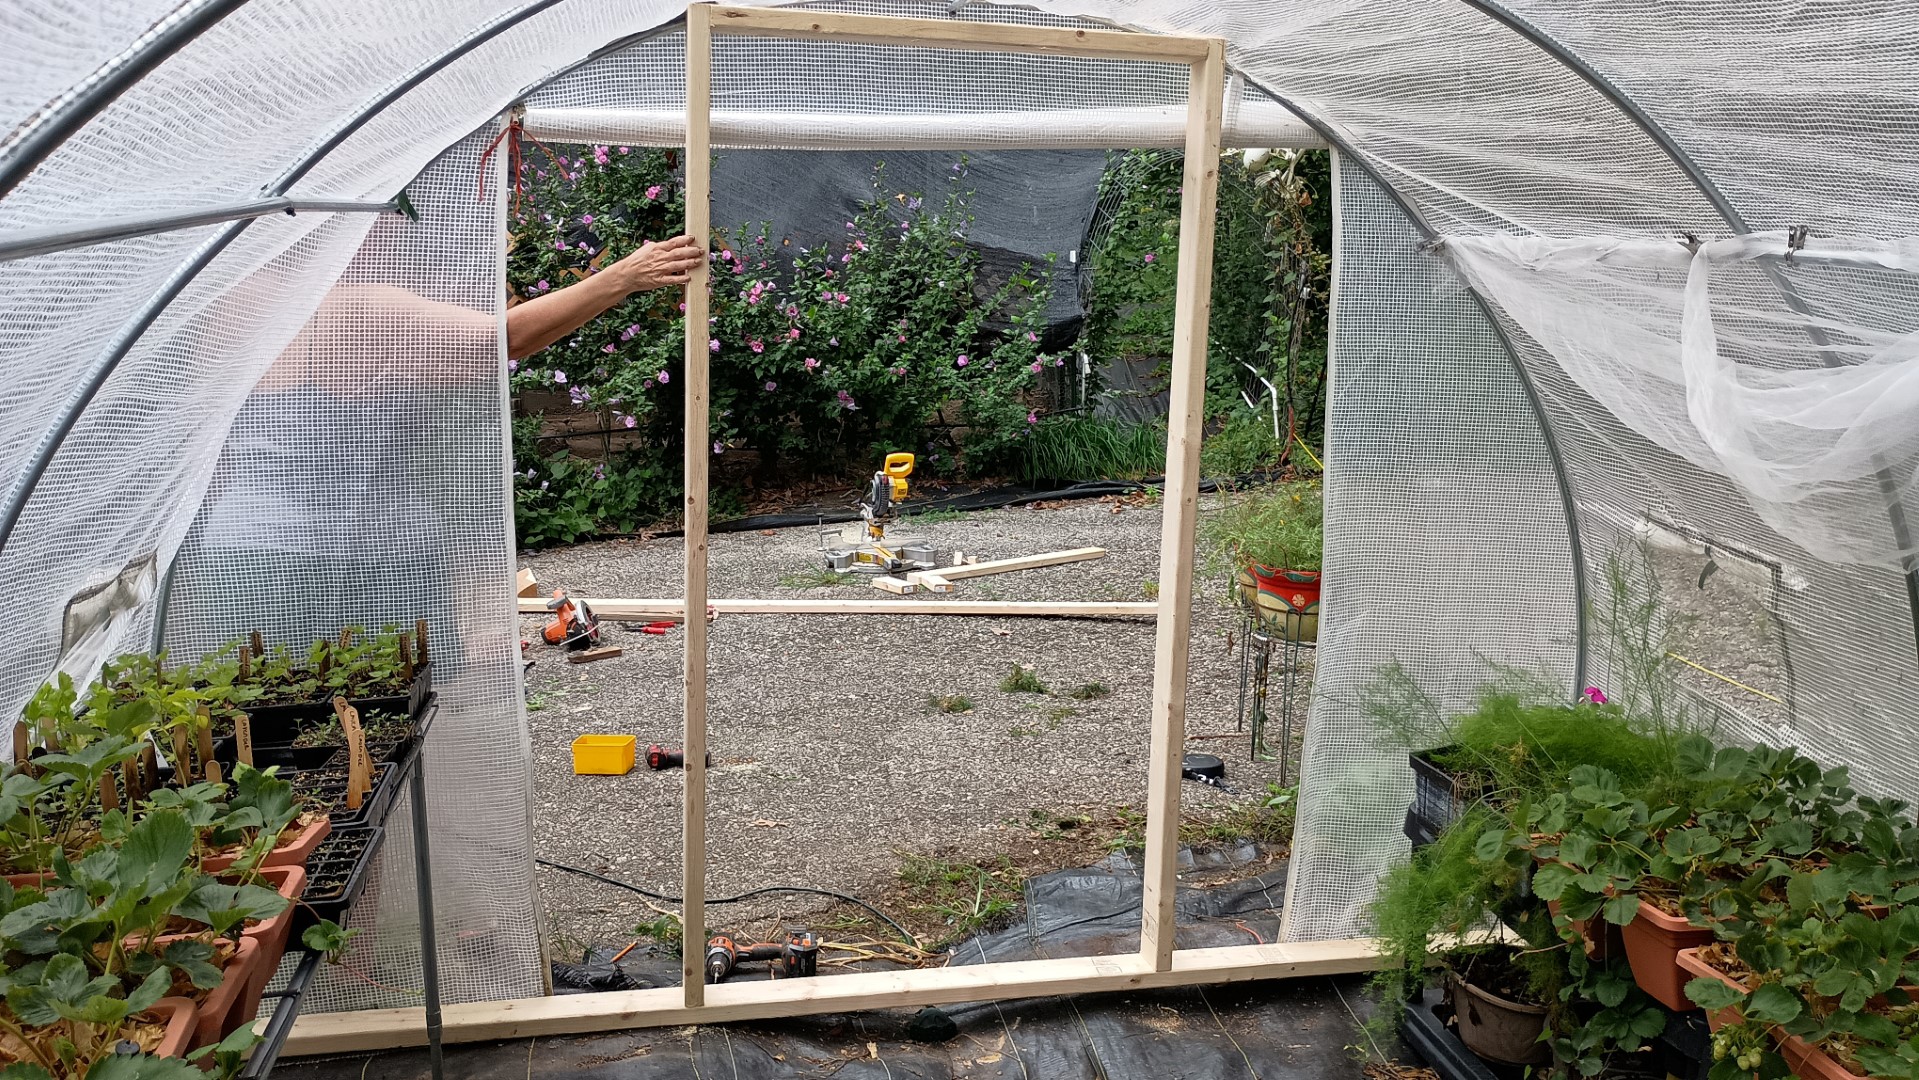
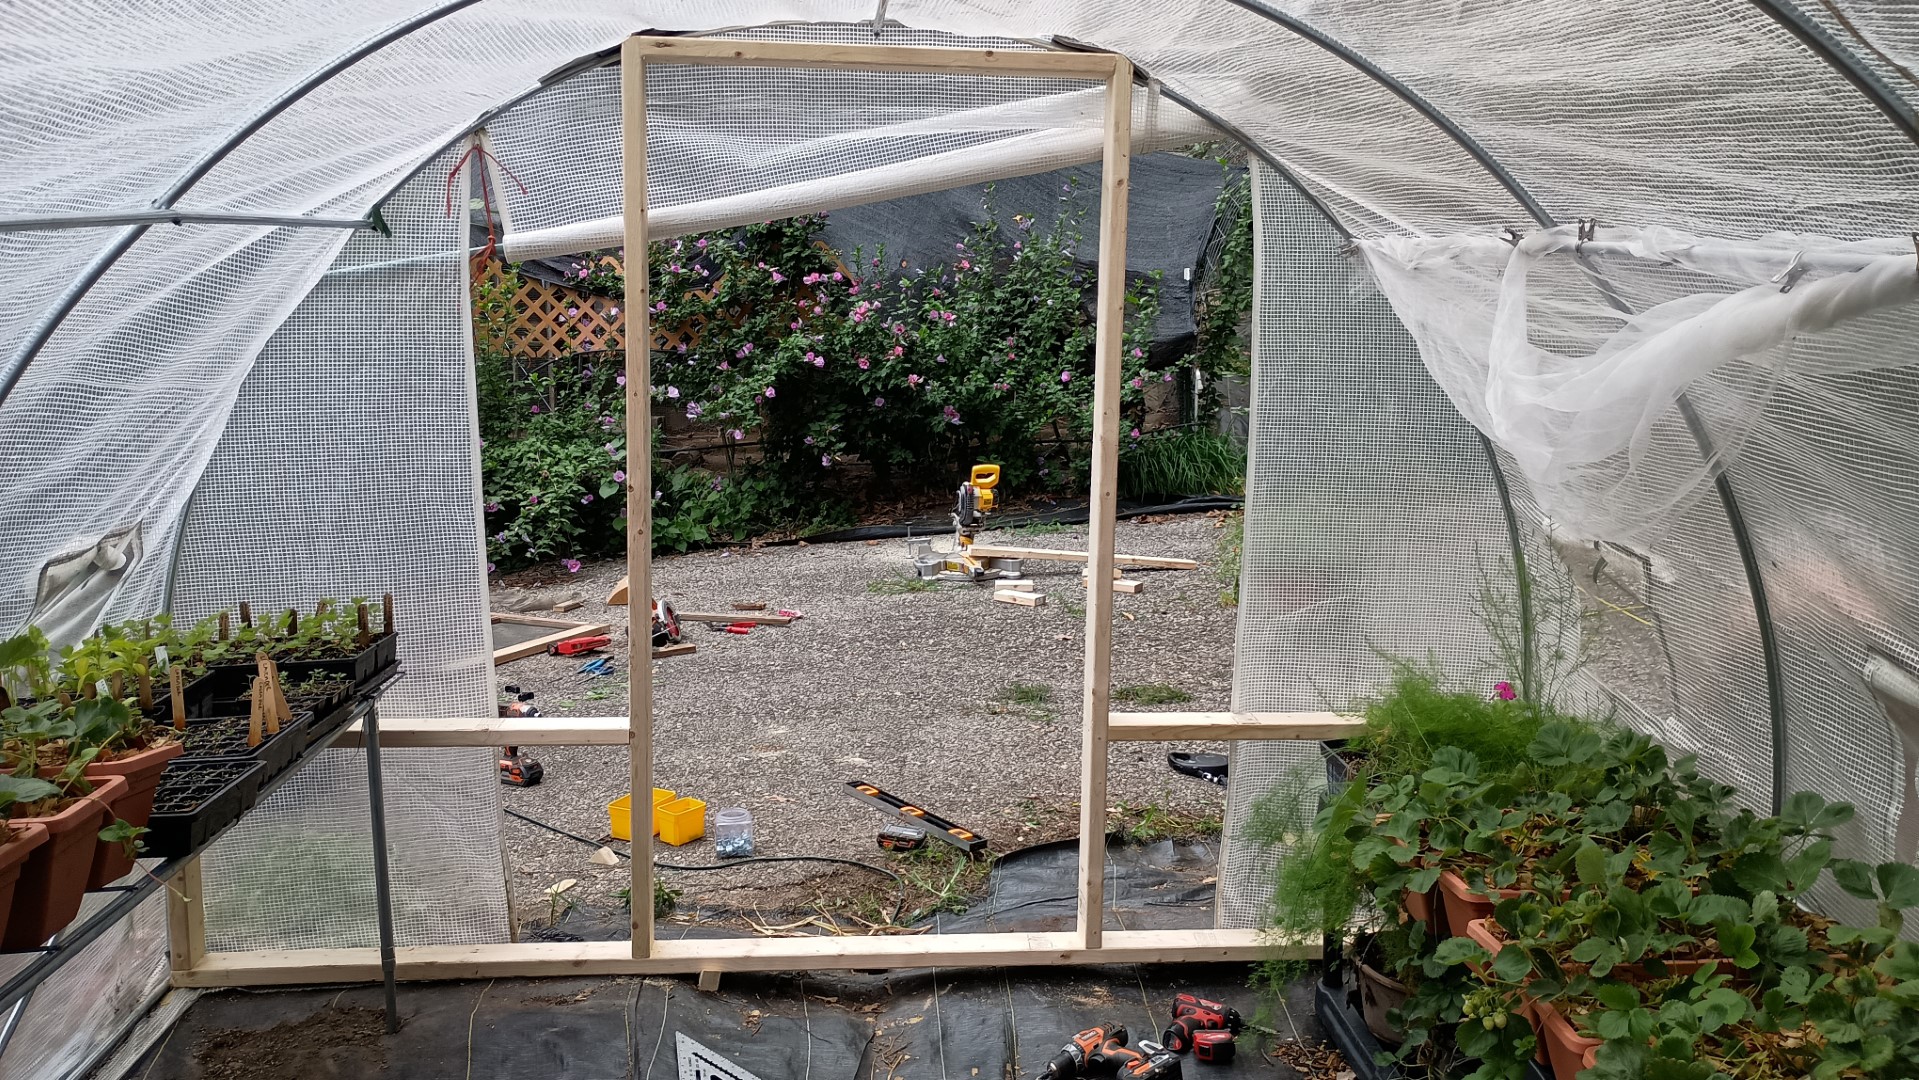
I cut a 2×4 sill for the bottom of the frame, fitting it inside the bottom side rails of the greenhouse. I then made a door frame 72 1/2″ x 36 1/2″.
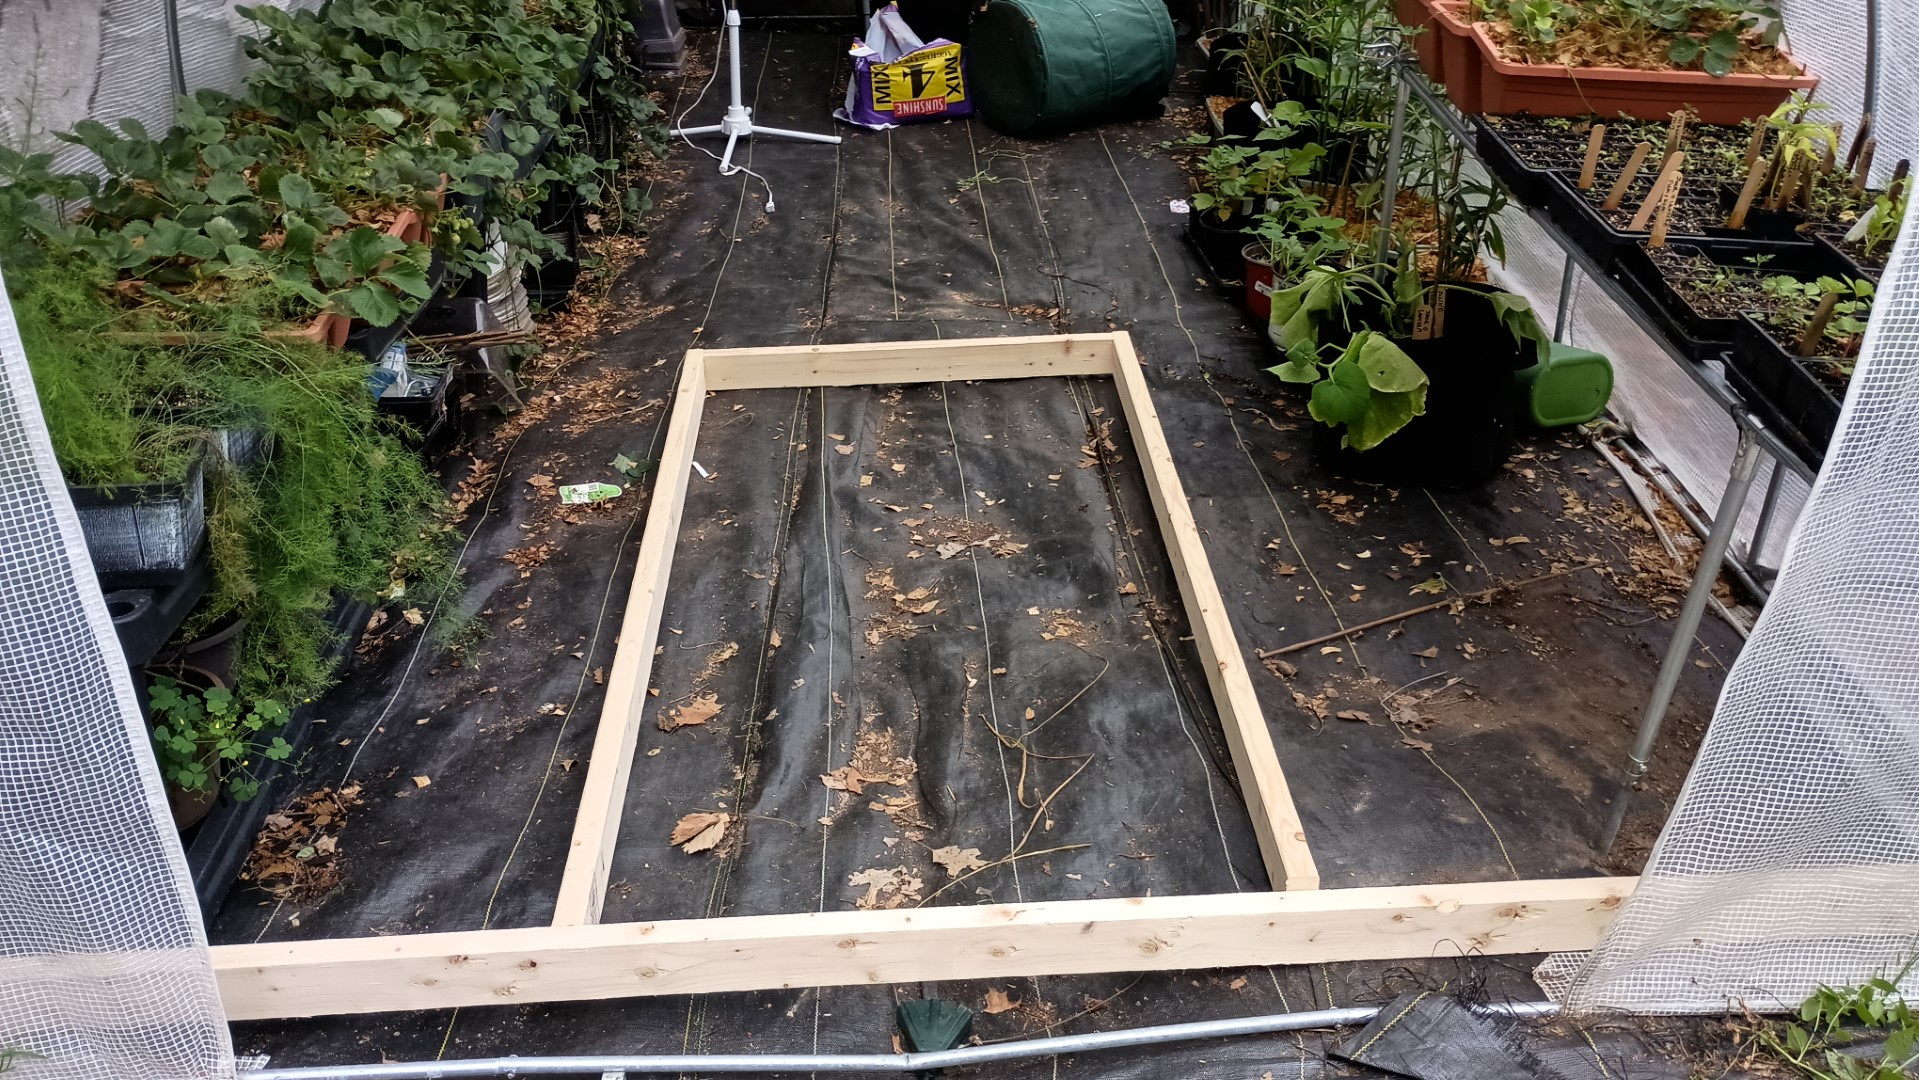
I have the greenhouse secured to the ground with rebar J stakes at the corners, so I cut a 45 degree piece out of the sill.
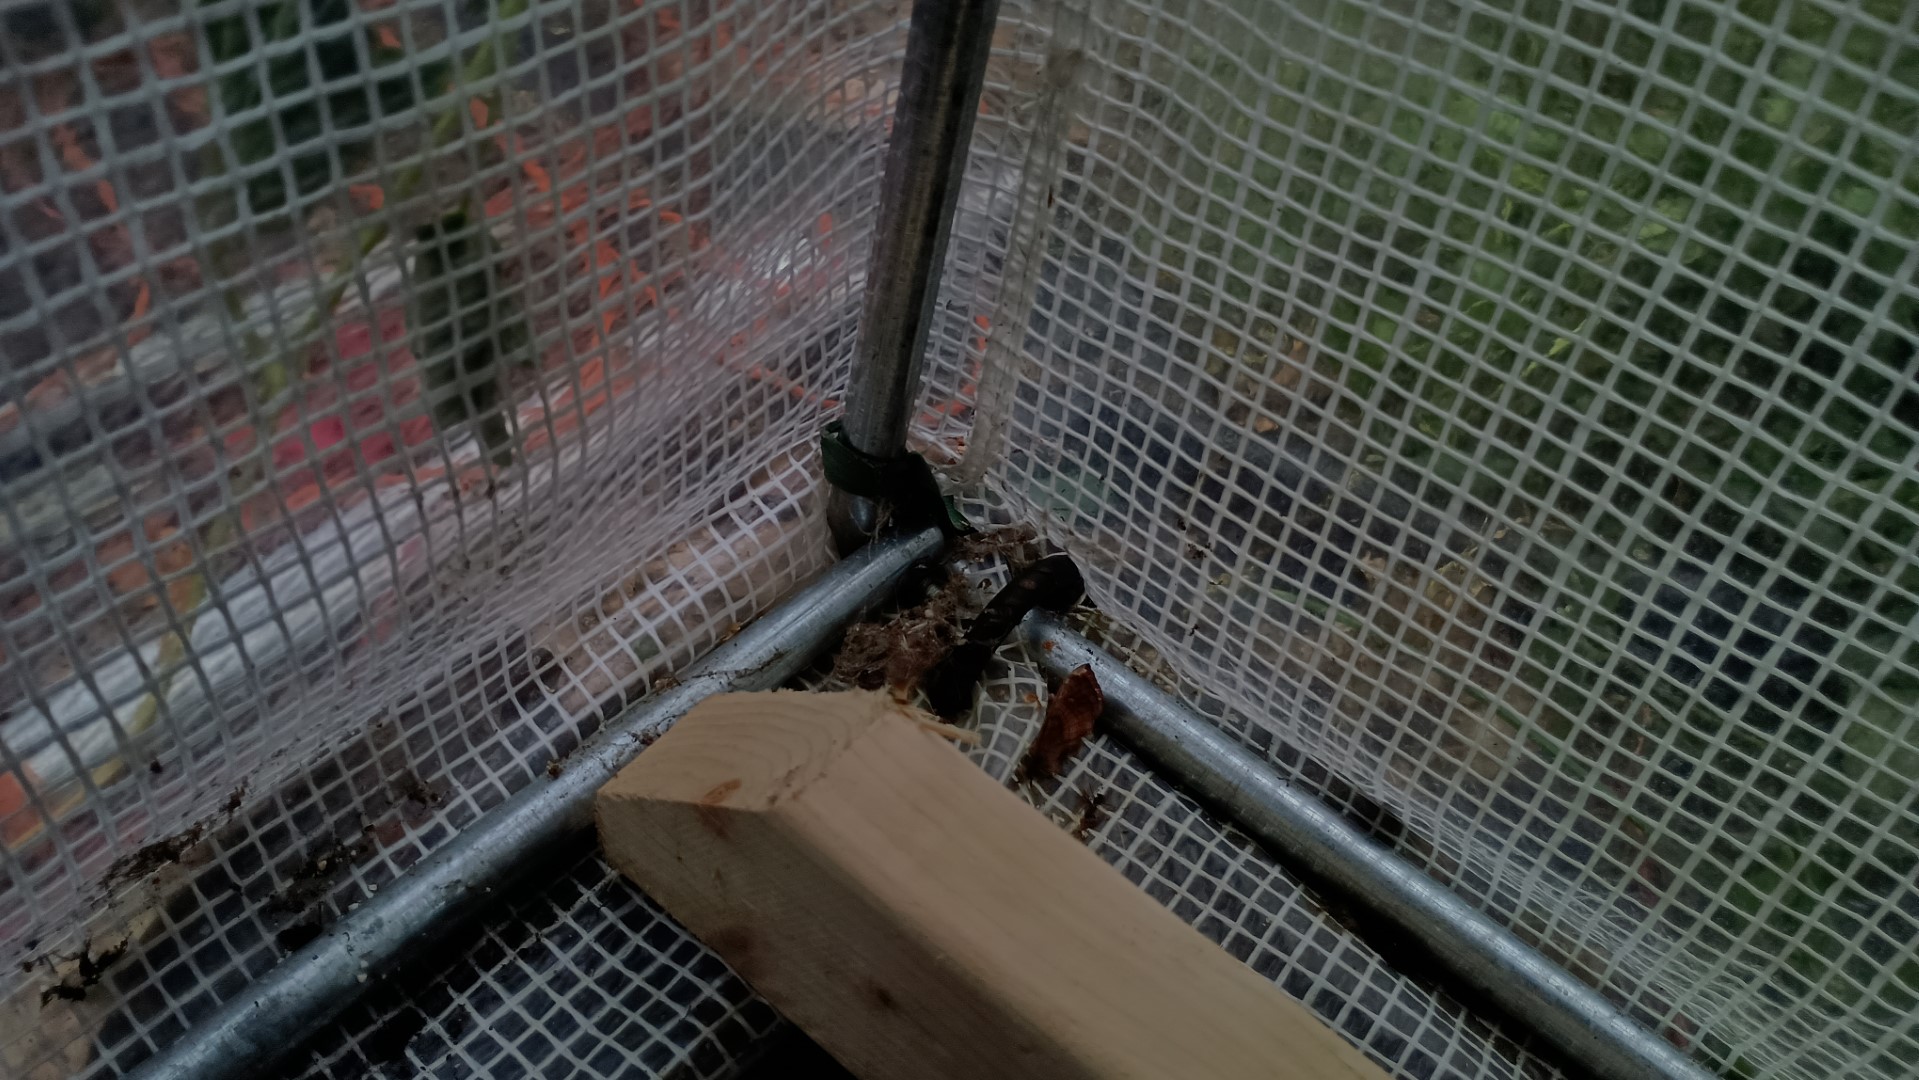
The ground at this end of the greenhouse has a dip in it, and that has caused the bottom rail to get bent. This frame should help with that.
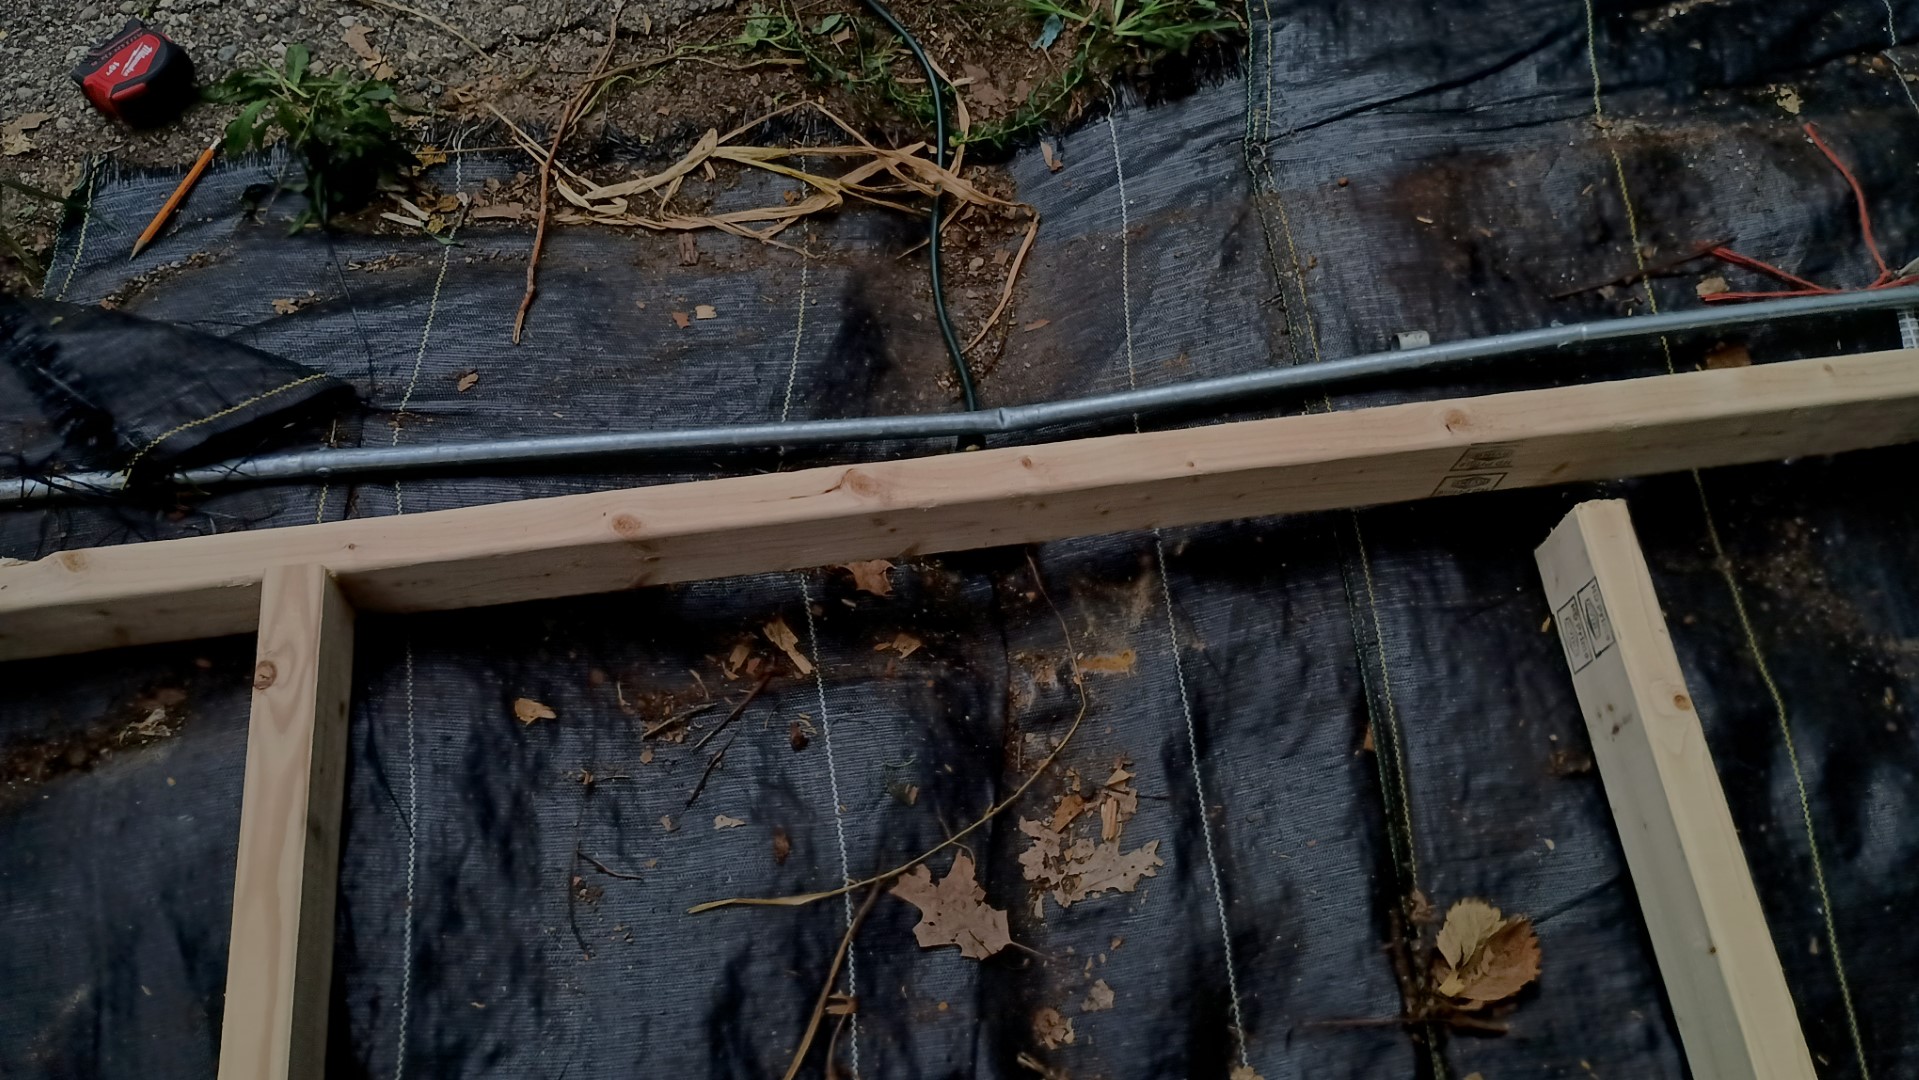
Before setting the bottom sill, we attached the door frame with screws.
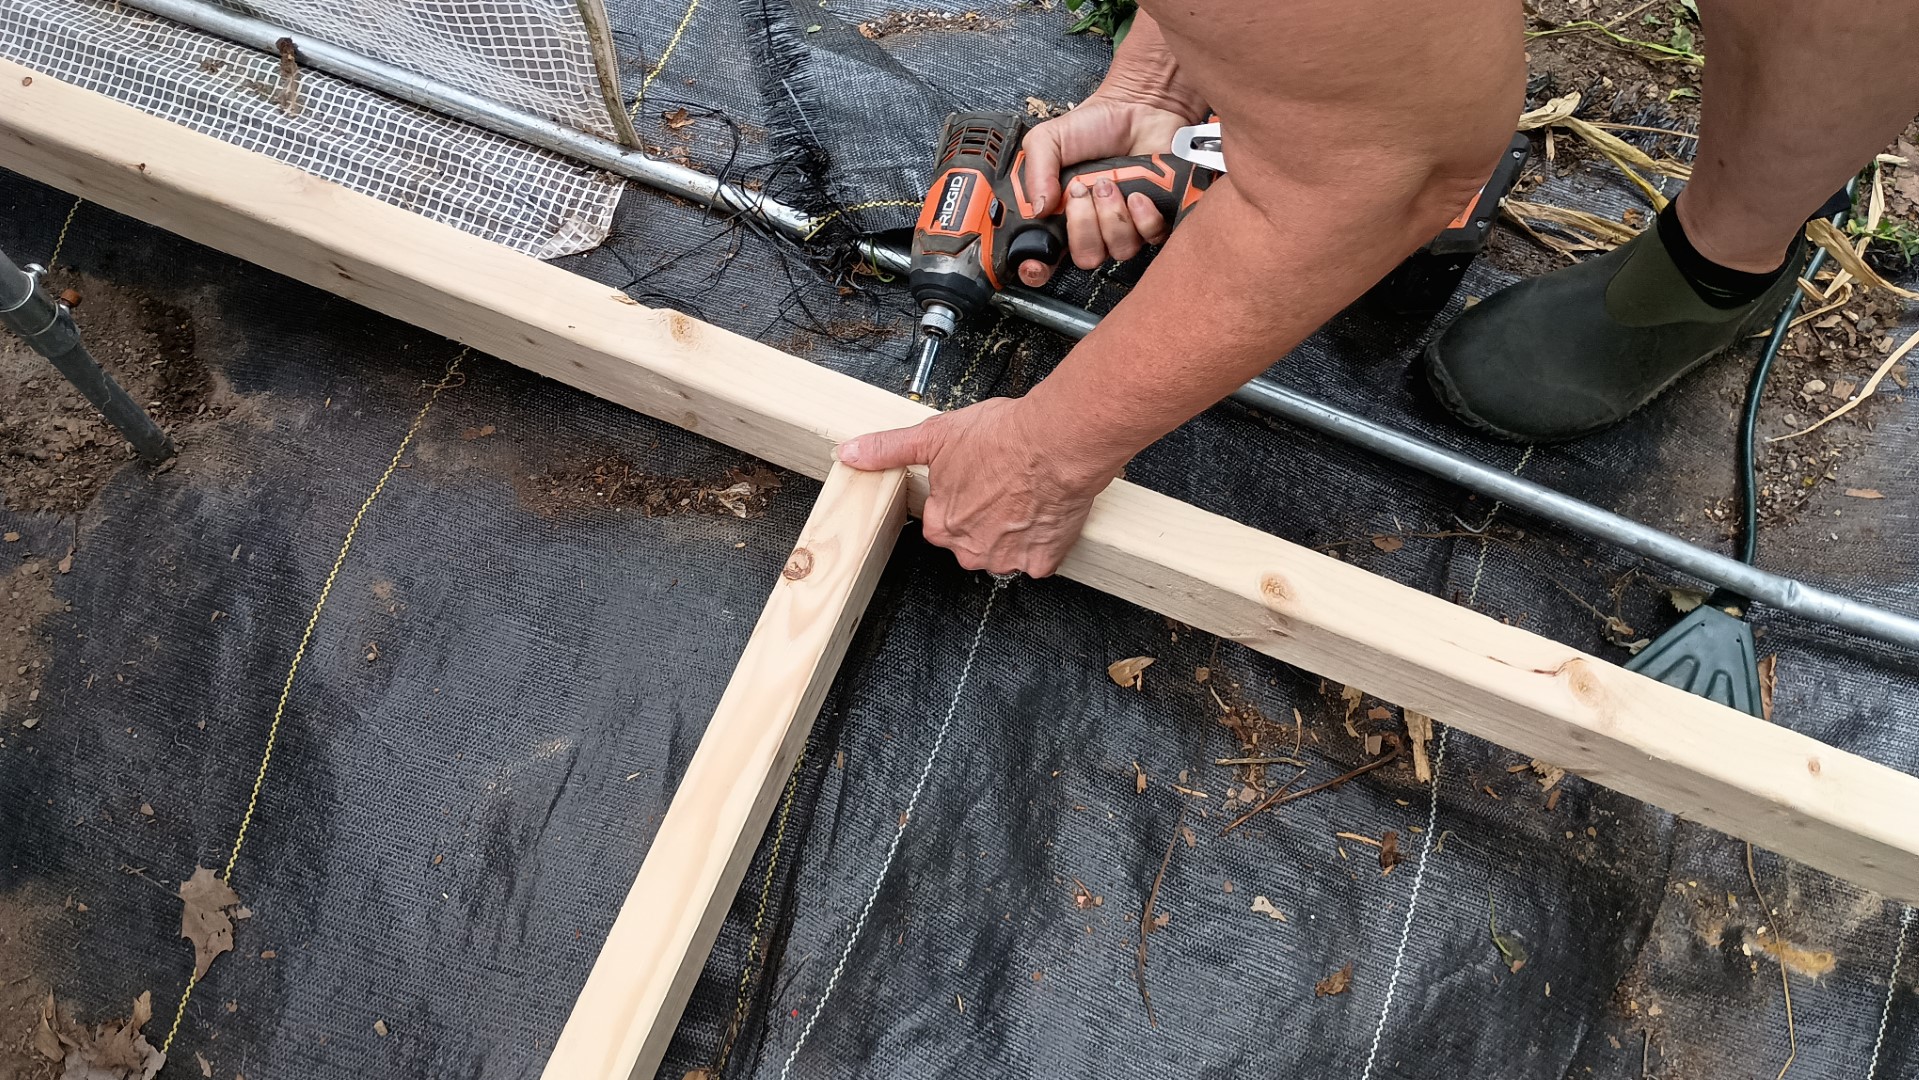
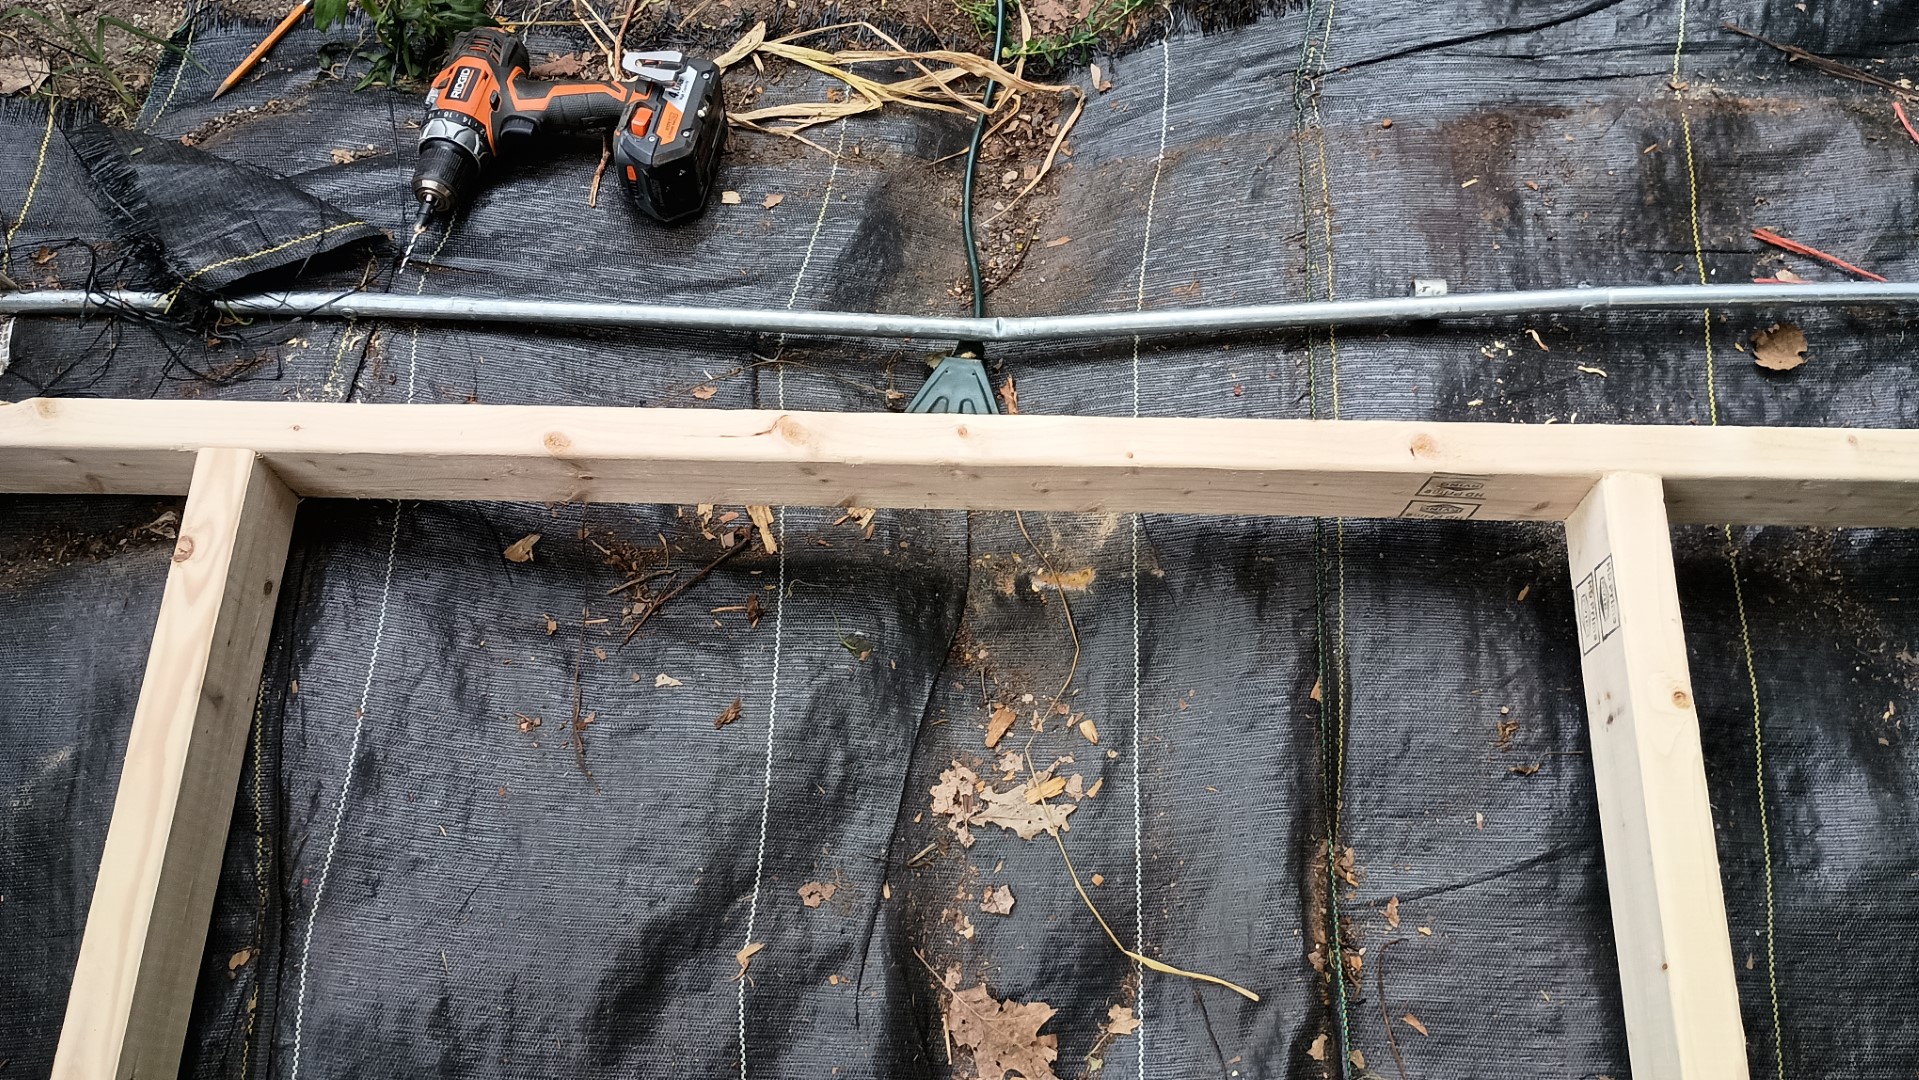
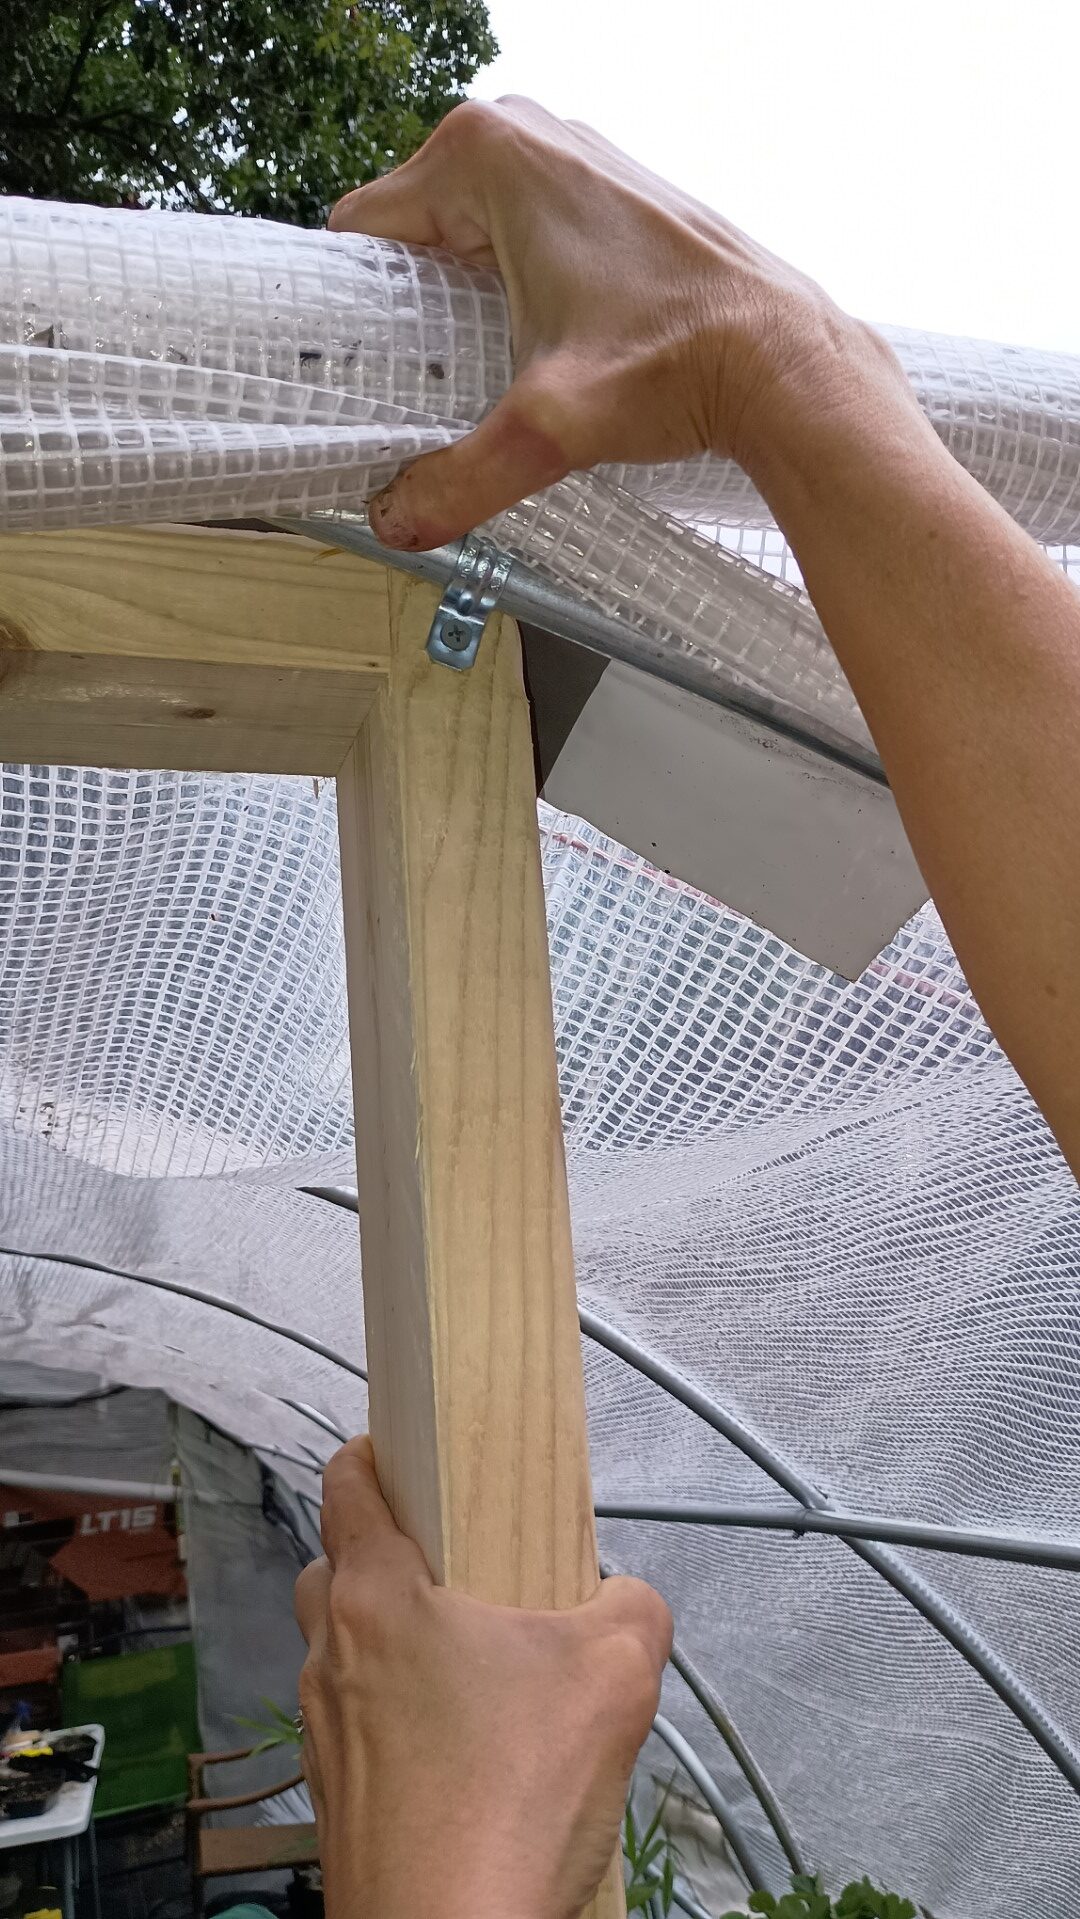
We then raised it into place. The top corners of the frame sticked out slightly past the hoop rail, so I cut and sanded the corners down to prevent them from poking the greenhouse plastic.
I attached the frame to the outer hoop with conduit straps.
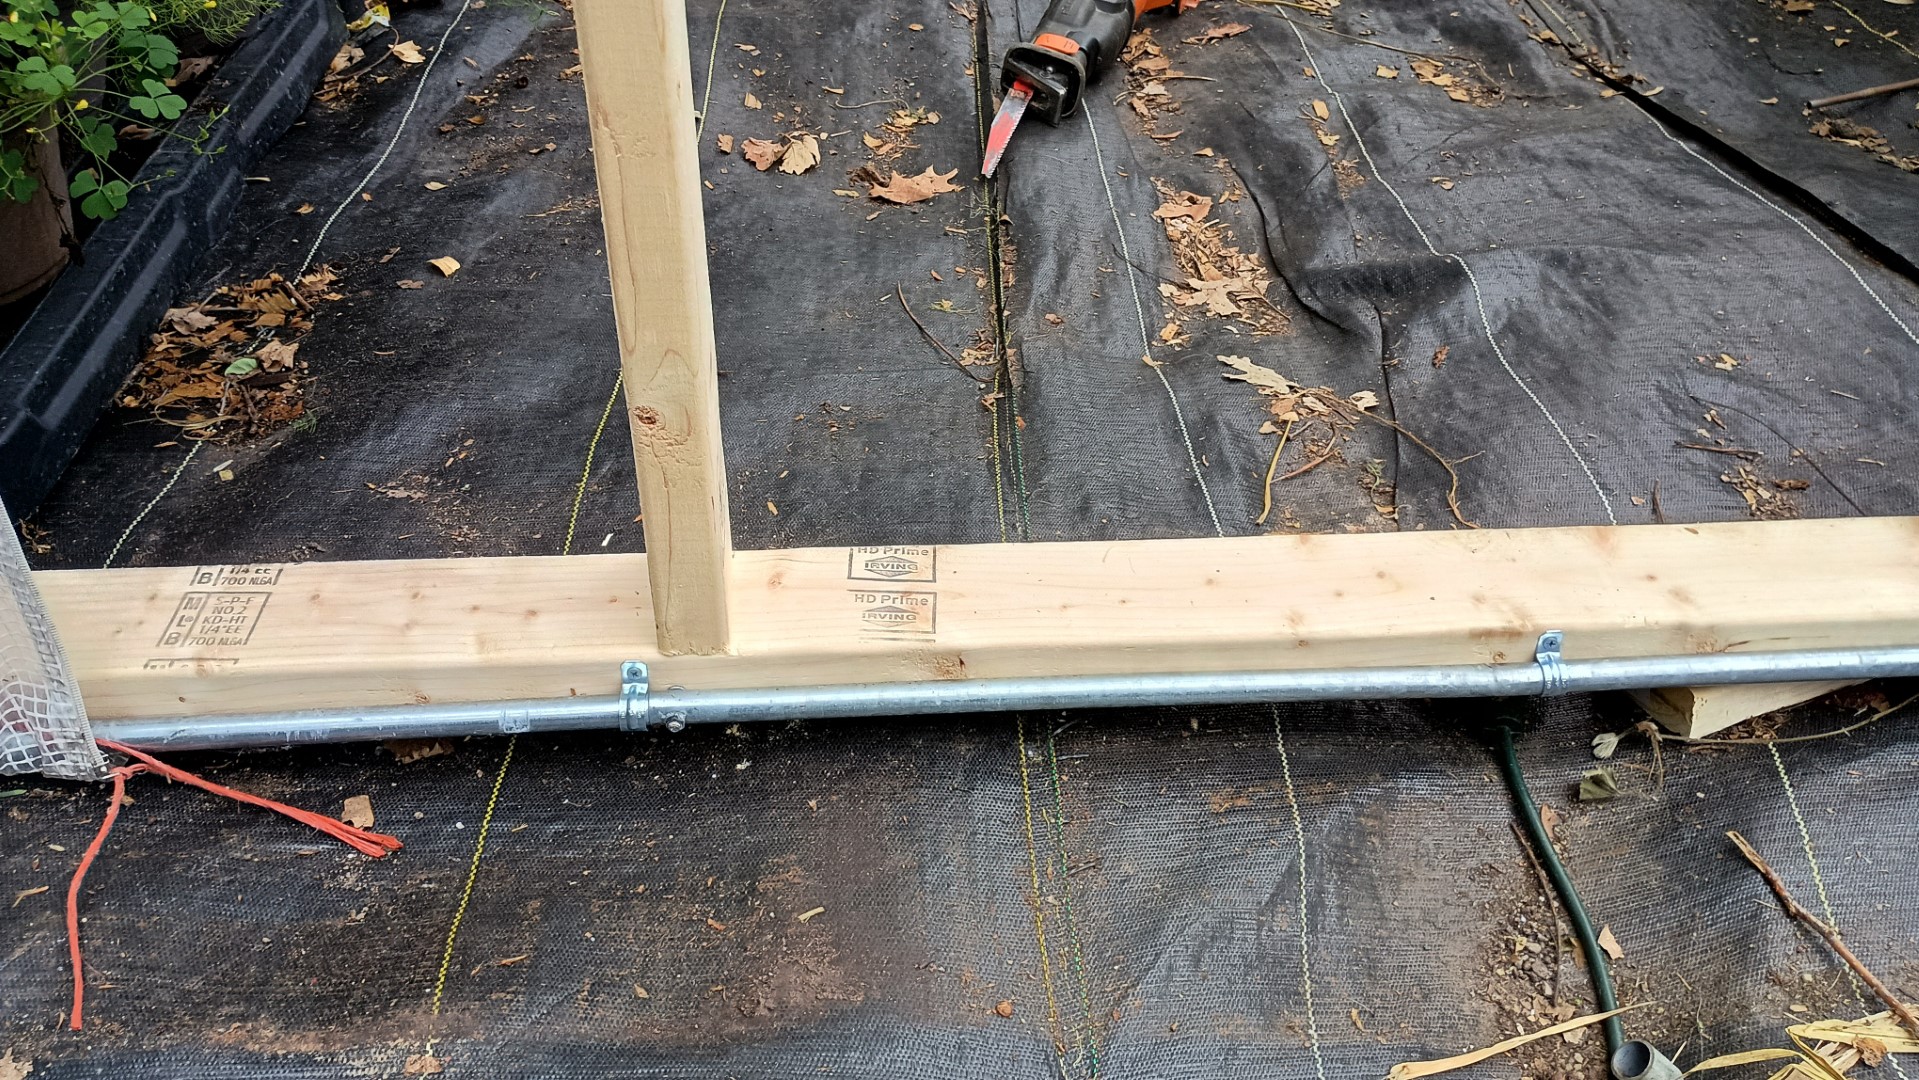
I attached the sill to the bottom greenhouse rail with conduit straps also.
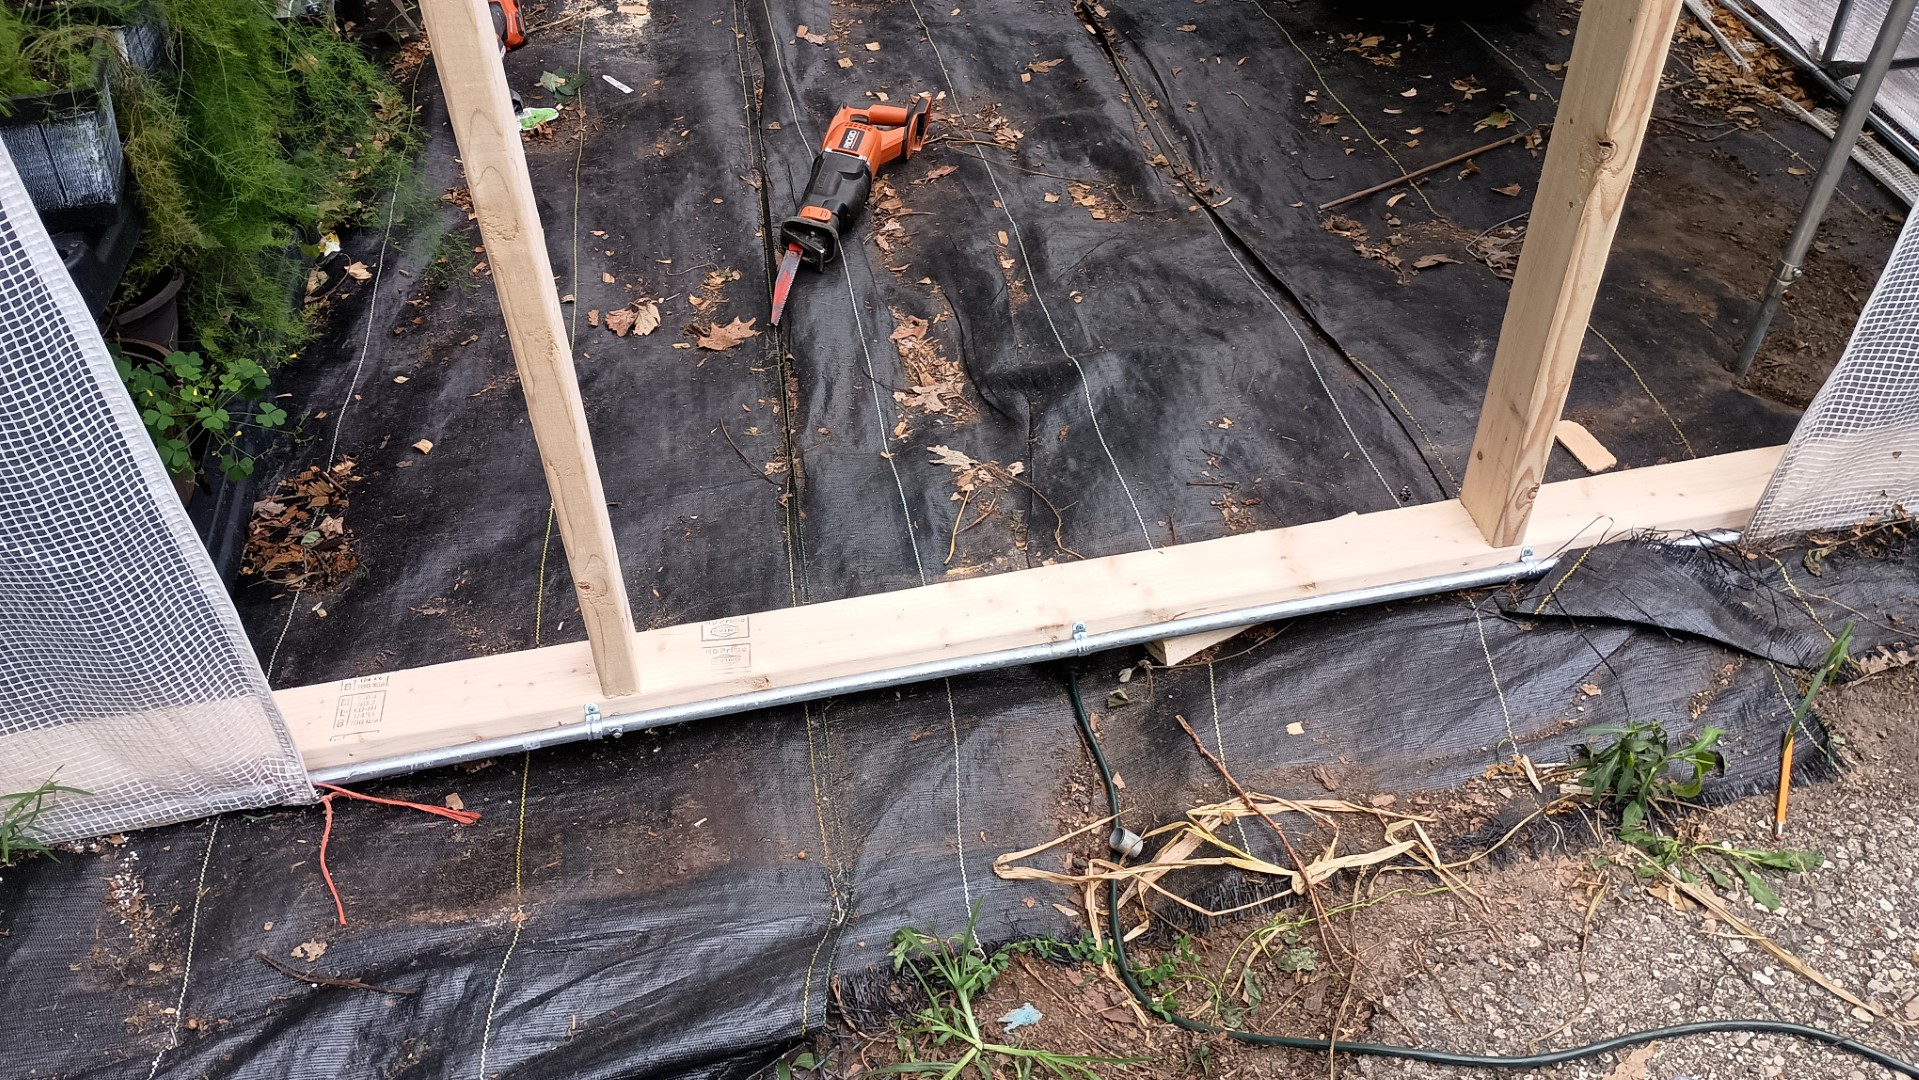
This allowed me to straighten the bend in the bottom rail, and hold it up in the middle with a strap.
I then made a sort of knee wall, with the top just under the middle rail of the greenhouse.
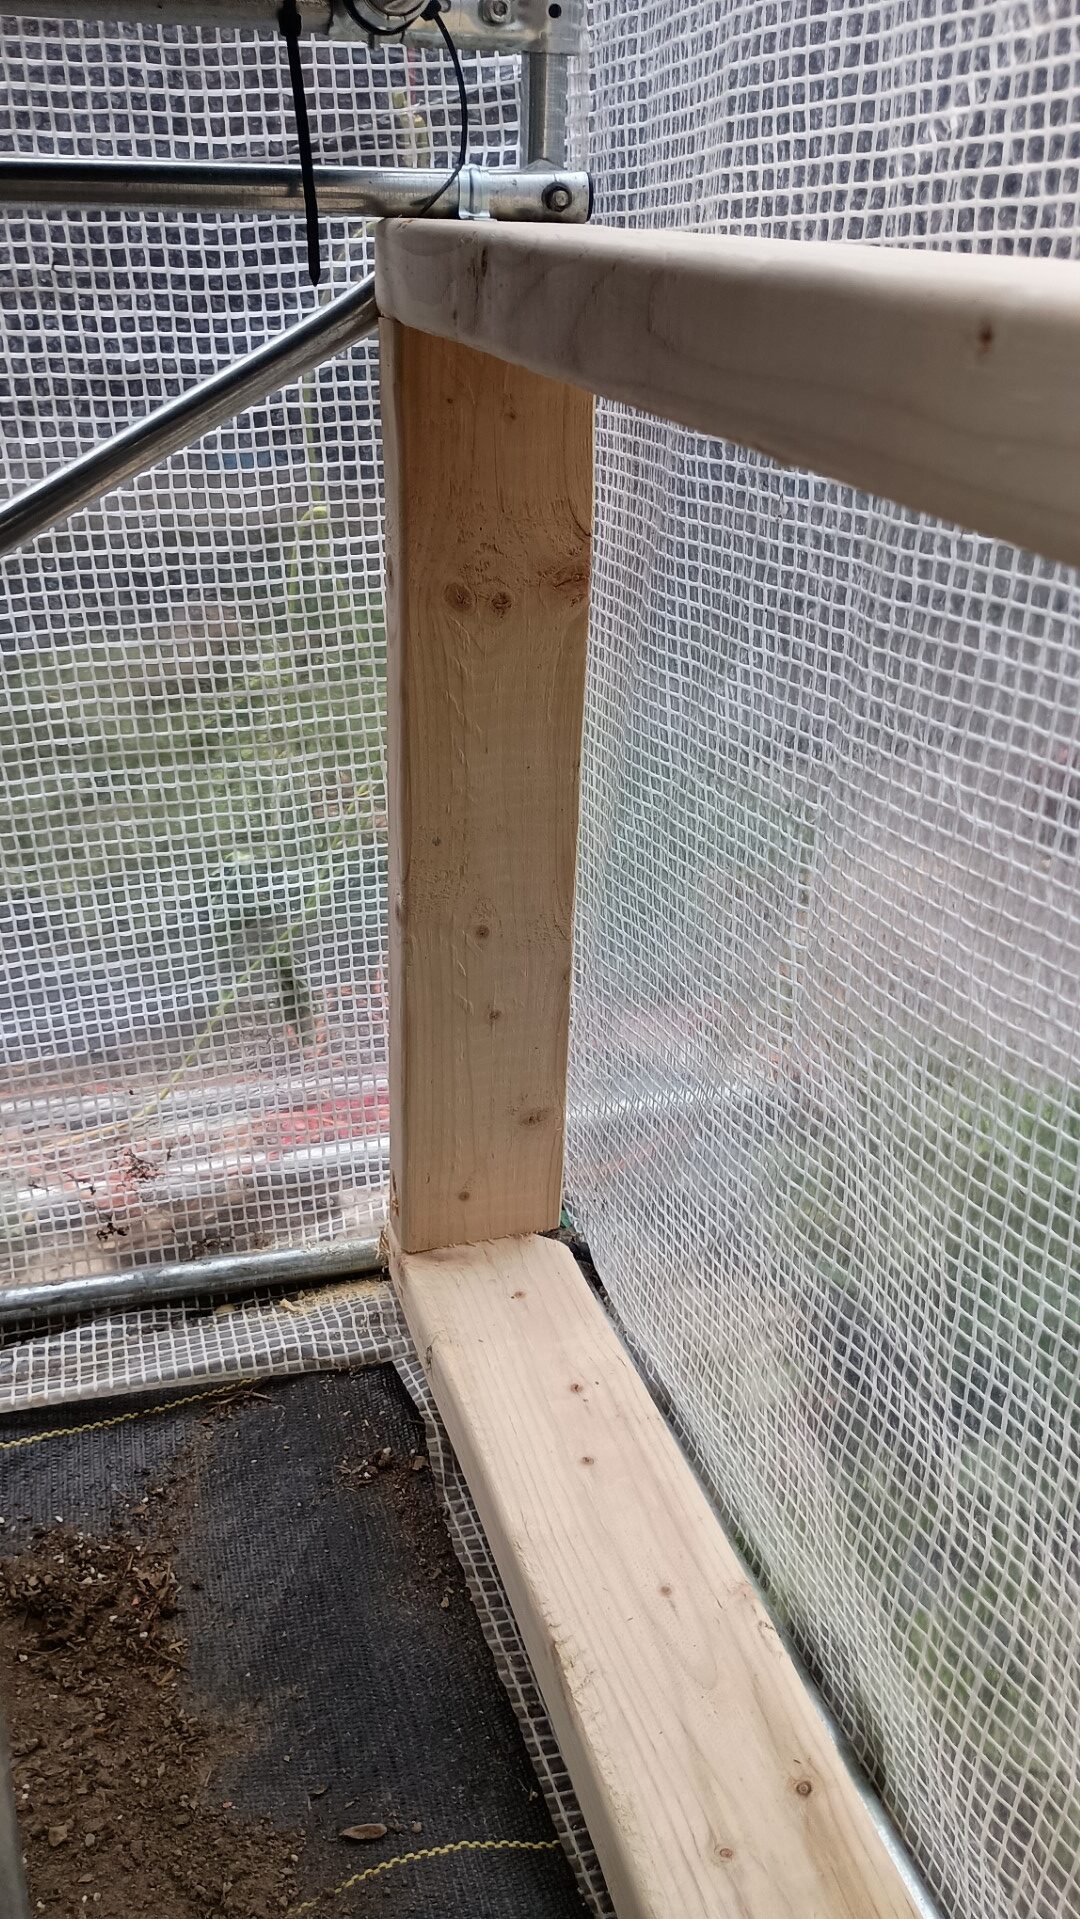
Here’s the other side.
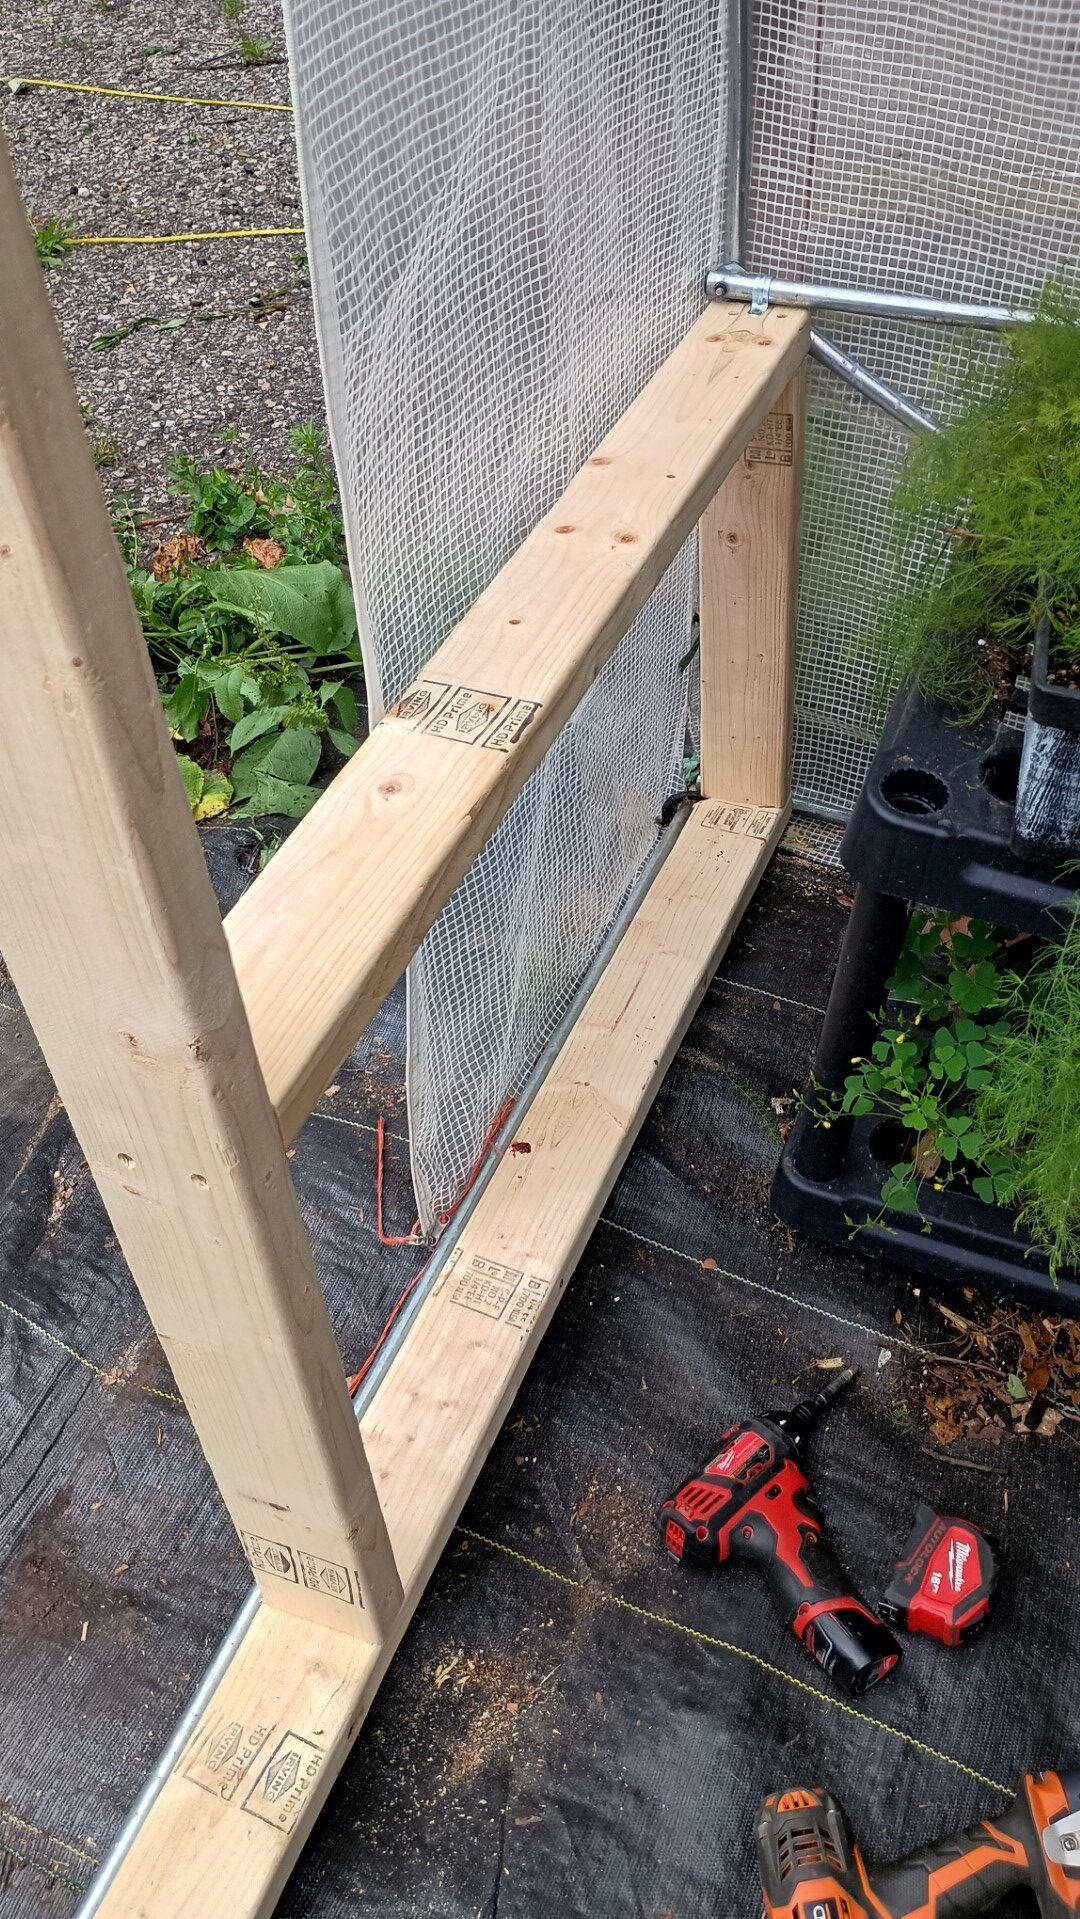
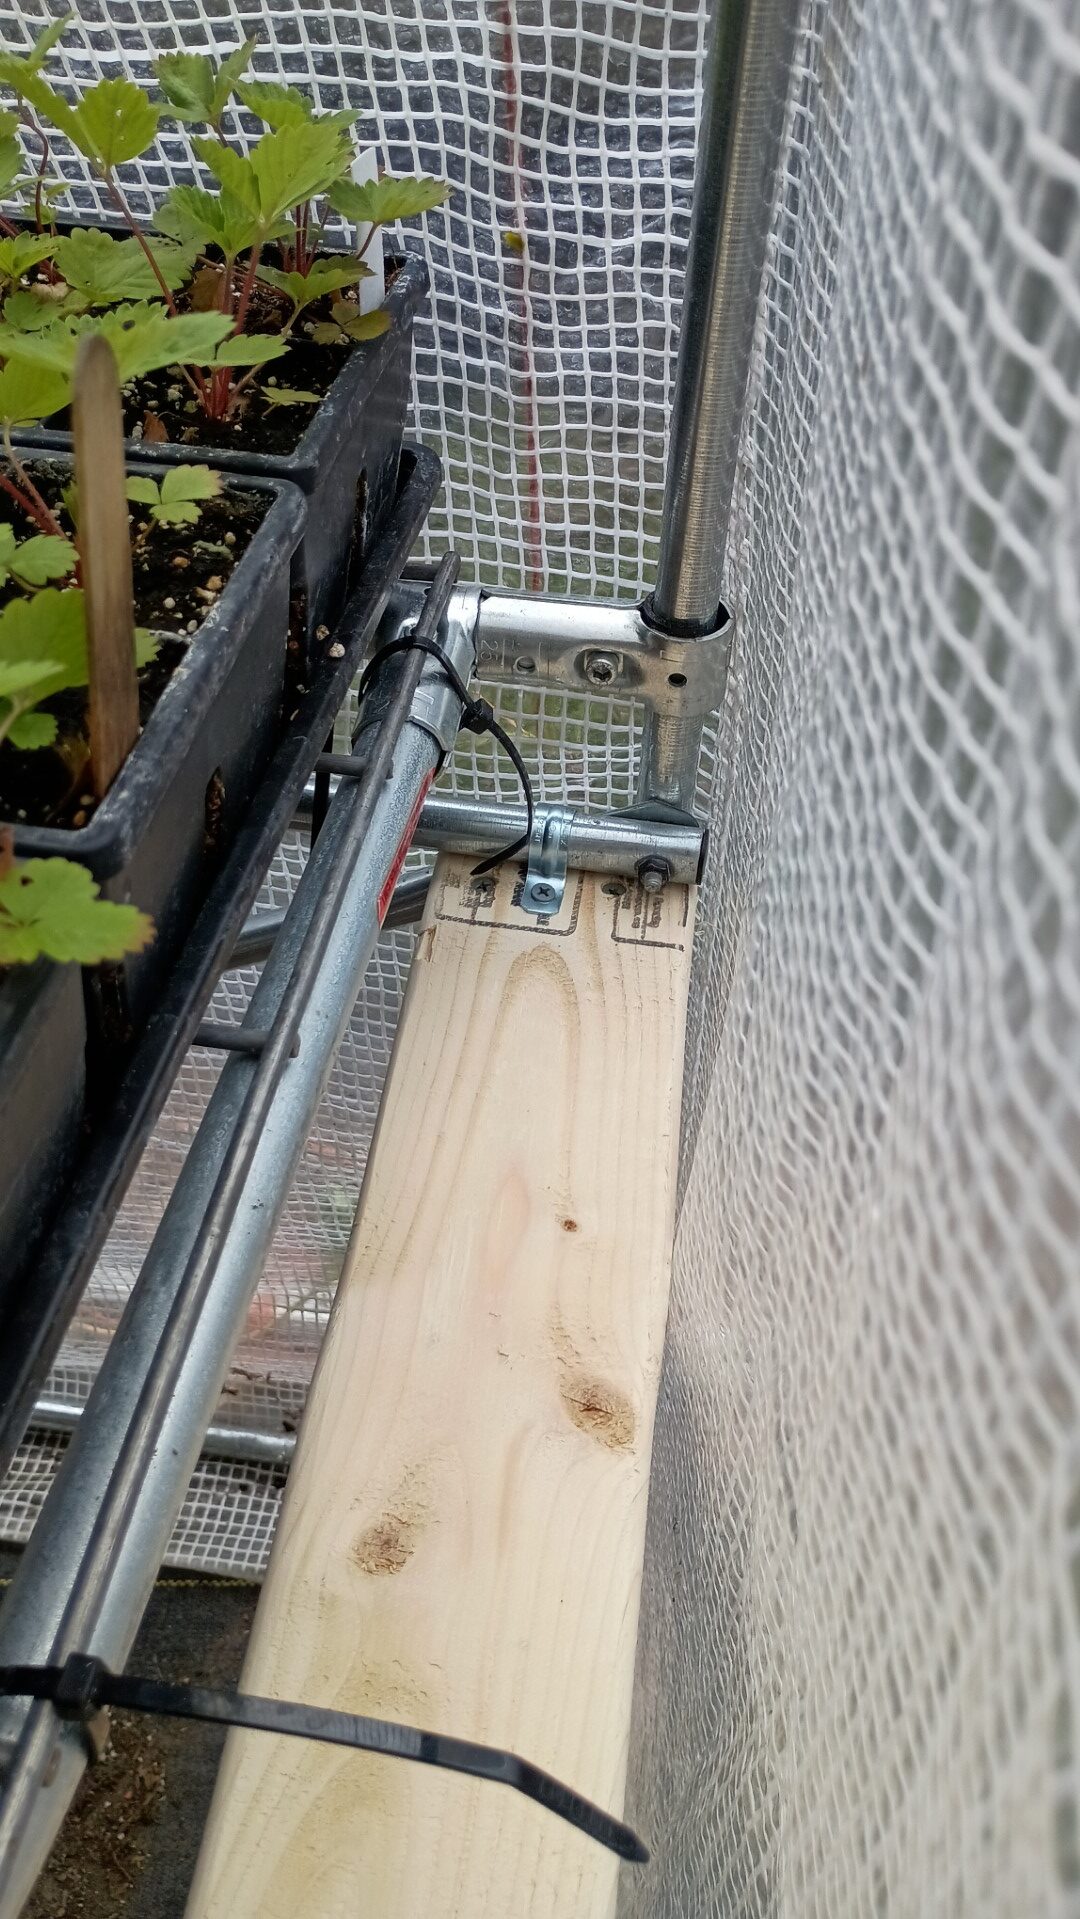
I attached them to the middle rail with conduit straps.
Here’s the door frame.
I then attached the door with self-closing hinges. They didn’t quite have enough force to pull the door closed tight, so I decided to also add a closer.
I used some 5/8″ strips ripped from a 2/4 for the door jambs. We then let the original door down and zipped it shut.
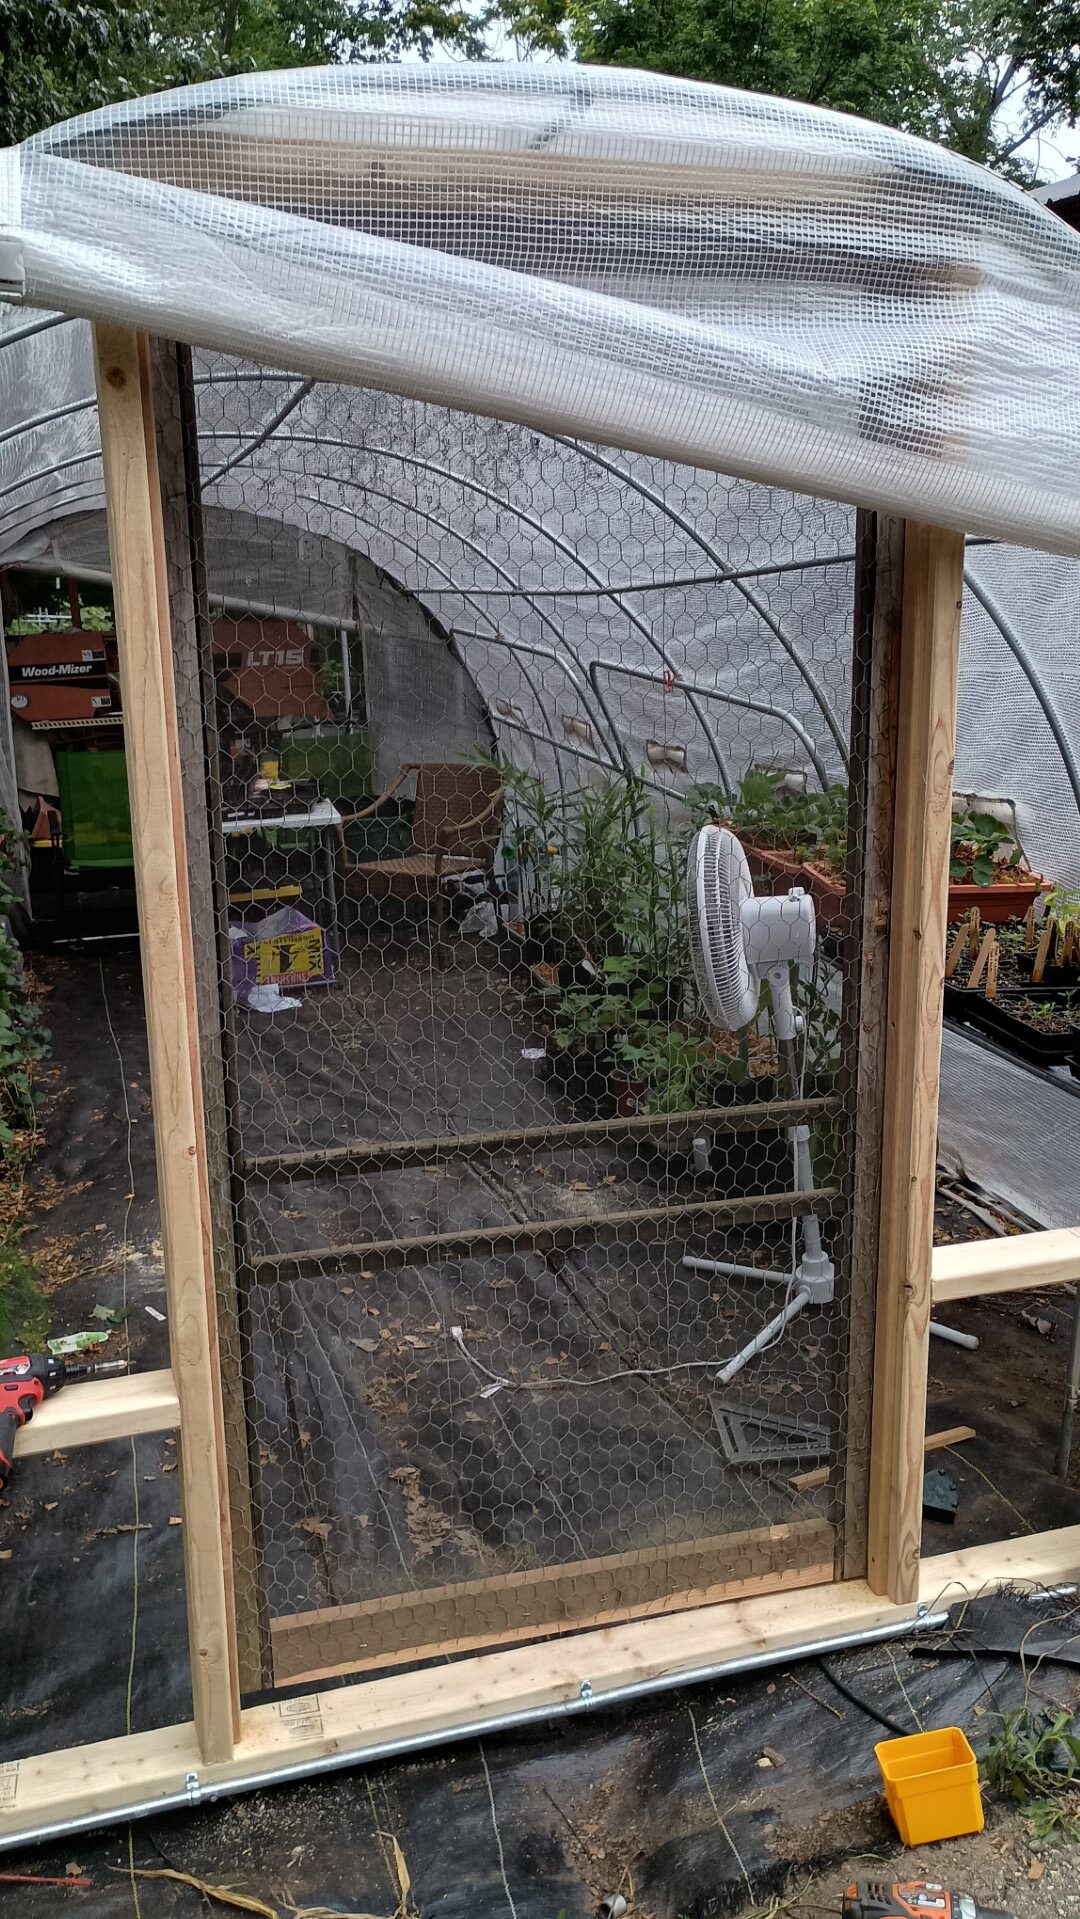
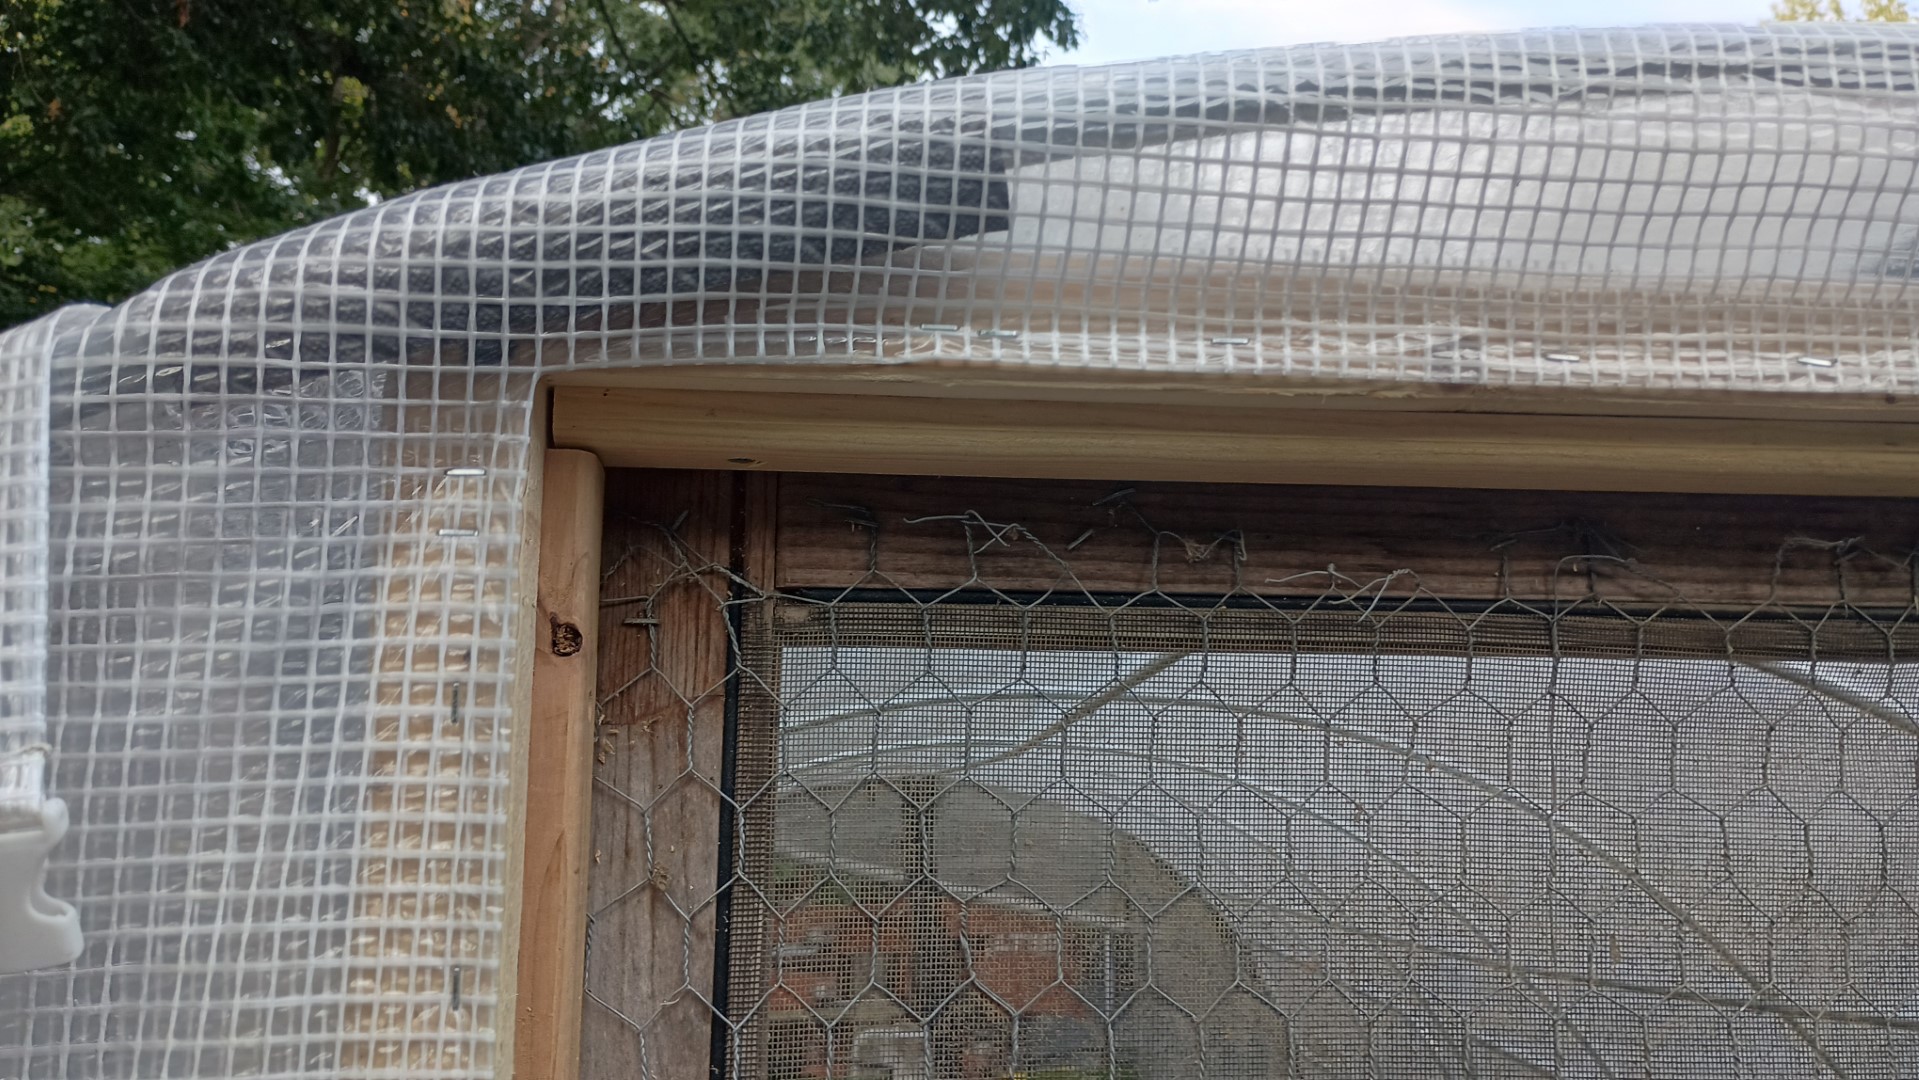
Then we cut the door hole out, leaving 2 – 4″ of plastic for an overlap. This was folded under and the entire thing was stapled to the door frame. The cover was damaged this spring during some of the strong storms we had. You can see the patch we applied on the seam above the right corner of the door frame. We had already prepared for the possibility of having to replace the cover. Stapling to the door frame allowed us to finish the project. Time will tell if this will be a long term solution.
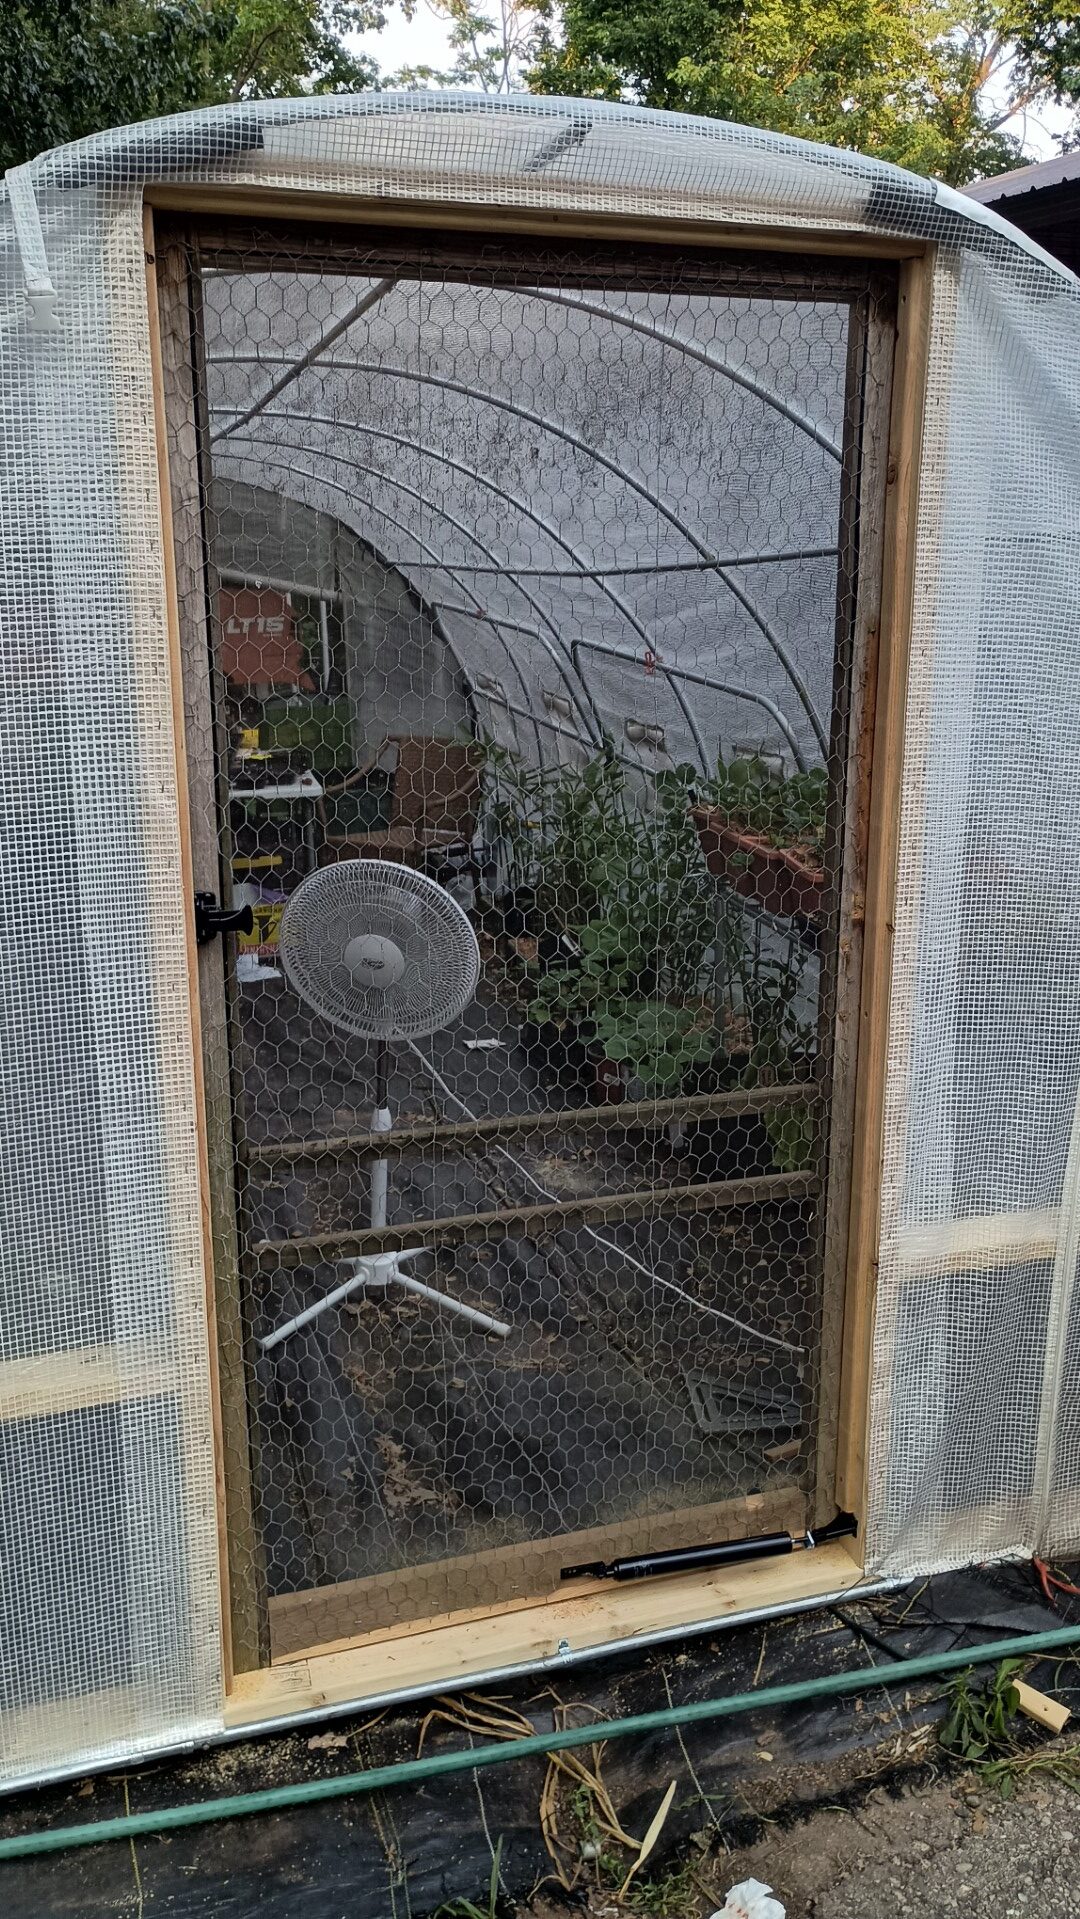
It seems pretty secure. The cords in the plastic make the staples hold pretty securely without ripping through the plastic.
The door has a slight twist, bowing out a little at the bottom. So I attached the closer at the bottom, securing to the oak rail.
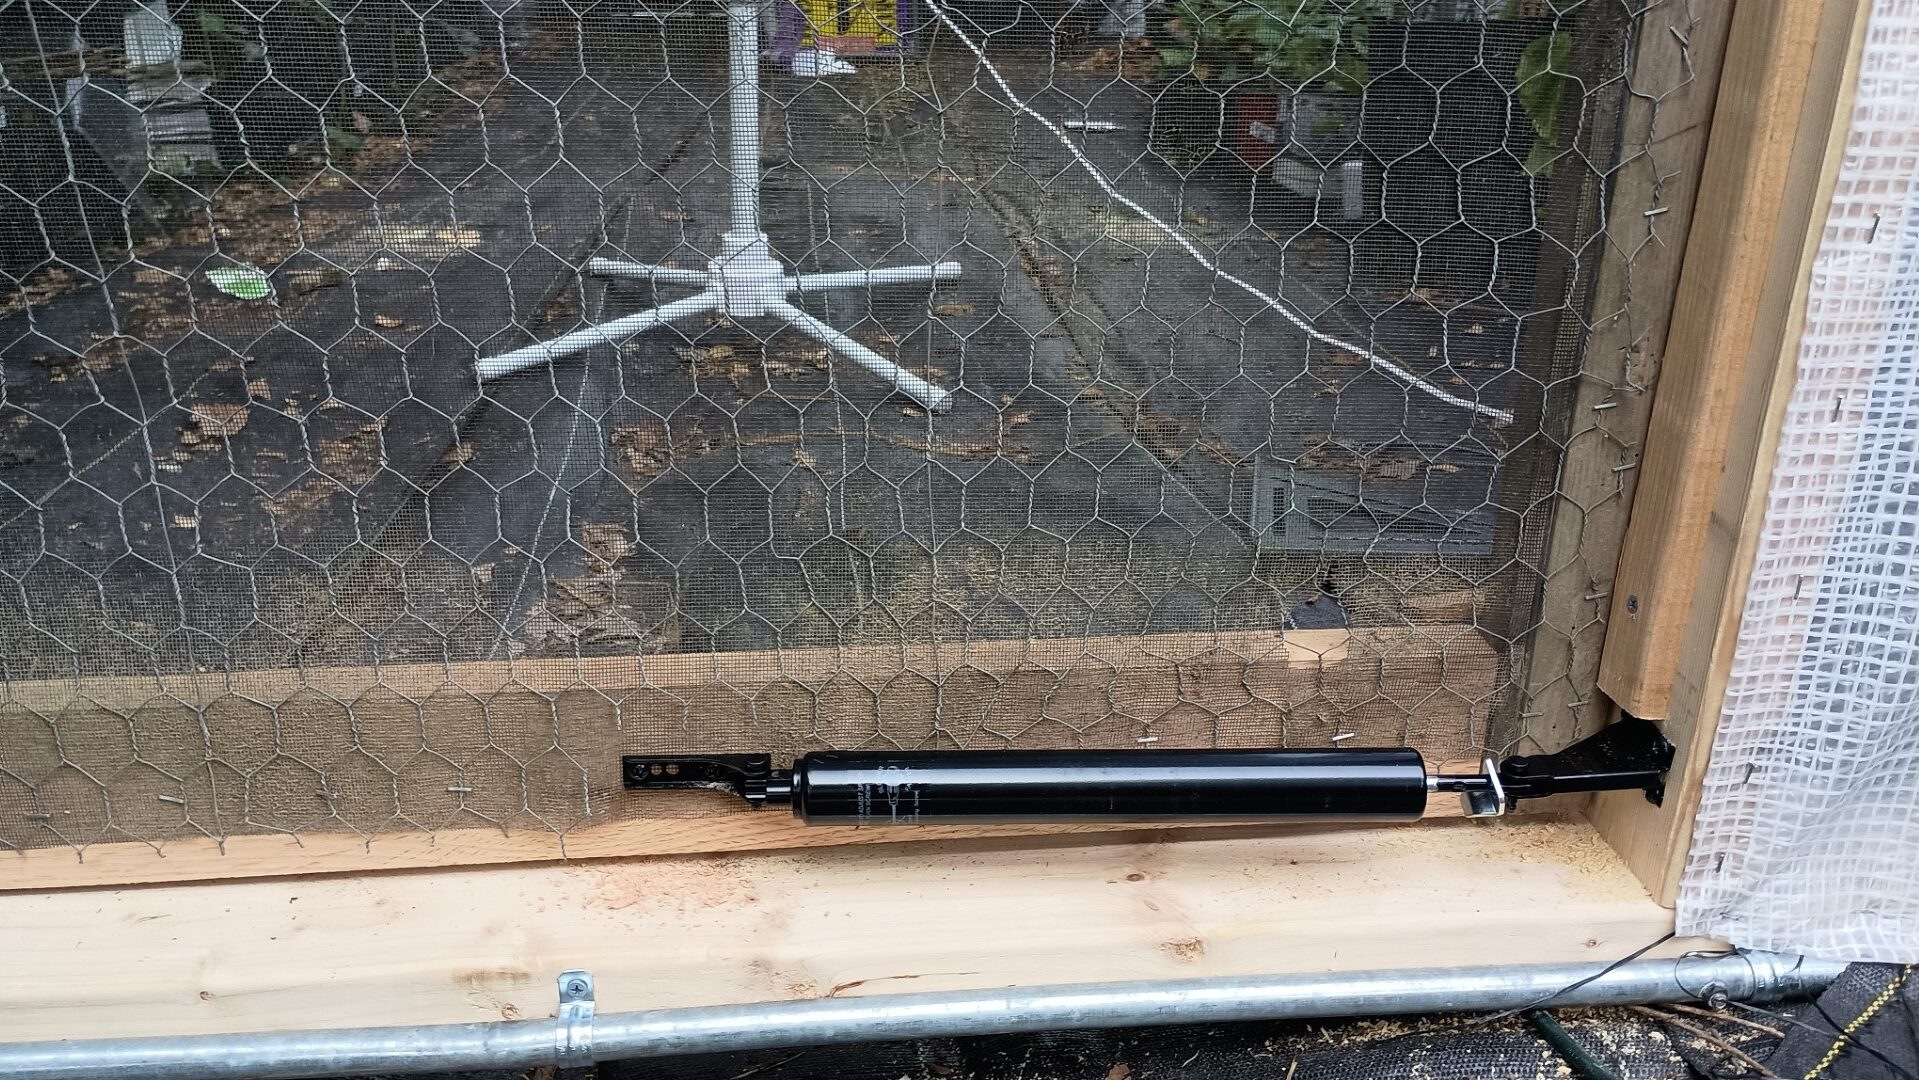
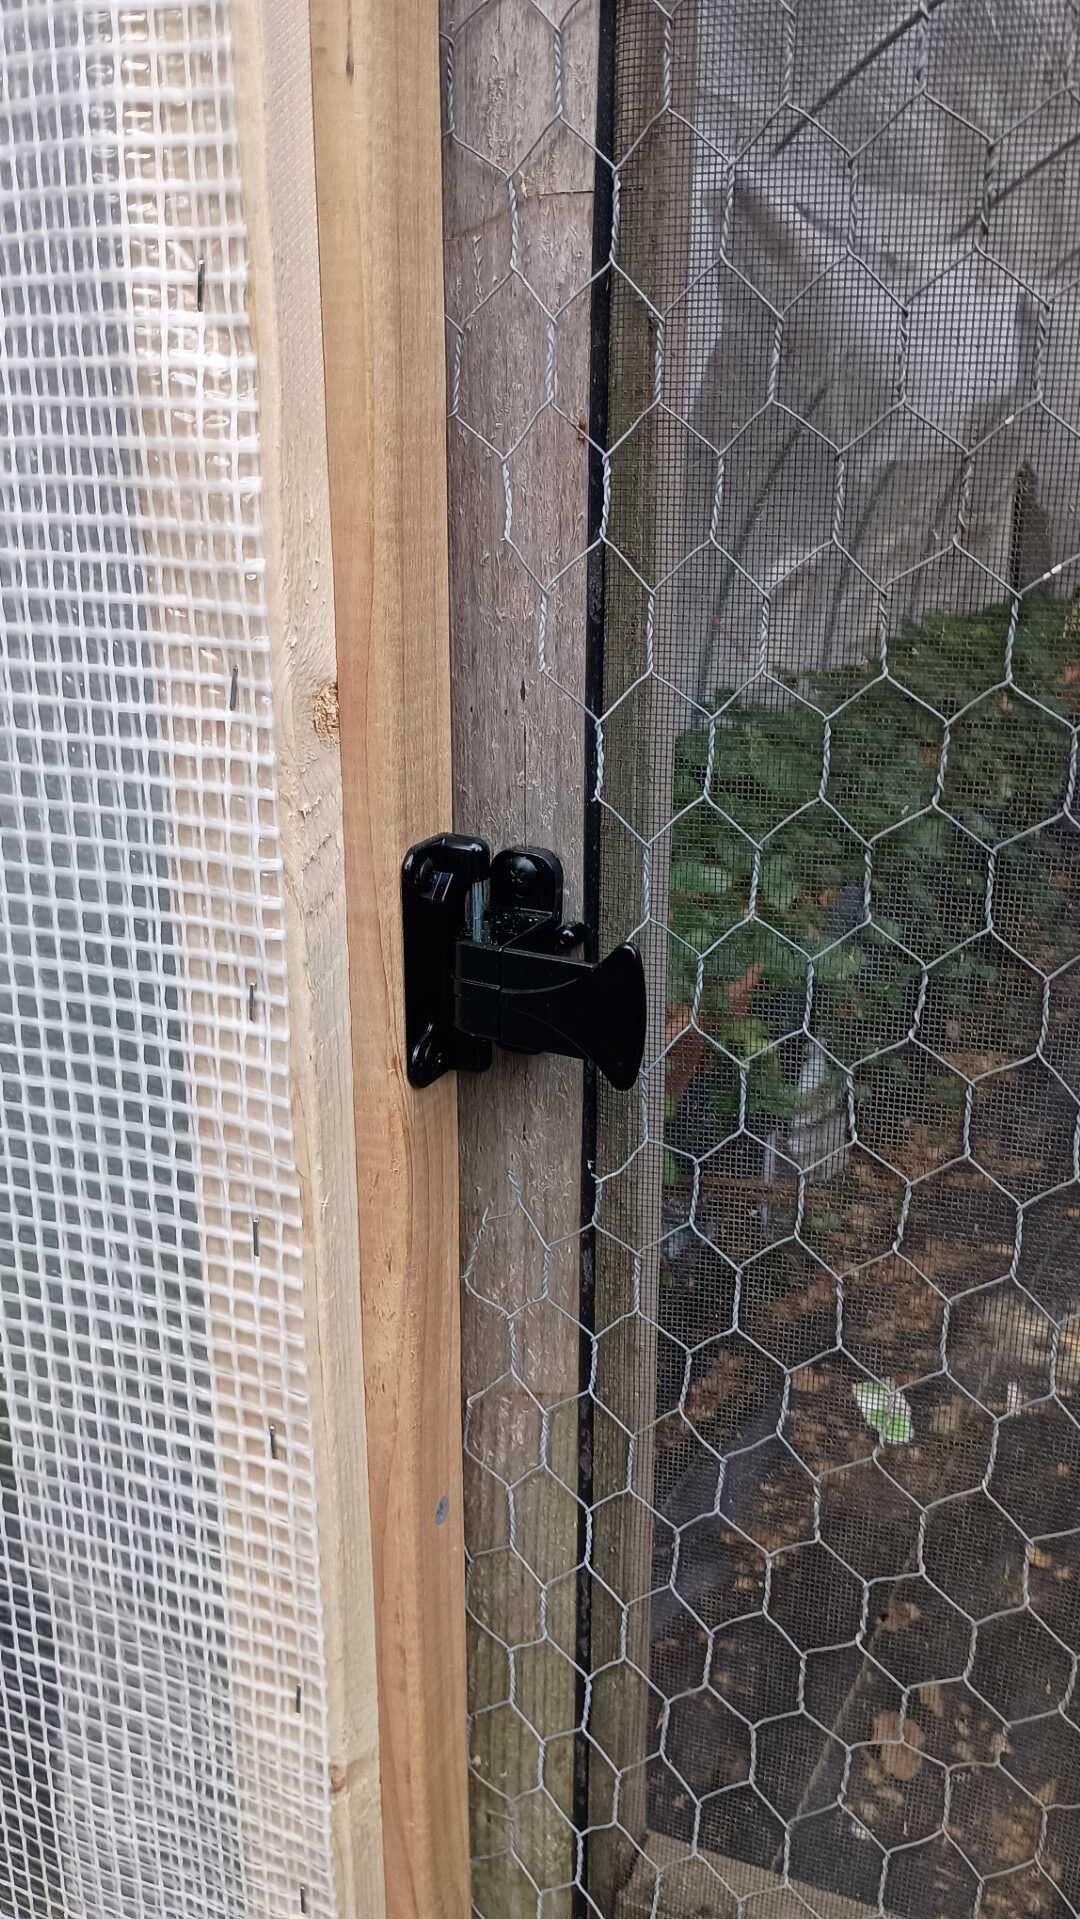
I added a screen door latch. Yes, it’s a little backwards, because the lock is on the outside, but the door opens inwards. This was intentional, as snow in the winter makes opening these doors difficult if they swing out.
Here’s the door from inside the greenhouse.
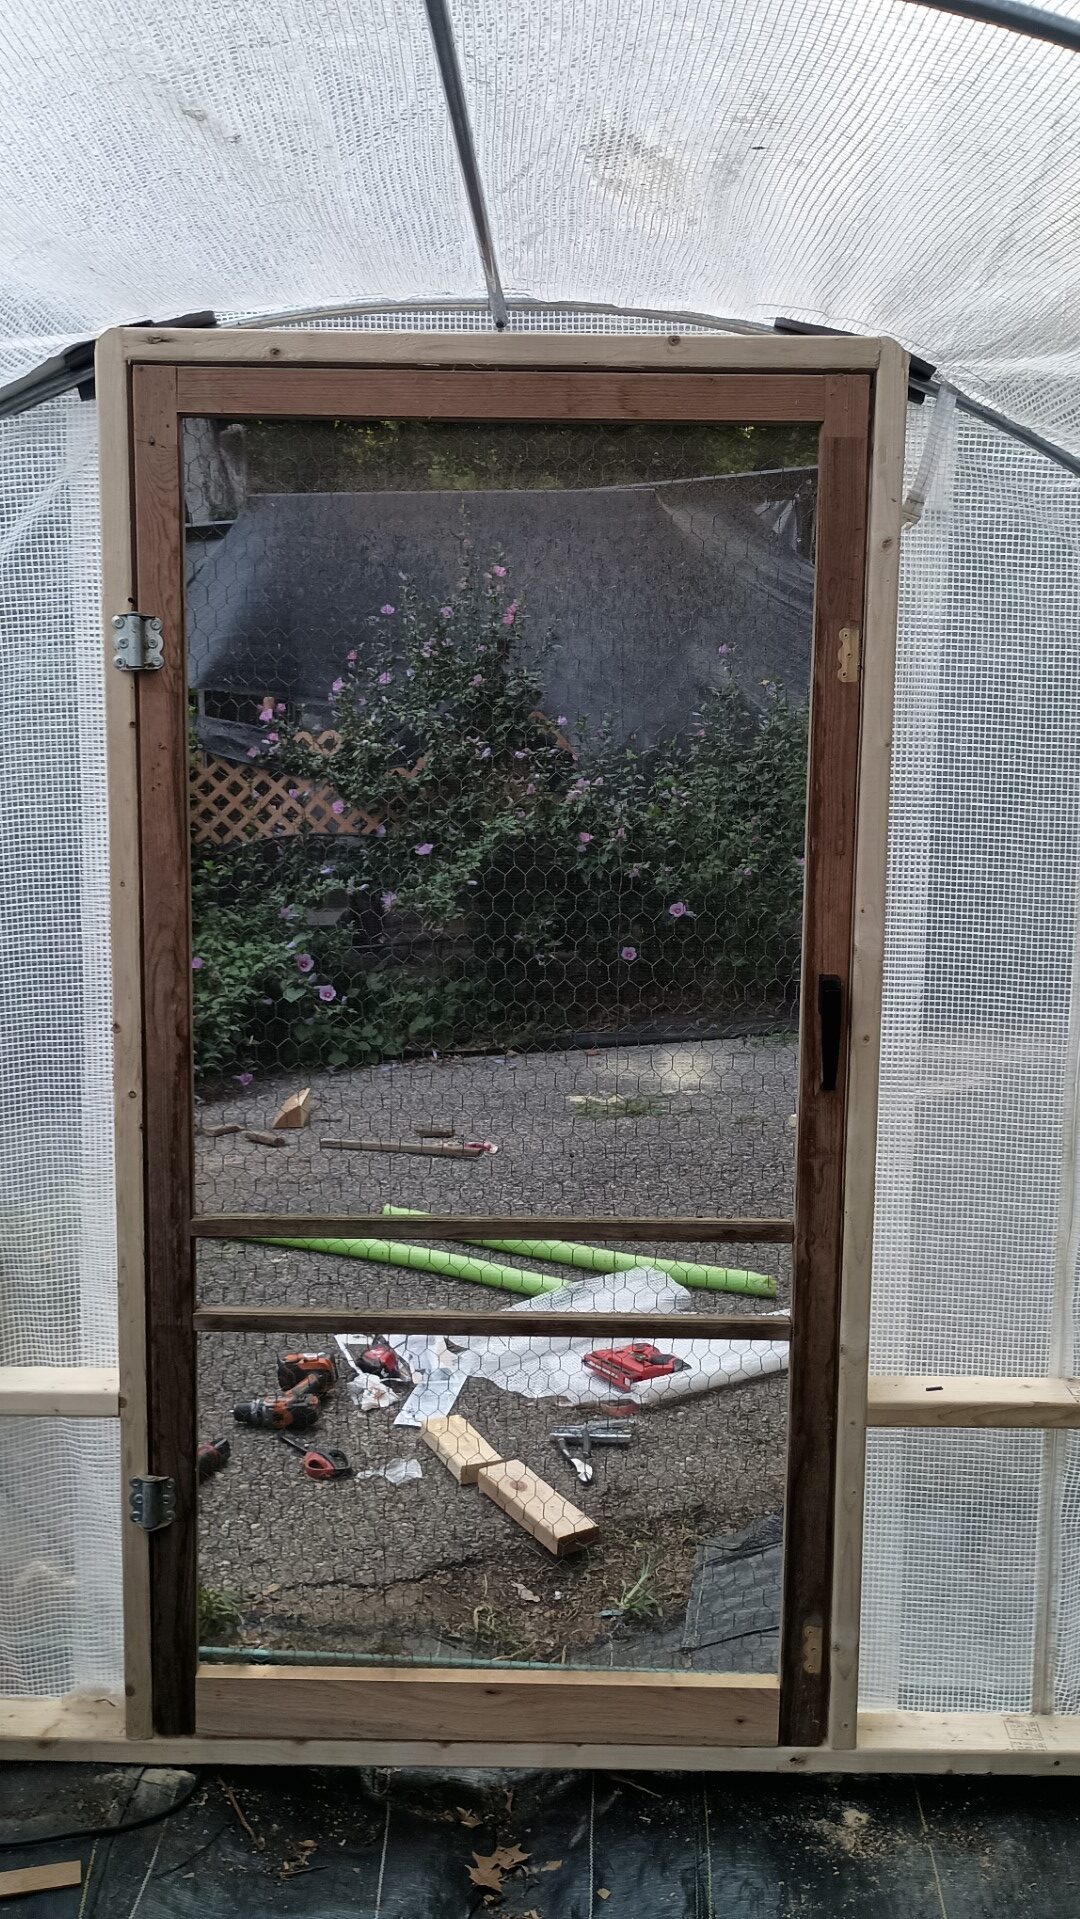
No more struggling with crappy zippers and rolling up the door flap. Now, 2 more to build.