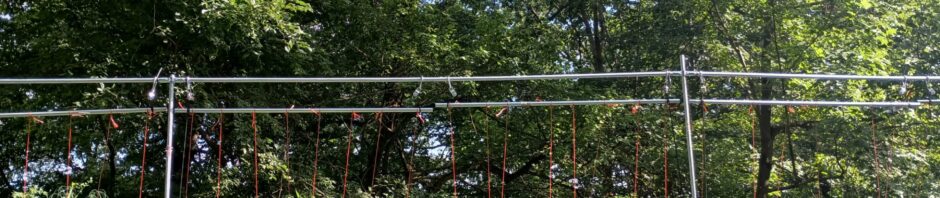
Once again, the tomatoes got completely out of control before we got a decent trellis up for them. Seems to happen every year. One year I will have this made before the tomatoes are 8 feet tall! We put the tomatoes along the back fence of our new garden area, six 8′ x 2′ x 1′ high raised garden beds. There are also two of these beds on the front fence, next to the gate. The idea this year was to plant our raspberries in these beds, but long before we got to that, the tomatoes needed to be planted.
Instead of filling these beds with soil, we decided to use 10 gallon grow bags placed inside of the bed with one tomato plant in each bag. The idea was that later we could move the beds around without having to shovel dirt out of them. Once the tomatoes were done just pick the bags up and move the bed. When we did this in the spring we thought the layout of the beds would be changing. After living with it we might actually leave the layout the way it is. Bags in beds gave us options. Soil in bags can dry out faster than soil in beds, but having the bags in the beds might actually have helped to minimize that issue.
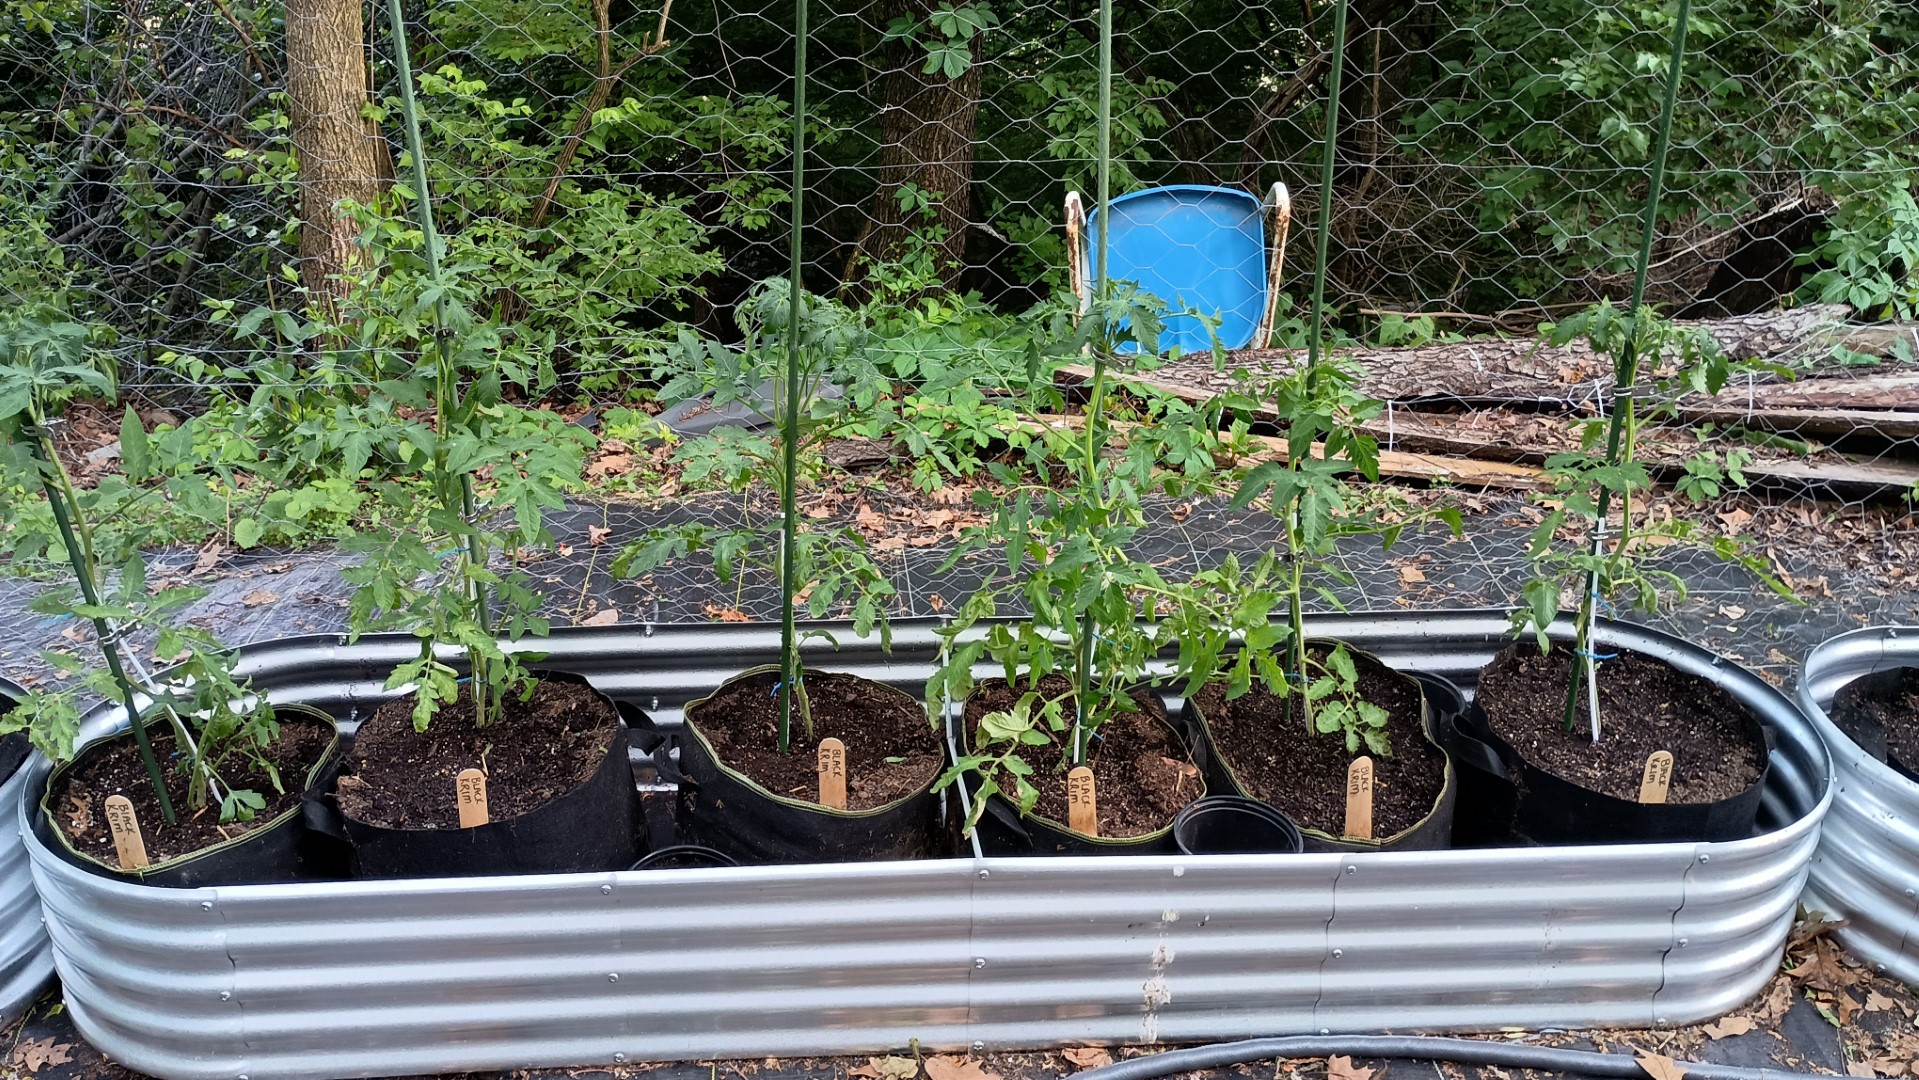
Here are 5 of the beds on one fence line. When we were laying the garden out on paper we didn’t think this many would fit laid out like this.
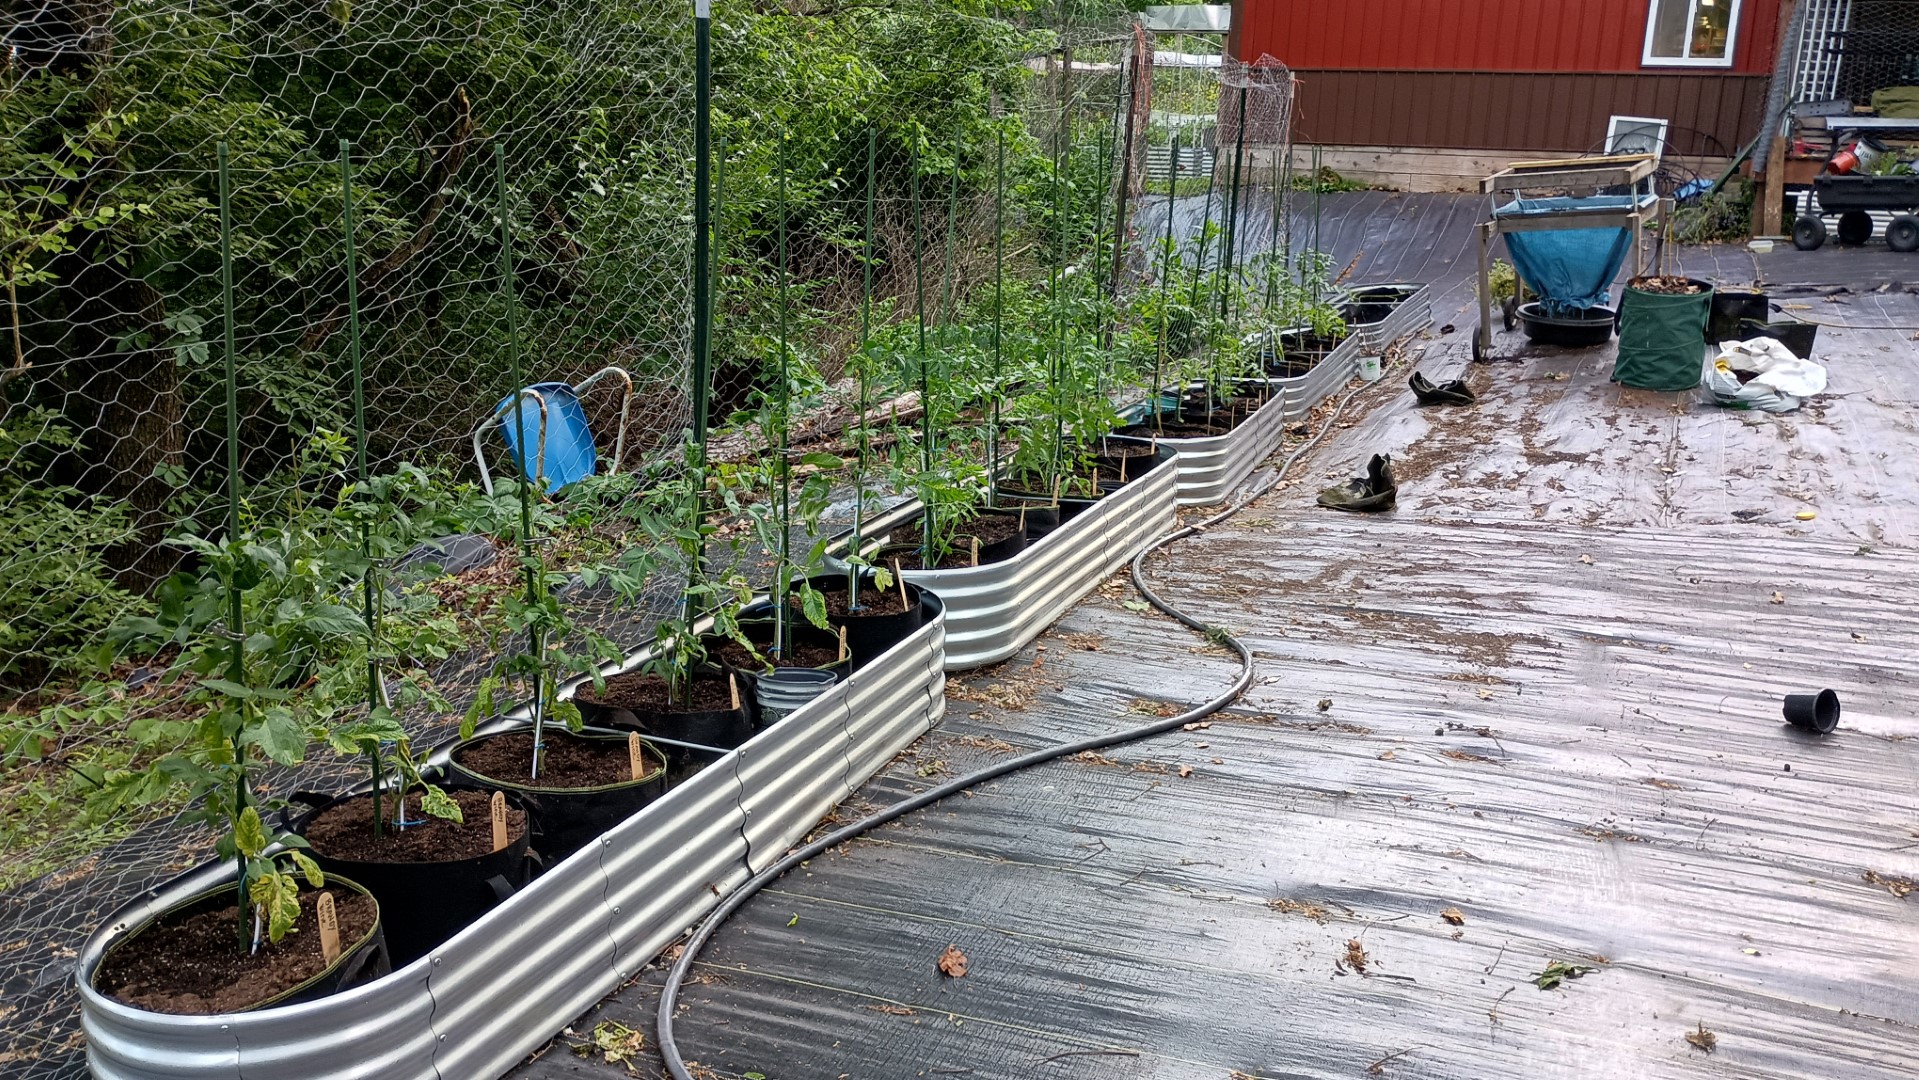
We started with 5′ stakes in each bag, figuring that would give us plenty of time to build the trellis.
Tomatoes grow fast.
Really fast.
By the time we started building the trellis, many of the plants were 8′ tall.
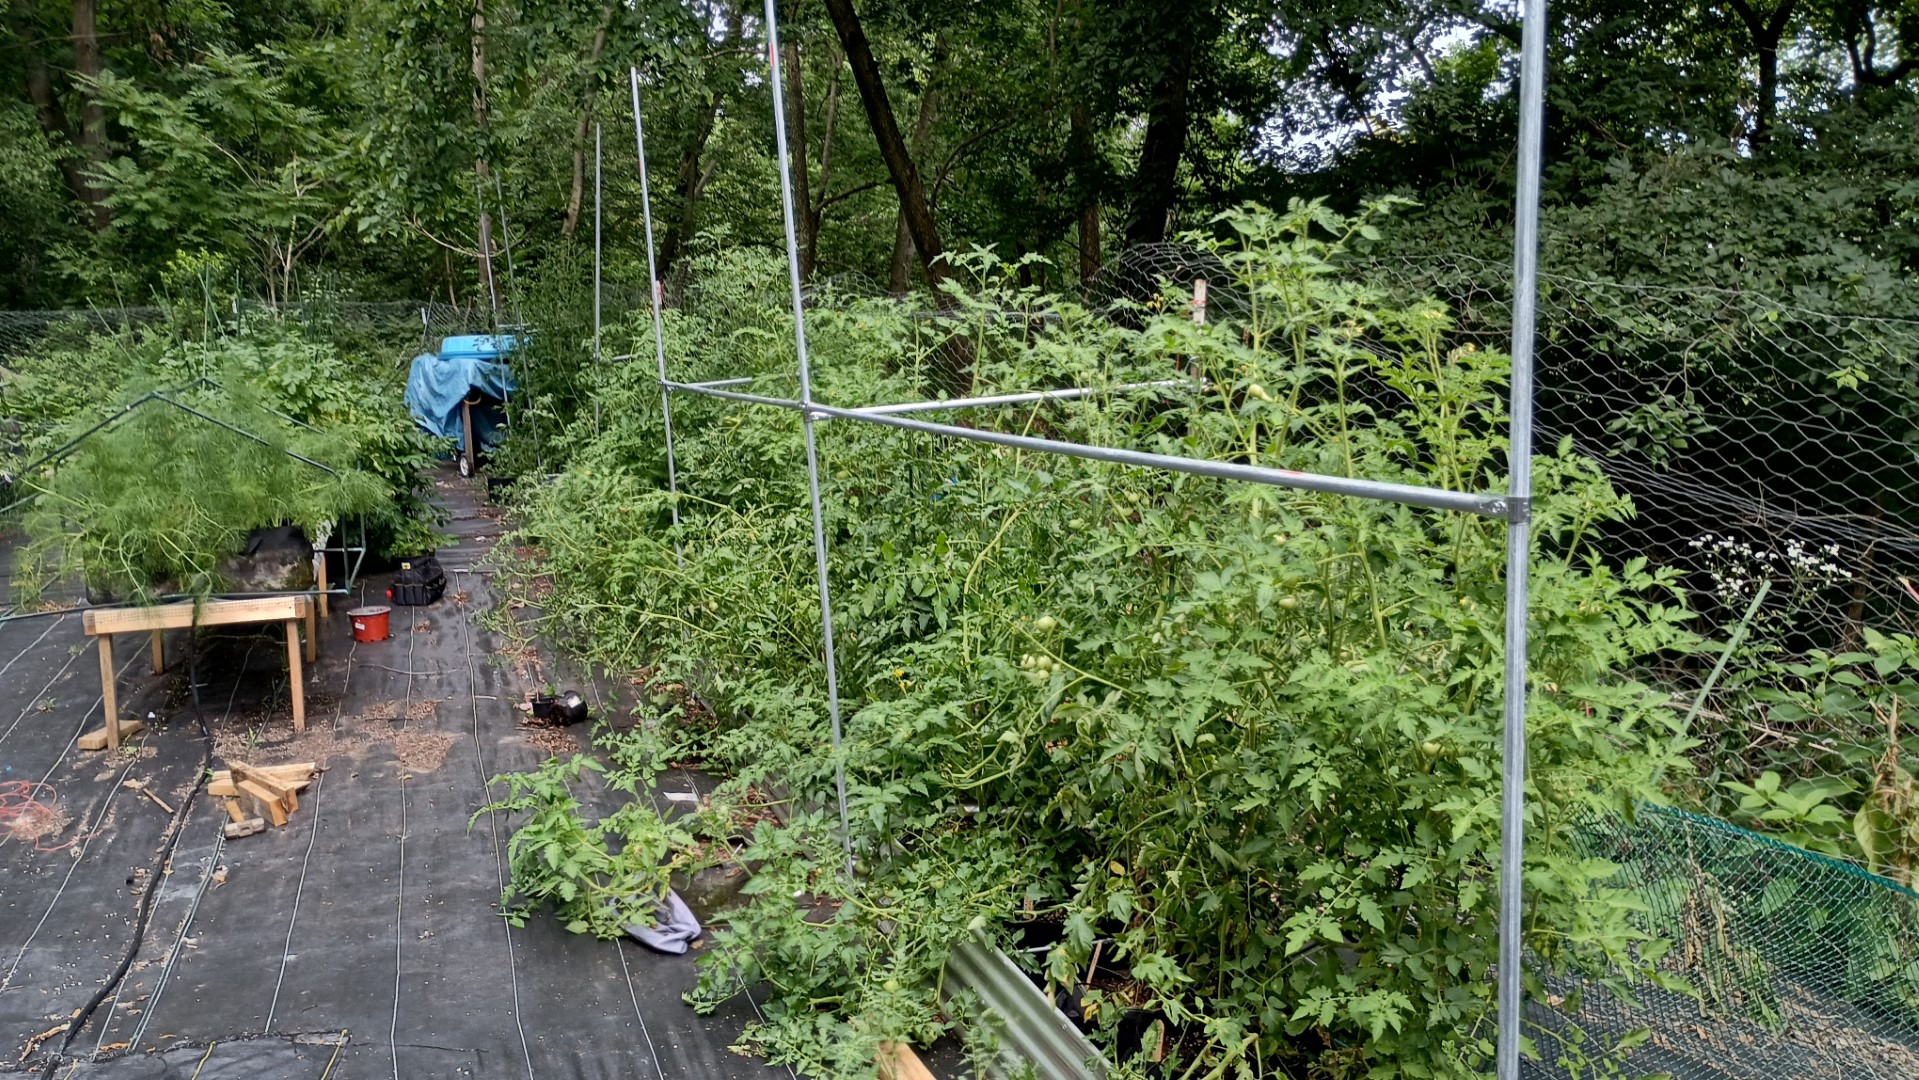
You can see the start of the trellis here. The length of this trellis will be 50′, with five 10′ sections. Each section will have two 5′ bars that can be raised and lowered with pulleys and paracord. I’m using 3/4″ EMT conduit. The trellis will be the full height of the conduit, 10′ tall.
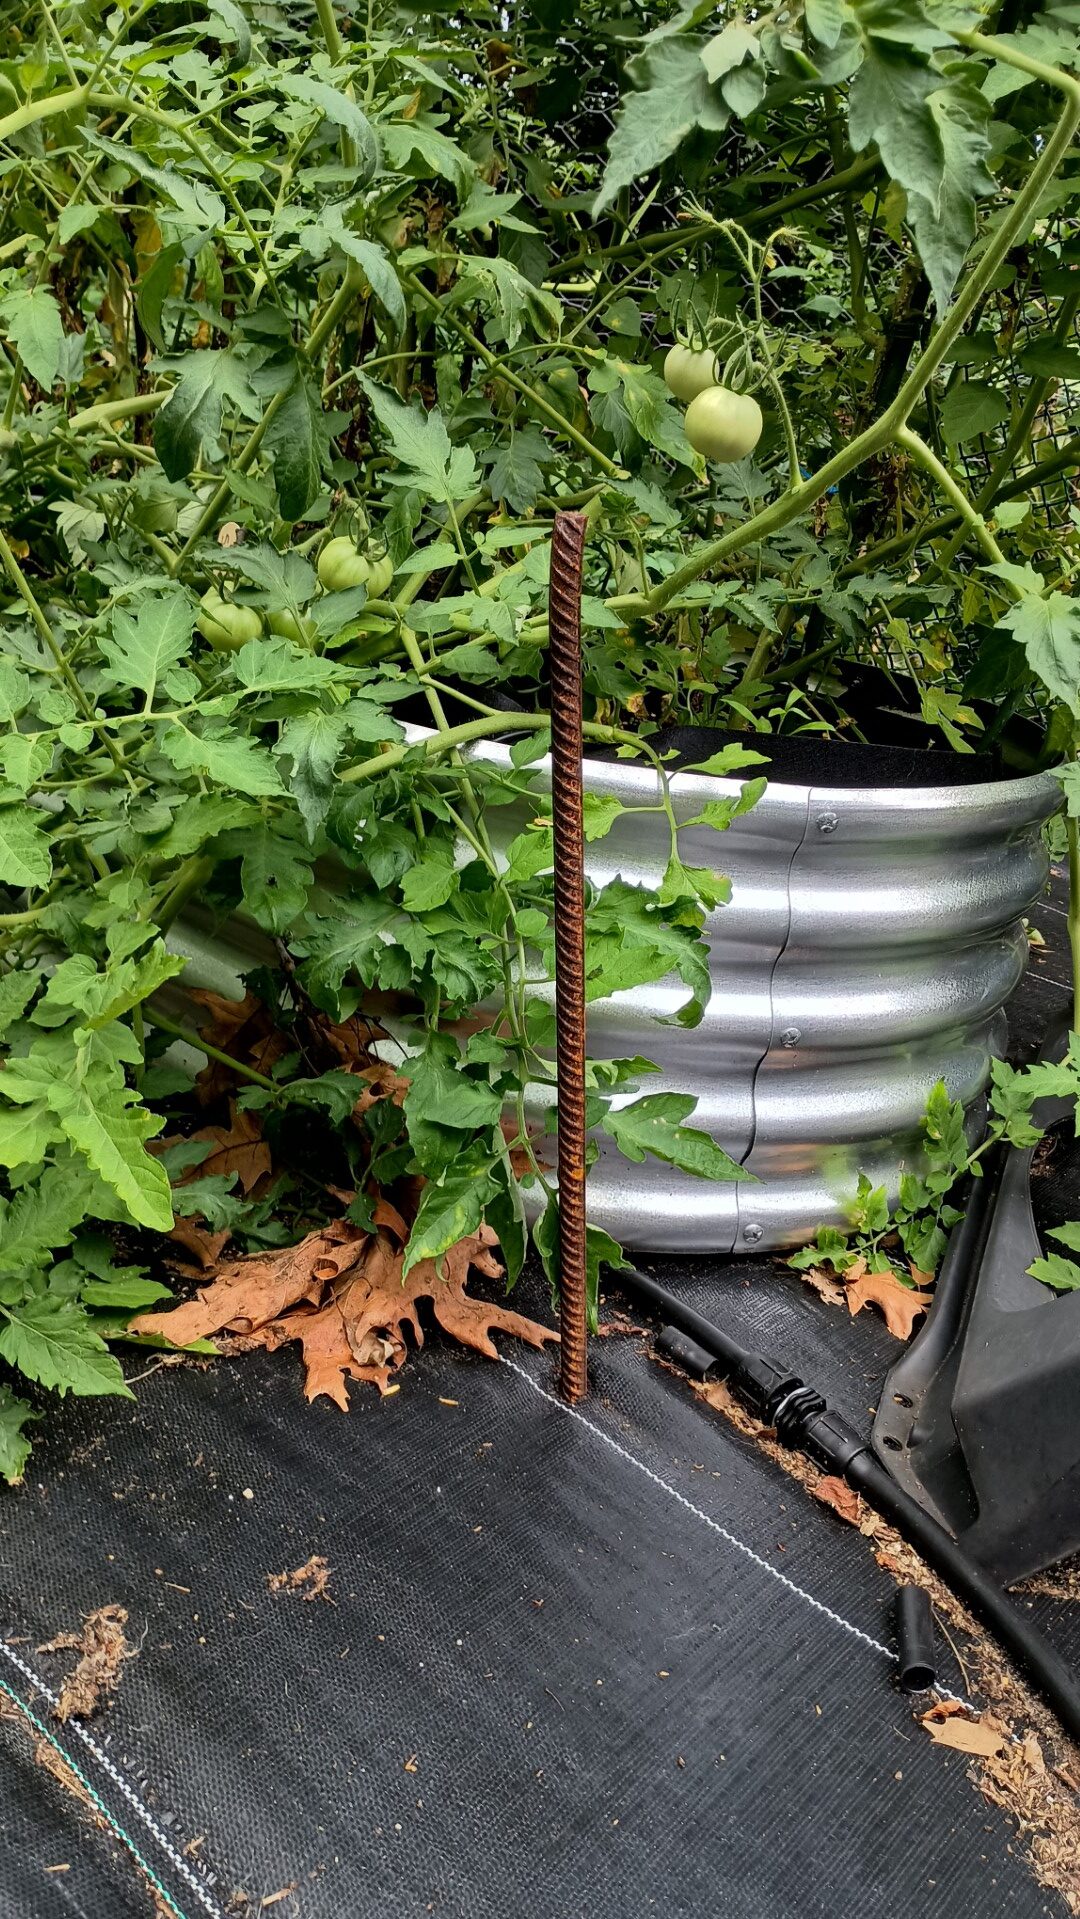
I started by pounding 2′ pieces of rebar into the ground to use as anchoring stakes for the conduit.
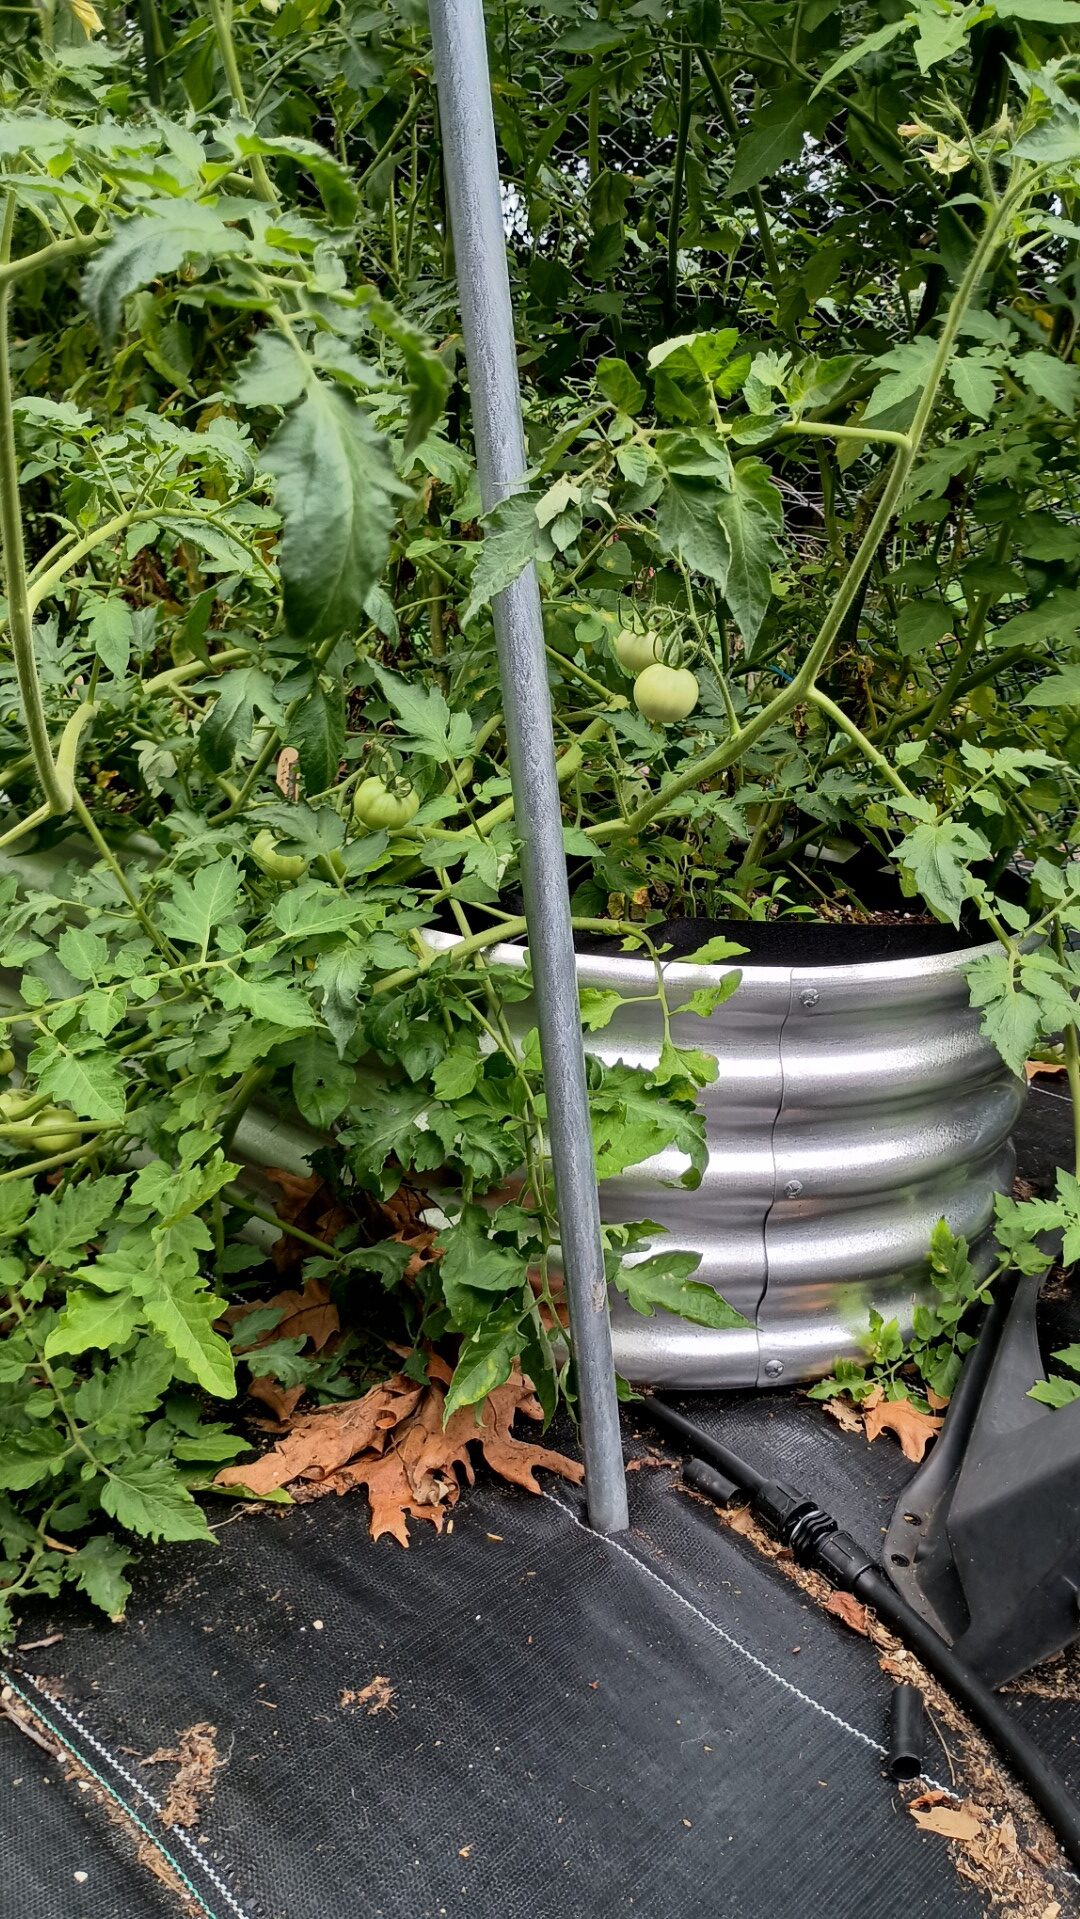
The conduit was then put over the rebar.
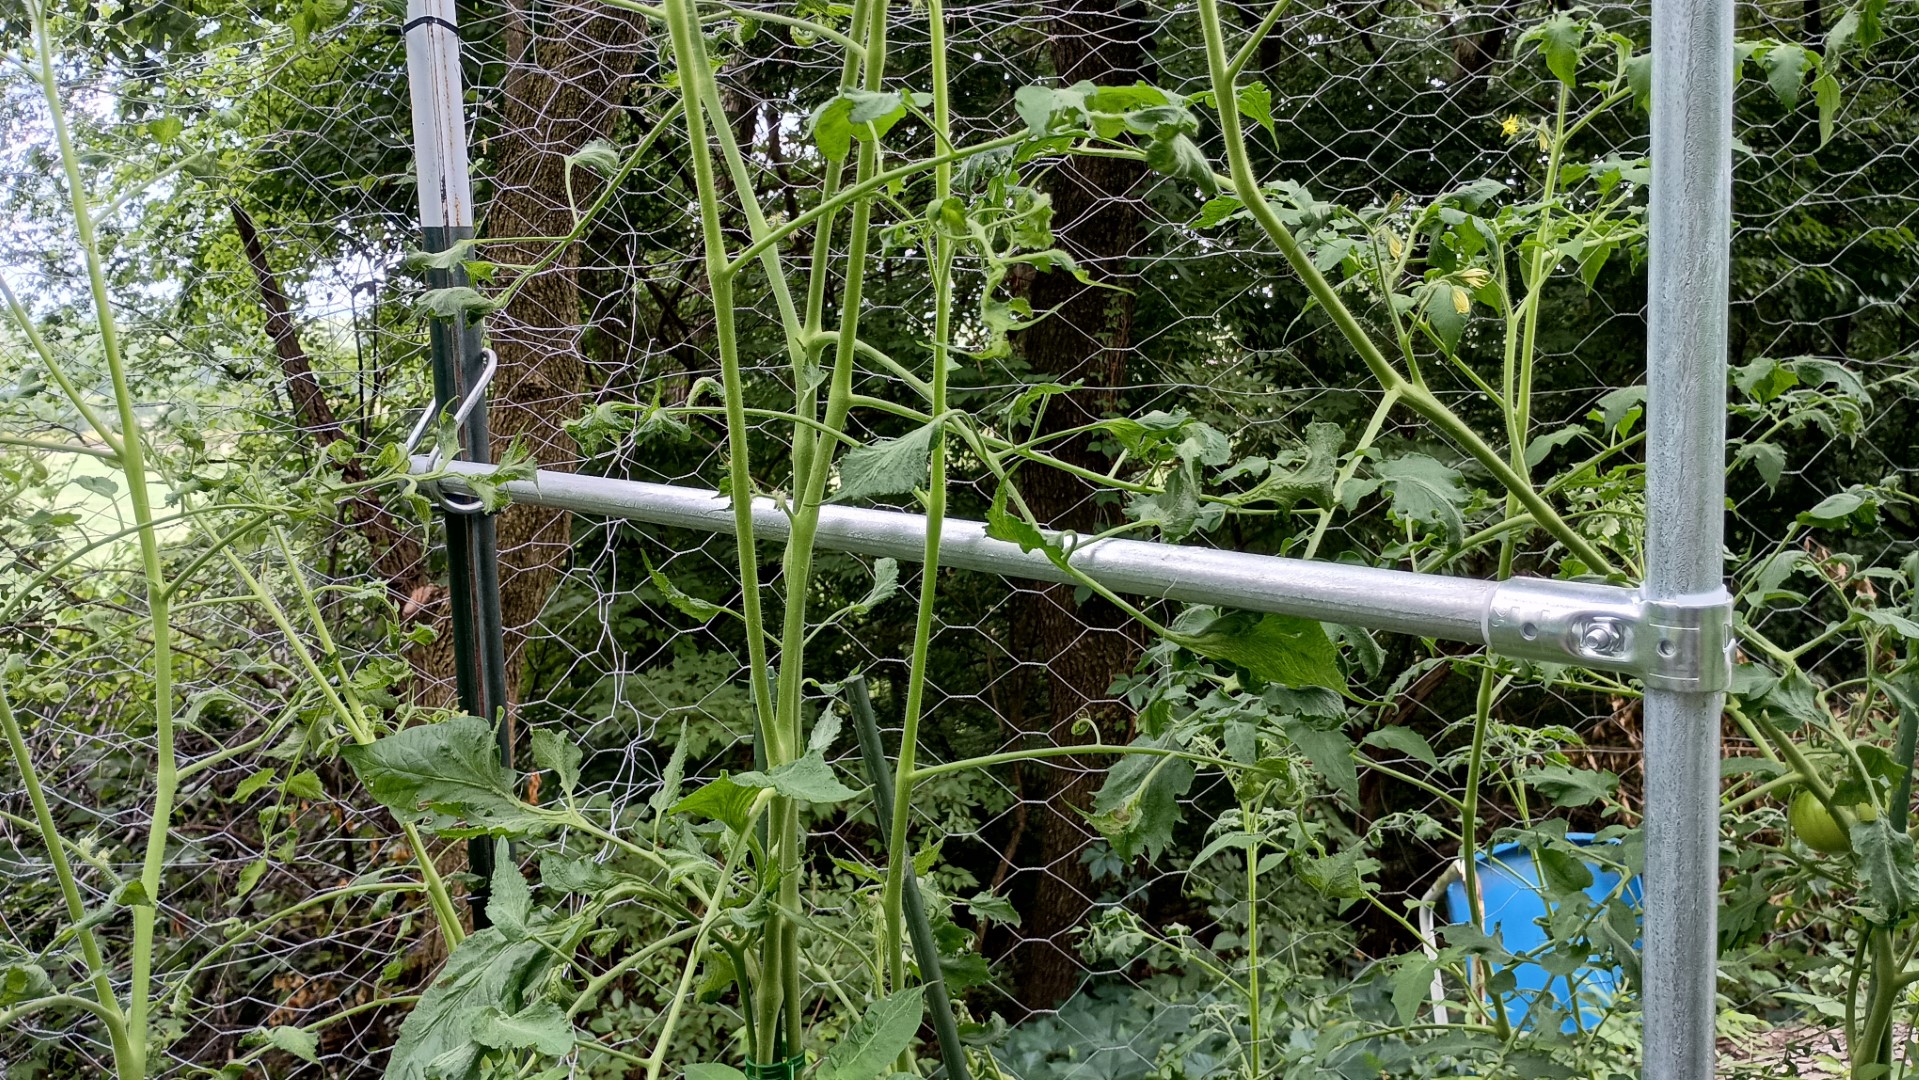
The poles that were near the fence T-posts were anchored to the T-posts with a stub of conduit, a T connector, and a pipe crossover clamp.
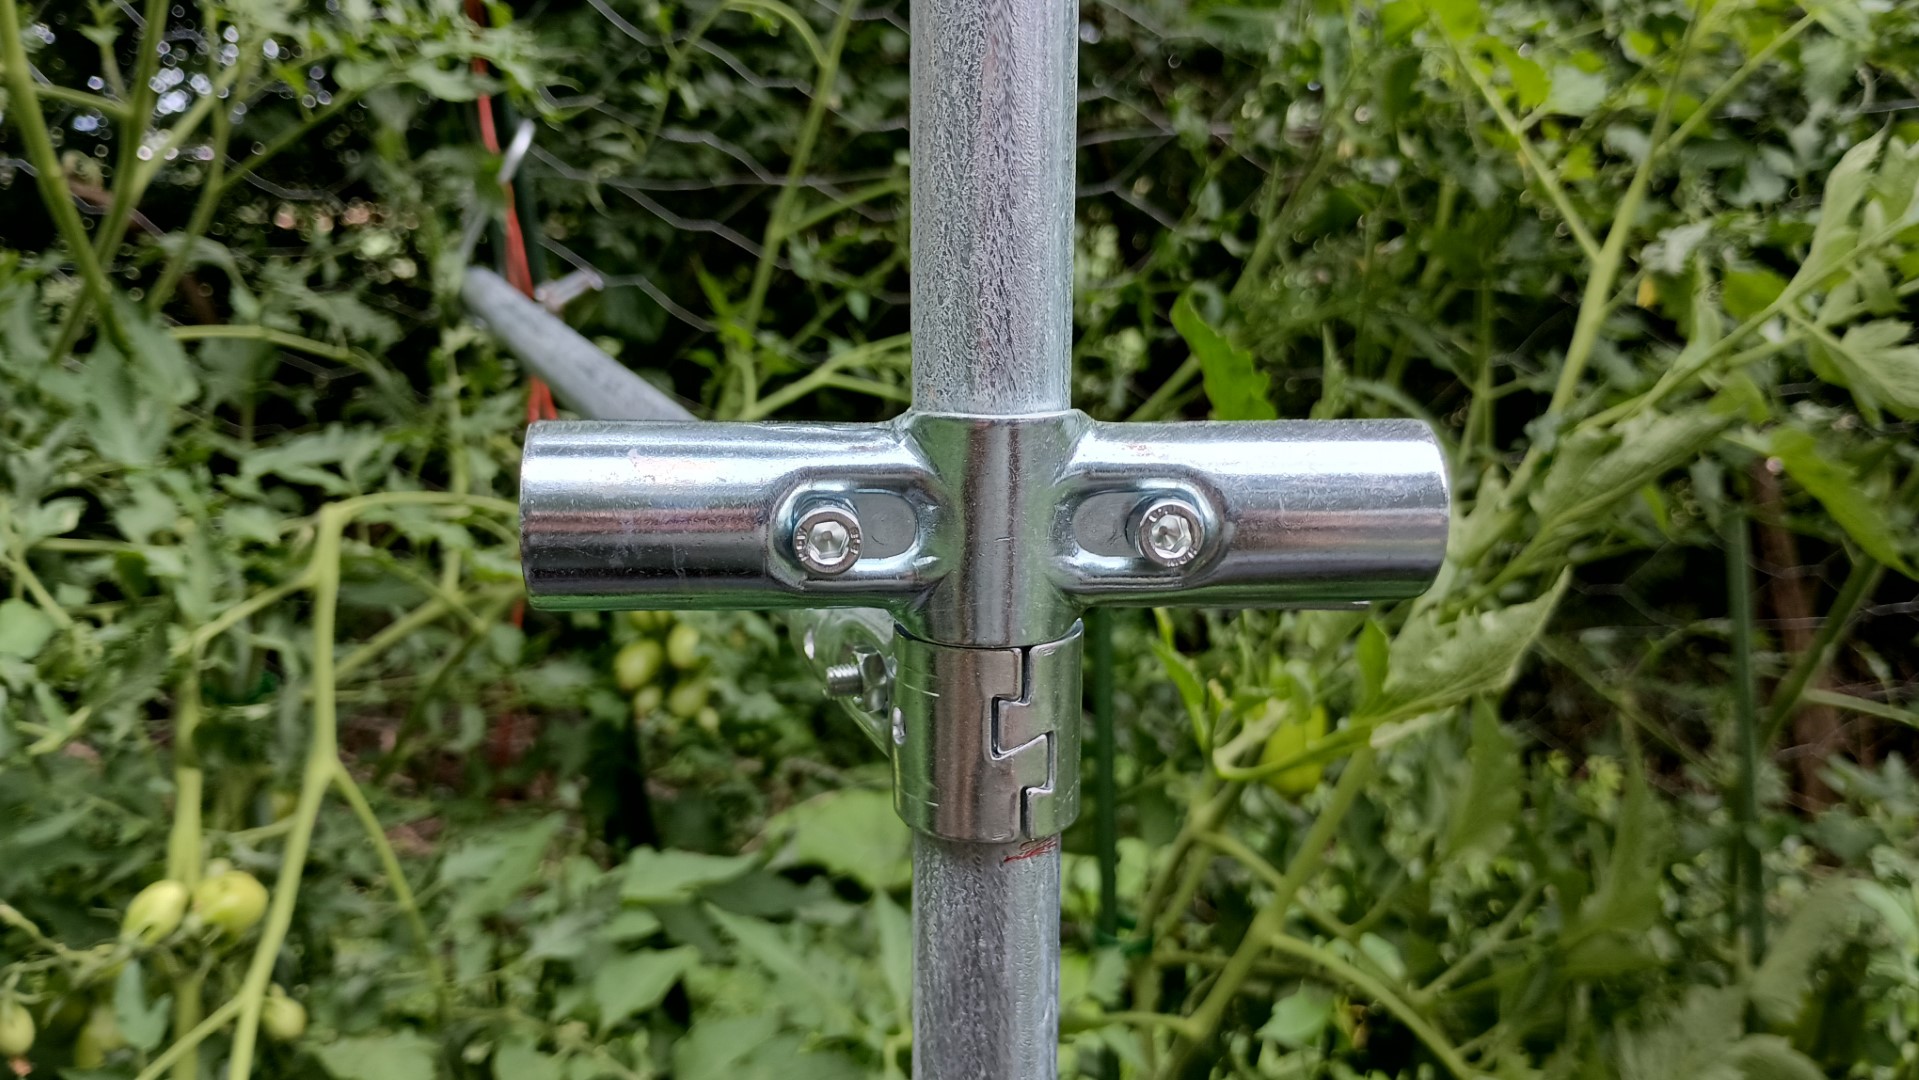
The top bar will be connected to the poles with 180 degree pipe clamp cross connectors.
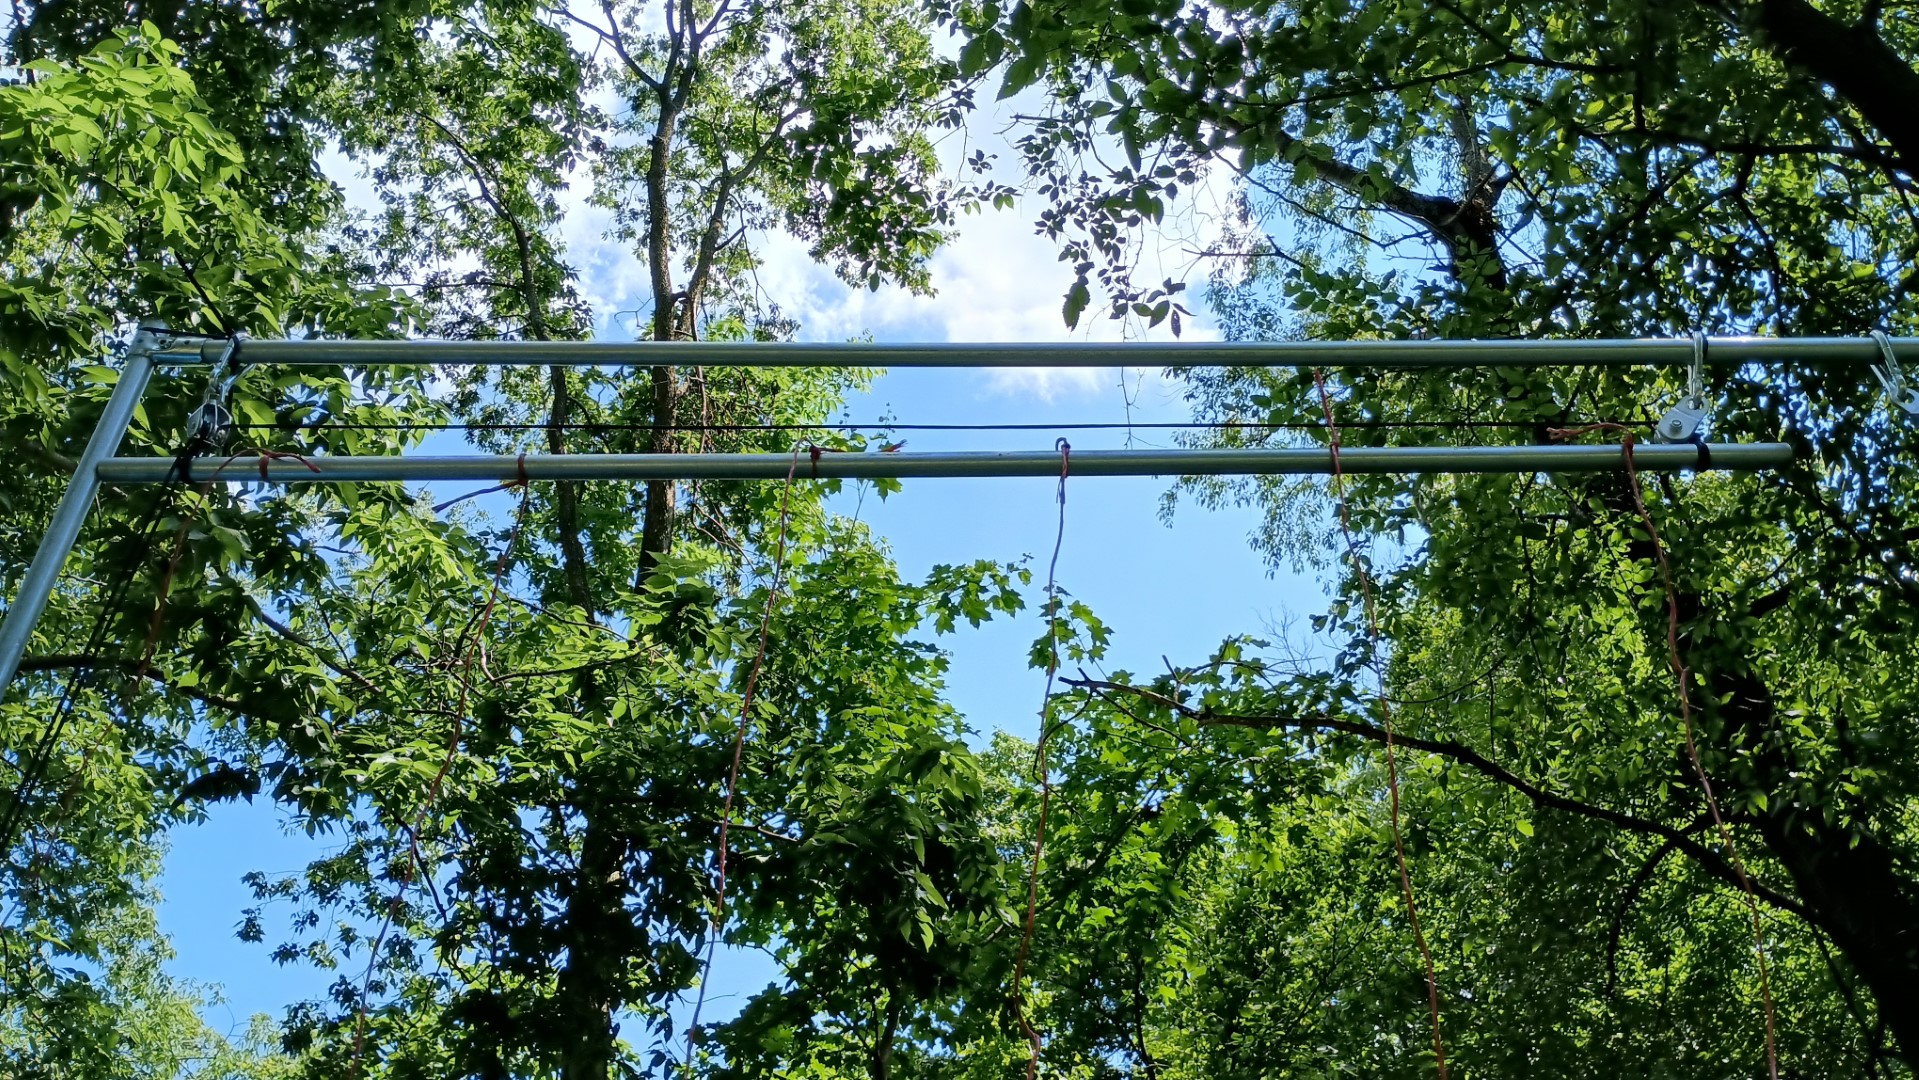
To start, I assembled them at 5′ high. I added pulleys with carabiners to the top pipes, and secured the carabiners in place with zip ties. This will allow the adjustable pipe to be raised or lowered.
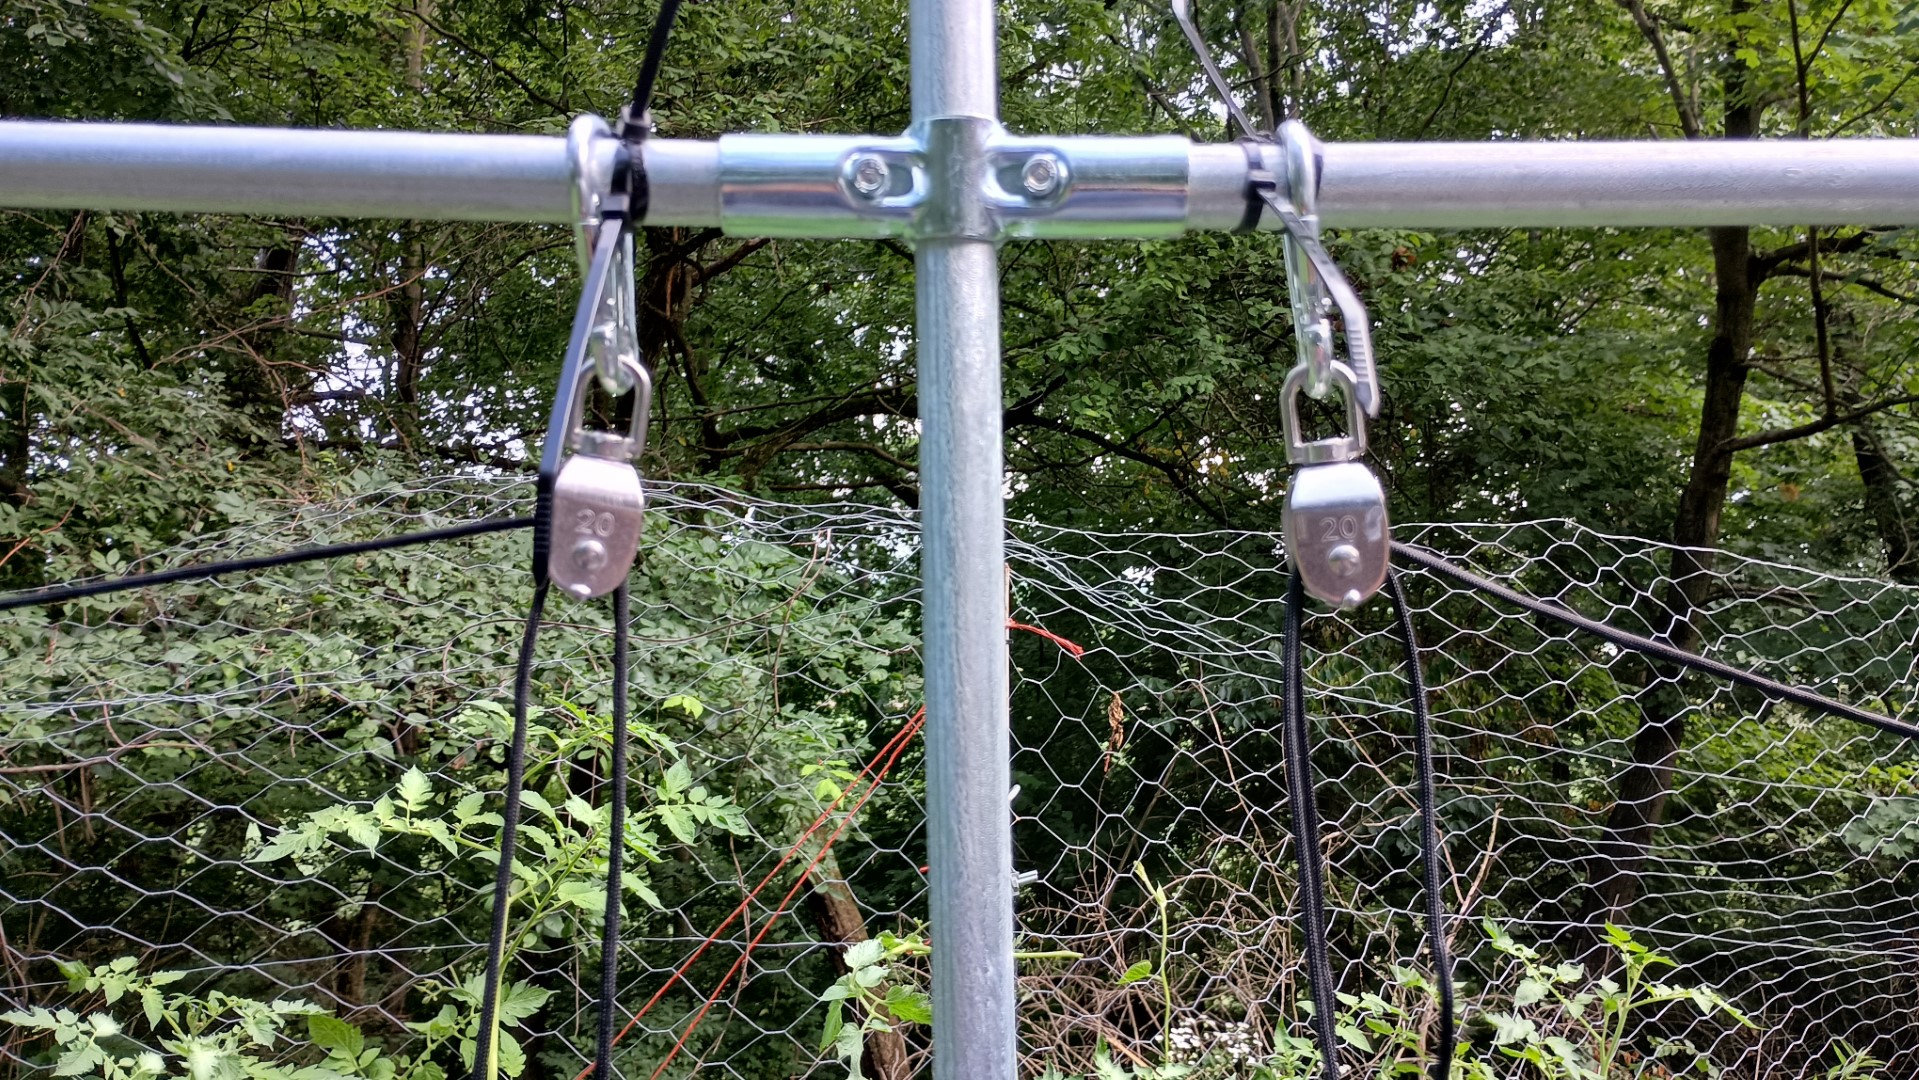
I used double pulleys near the poles, and single in the middle. The adjustable pipes are 5′ in length. I ran lengths of paracord through the pulleys, the paracord running to the middle is 24′ and the end pieces are 18′. I then raised the whole 50′ length of top pipe up to the top. This was a sequential operation, raising the cross connectors and pipes up about a foot at a time until the whole assembly was raised to the top of the poles.
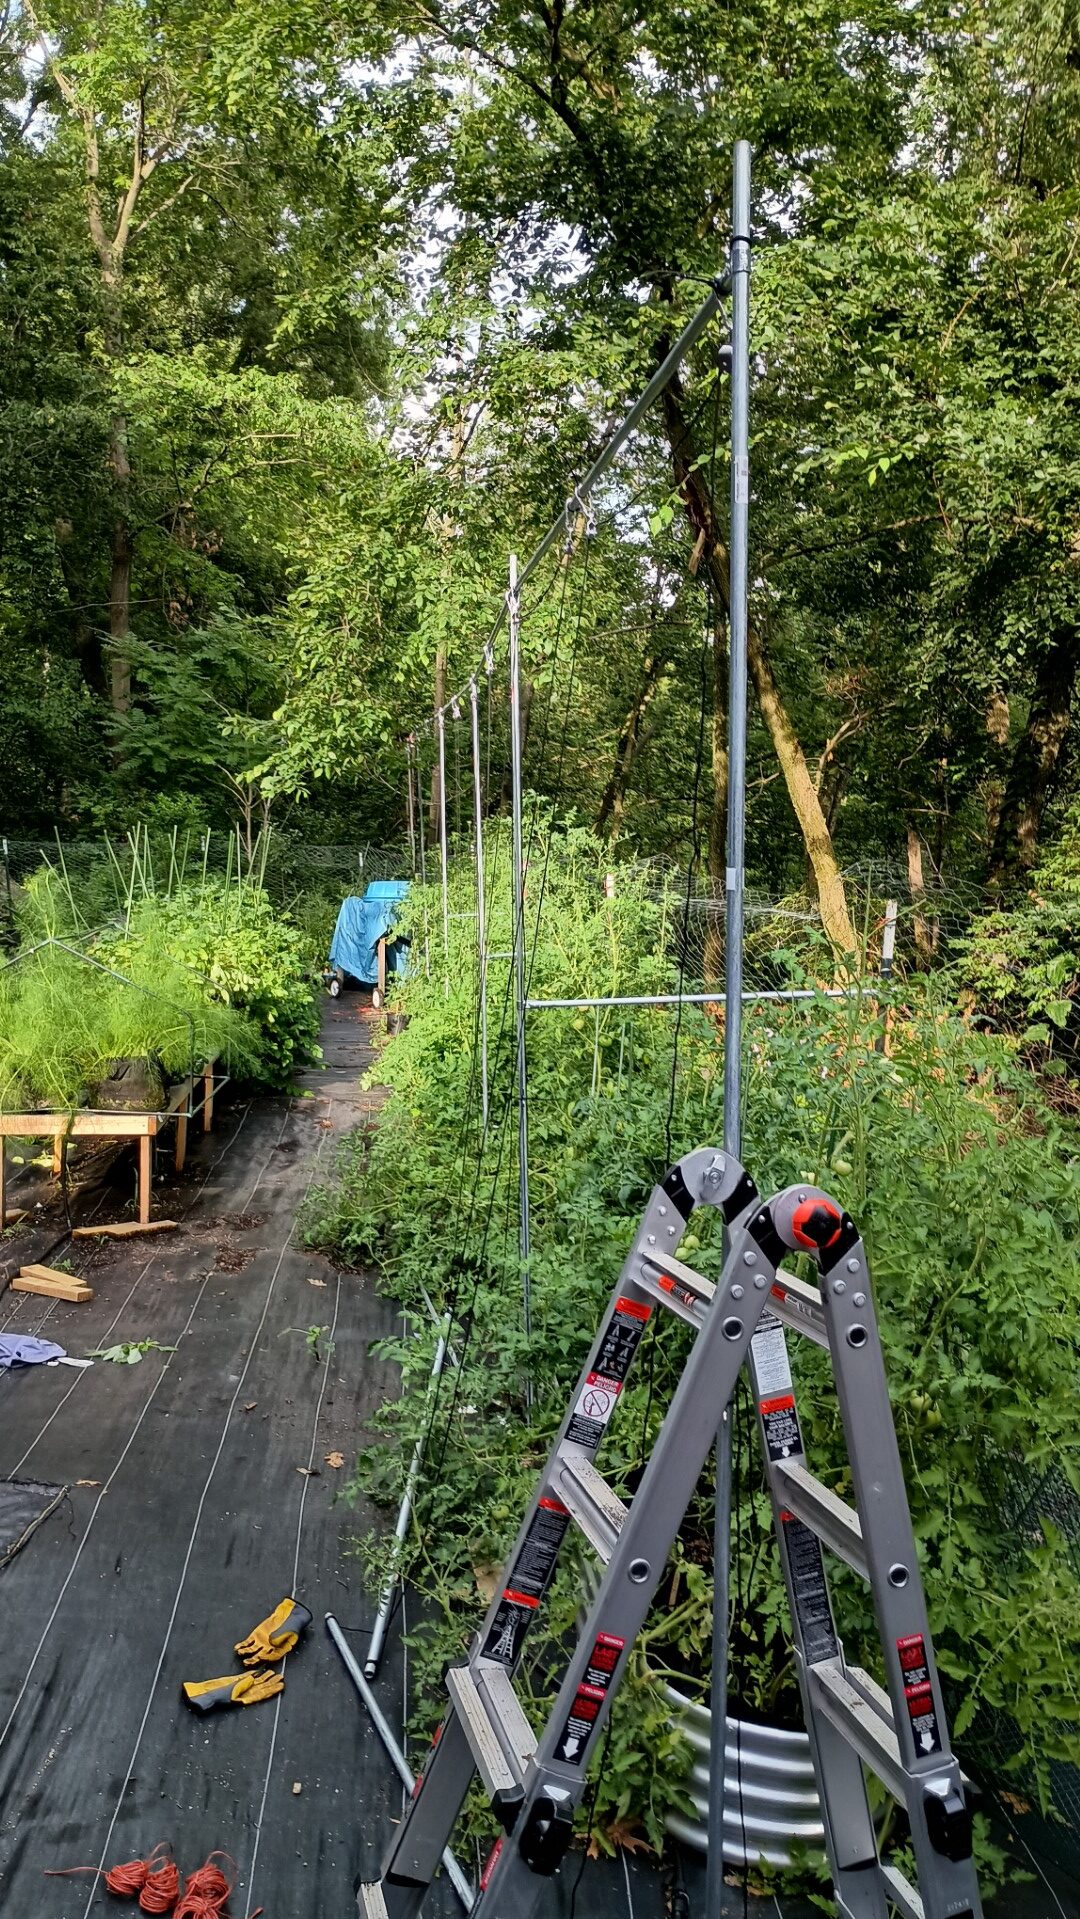
I raised them up so the 50′ top pole was fairly level.
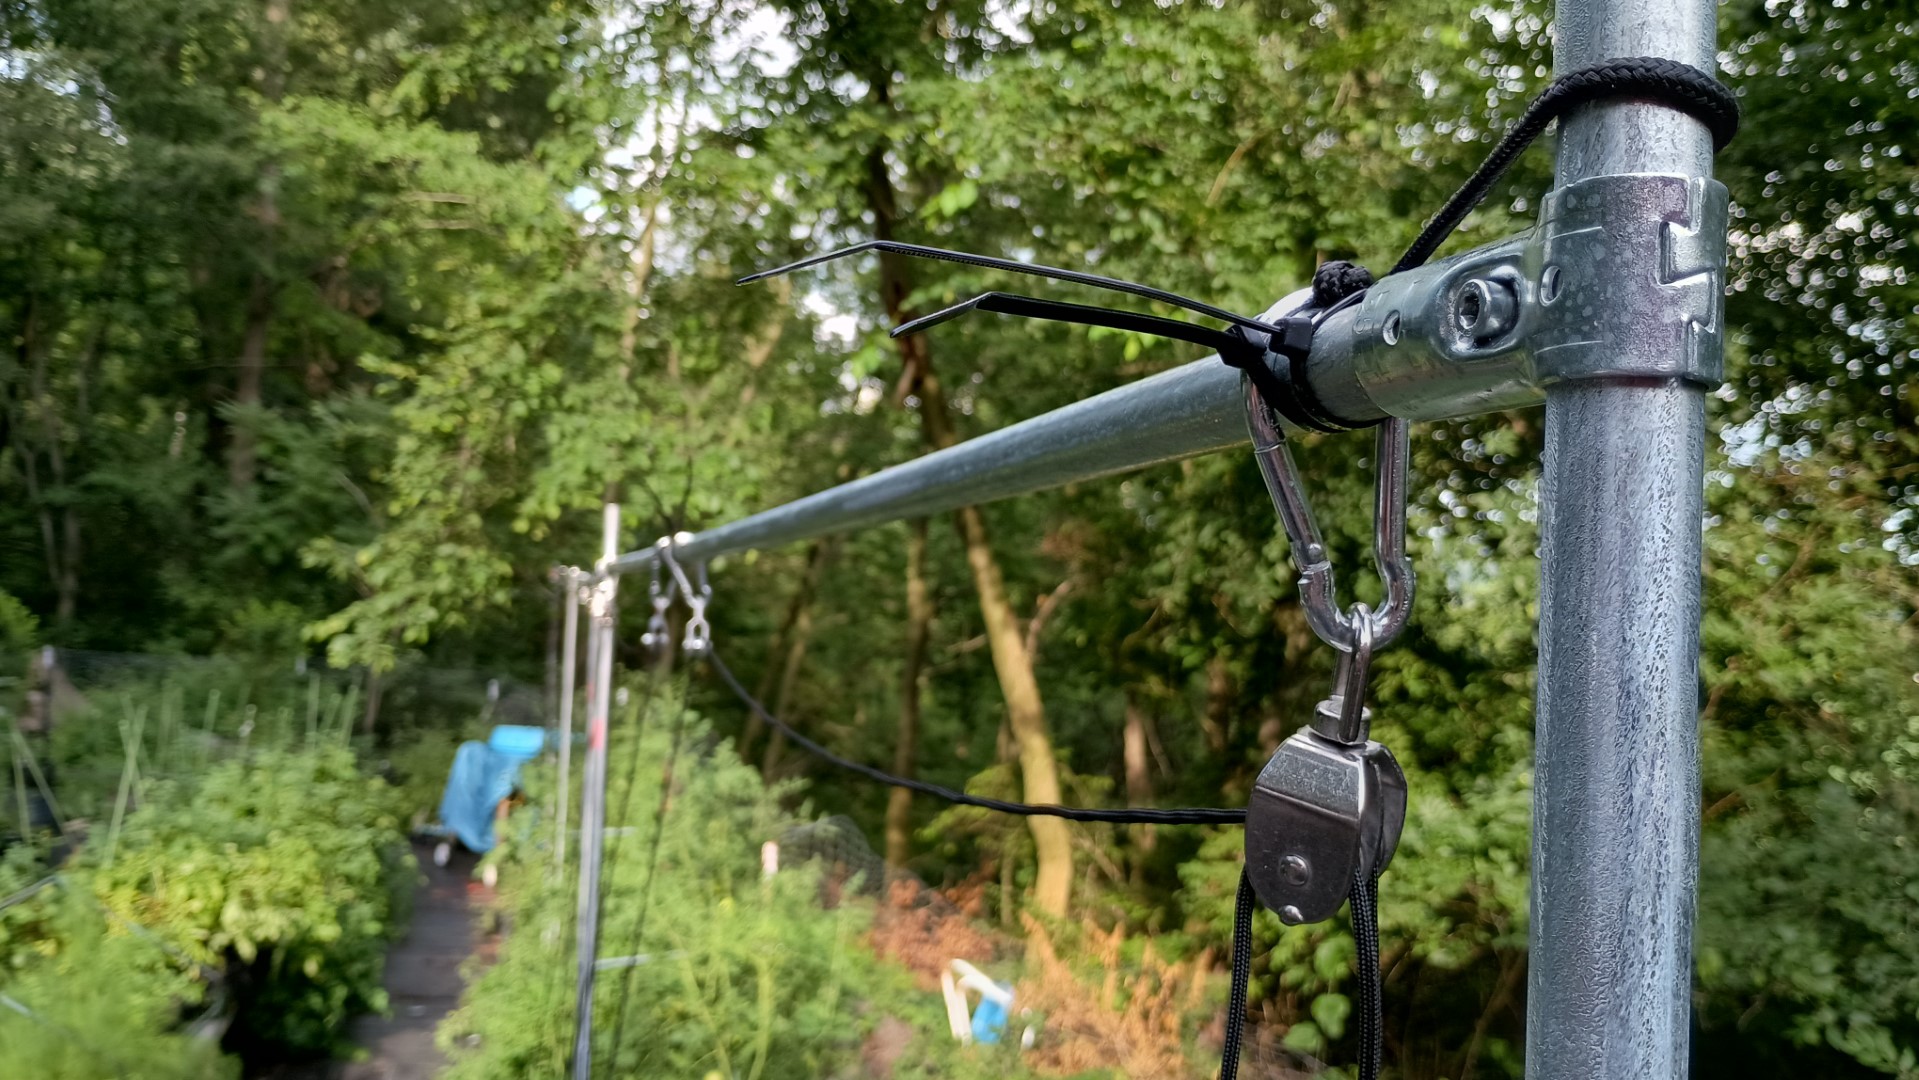
The adjustable poles were tied up with the paracord. We then tied pieces of bailing twine to these poles, using 2 pieces for each bag. Rather than make the trellis stationary we decided that having the ability to raise and lower it would definitely make it easier to tie the twine on. Doing this meant we did not have to tie the twine while up on a ladder. We could also lower the bar to harvest if needed and when it’s time to take all the vines down they will be easier to get to. Having the bars in two 5′ sections rather than one 10′ section also means that one person can raise and lower things more easily. Your not dealing with so much weight, as many plants and 5′ is a lot less awkward to have swinging around.
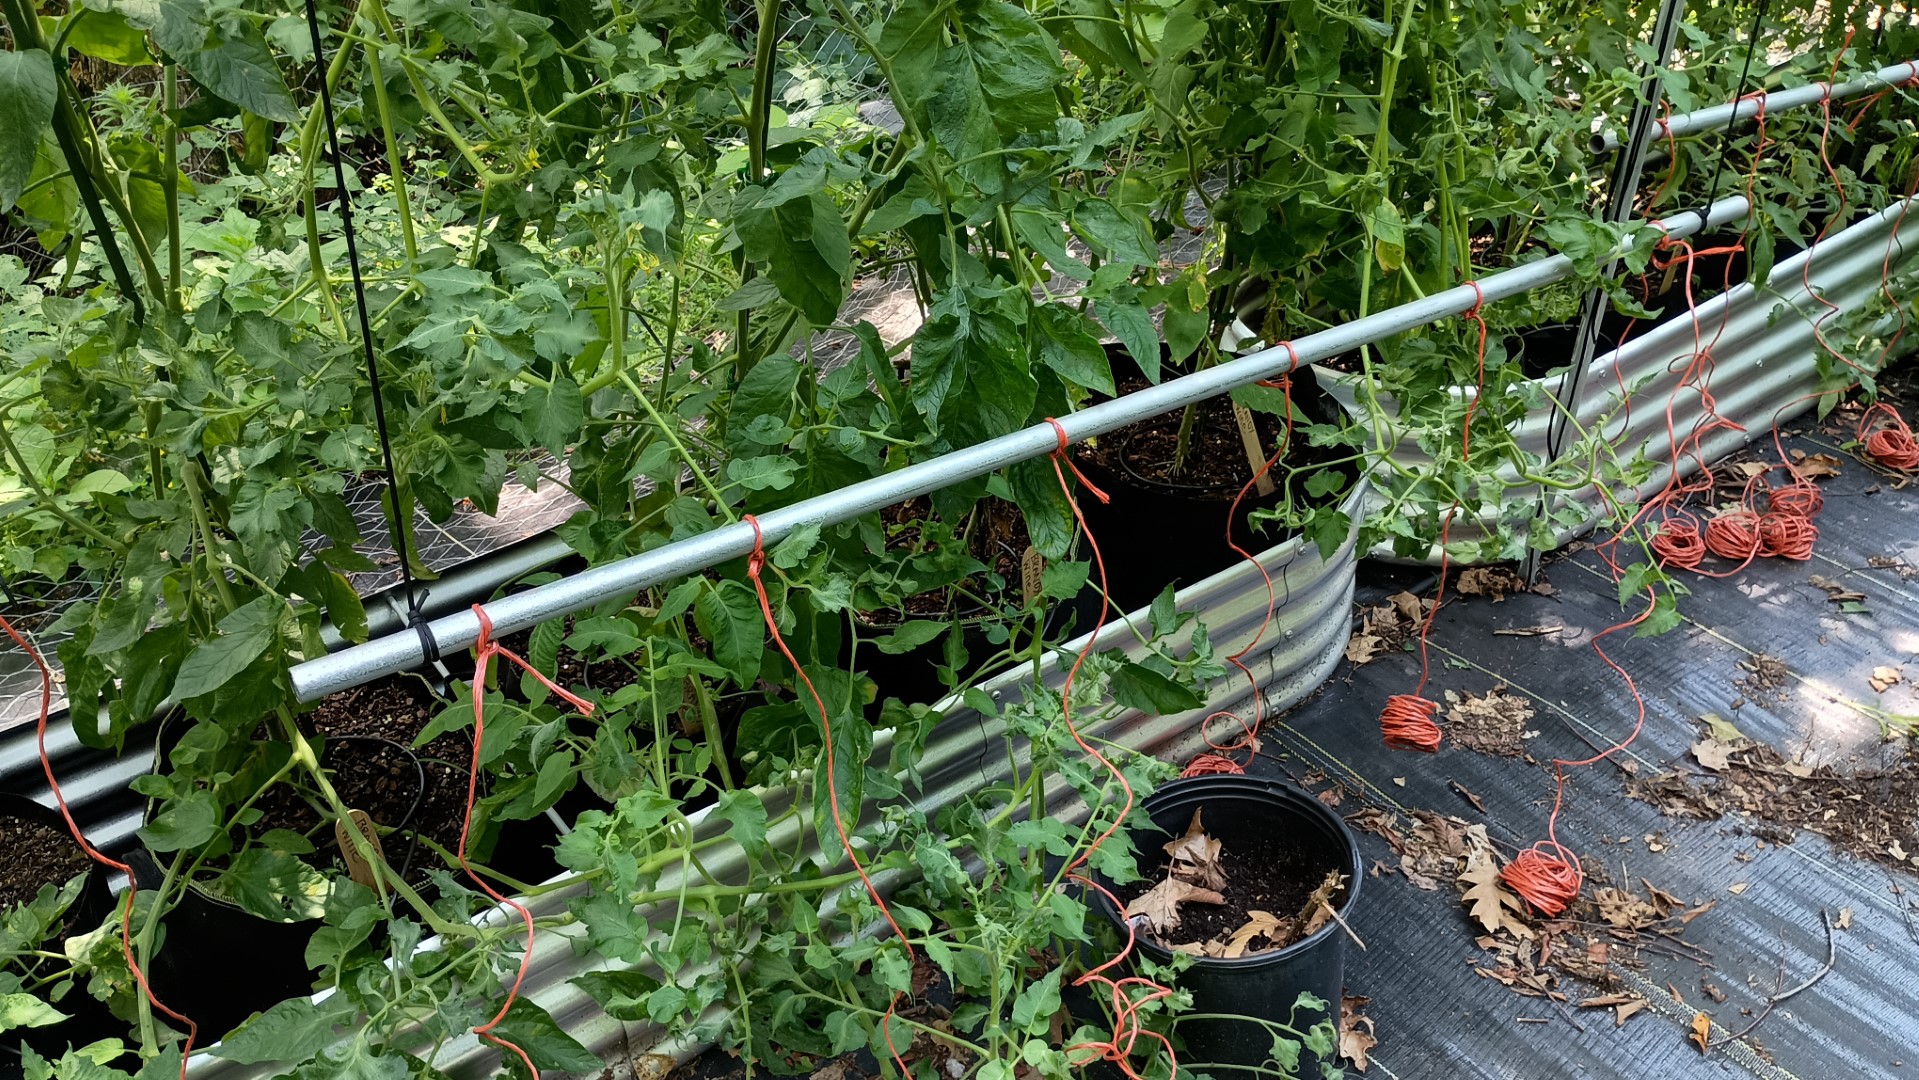
Once the twine was attached the poles were then raised to the top.
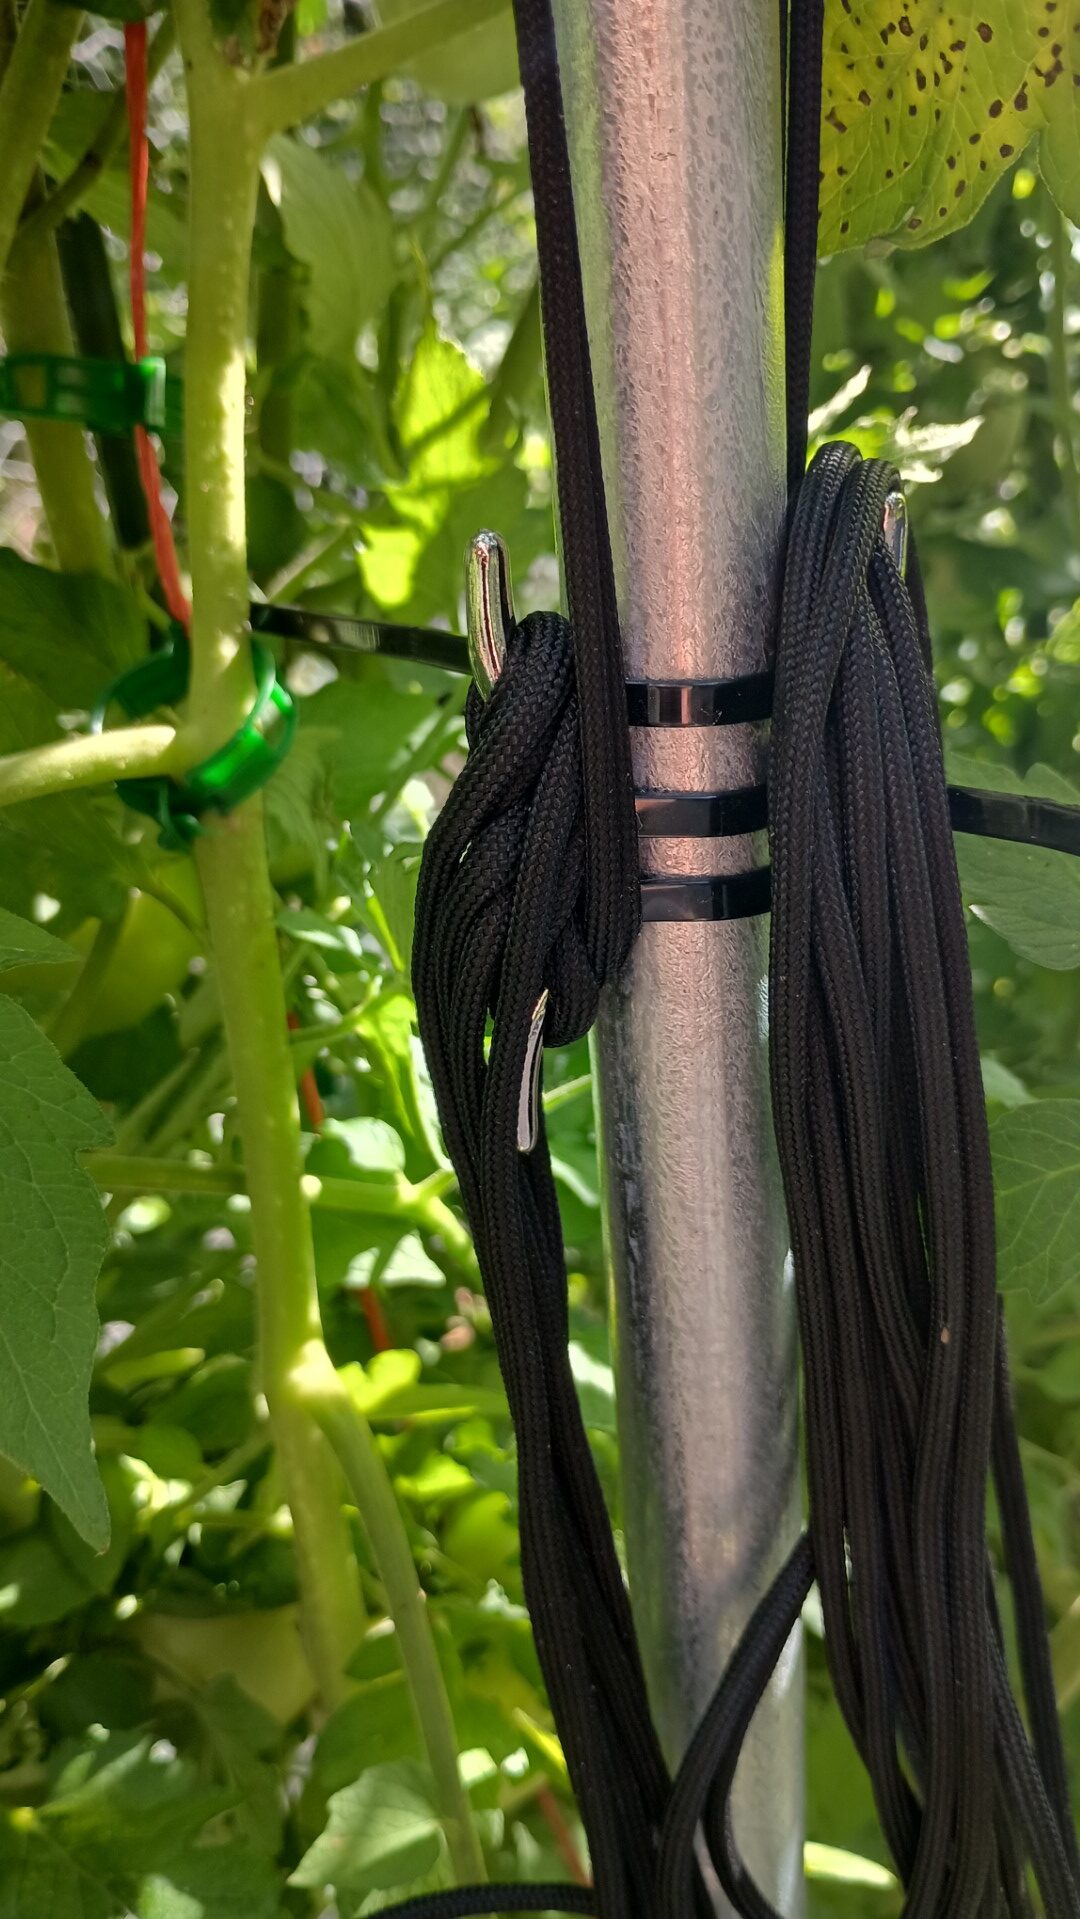
The paracord is secured to cleats which are just zip tied to the poles.
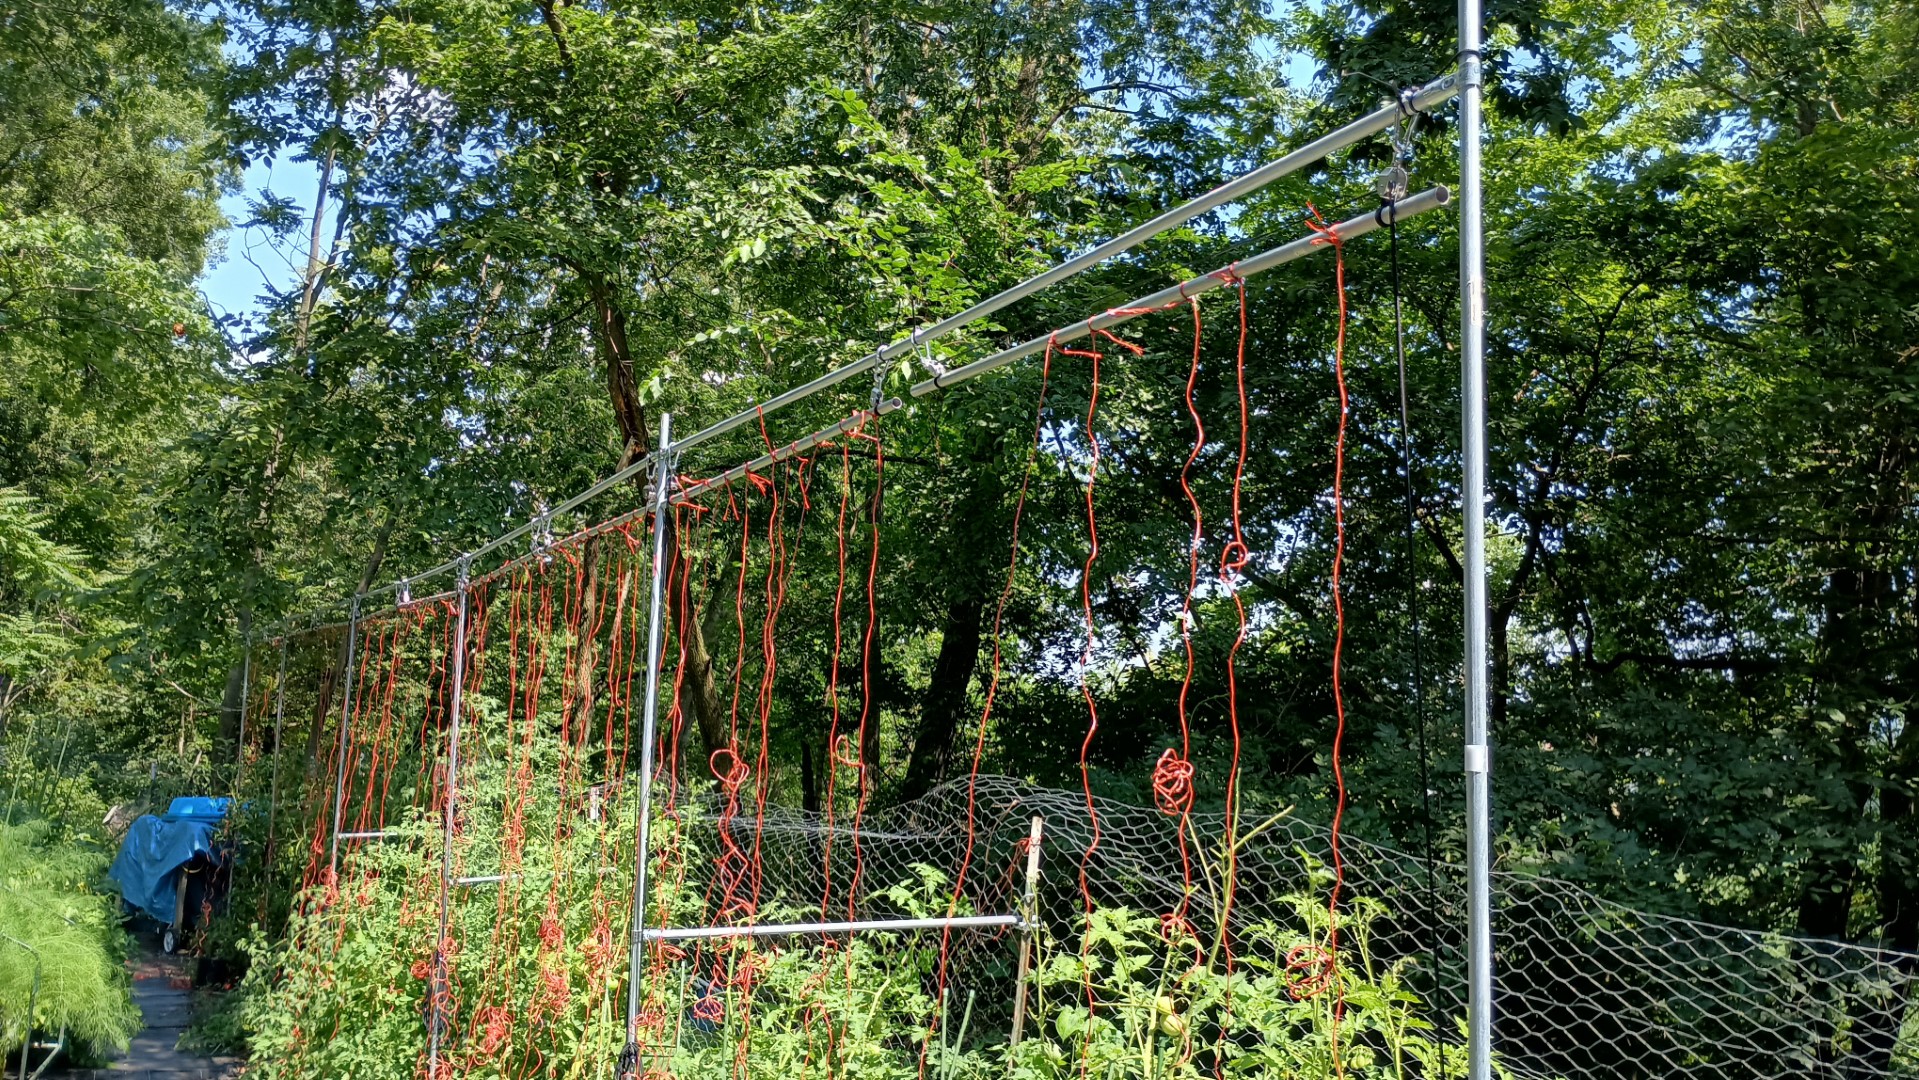
Once raised, two of the pieces of twine were tied to the handles of each grow bag.
We then began securing the tomato plants to the twine with tomato clips. These secure to the twine and keep the clip from sliding down.
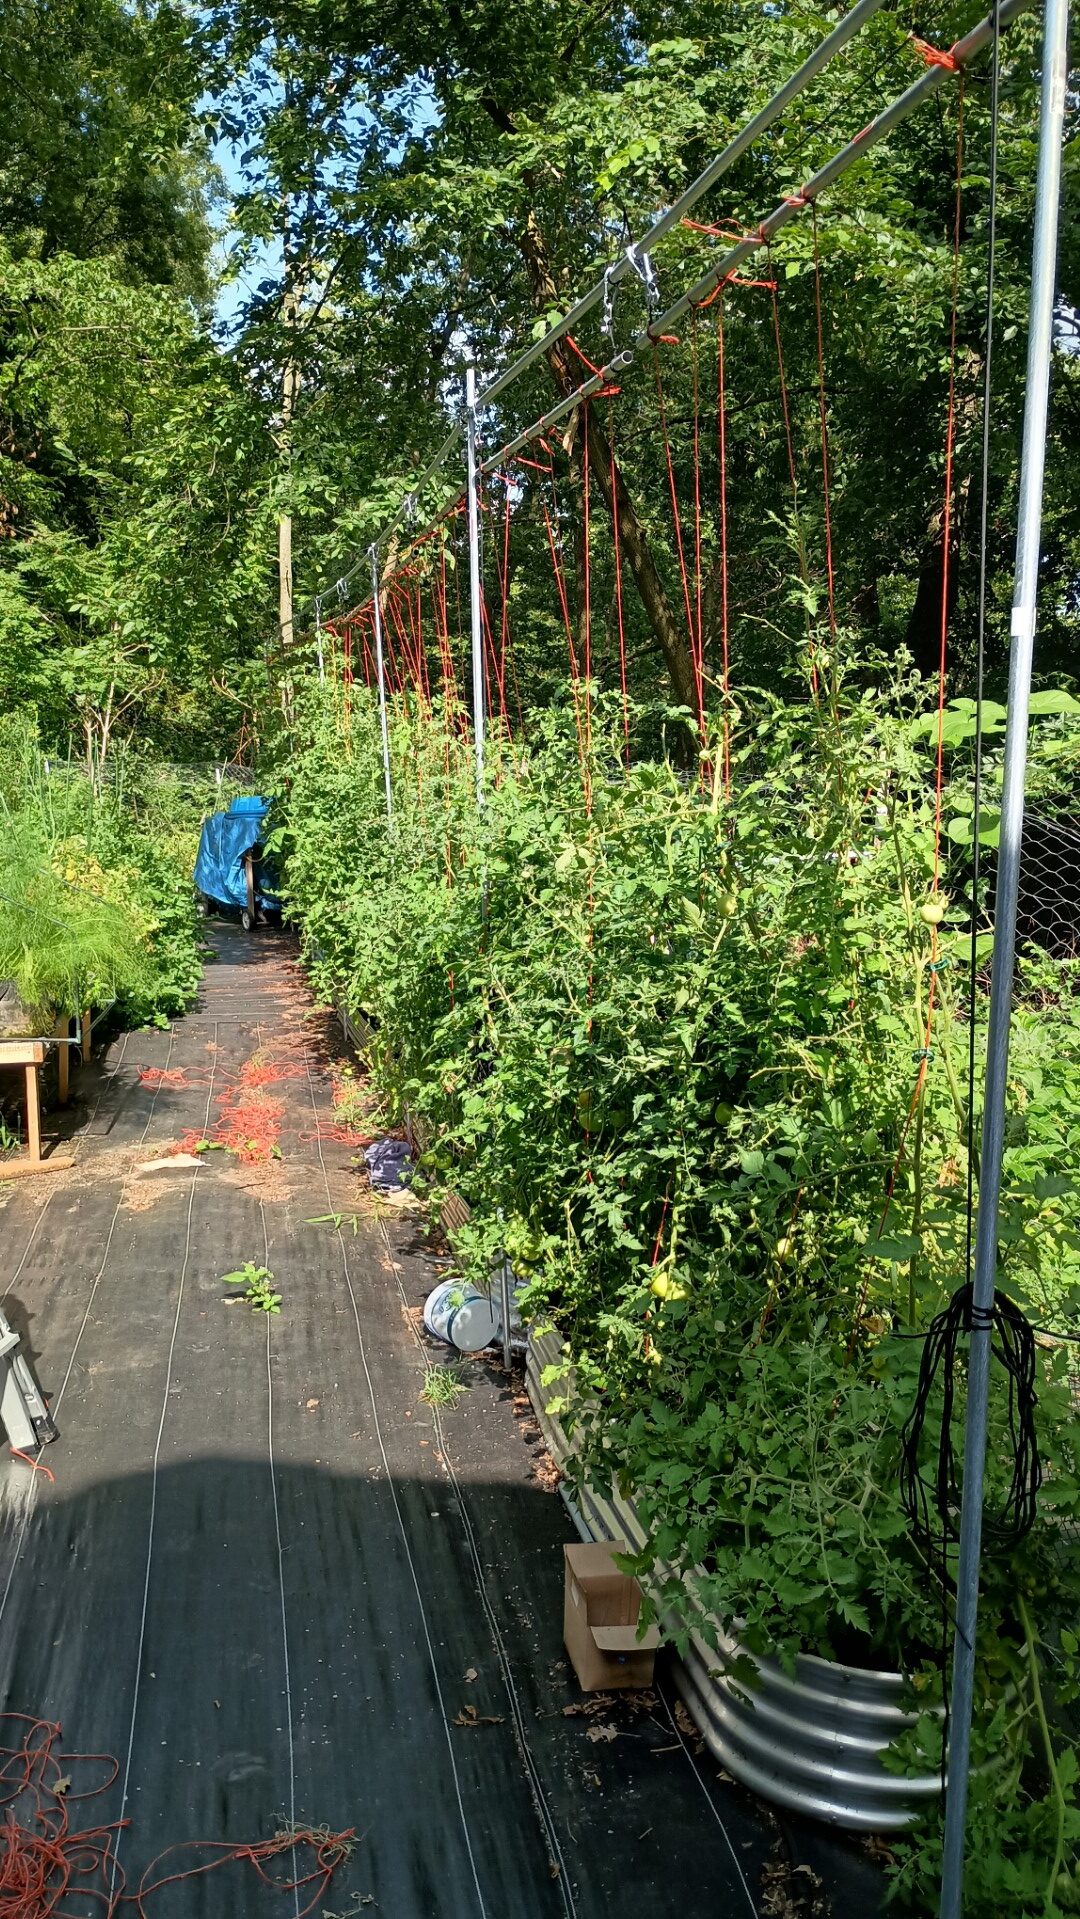
As you can see, some of the plants are nearly 10′ tall. I’m sure some are more than that if you stretch them out.
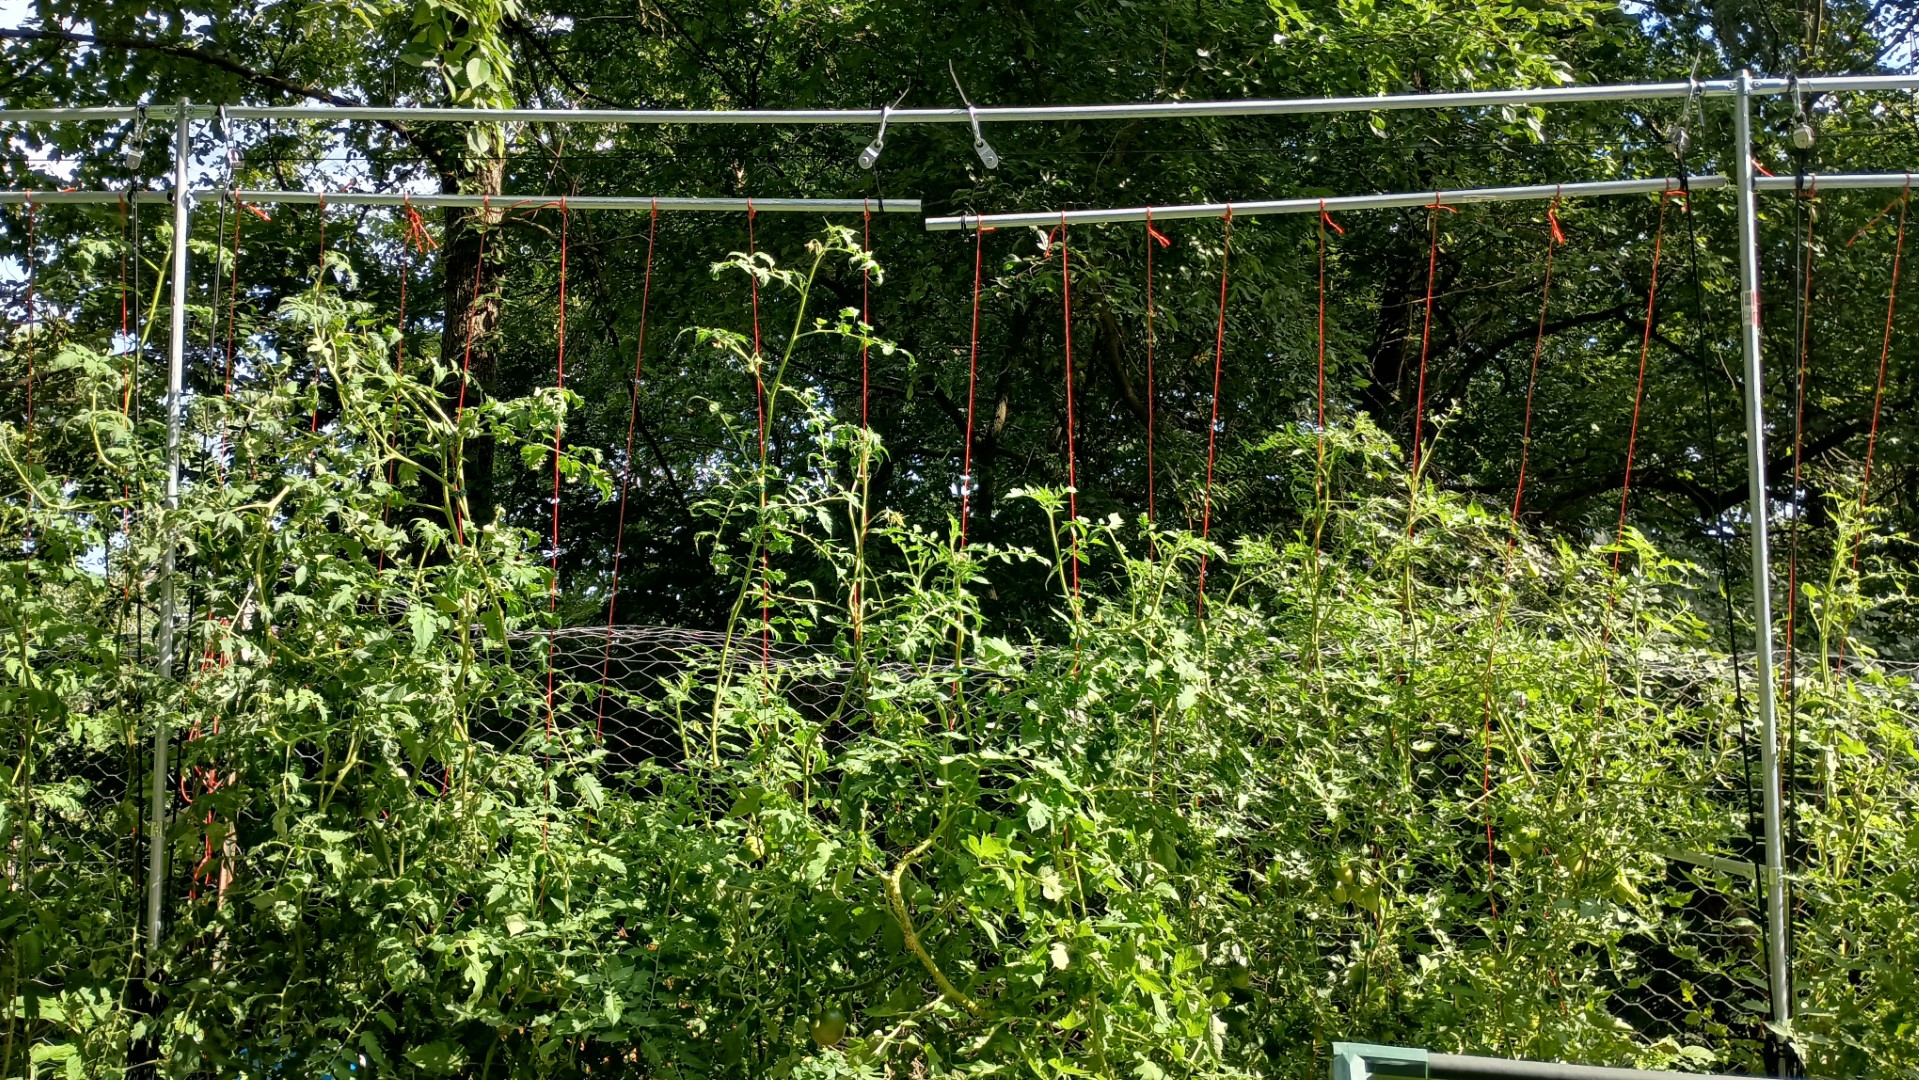
Now that this trellis is built, there is a chance, however small, that we will have a trellis in place before the tomatoes are planted next year.
Until we decide to move the location we plant them.
Here are the items used in this build:
- EMT Conduit – 3/4″
- 180 Degree Pipe Clamp Cross Connectors
- T Pipe Connectors
- Cross Pipe Clamp Connectors
- Double Pulleys
- Single Pulleys
- Carabiners
- Cleats
- Paracord
- Tomato Clips