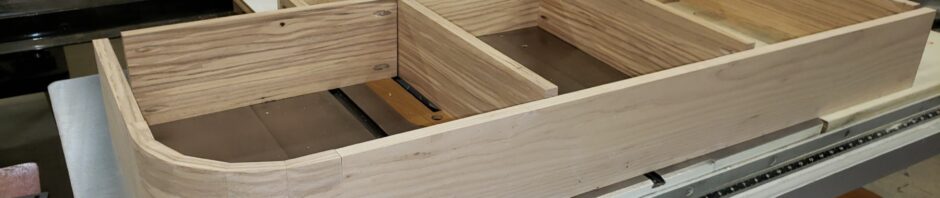
Sounds kind of boring. And it probably is. The floor of our mud room is about 12 1/2″ lower than kitchen hallway floor. For the longest time we had a large wooden block step there. It wasn’t very big, and we thought a larger platform step would be better.
We decided on a 49″ x 22 1/2″ platform, with a 1/2″ overhang from the base. So we made the base 48″ x 22″. No overhang on the back, as it would be attached directly to the wall. The wall juts into the room about 4 inches on the side of the doorway.
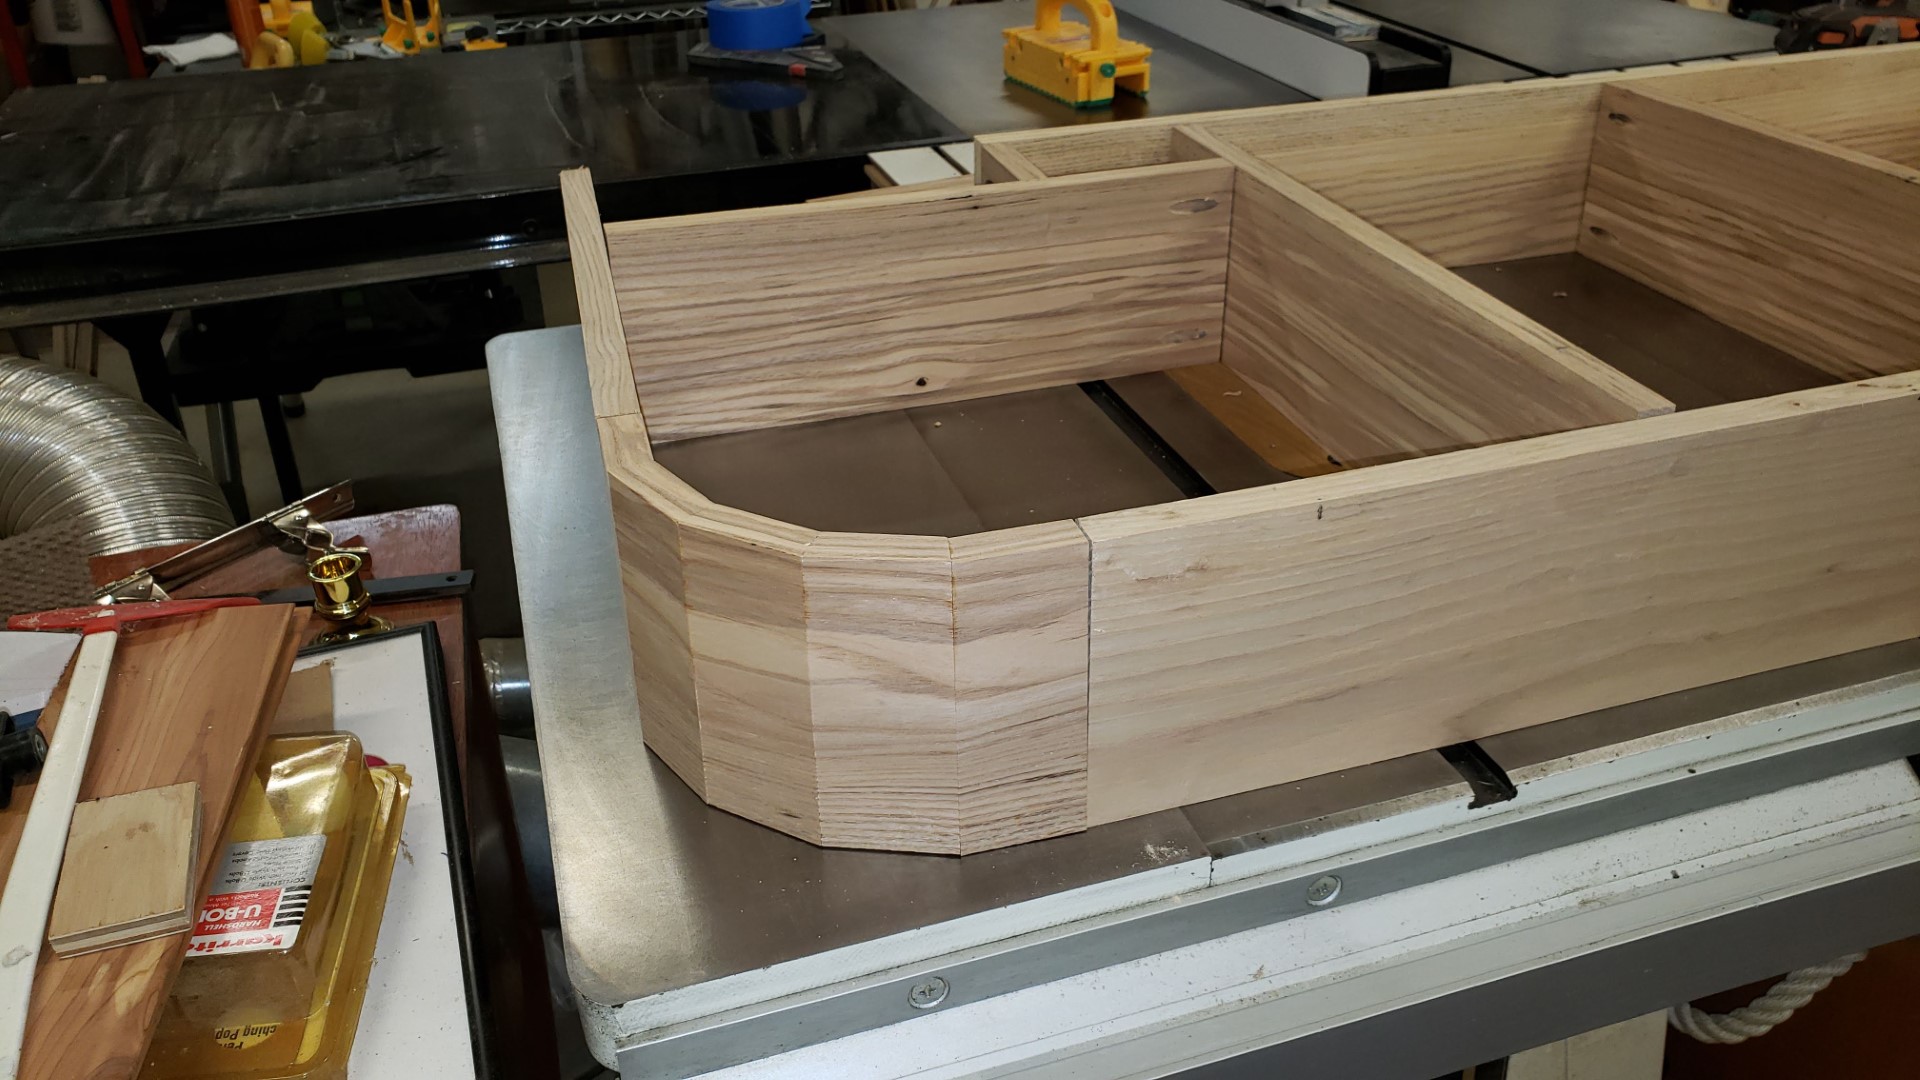
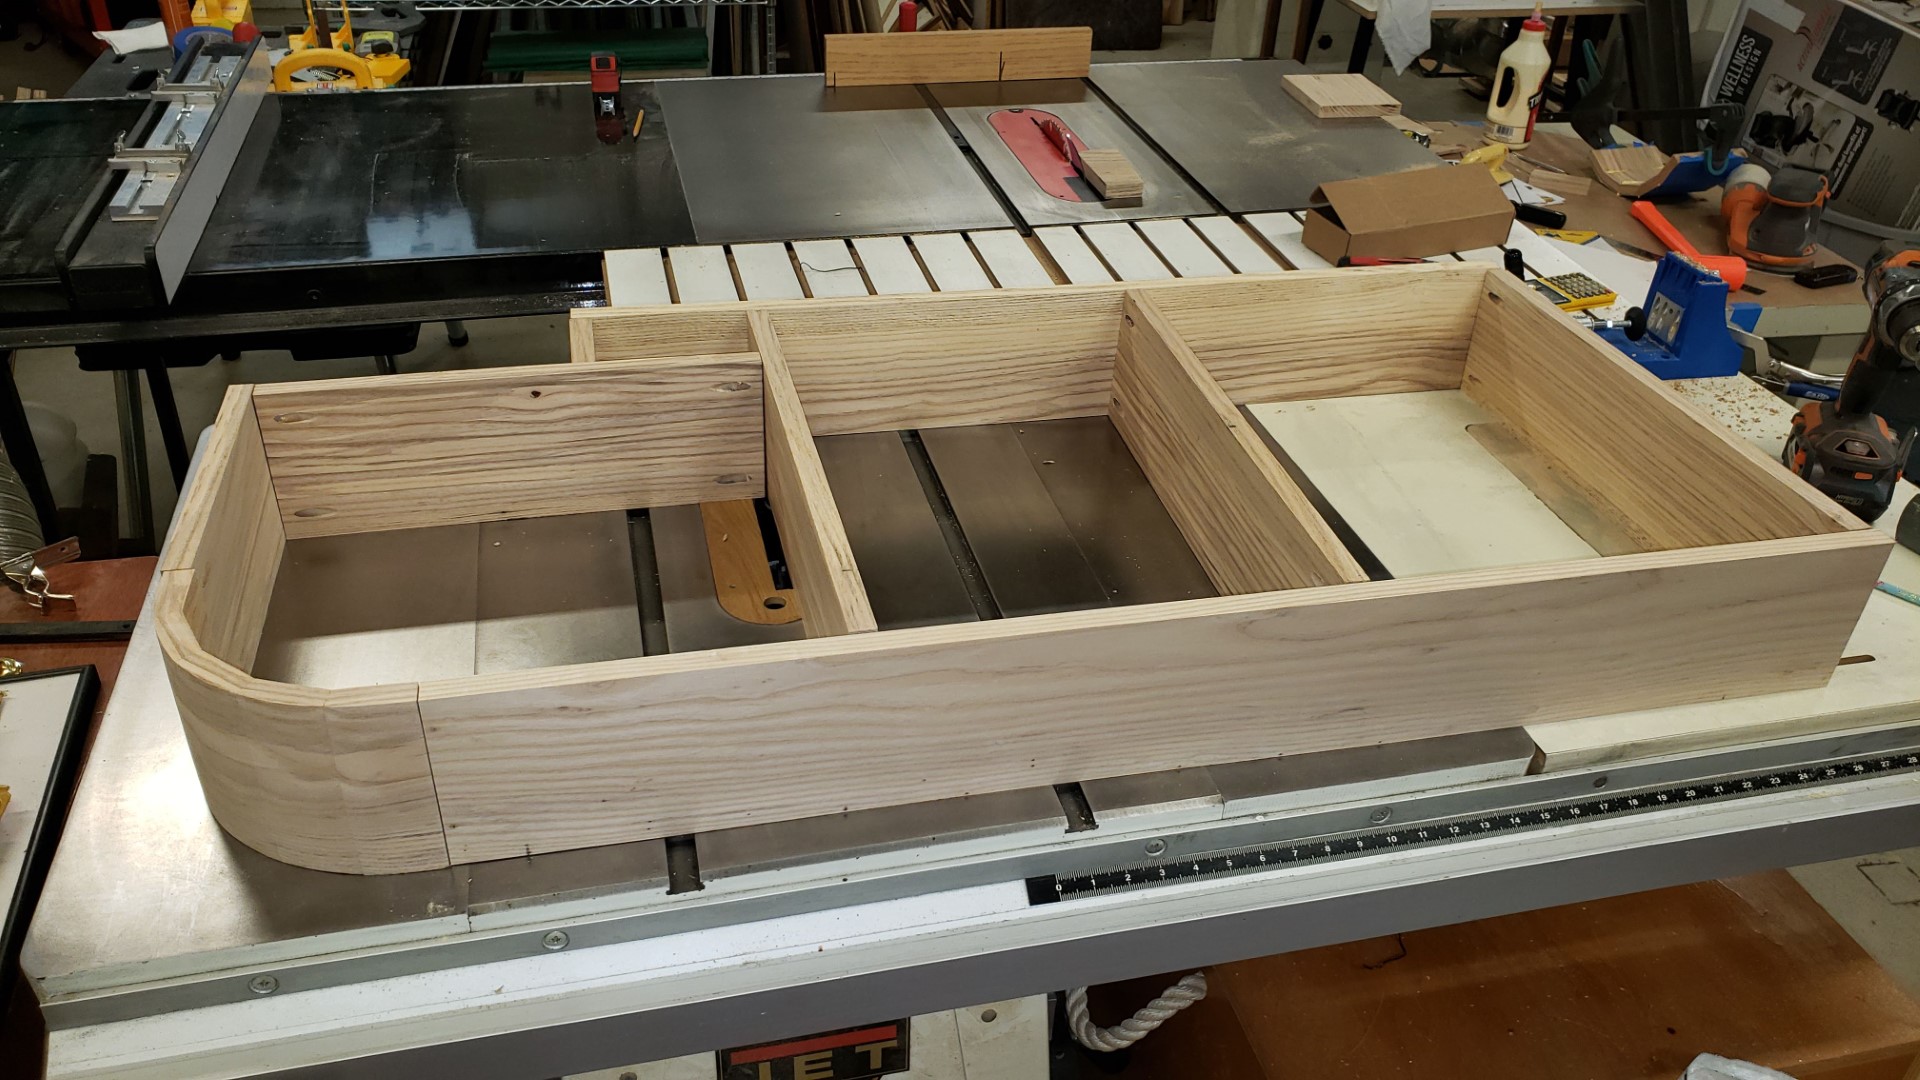
I made the base out of 6″ ash boards, and pocket screwed the majority of it together. For a little bit of interest, we decided to make the outside corner curved, with an approximately 6″ radius. The other side would be against the freezer that is next to the doorway.
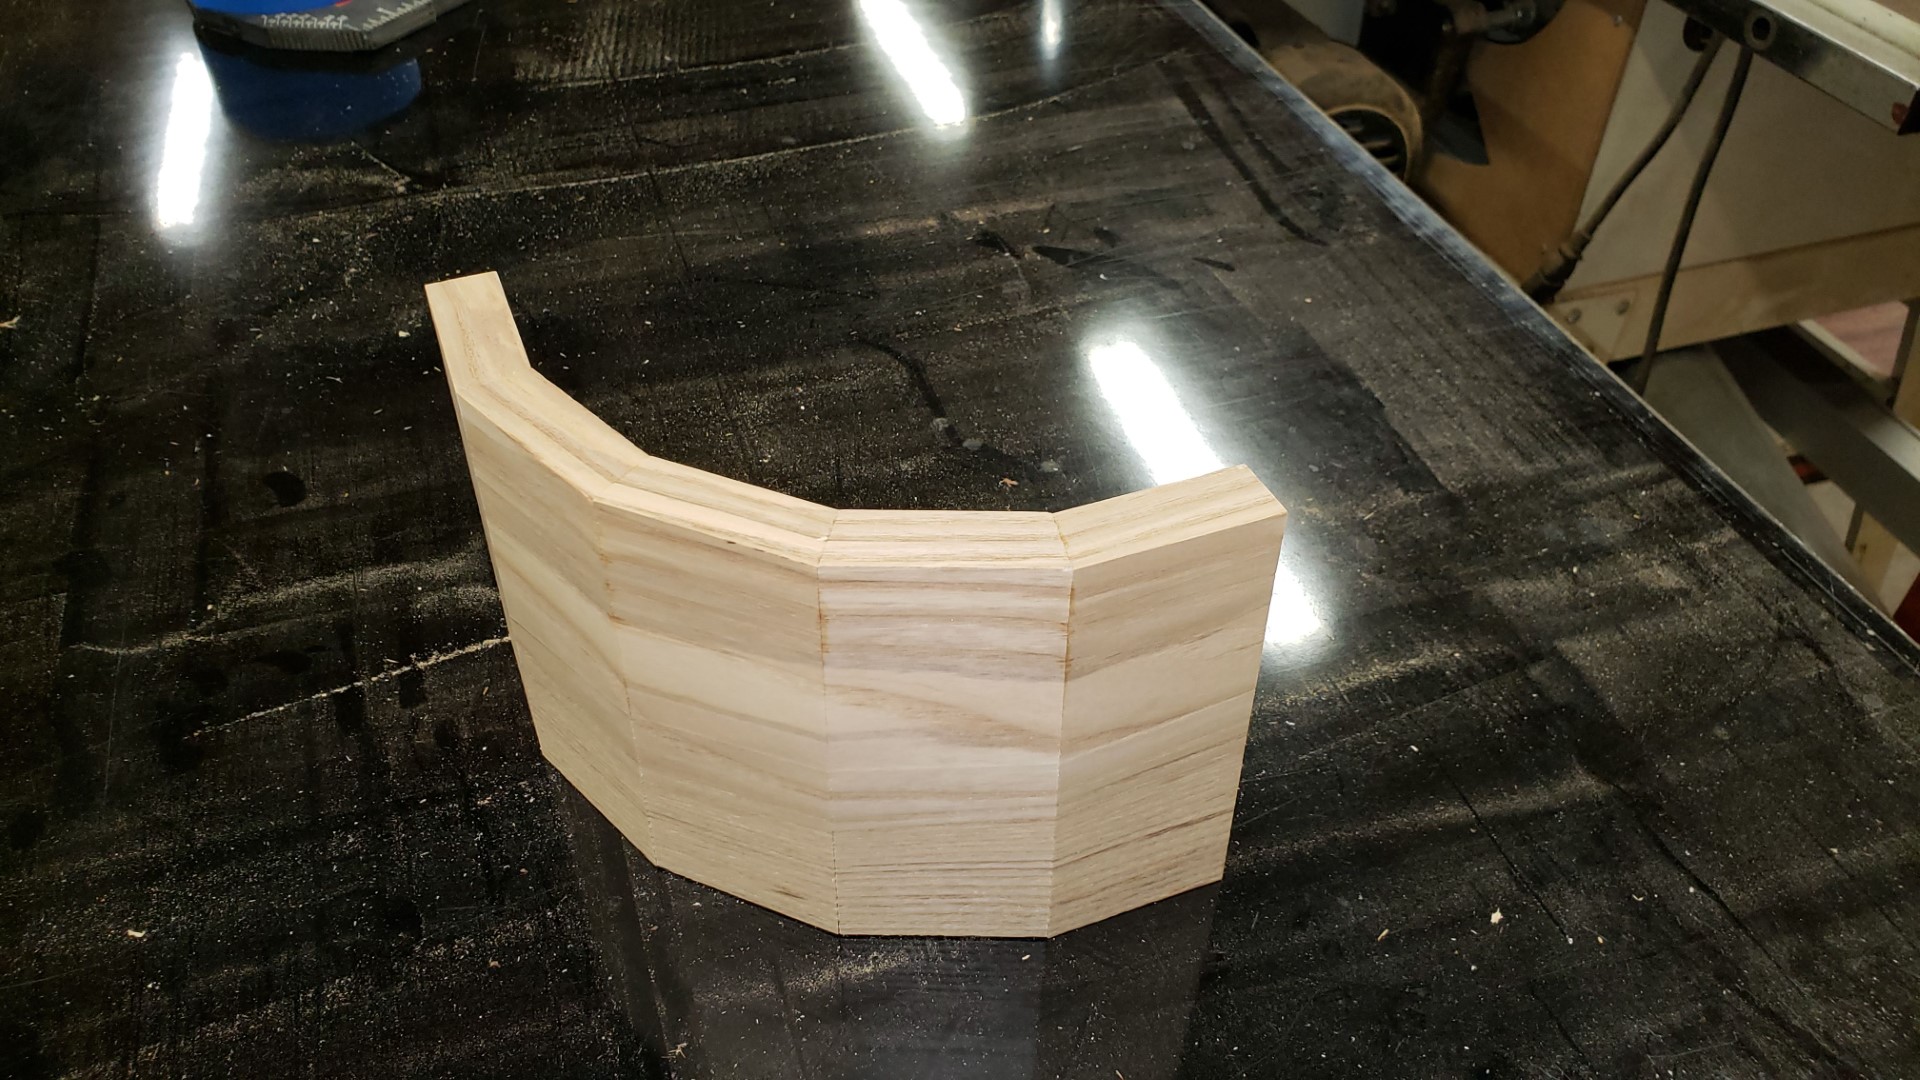
I made a mockup of the curve. (Actually, this would have been the curve had it turned out a little better.)
You can’t tell from the pic, but it was a little twisted. Time to make it a little more precisely.
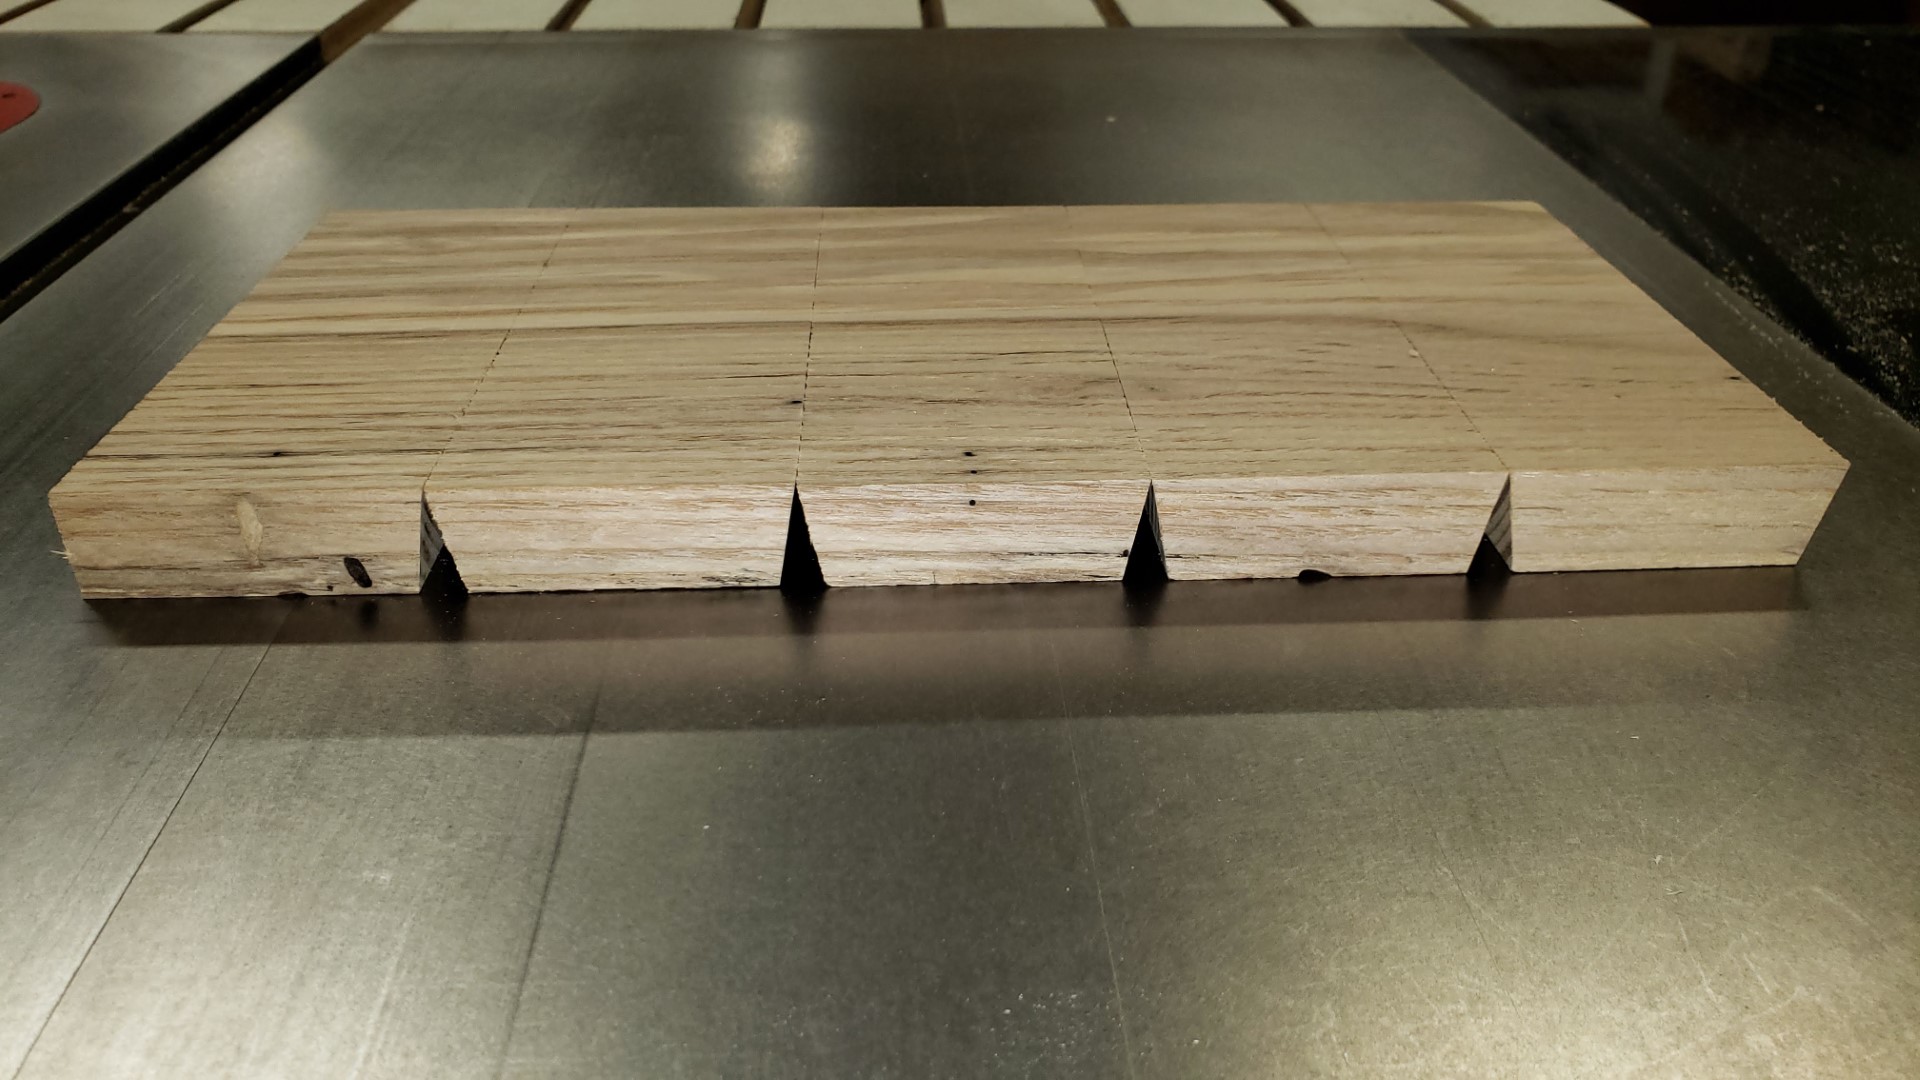
There are 5 segments in the curve, with a 22 1/2 degree bevel in between. So each piece had to have an 11 1/4 degree angle cut on it. The outside pieces would not have a bevel. Since the angle gauge on the tablesaw is not that precise, it just had to be estimated. We can always square up the ends when the entire piece is assembled.
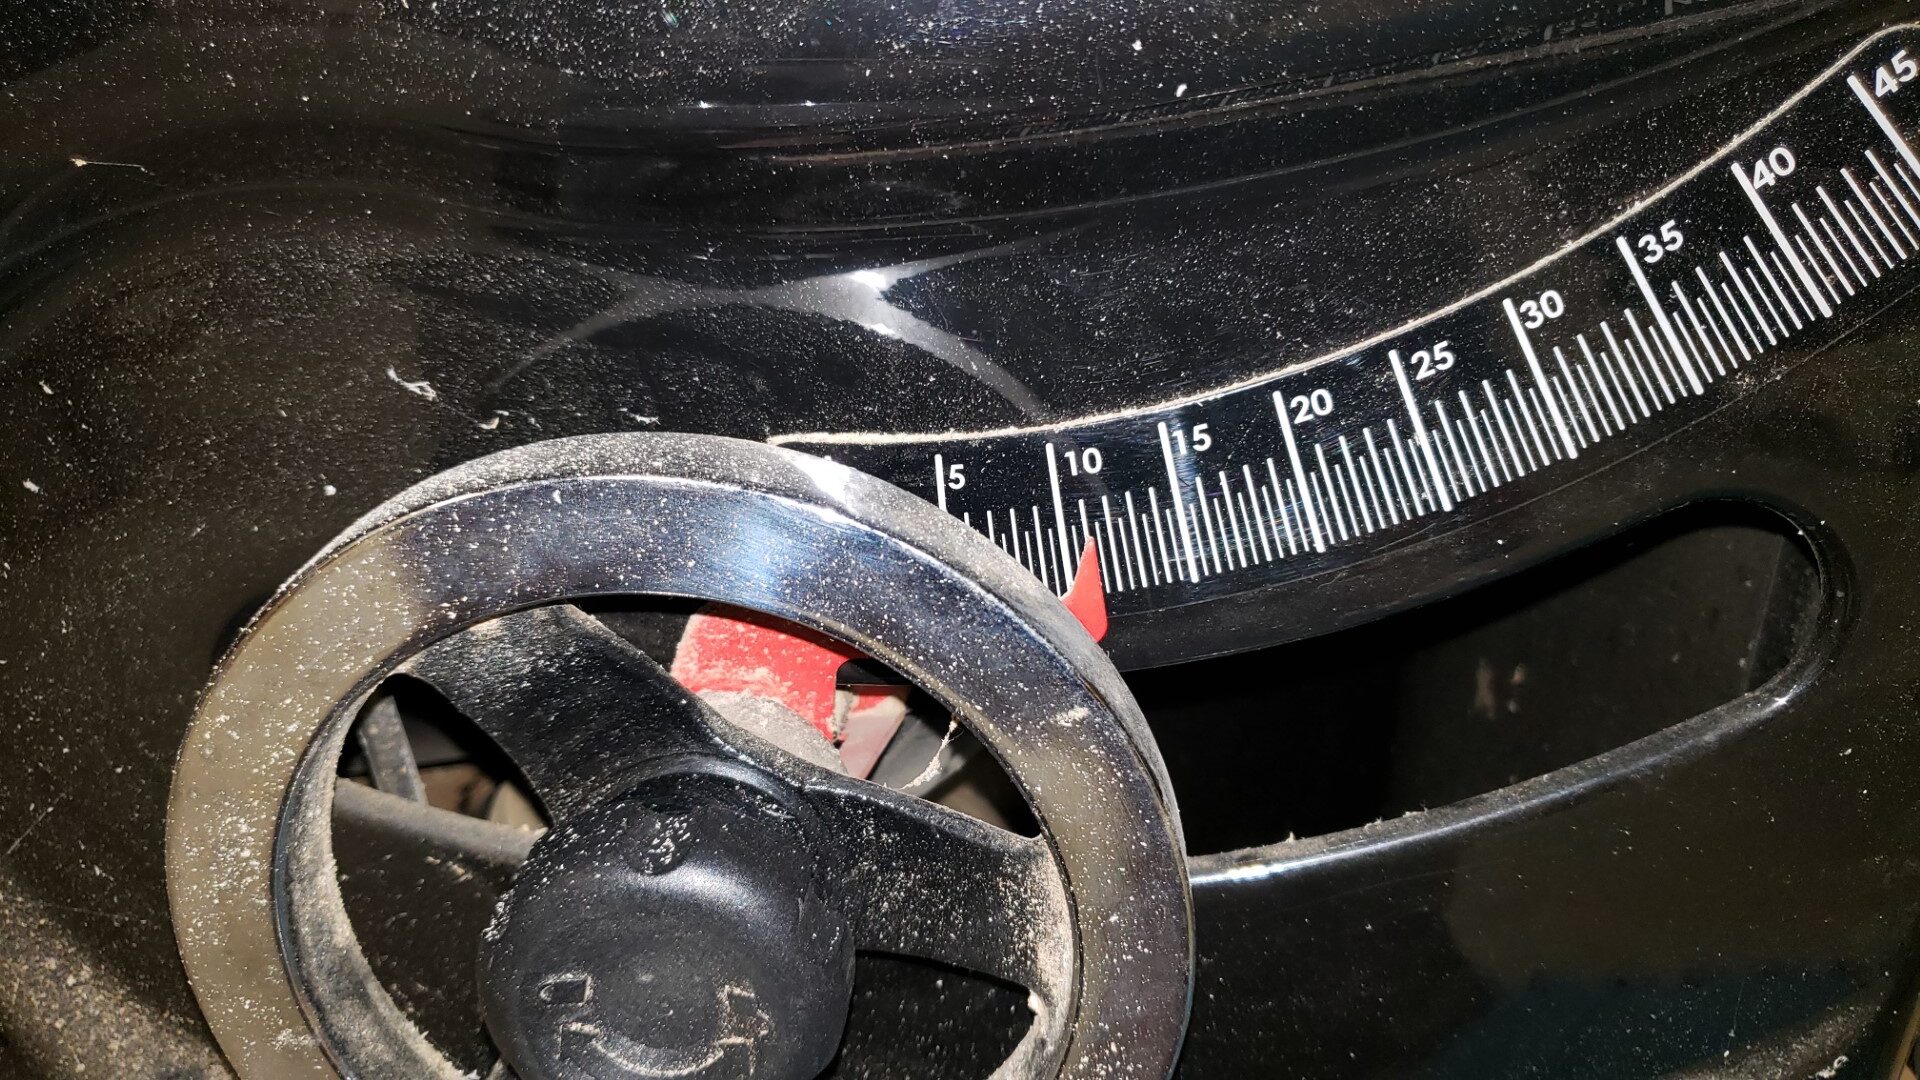
Using my mark 1 eyeball, I could see that this looks almost exactly 11 1/4 degrees. (Digital angle gauge confirmed it.)
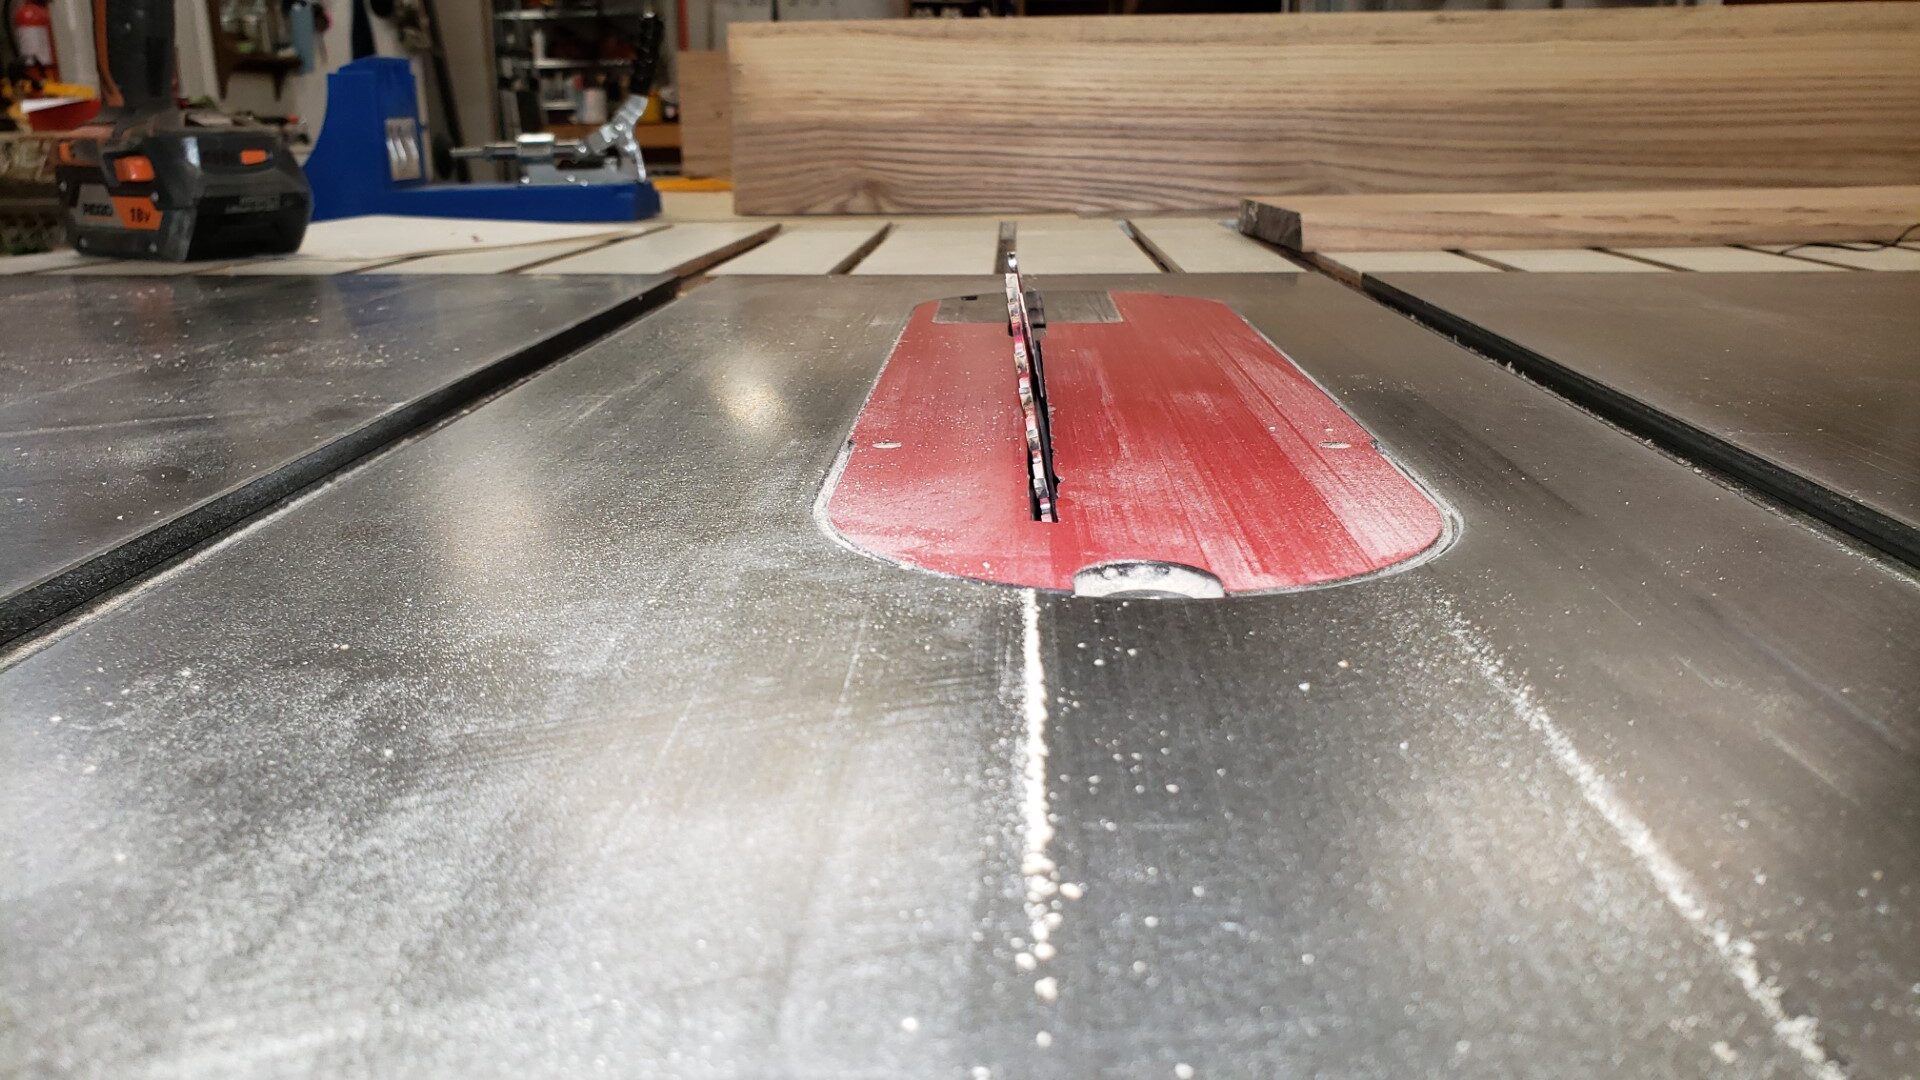
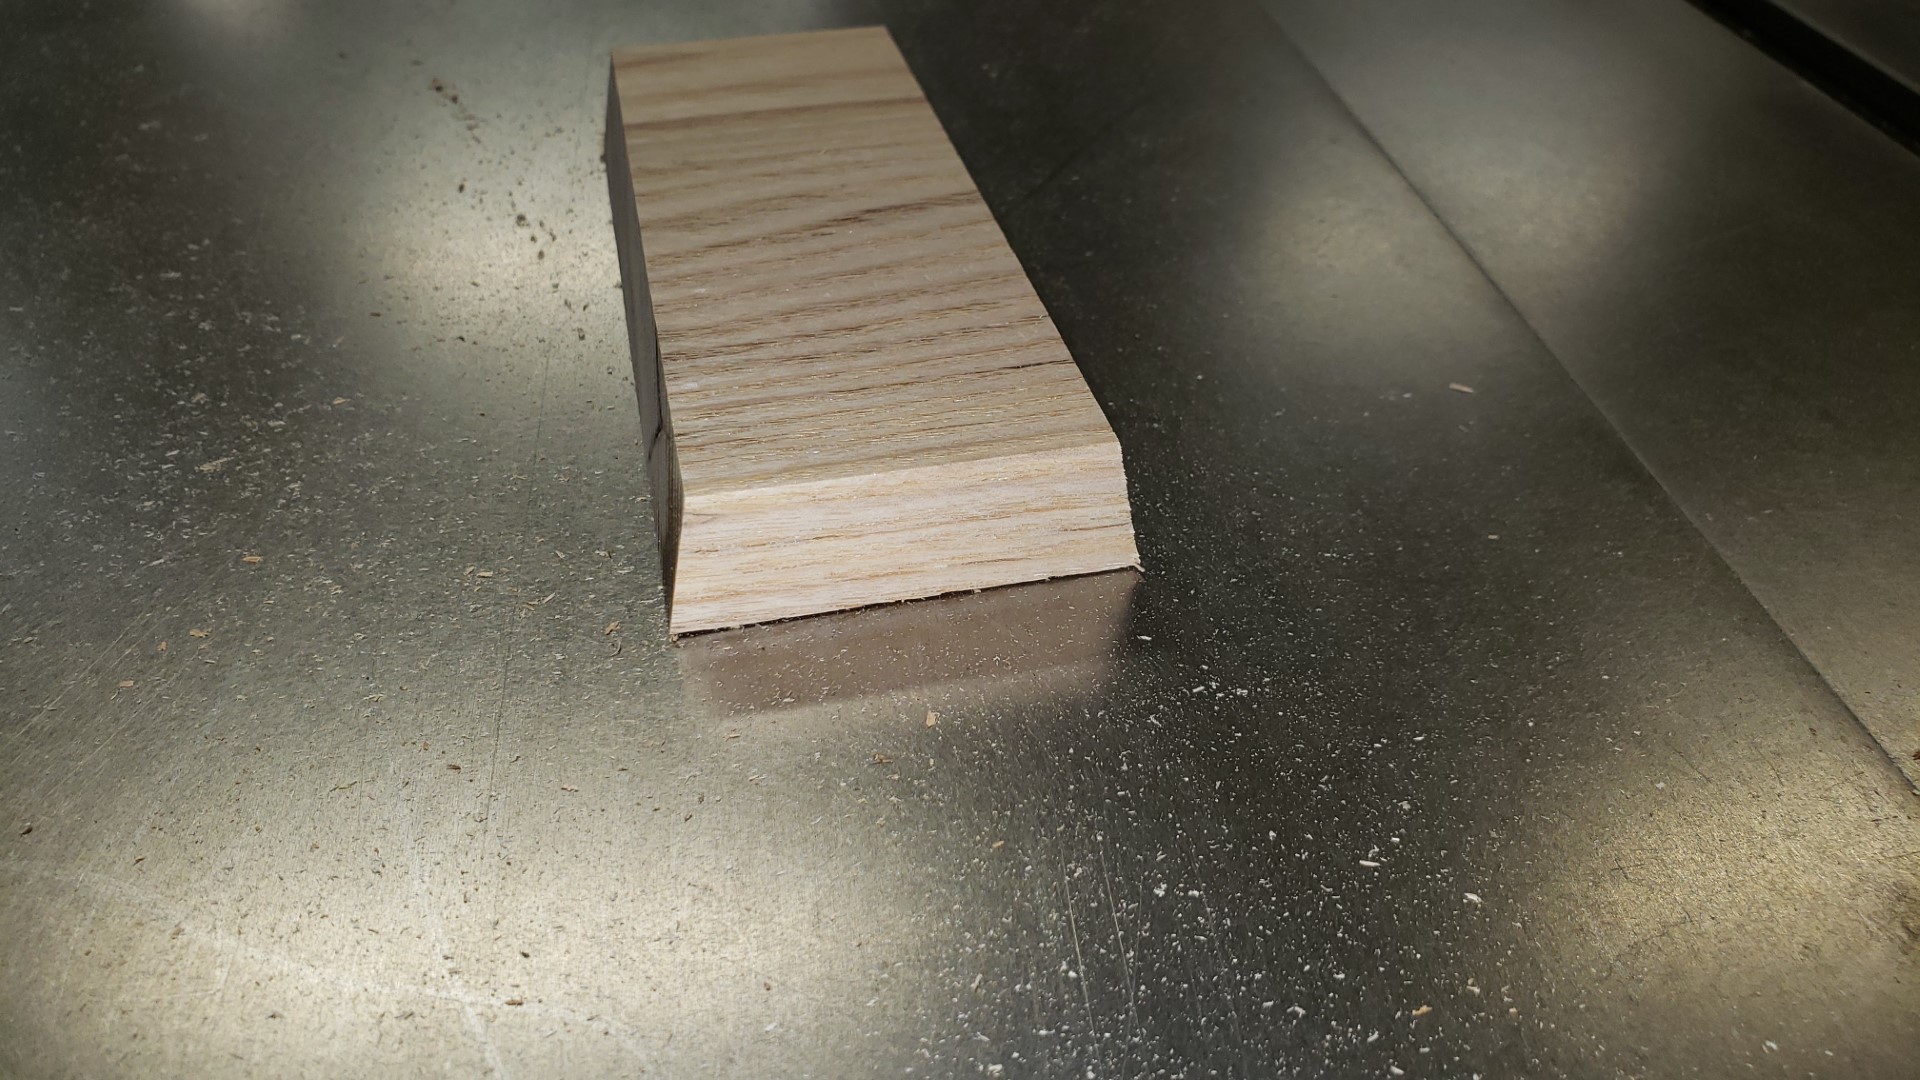
I cut the angle on the first piece.
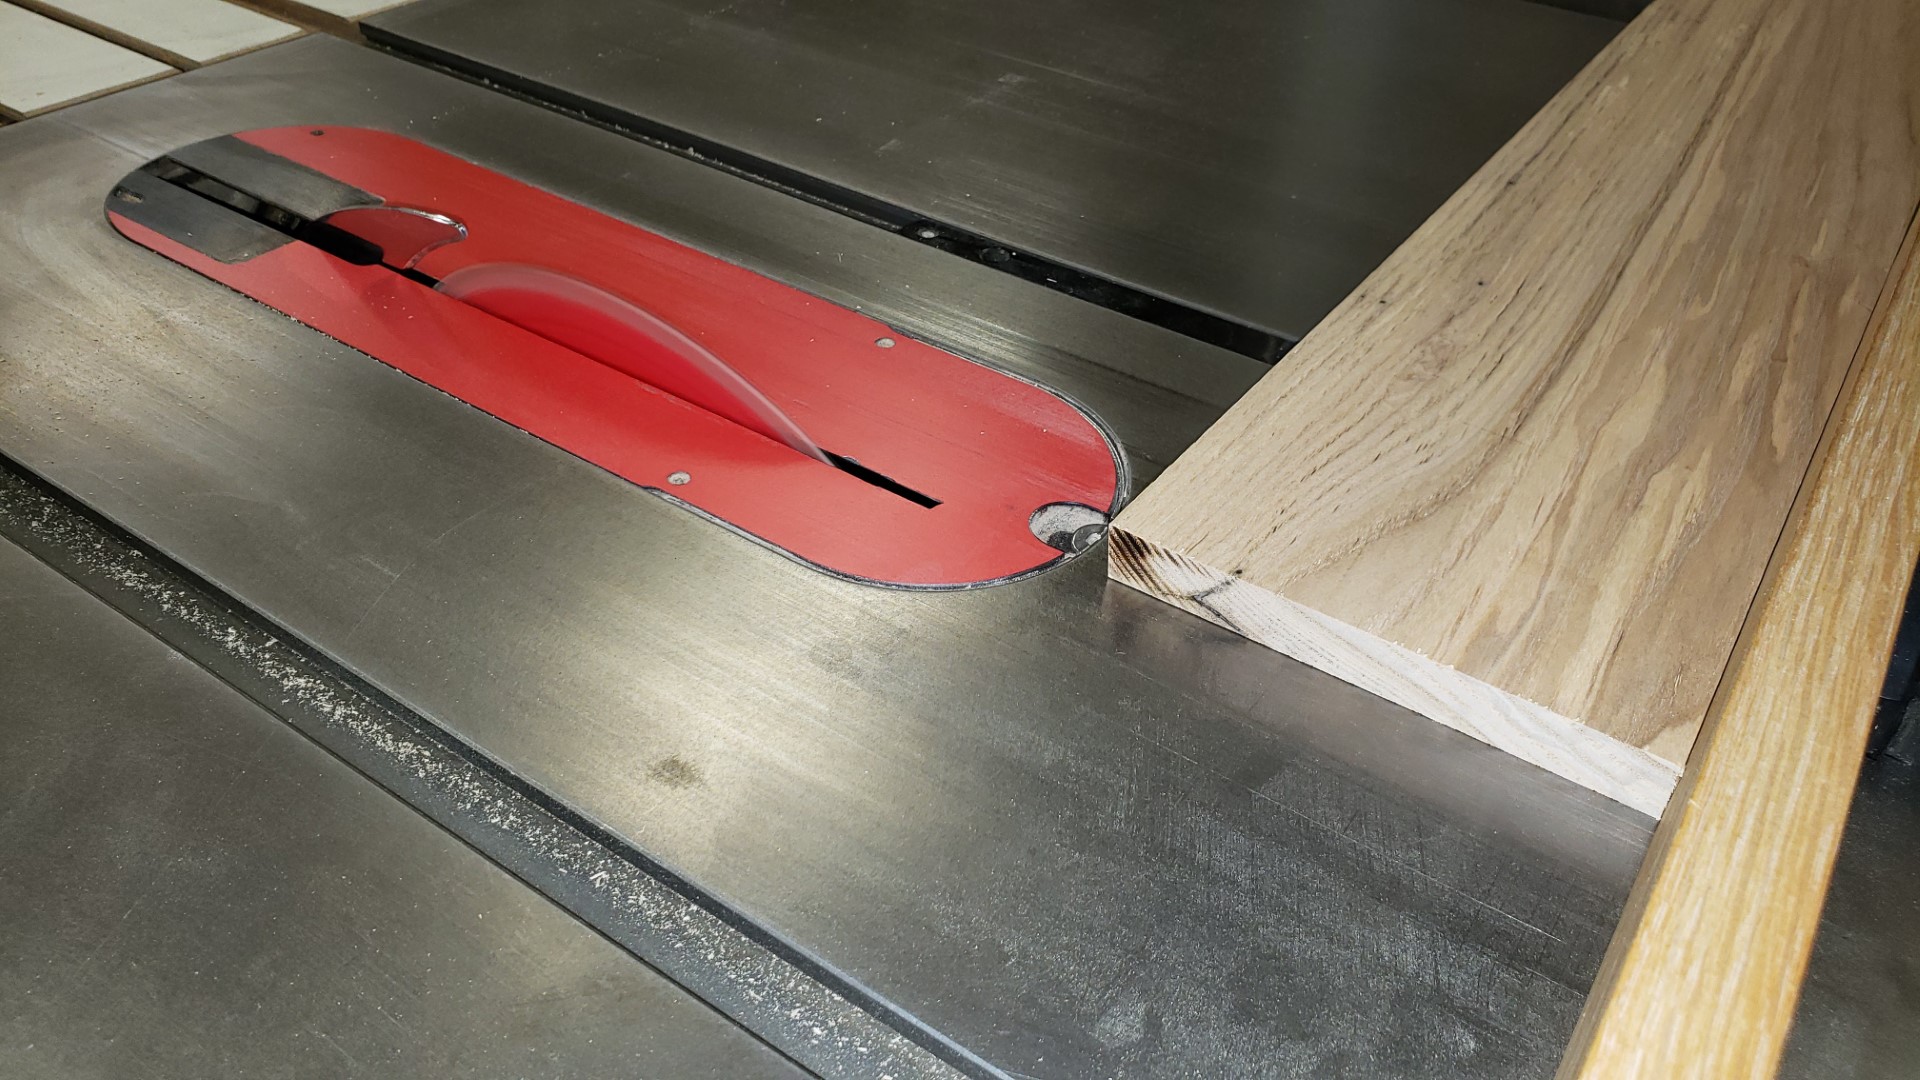
Flip it upside down and move over 2″ and make the second cut.
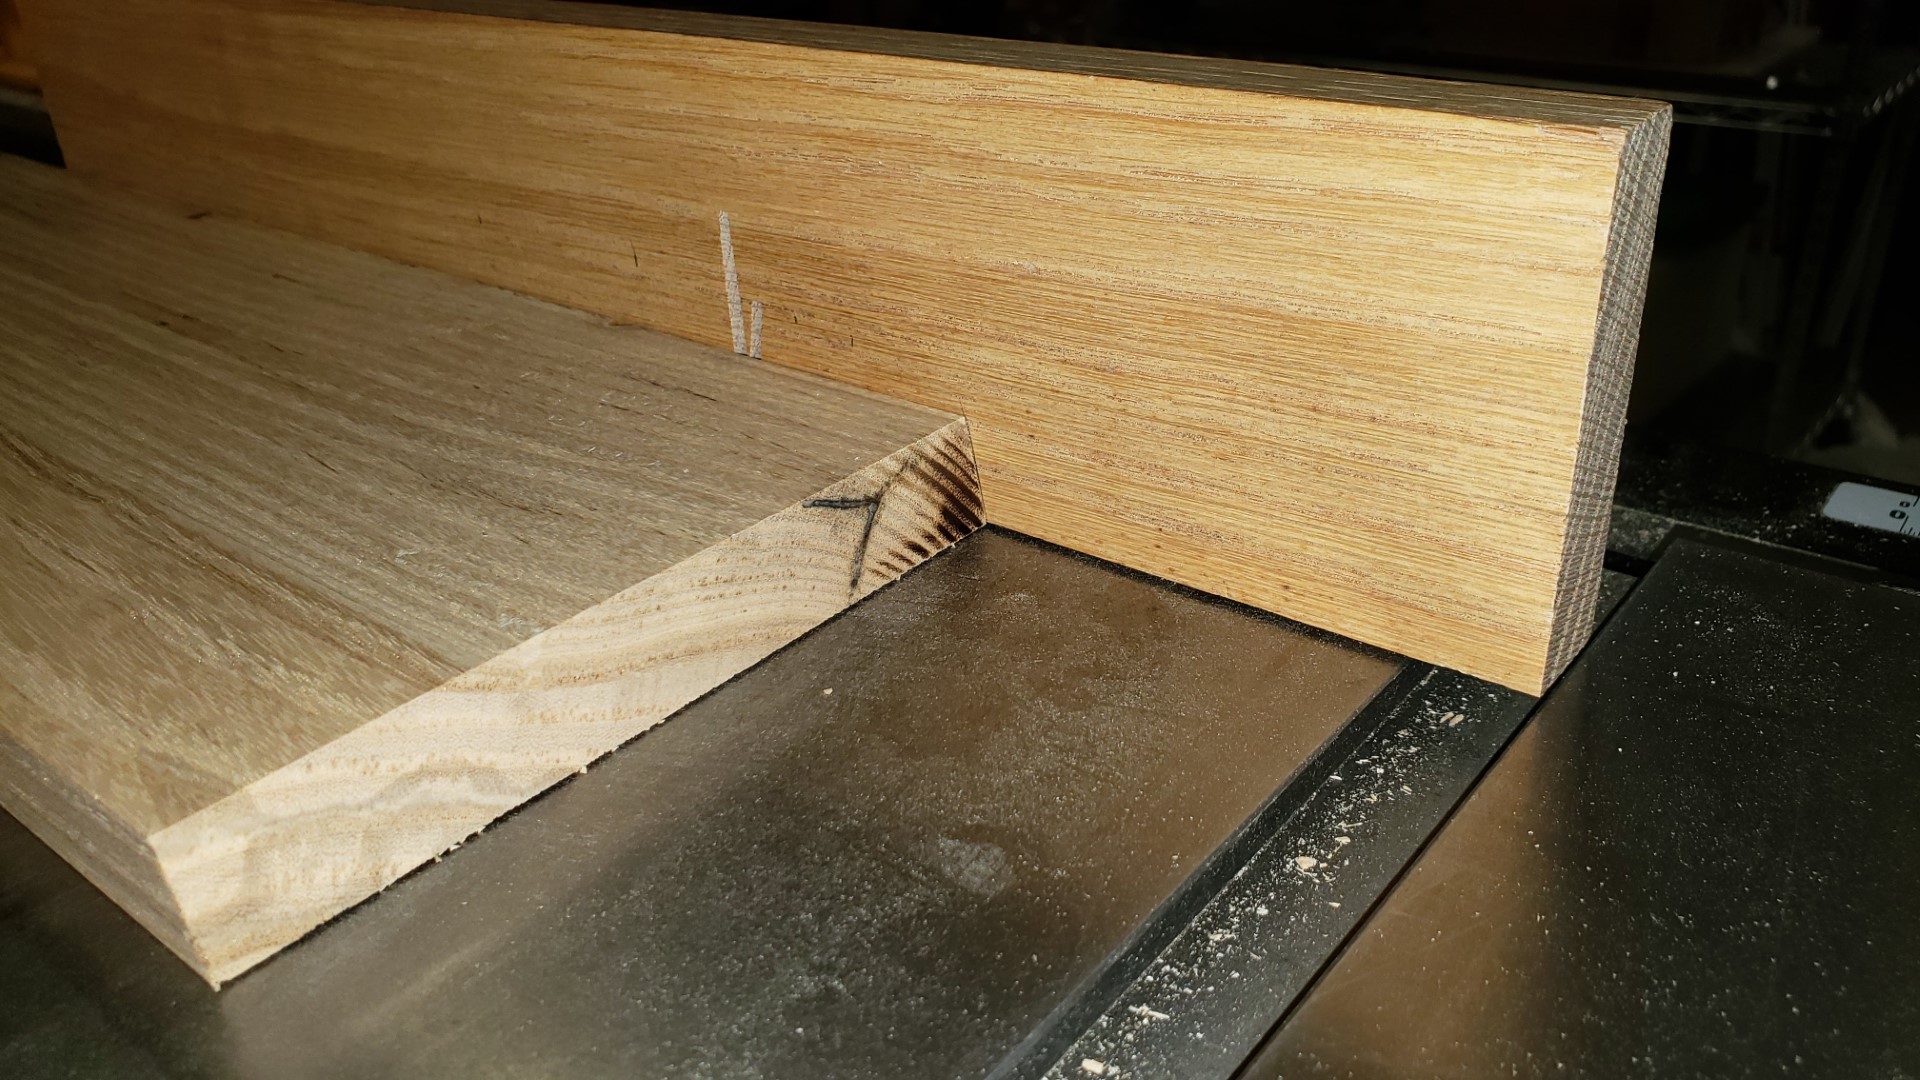
You can see the trapezoid profile.
The pieces are arranged in order.
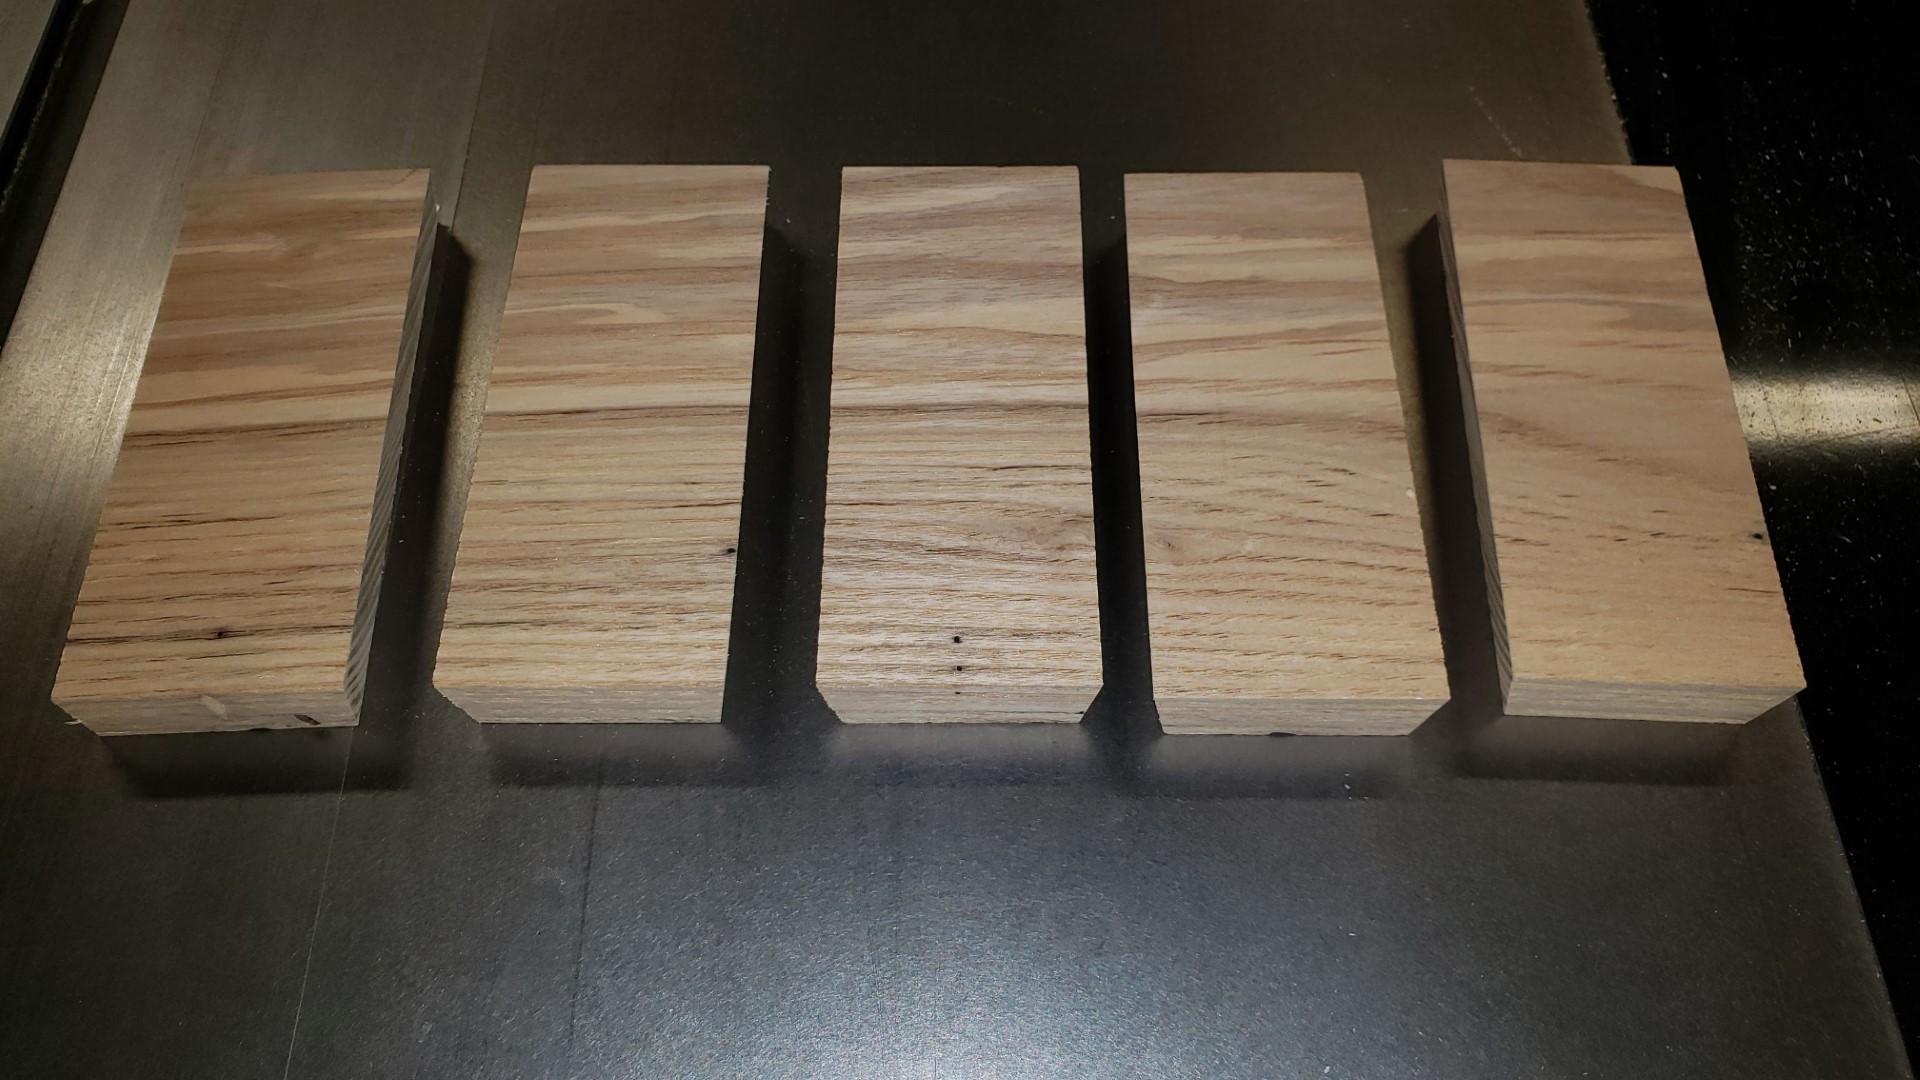
Butted together tightly.
Then taped with blue tape.
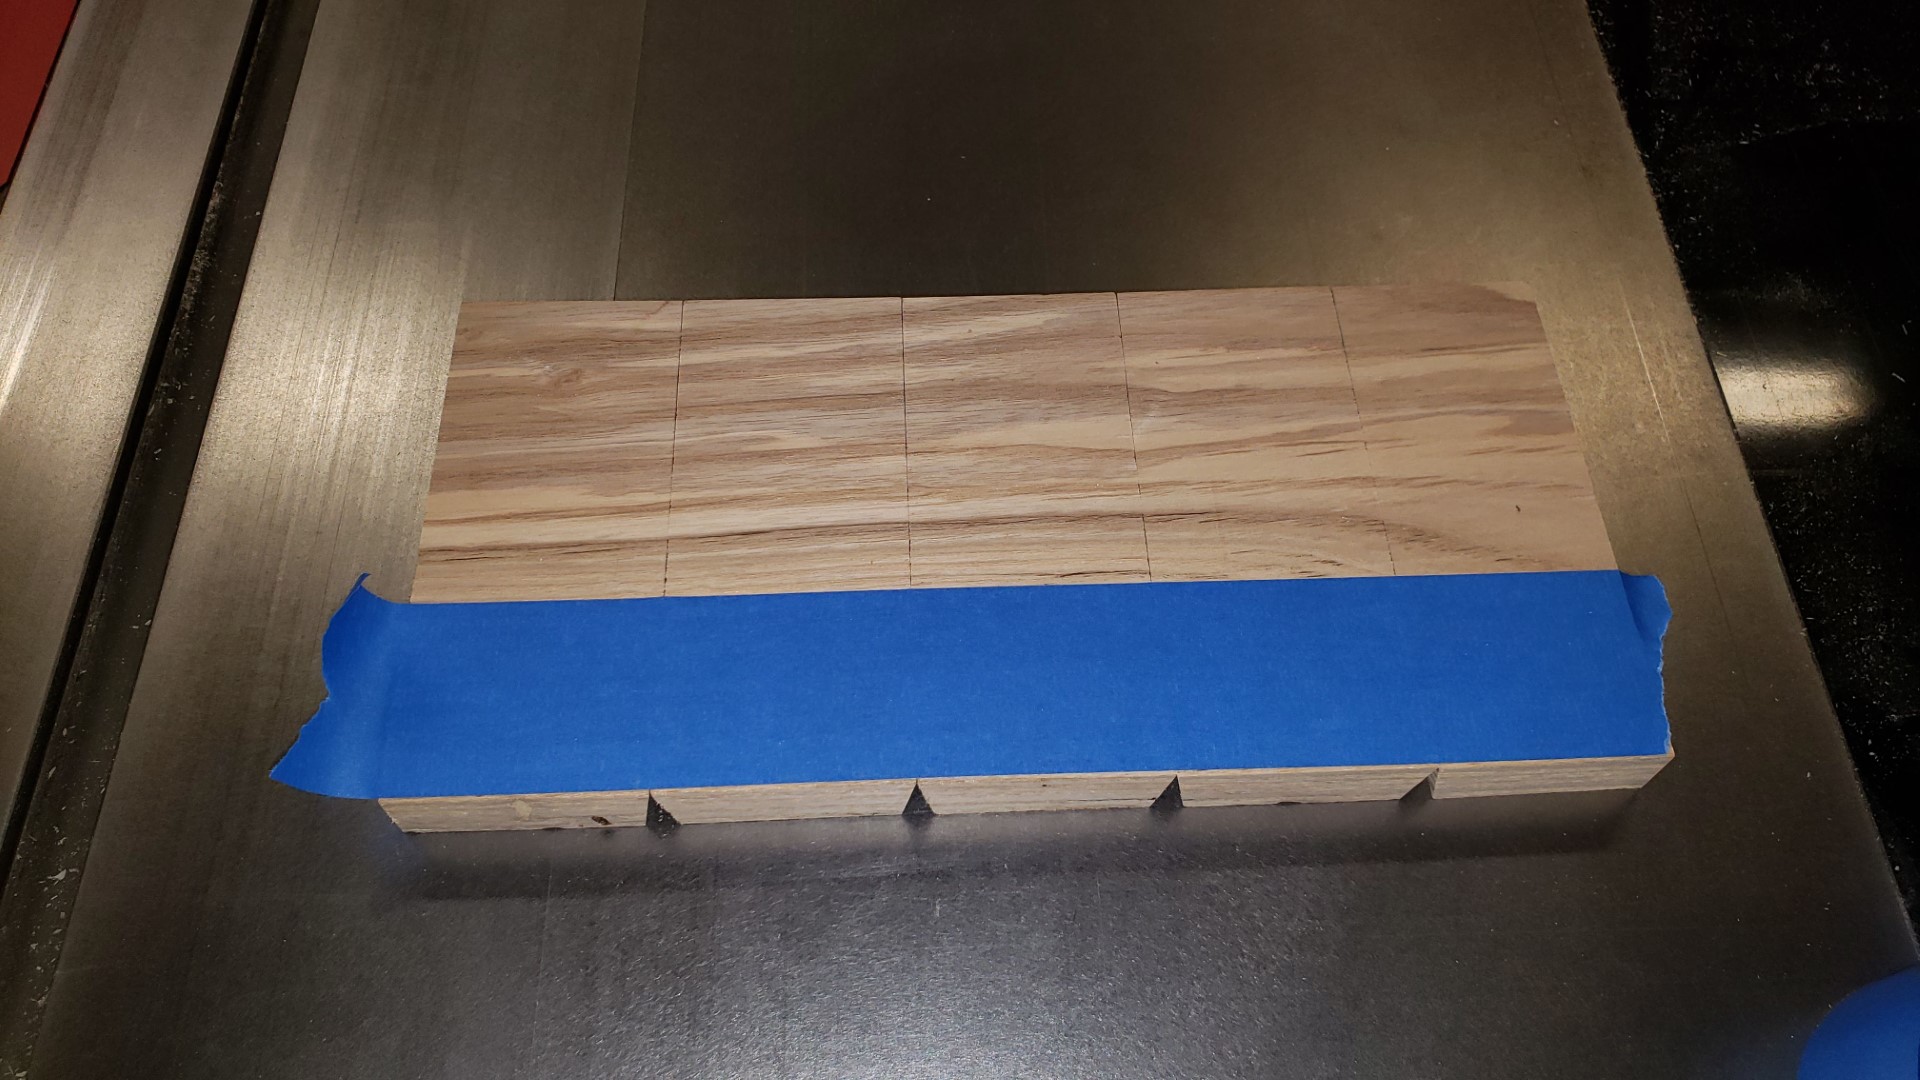
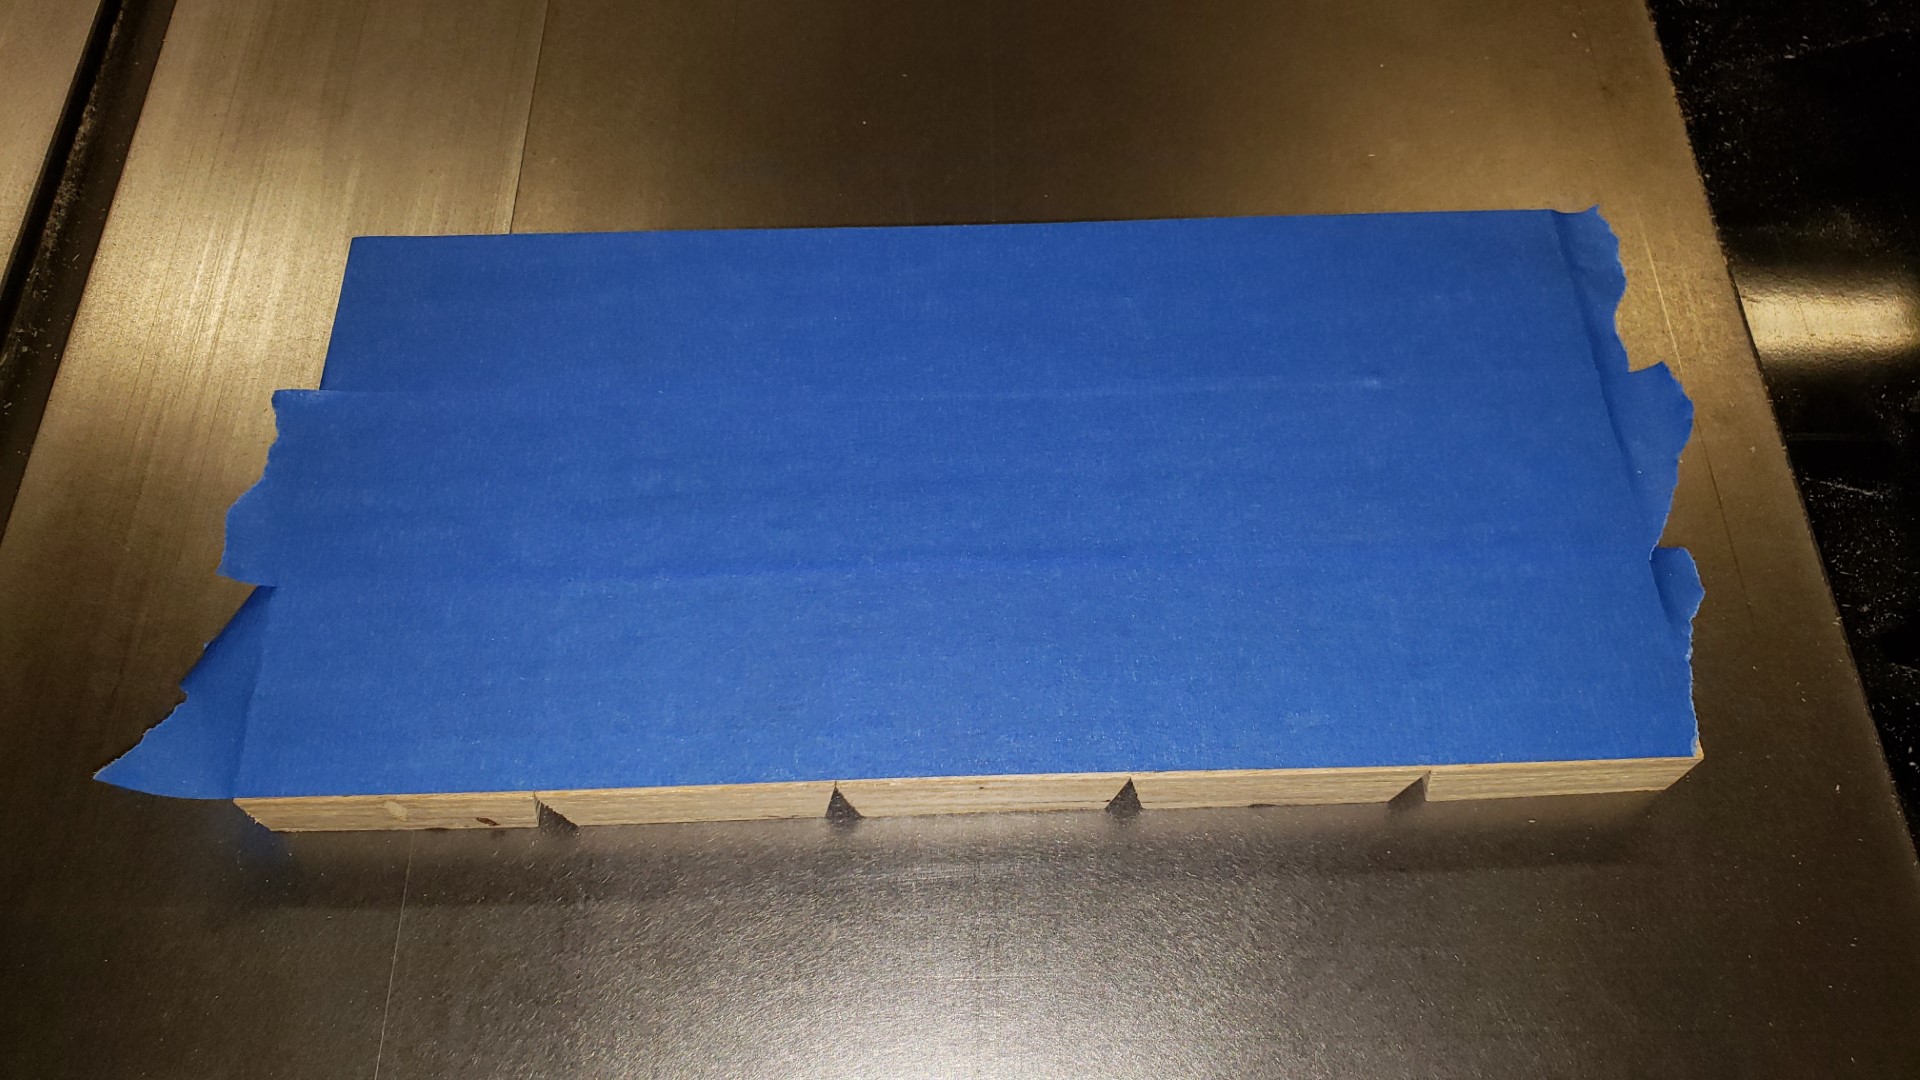
Here’s the taped together piece
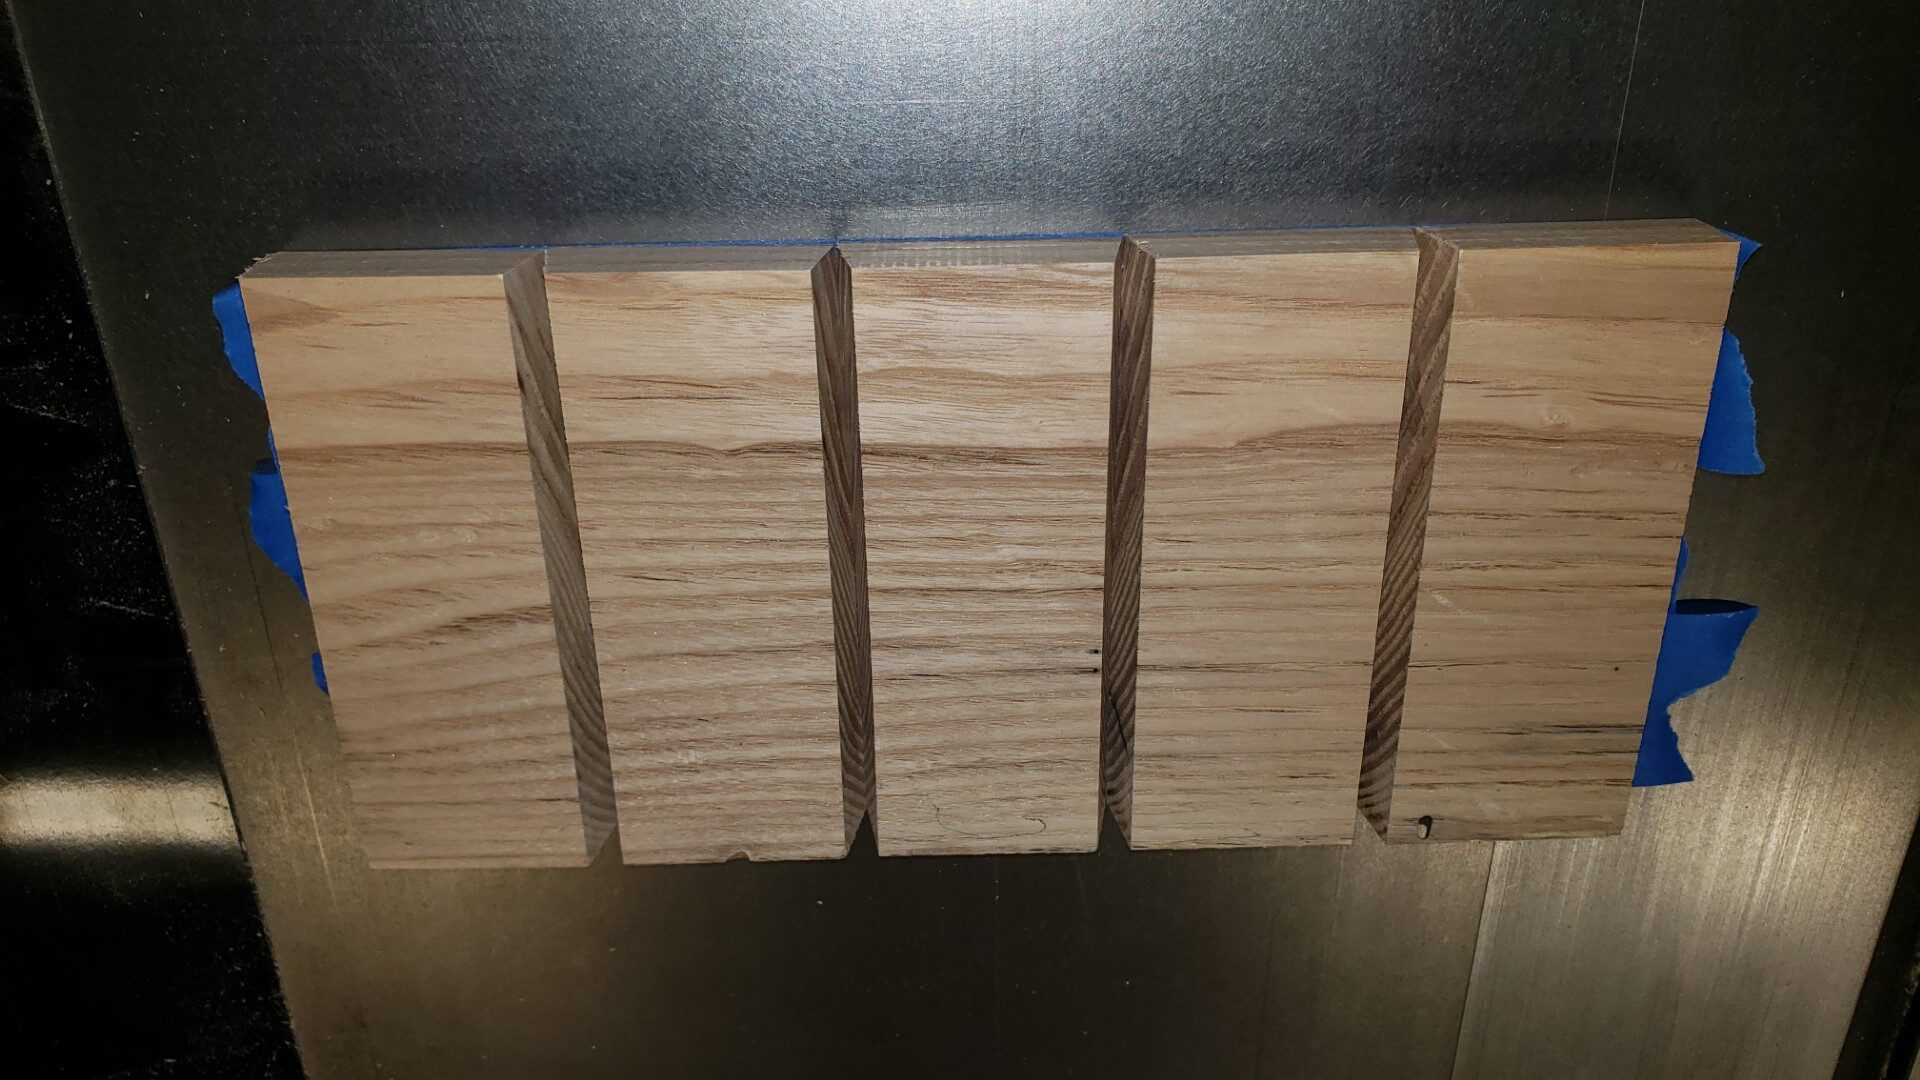
You can see how it starts to come together.
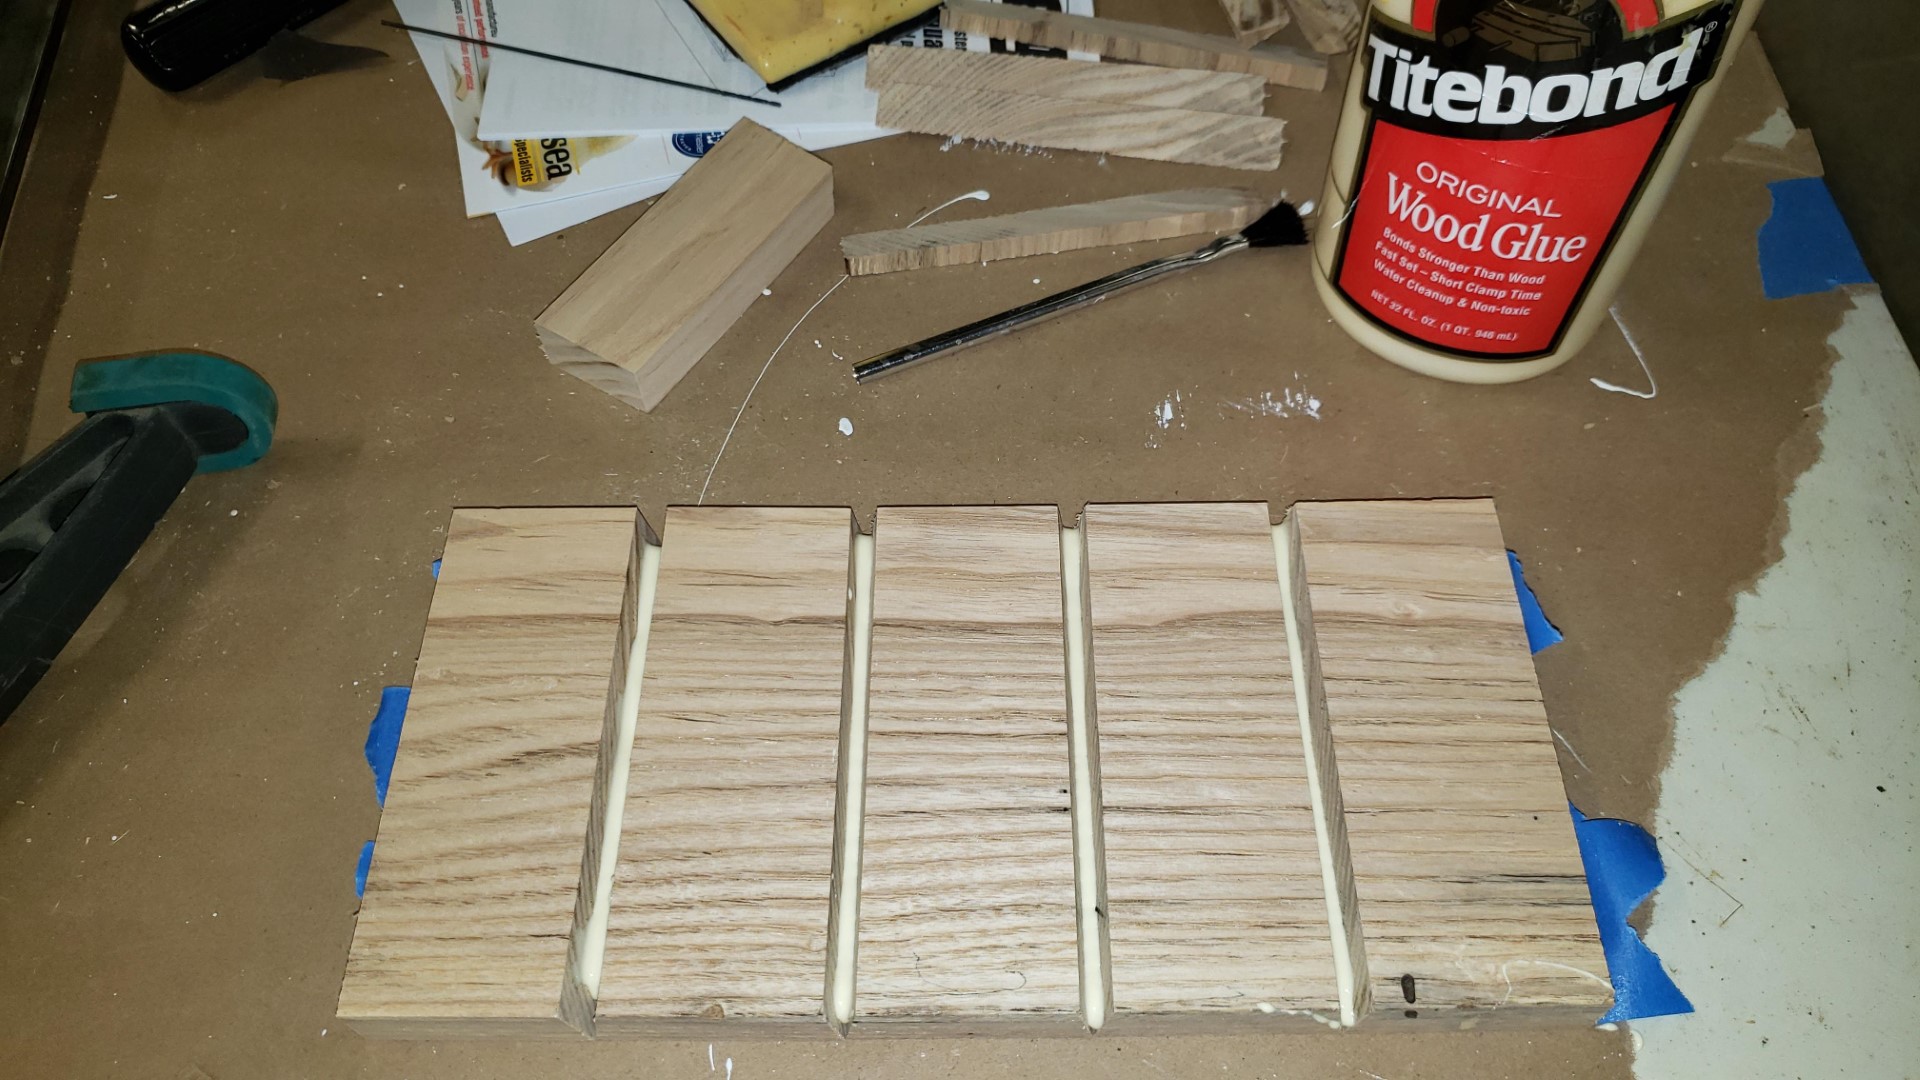
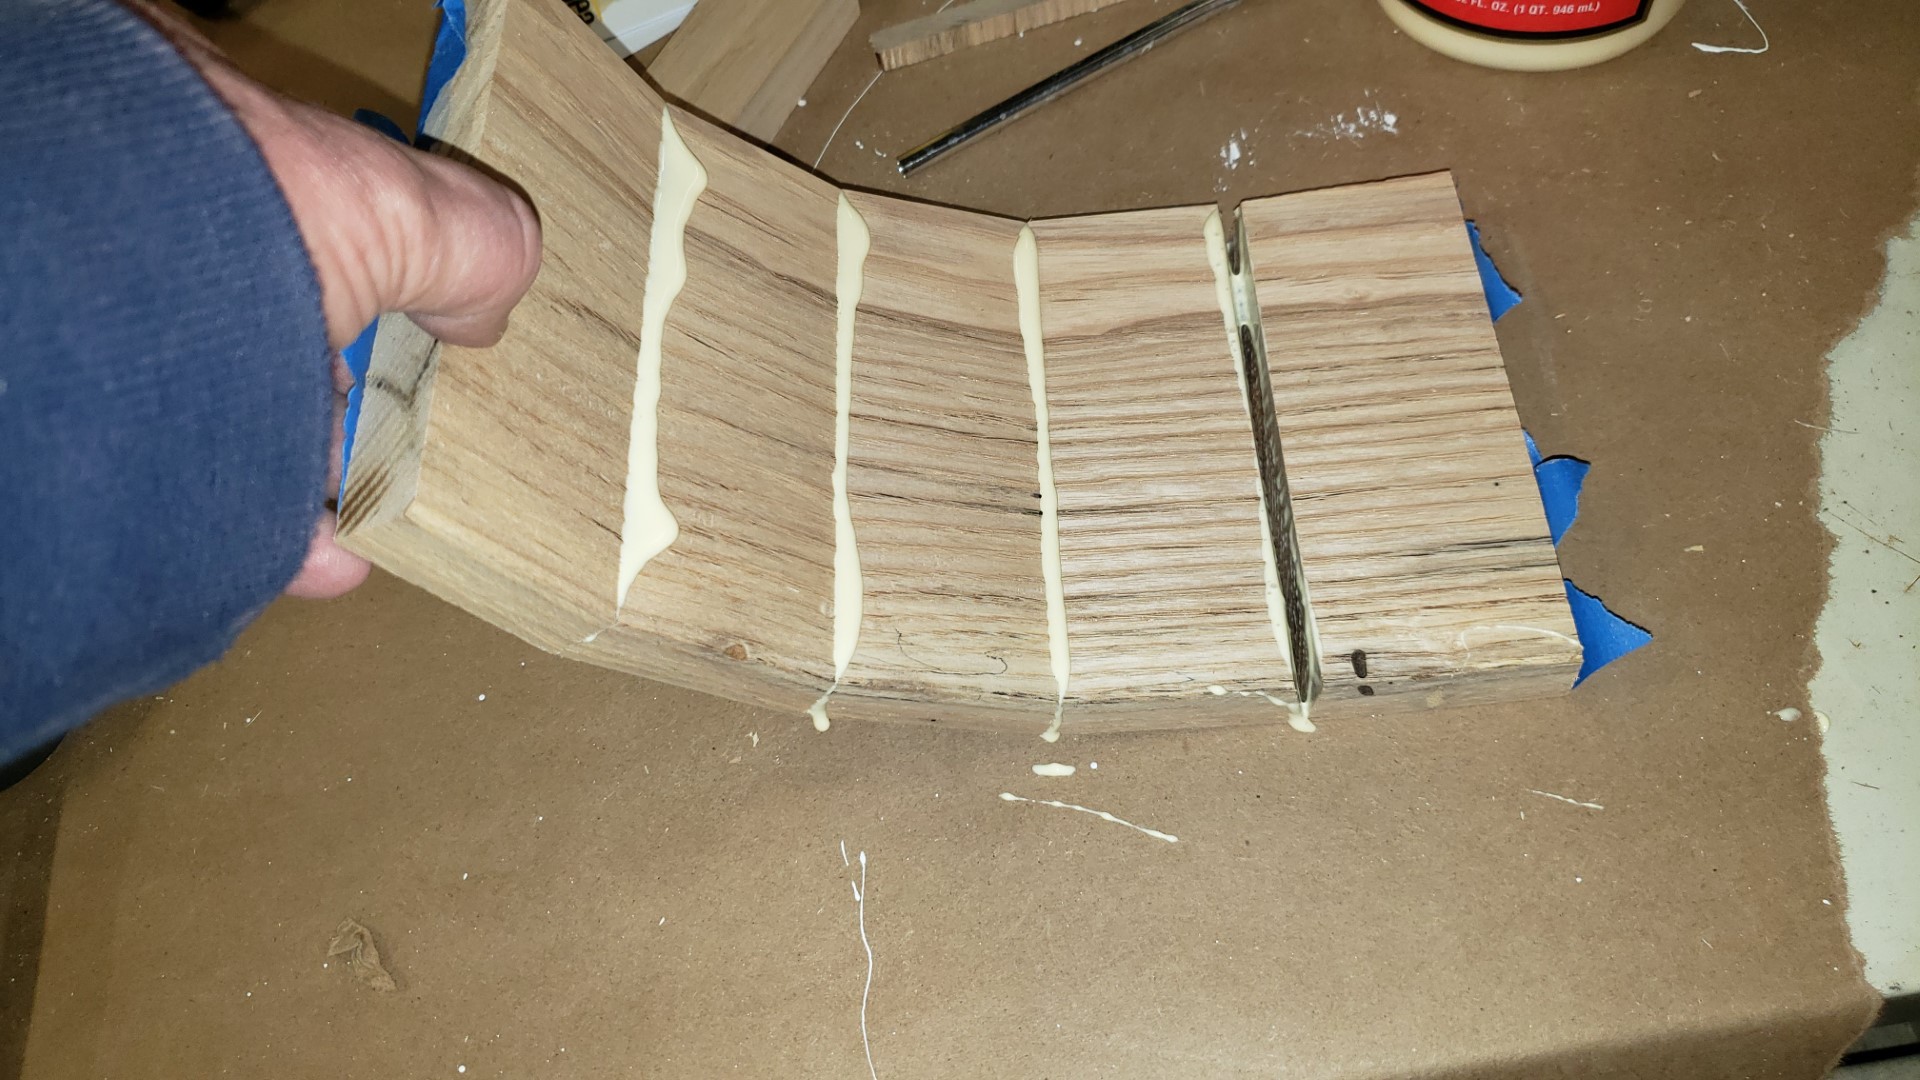
Glue is applied in each gap.
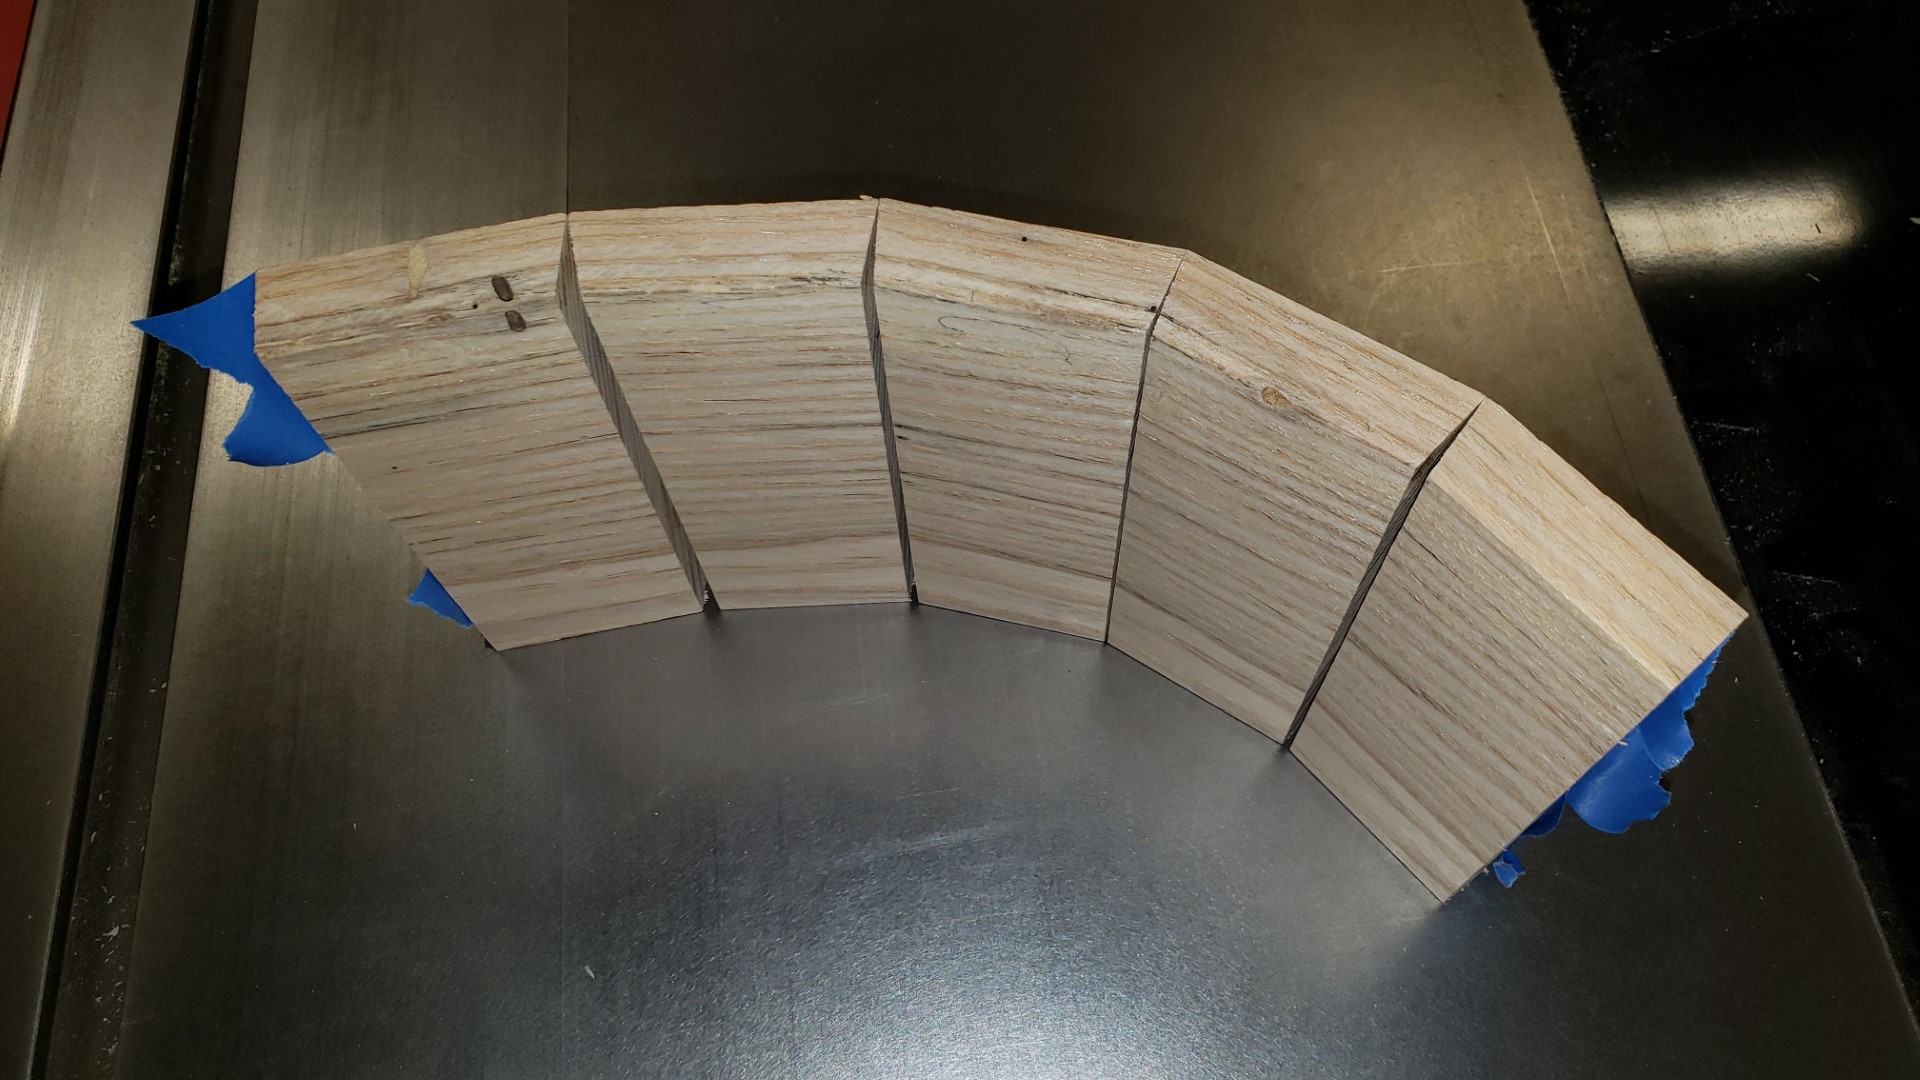
Then bent together.
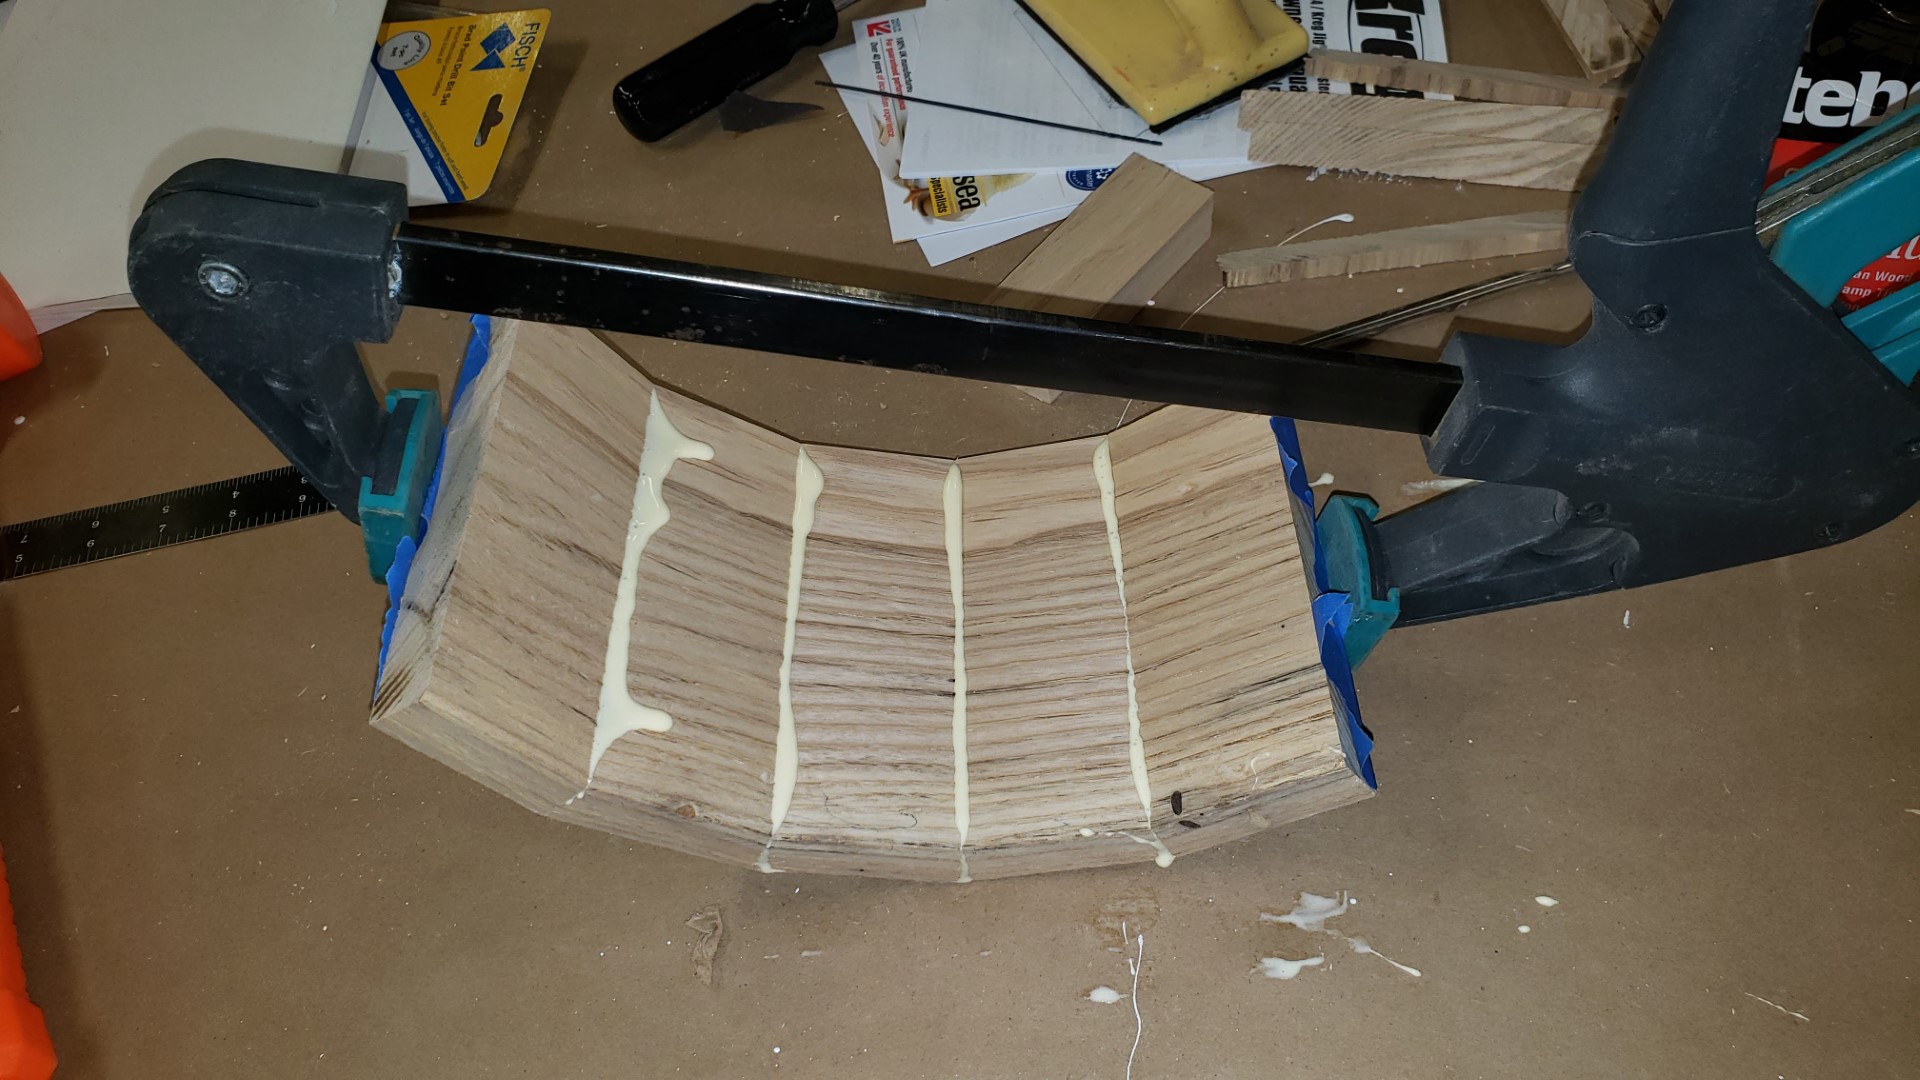
Clamped together, but not too tightly so as to break the tape.
Once set, the edges will be sanded on the belt sander.
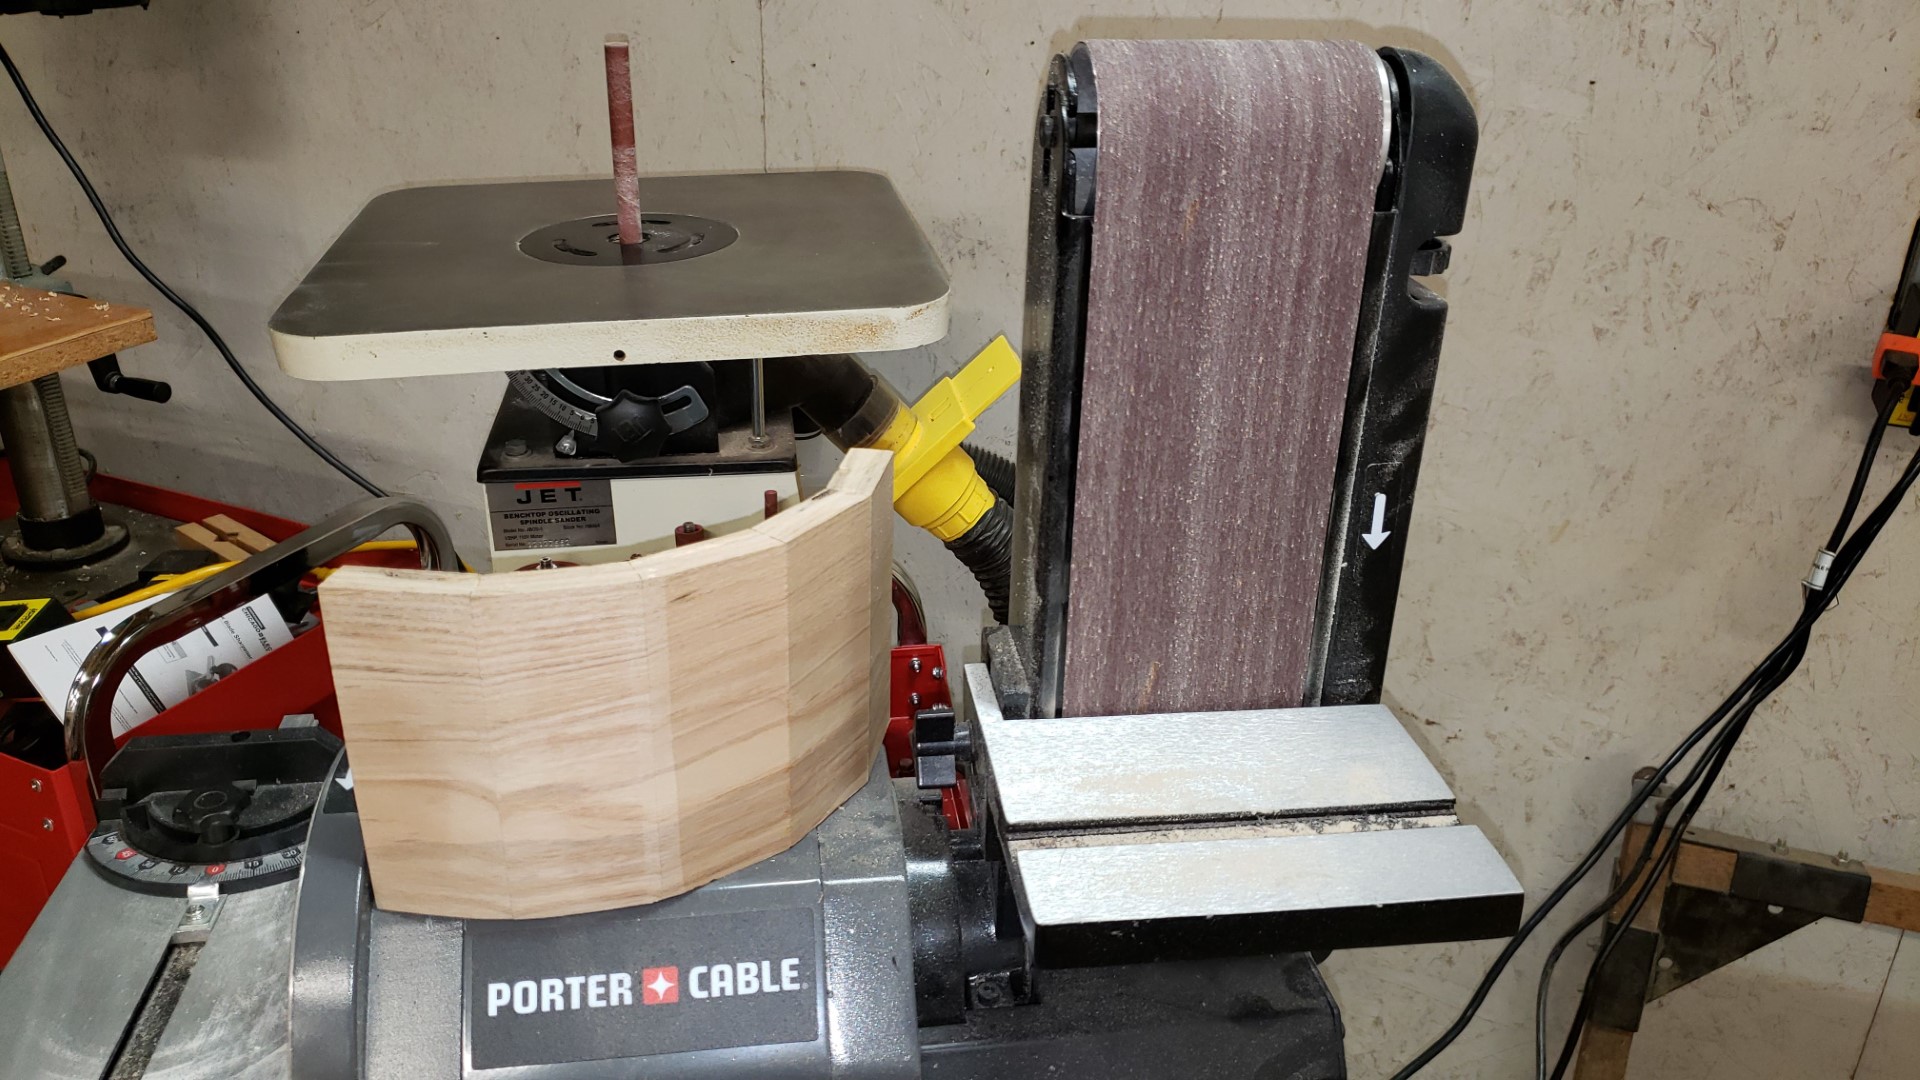
Gradually the curve develops.
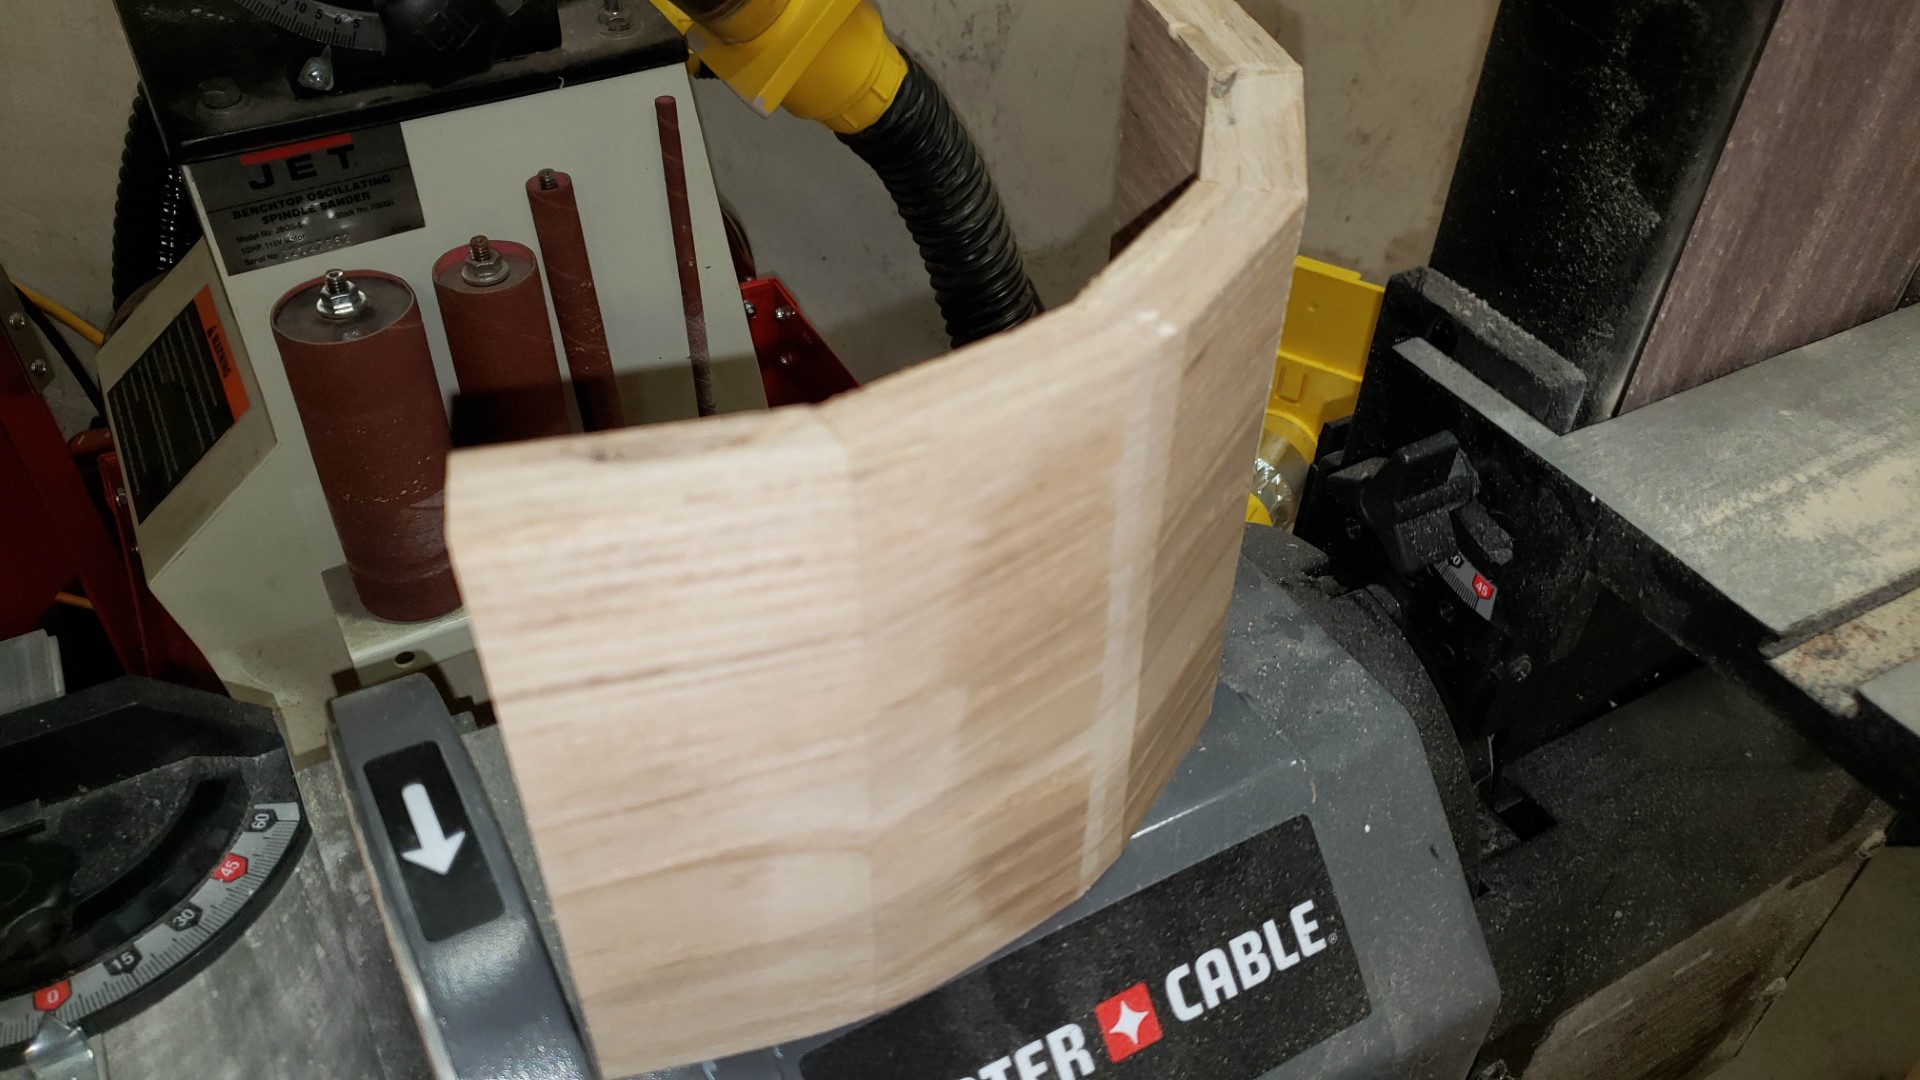
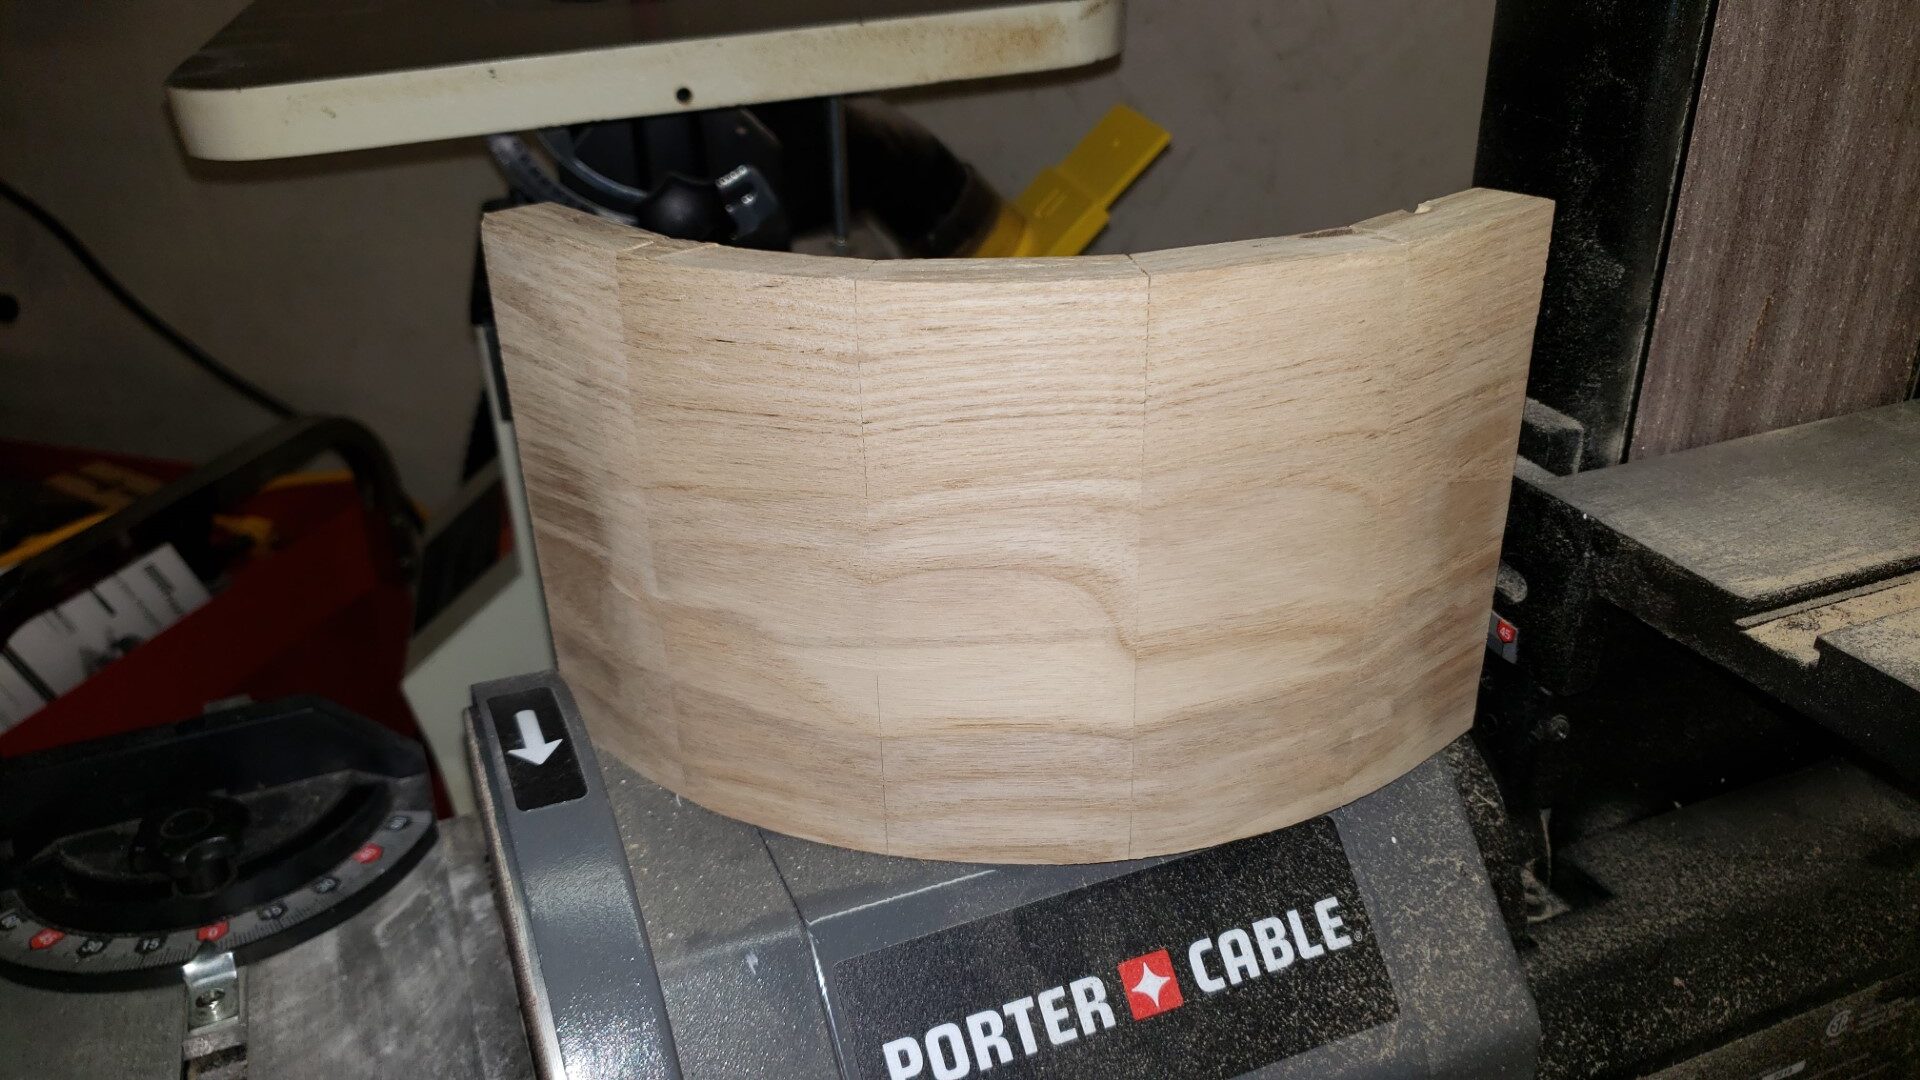
Eventually it takes on a smooth curve.
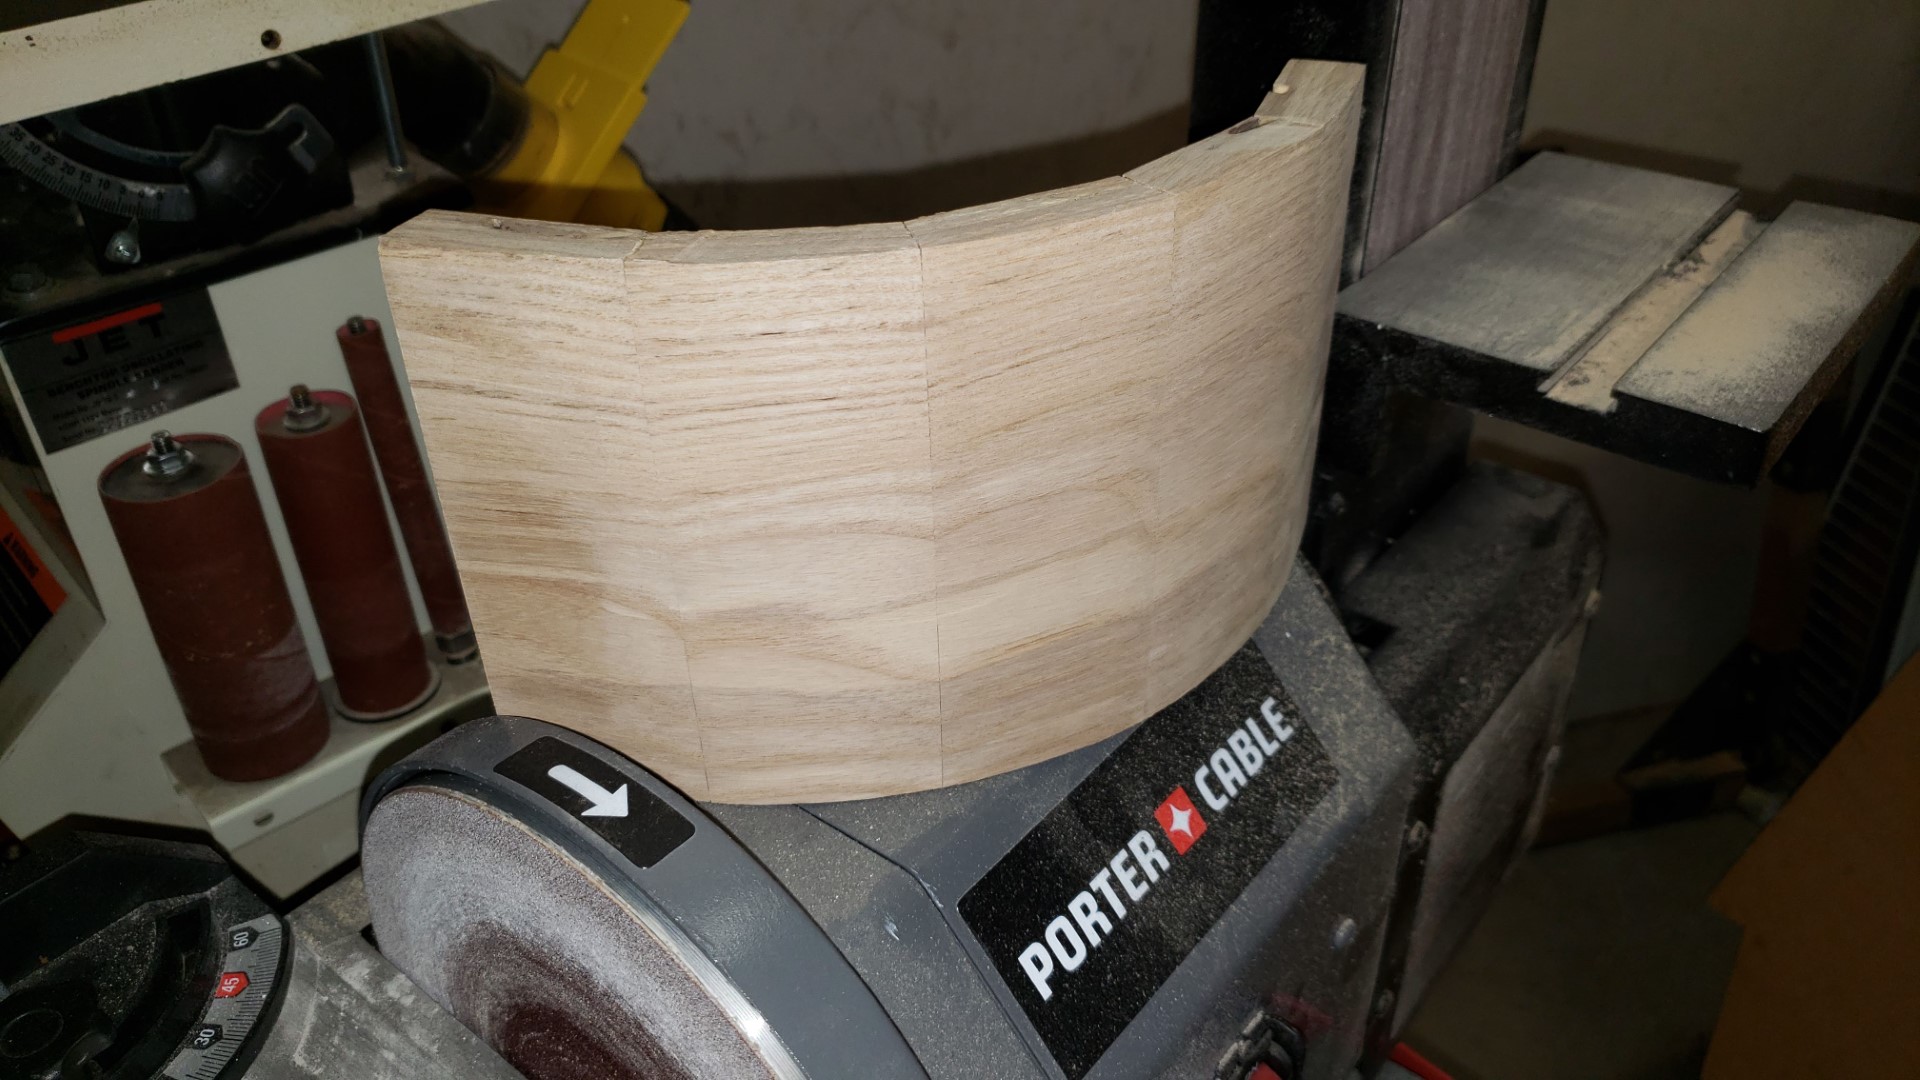
Ready to be assembled.
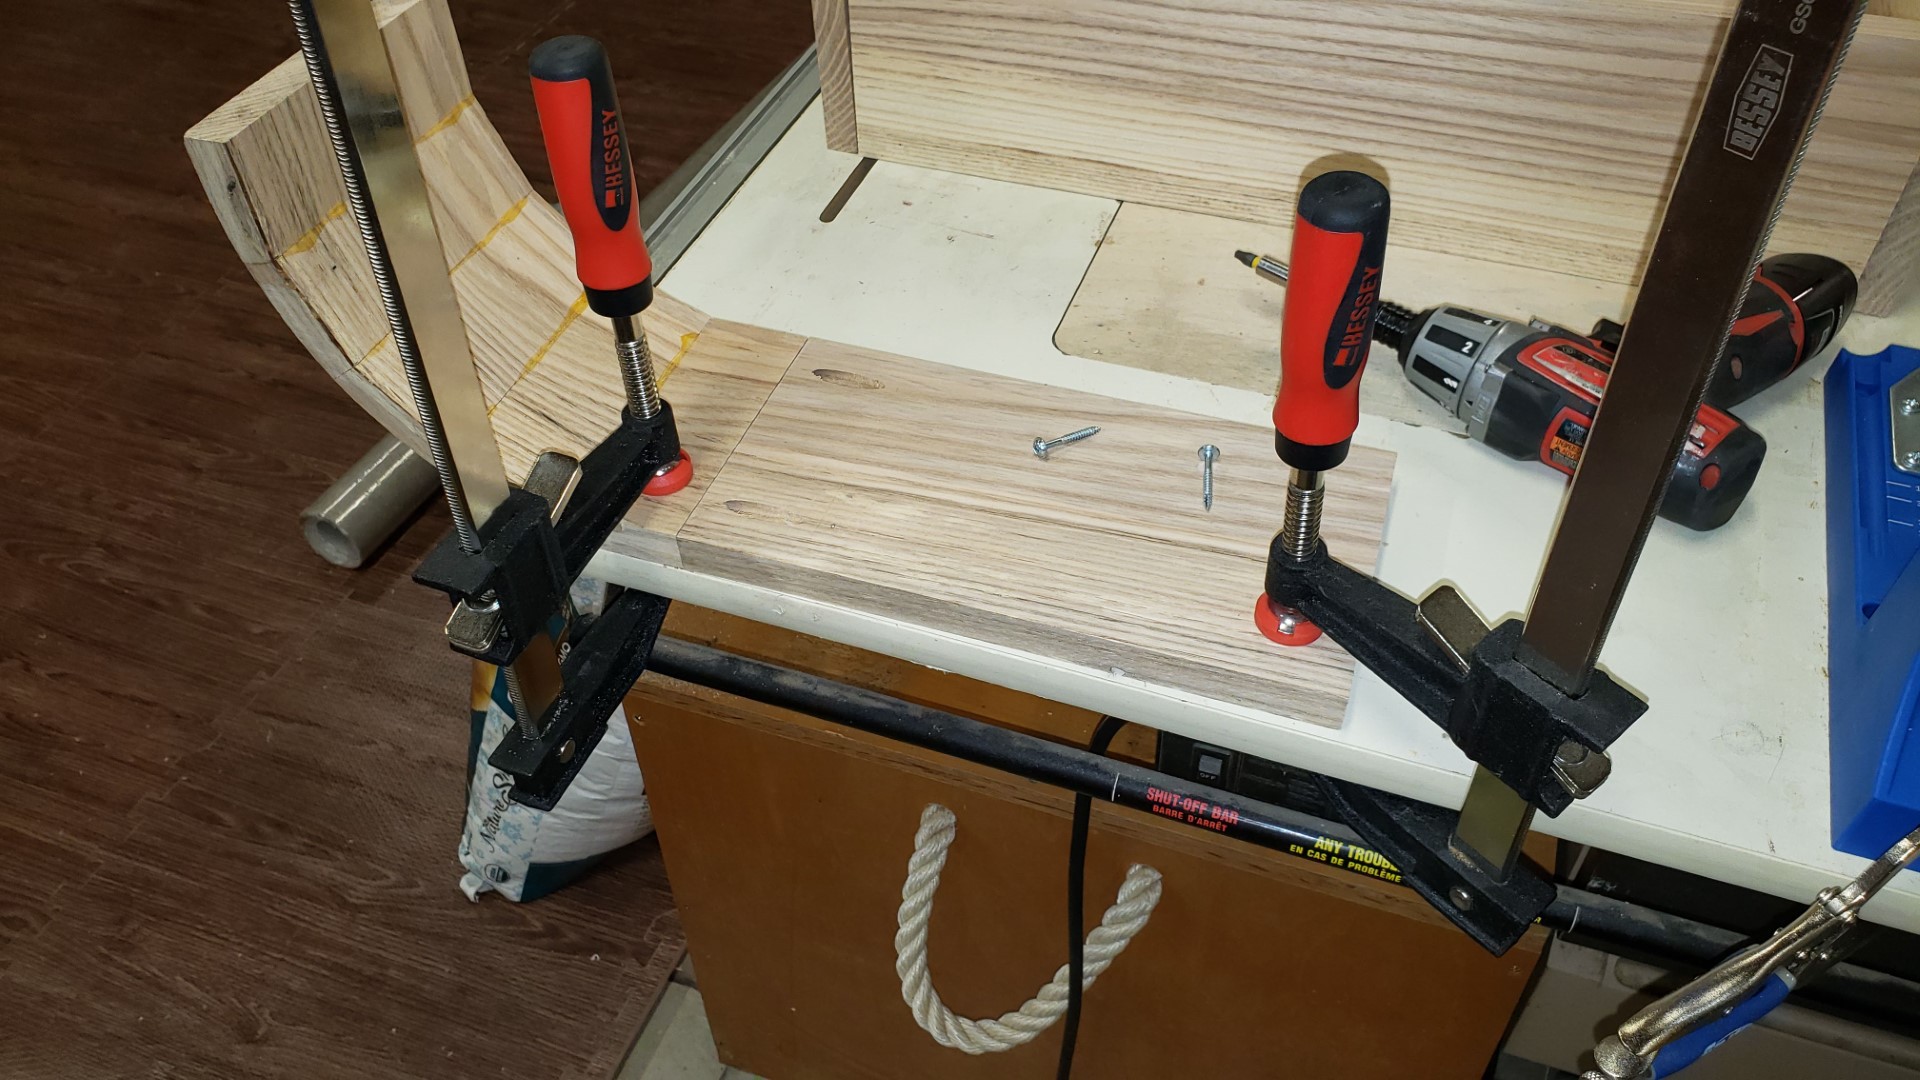
It is pocket screwed to the side piece of the base.
And then the front.
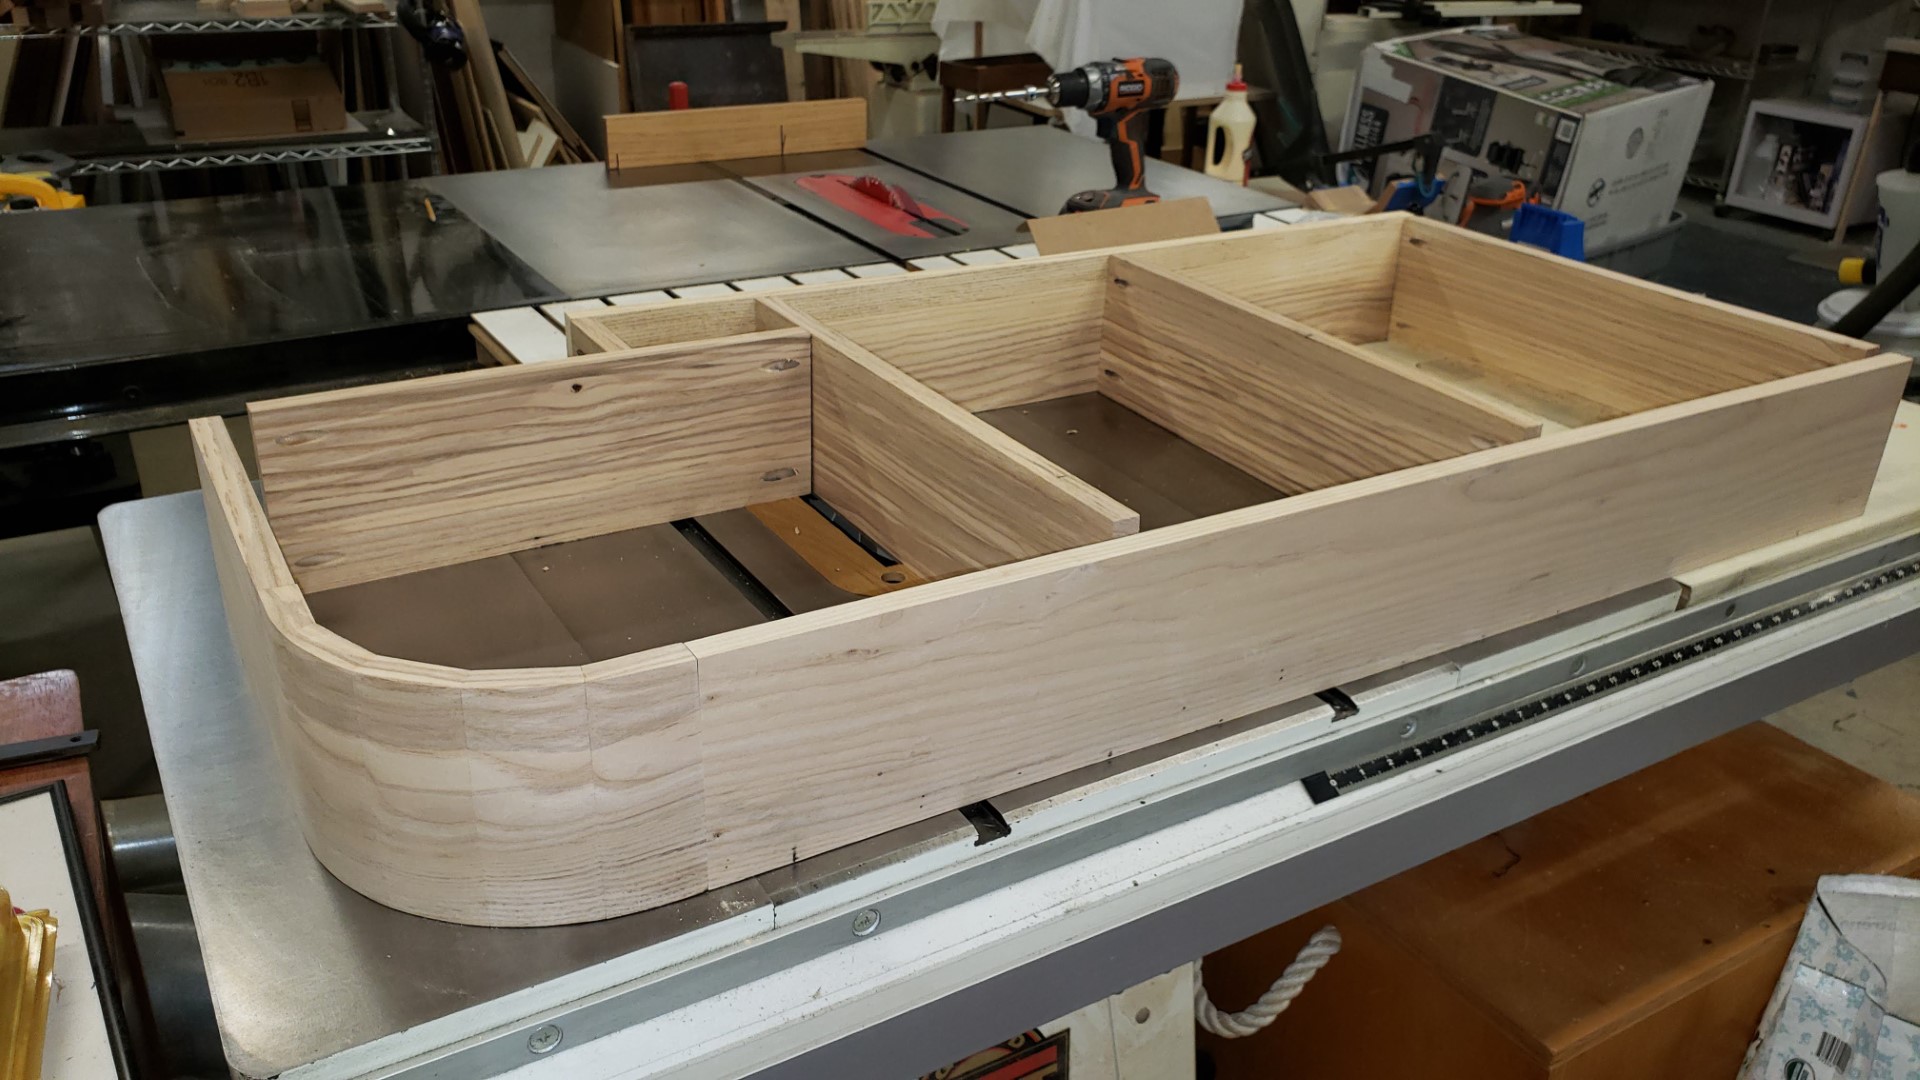
And the remaining pieces are joined.
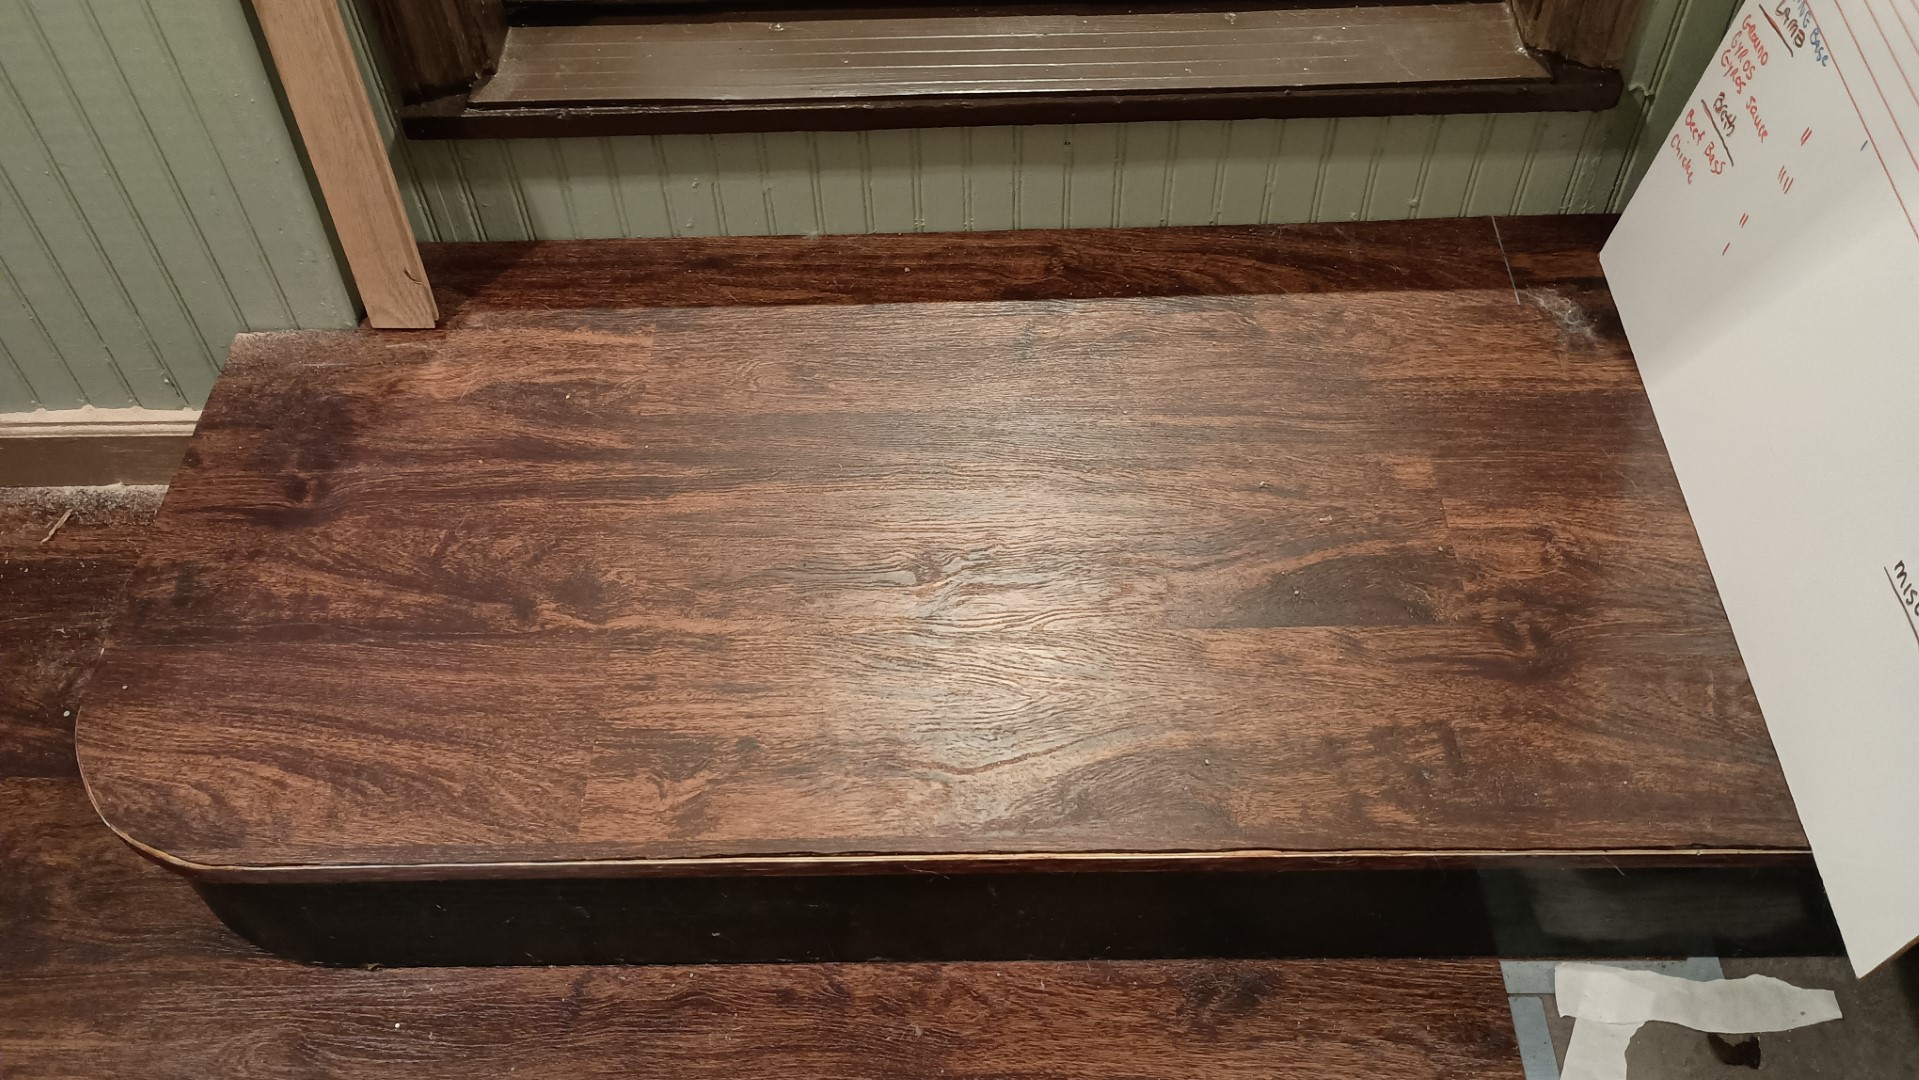
Here it is in place, 6 1/2 years later.