
“Have drill, will screw things up.”
Last week I went into Bill’s office to get a drill. He naturally, and with some fear, asked what I was doing. I explained that now that I have repainted the mudroom door the ugly hinges needed to be fixed. These hinges are probably as old as the house which puts them at over 30 years. They work fine. They are heavy duty external door hinges. They have also been painted over numerous times, as many times as I have repainted that door. They are ugly, they have been ugly for years, I actually hate the fact that I painted over them. I also did not know exactly how to fix the damage that past me had done.
That is till last week. In the weeks leading up to my fix I had been busy working on my stripping career. Now that I understand better how to strip I felt impowered to try stripping in new places.
I had already come up with a plan to be able to replace the hinges without having to take the door down. Most importantly my plan did not require me to ask for help. I would take 1 hinge off, replace it and then move to the next hinge. This would allow the door to remain in place, Bill need never know I was doing anything, and the ugly hinges would be banished to the box of hinges in the shop. I was also pretty sure we still had door hinges in the shop. Years ago we replaced all the gold hinges with silver ones and I thought we still had some left. Then Bill said, “I think I have some that are the same profile.”
Wait, what? Que veux-tu dire ? New problem. Even if we have hinges, even if I can find them, I might still need to do something else to make those hinges work with this door and the profile already cut into the frame. sigh.
What did I do? I took a hinge to Home Depot to look for one that matched it in the color/finish I wanted. This is the beginning of my education in the fact that a hinge is not a hinge is not a hinge. Profiles can be different. The placement of the holes for the fasteners can fall in different places. Opening style, range, security, interior, exterior and more there is a lot more to a hinge than I had realized.
These are what I found in the exterior door hinge selection at the local Home Depot.
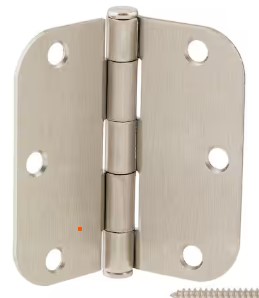
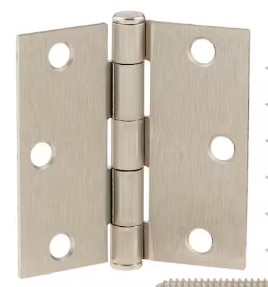
These are ours:
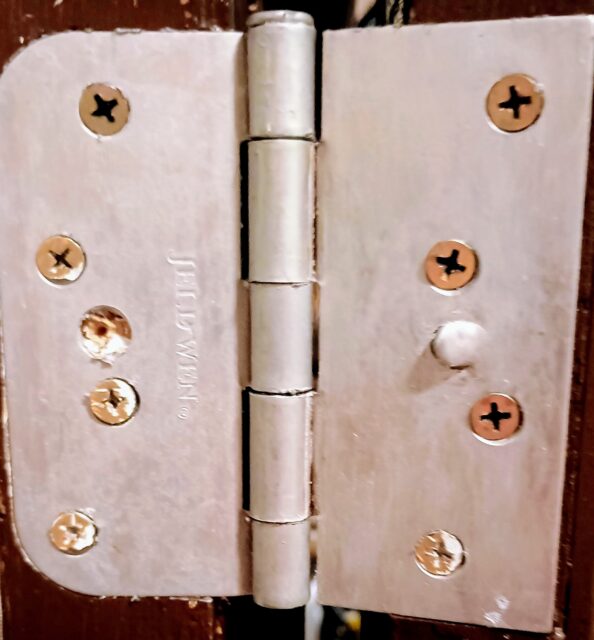
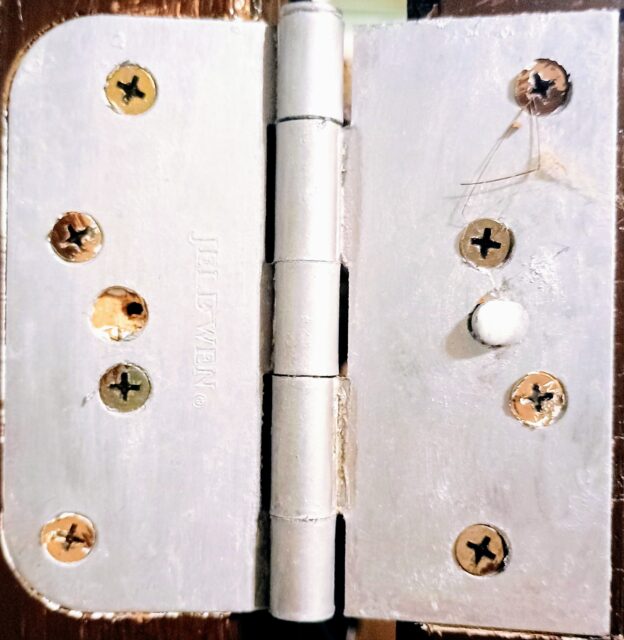
You can see that the shape is different and the fastener hole placement is different. What is a girl to do? Many of you might be rolling your eyes and saying, “Well DUH!” I’m sure Bill was thinking many of the same thoughts because he knew all of this. He is an incredibly intelligent man who knows that if I discover all of this on my own I learn to fish and he likes fishing. Also he knows that I can chop down trees with an axe AND that I have extensive knowledge and experience using our wood chipper.
At this point I reached the conclusion that A) I did not want to spend money on hinges and 3) It would be easier to strip that paint off. I already had my Citristrip out it seemed like a good place to get started. I took the middle hinge off and put it in a ziplock baggie. I then poured some stripper in the baggie and worked it all over the hinge. The first hinge stayed in that bag for a day. When I would walk by I would pick it up and squish it around, rubbing the metal to try and remove finish and work the stripper into all the cracks as best as I could. The second hinge was only in the baggie for a few hours and while it did not remove all the paint it did a good job of getting most of it gone.
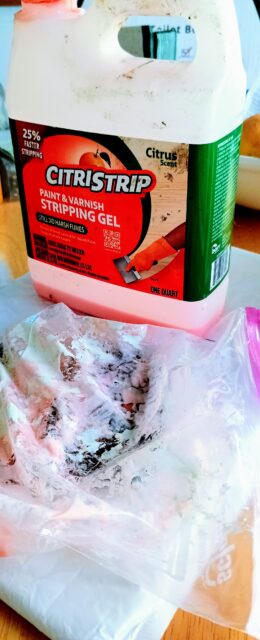
The stripper did a great job. The old paint fell off in chunks and the baggie kept the stripper from drying out. Most of the old paint rubbed off with a paper towel. Once I had the stripper and paint wiped off I finished cleaning it up using low odor mineral spirits. This is where I discovered the finish on the hinges was an ugly, dull, metal. Now what?
Well there were still some small pieces of old paint that needed to be plucked out of the hinge so I took it to the sewing room. I used my seam ripper to get down into all the cracks and pull out the loose pieces of paint. This is also where I decided to use Rub & Buff instead of spray paint to put a new finish on the hinge. I bought this set years ago to create foam rubber armor and weapons. You can find it here. 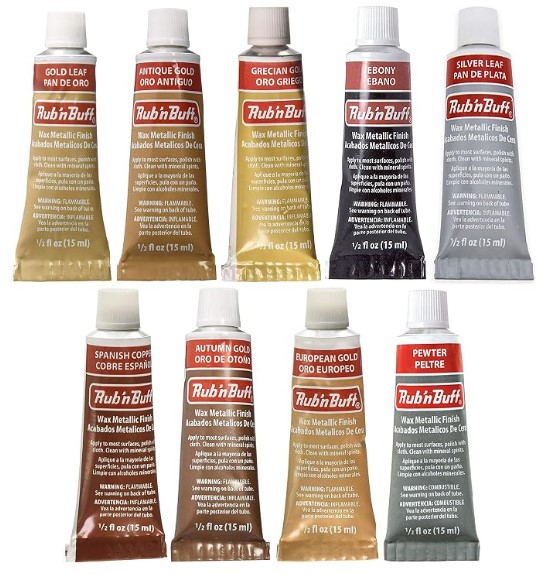
I started with the pewter but didn’t like how dull it was. It did even out the metal finish but it still looked tired and dull you can see that here on the left hinge. Pewter in and of itself is dull looking so I don’t know what I was expecting.
I then put silver leaf over the pewter and it was better but not perfect. On the second hinge, the one on the right, I waited for the pewter to fully dry before applying the silver leaf. It has more luster. While not exactly shiny it has a closer finish to the actual door handle.

Bill and I both decided we like the hinge that has more luster to fix that I’ll just use a little more of the silver leaf on the duller finished one. I won’t even take it off the door I’ll just tape around it and use a q-tip.
Here is what they look like when you take them out of the baggie.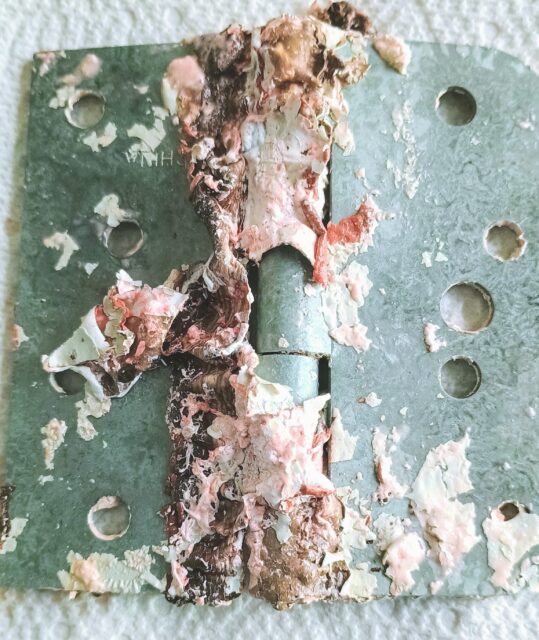
All those old coats of paint, I believe there were at least 3, just peel right off. That paint has been on there for years, decades even so it is fully cured. After peeling or rubbing off all the loose paint there are still places where it hasn’t loosened. This last hinge I put back in the baggie and rubbed the stripper back into the stuck places. You can see that the finish of the hinge itself is a very dull, not pretty metal. The hinge itself is still very functional and while my faux finish isn’t perfect it’s so much better than the old painted hinges. Plus I didn’t have to buy anything. I didn’t have to worry about matching profiles or having to chisel out a new one. I didn’t have to worry about drilling new holes for the fasteners because the hinge holes were in different spots. I didn’t worry that there was still a little bit of paint on some of the screw heads, for the most part those are hidden and I can clean them up later if it really bugs me. If I messed up the paint job well it’s only paint. I could clean it all up again and start over. I didn’t use spray paint, even though I think I have at least 5 different versions of metal/silver colors to choose from, because I wanted to play with the rub and buff.
Have fun. Don’t be afraid to try something. I have made so many mistakes, not been a friend of perfection, had to rethink and retry and not once has the world stopped spinning.