
It all started with an innocent request, “Do we still have all that silk screen stuff? If so I would like a t-shirt that says CERTIFIED PROFESSIONAL FRAUD.”
![]()
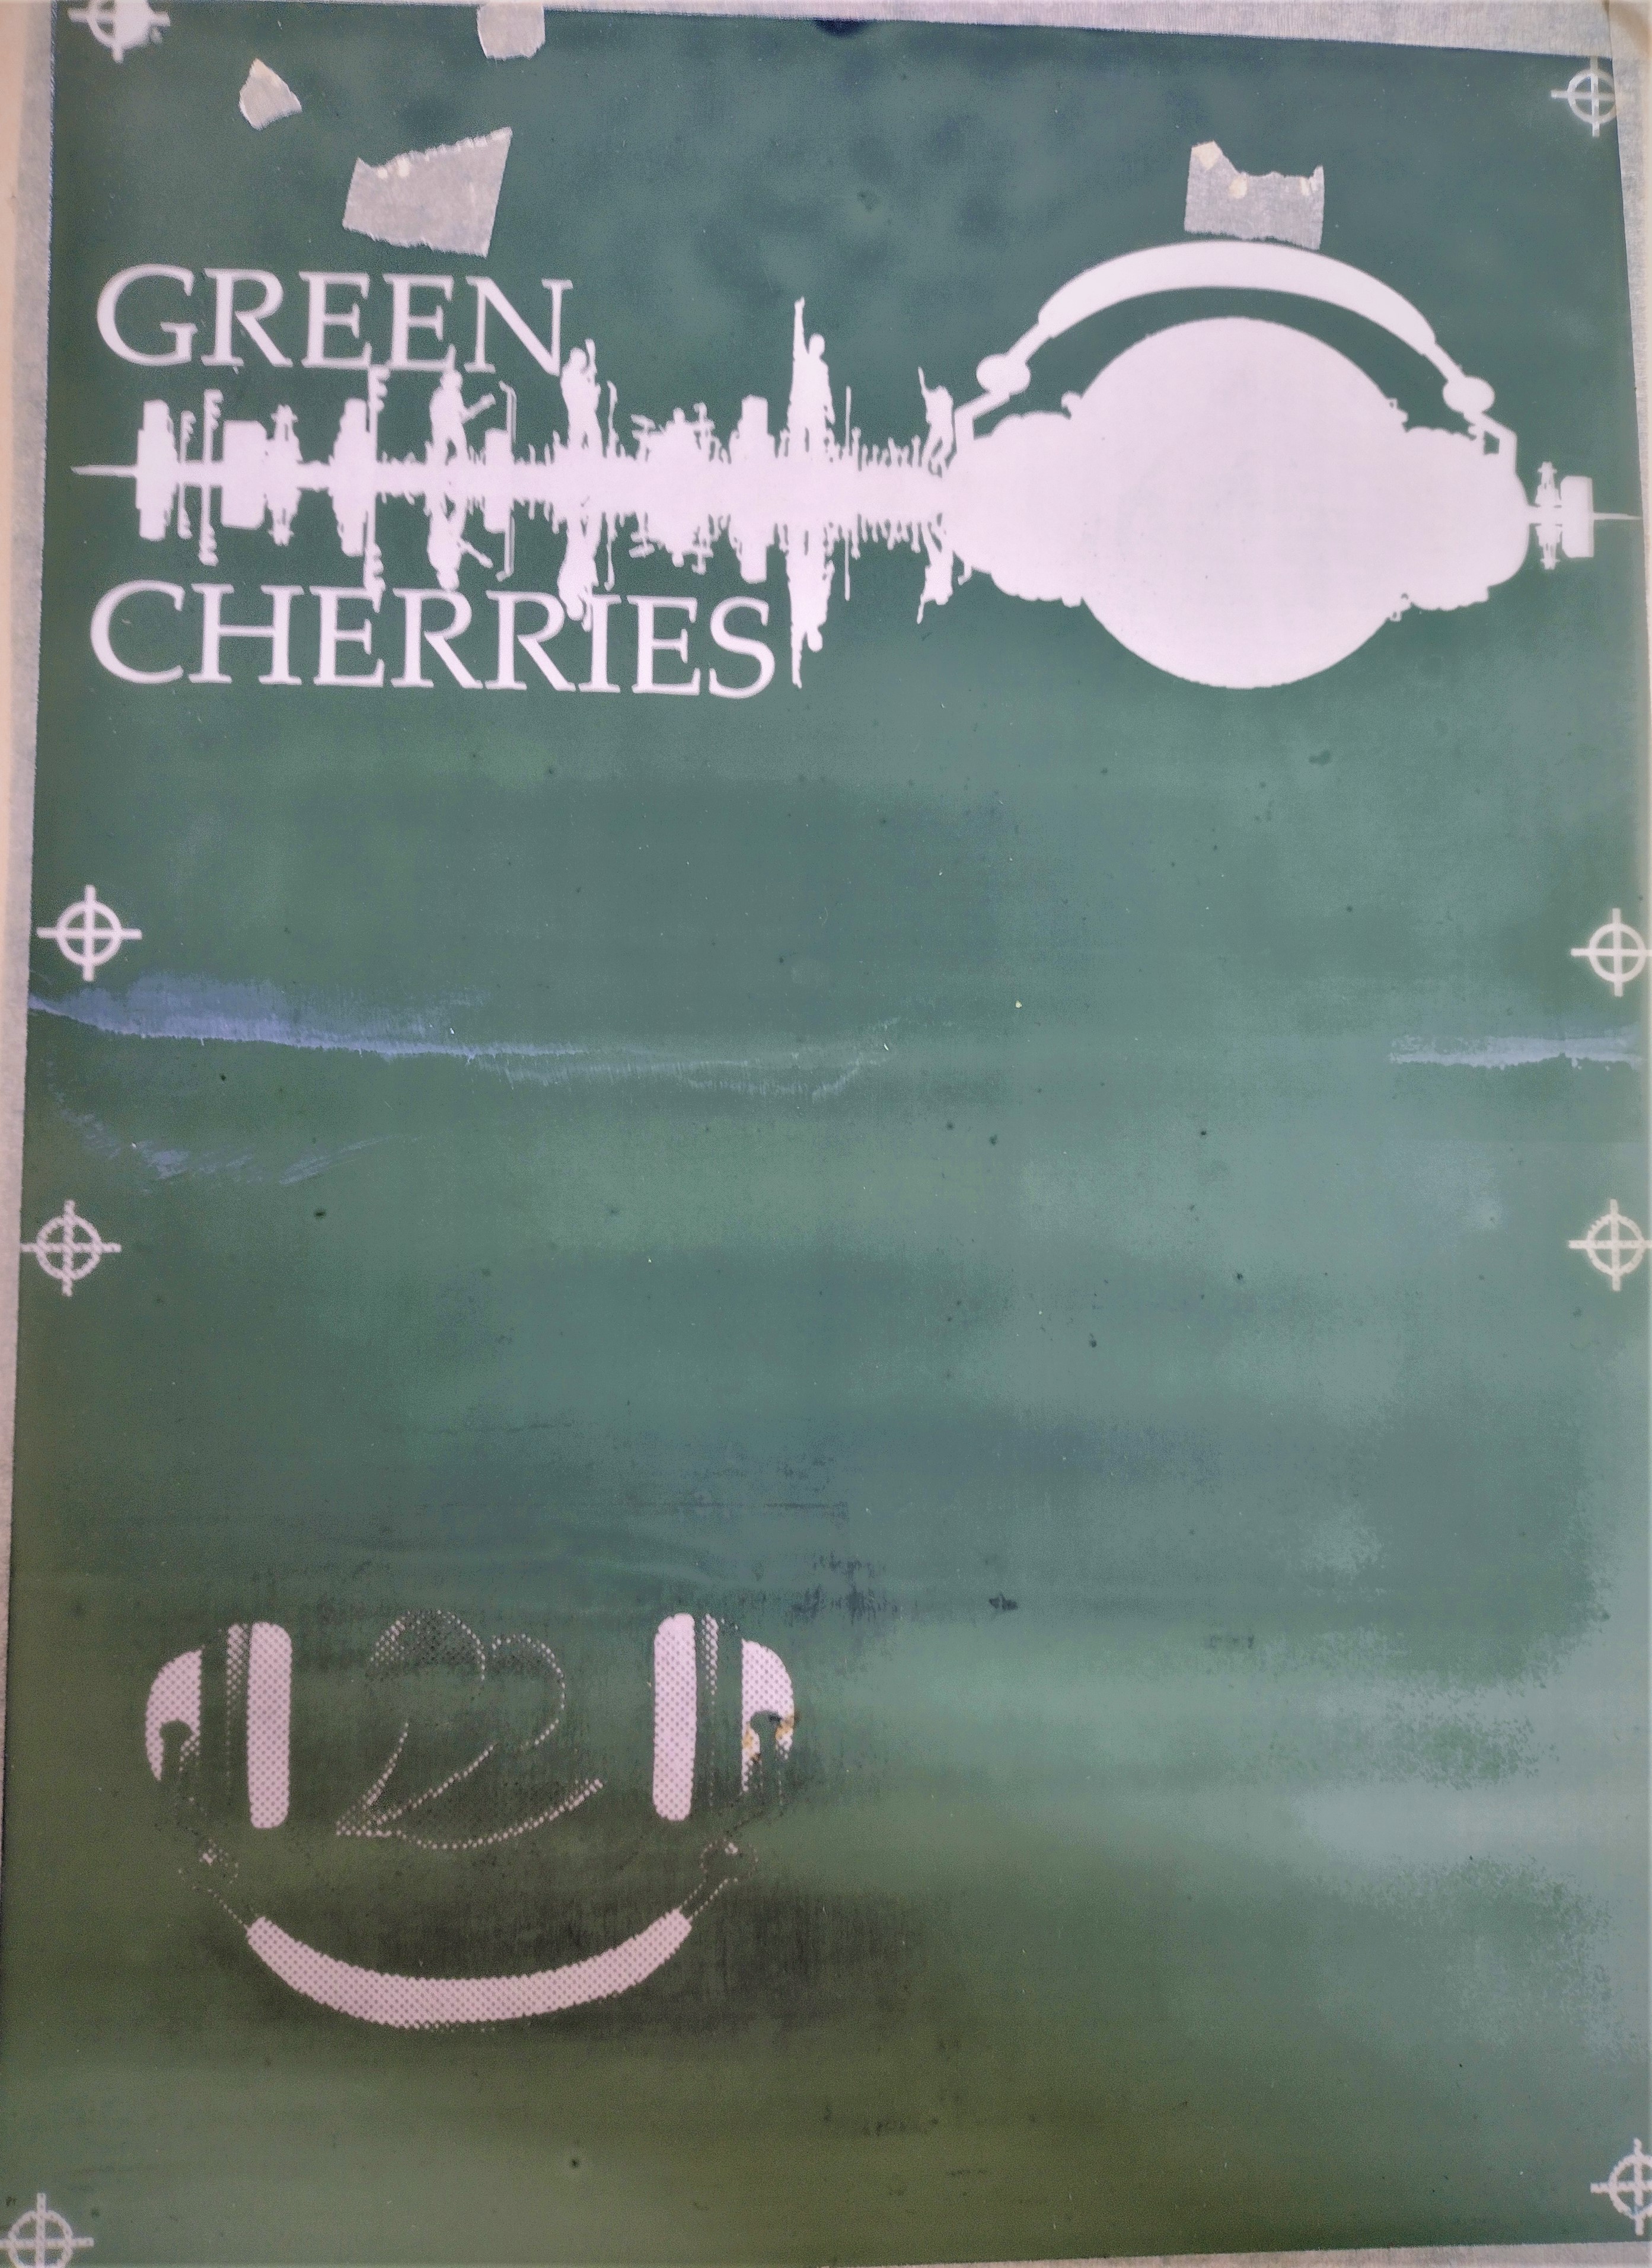 The last and first multi screen design I created was 7 years ago. Bill was in a band and they asked if I could create a shirt design for them. The band name was “Green Cherries” it was a lot of fun coming up with the design. They were happy and there was talk about more merch with the design on it so I never washed the screens. I had forgotten all this.
When I found my supplies I discovered that they had been sitting with emulsion/designs burned in all those years. I have emulsion remover (also 7 years old) no matter how many times I applied it, scrubbed the screen, and hose washed it, all I did was make it angry.
Now Bill had been eyeballing the Dewalt power washer 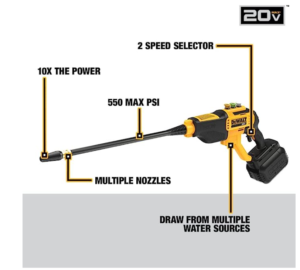 but was holding off on buying it.
He could not justify purchasing it, we already have a gas powered powerwasher. Complaining EXPLAINING that I could not get my screens cleaned translated to, go ahead honey buy that powerwasher you have been wanting. He is so selfless doing that for me, my hero.
There will be a review on this later from my point of view not his.
I had 305 mesh screens in the Amazon cart but held off on buying them because this was supposed to be a ZERO cost project. Instead I bought a $22 110 mesh screen from Hobby Lobby I did not think I there was enough detail in the design to mandate needing finer mesh, can you see how this is starting to turn into a money pit?
Now I have a new 110 mesh screen and a new powerwasher. My light source was my Yudu machine from 8 years ago. How strong will that light bulb still be? UV LED lights aren’t that expensive and it could be used for other things. Purchase number three for those of you keeping count.
Now I have a new screen, new powerwasher, and new 100 W UV LED light.
There was a question about if my emulsion would still be viable since I am on a schedule and I only have 1 screen I didn’t want to spend a lot of time testing. After much research and by that I mean watching Youtube videos and drinking coffee, I ran across the ‘I Like To Make Stuff’ channel. I’ve used emulsion that you have to add the diode to in the past but this stuff already had it mixed in, 1 less thing I can mess up. Purchase number four.
Now I have a new screen, new powerwasher, new 100 W UV LED light, and emulsion.
That wasn’t the end of the purchases but at least now I can get started. I coated the screen back and front using a scoop that Bill made for me seven years ago. Put it in a dark room to dry and left it there for about a week while I worked on creating burn images from the design I had created.
I quickly found out that my skills in creating multi screen prints had been lost. I watched so many videos and followed along with them using Inkscape and GIMP, I even went back to Adobe Photoshop and Illustrator. Until I finally had something that could be worked with for a simple three color on black T job. All of this sounded so easy in my head when asked if we still had all the stuff to make shirts. Working with only 1 screen complicates things. Either you burn one color at a time, clean the screen, recoat, reburn, repeat or you try to get them all on one screen and then move the shirt under it to line it all up. Neither one of these is a great solution. By the time it’s all said and done I could have gone to a local print store and had them print the shirt for me, heck for the whole department, and it would have been cheaper.
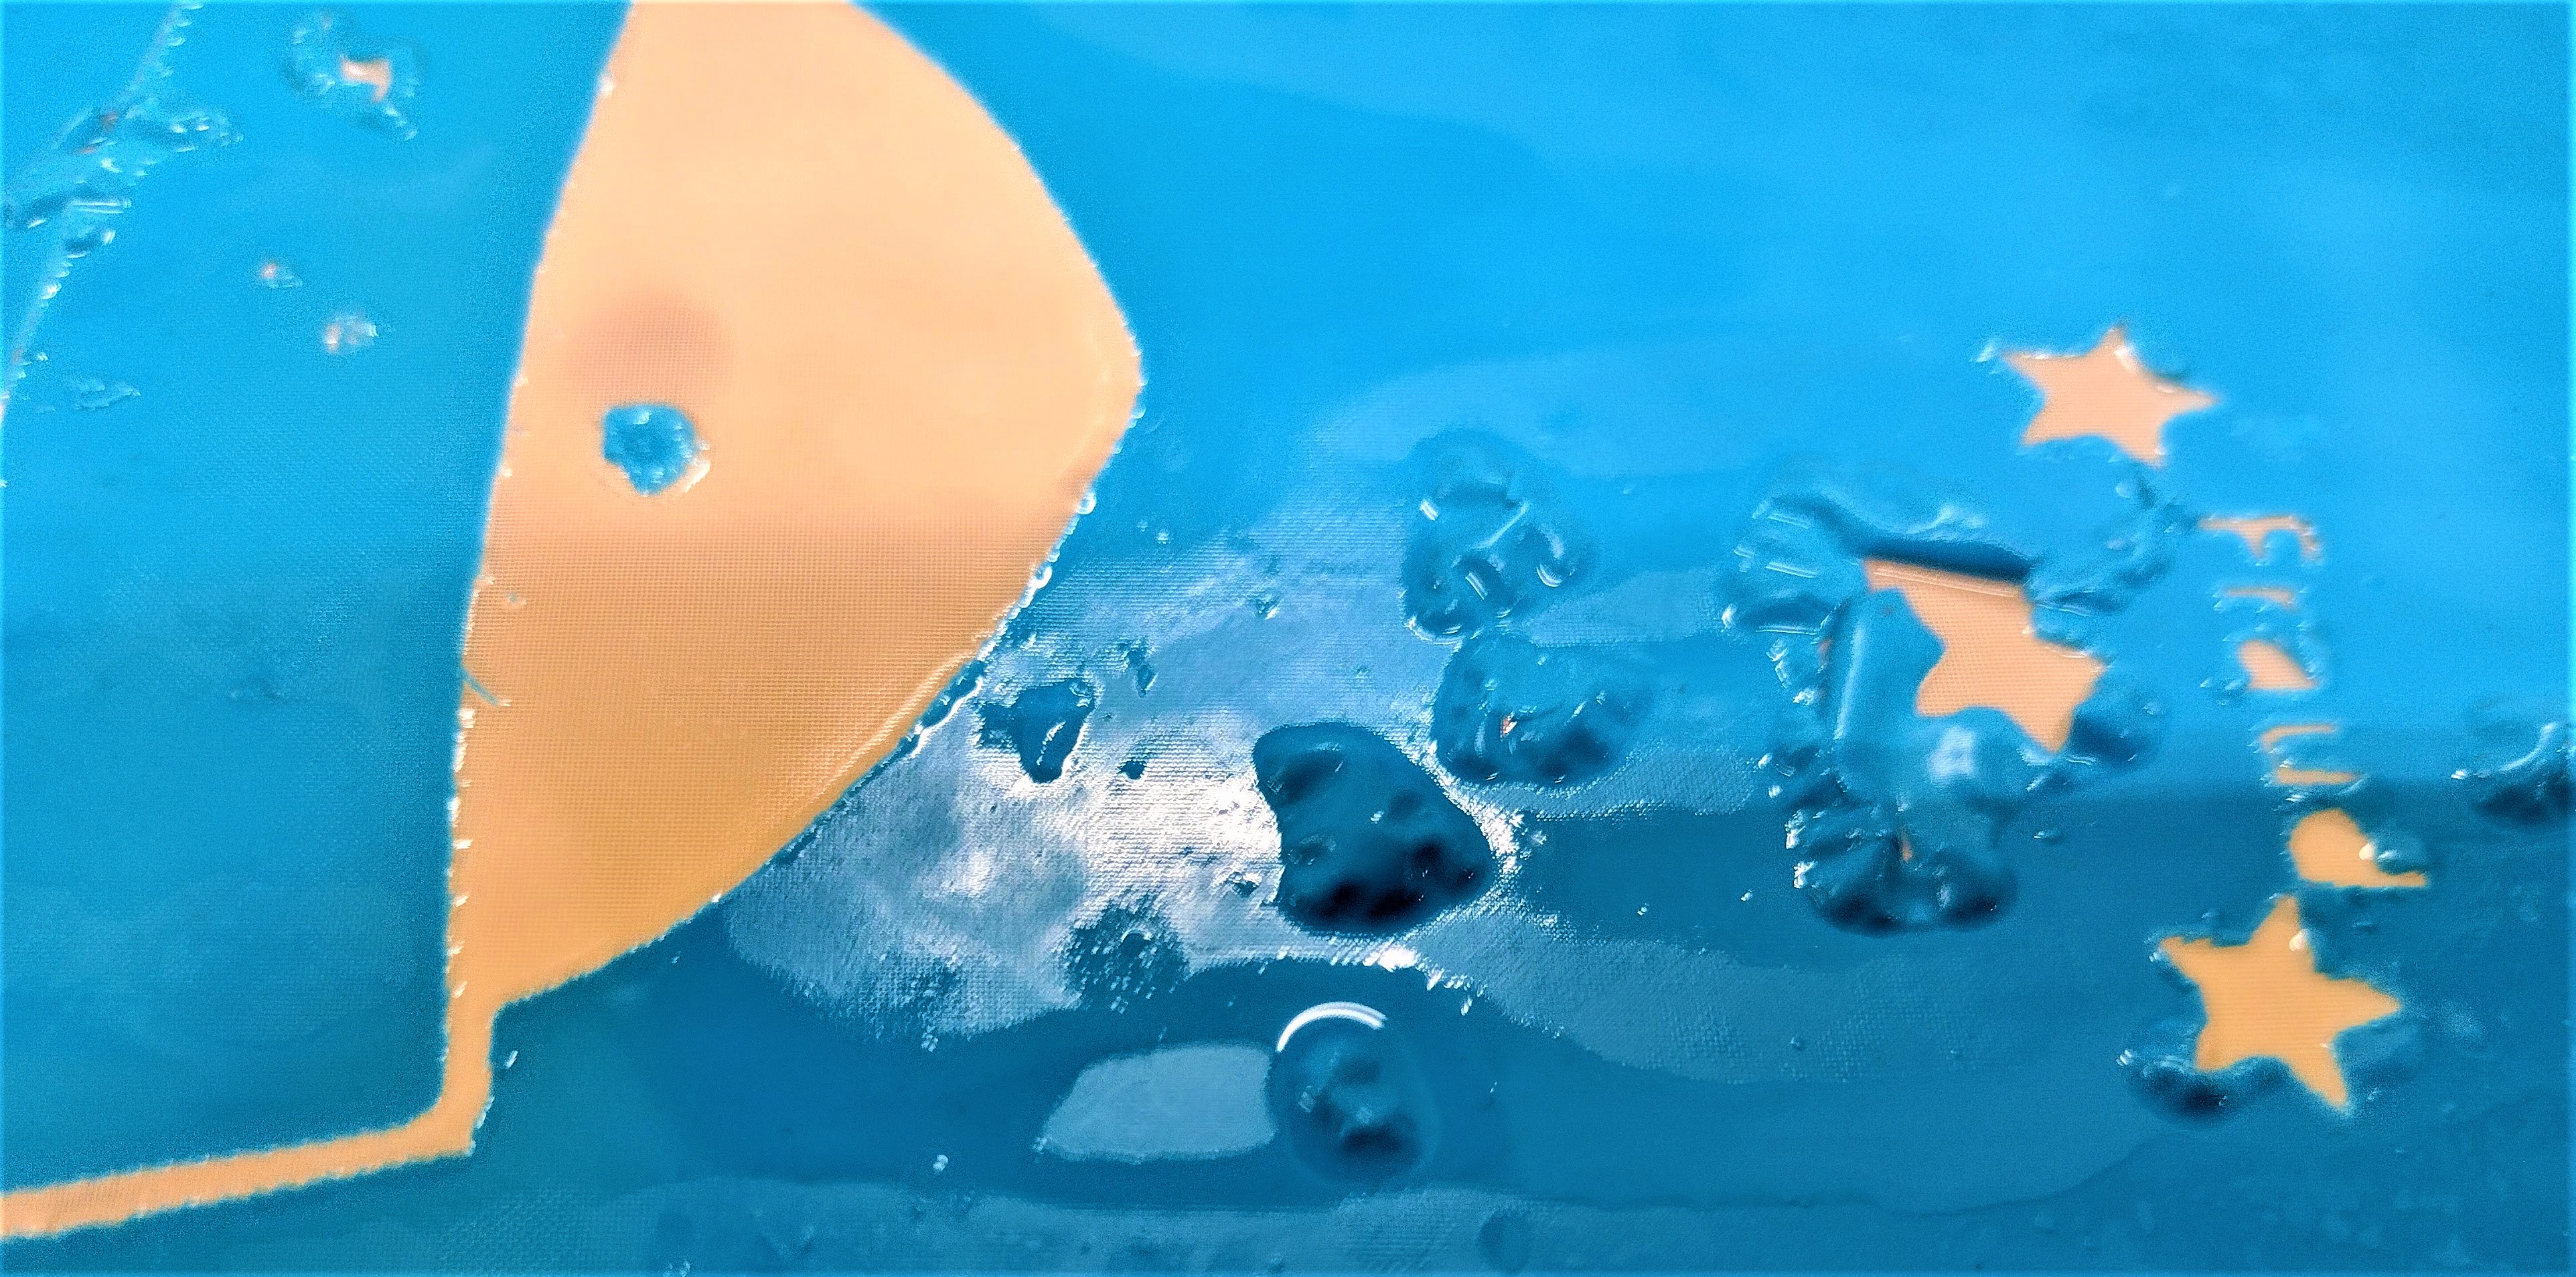
Once all the spacing was right it was time to print onto the 7 year old transparency sheets I found in the back of my file cabinet. I changed the settings on the HP 4500 to be gloss paper, best, monochrome, 600 dpi and let her print. For whatever reason it seemed light. There are two solutions to this 1 is you can use a black sharpie or you can print another copy and put one over the other. I tried the sharpie and apparently I have issues coloring in the lines. There were also streak lines all over the pieces. In the end we bought new sheets from JoAnn Fabrics. I printed on them and it was darker. Because of a mistake there ended up being two transparencies printed but one was missing the top of one of the designs. ![]()
![]() If you look at the top of this design printed on transparency film you can clearly see a line. Below that line is where you have two films together and it is darker. The top if a single film sheet it’s light enough to be able to see shadow through it. Both rinsed off just fine so they both exposed okay but in the places where the two sheets had created a much darker black the emulsion rinsed off much easier. Darker is better but it’s good to know that 1 sheet will work.
If you look at the top of this design printed on transparency film you can clearly see a line. Below that line is where you have two films together and it is darker. The top if a single film sheet it’s light enough to be able to see shadow through it. Both rinsed off just fine so they both exposed okay but in the places where the two sheets had created a much darker black the emulsion rinsed off much easier. Darker is better but it’s good to know that 1 sheet will work.
The sheets were taped to a piece of glass which was laid on the back side of the screen (The front of a screen is inside a box frame so recessed. The back is flat against the box frame so the design lays flat on it and the glass or plexi holds it tighter against the mesh. You can put the design and glass on the front side as long as everything fits and as long as your design is flipped.) This meant that I did not have to flip my design and everything was making solid contact. The screen did expose and everything looked like it was going pretty well till it wasn’t. There were places where to much emulsion washed off and other places it bubbled up, it had come loose from the screen.
So what happened?
- I used to much emulsion.
- Even though it had sat for a long time we have also had very wet weather. The shop is heated but could it be that humidity played a role?
- The powerwasher head was to close to the screen.
- The powerwasher tip was the most powerful one maybe I should try one with less force.
- The emulsion had not been exposed long enough.
My guess is that the emulsion was to heavy. So the screen has been washed and is drying and tomorrow is another day. I’ll coat it again and let it sit over night and we will try again. I’ve also found another video tutorial that I like and want to try using to create the design. If I can make that work I’ll try and burn a screen using that new design and see what I get.
If all else fails I bought the print and iron on sheets when I was at JoAnn’s. I’ve also looked up local printers and am thinking about having them do the shirt, but don’t tell anyone.
ps We were able to get the emulsion off one of the old screens. We used Simple Green Extra Strength and the emulsion remover. We applied and scrubbed and repeated and rinsed with the powerwasher. I forgot I had a screen sitting with the purple stuff on it and left it over night. The next day Bill tried washing it and low and behold it started to come clean. It took a long and and a lot of work but it looks like they might be able to be saved.
pps Also don’t powerwash in the deep sink in the shop unless you want to spend half a day wiping down the shop. Don’t think you can use the spray hose attachment either because it created a fine misty cloud that spread through the shop like fog in London.
ppps In the end I used the iron sheets. I had coated two more screens my last 110 and one of my new 305’s. Rinsing them the 110 did better on some of the design and the 305 did better on others and not the way I expected it. The deadline was here and the client was happy with how it went. I’m still going to see if the screen print can be salvaged just for my own curiosity.
Made:
PVC stand for the light 24″ tall by 23″1/2 wide
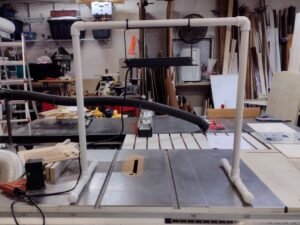
Zip ties used to hang the light 18″ above the table.
(if I could I would insert the picture of the stand here)
Supplies:
Amazon:
Ecotex Screen Printing Scrub Pad
Ecotex AP Blue Screen Printing Emulsion
Eleganted 100W LED Black Light
Speedball 110 Monofilament Screen Printing Frame
DEWALT Cordless Pressure Washer, Power Cleaner
JoAnn Fabrics
Speedball inkjet transparency paper
New white, midnight blue, and soft blue paint.