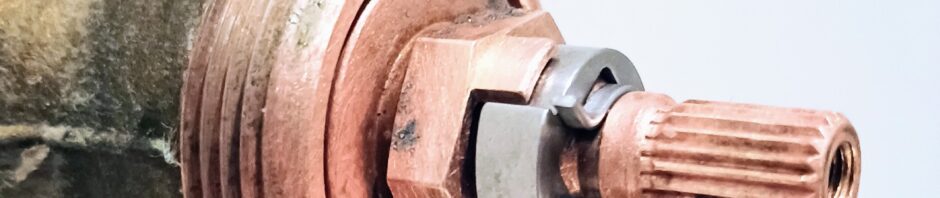
The cold faucet handle will not turn on our shower. I’ve been working at trying to loosen it up by soaking it with vinegar and so far the only thing I’ve managed to do is cause it to drip.
PROGRESS!
Let me show you how I went about identifying what shower product we have and exactly what valves’ we will need for the handles. Start by taking pictures.
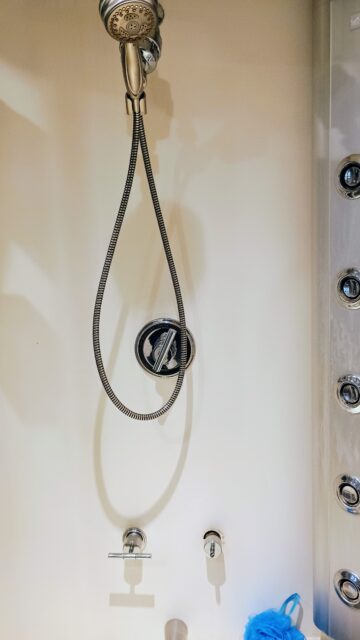
This picture might be helpful if you are sending it to support per their request. It is not helpful when using the on-line ID tools on most manufacturer websites. It’s too far away and we replaced the shower head and added an in line filter. Those two facts mean that no ai tool or support person will be able to match the product by the head.
I took separate pictures of the two tub spout handles, the tub spout, and the shower handle.
Then searched for “identify Koehler shower product”. I knew it was a Koehler product because I can clearly read that on the shower handle. I also know that the Kohler ID tool is called scout. If you didn’t know those two things but you see something like this come up in your search results this is a good place to start:
This will bring up the Kohler Service & Replacement Parts page.
If you don’t know your product line, your model number, or any other identification information select: Identify My Product. Have your photo ready to upload.
You will now be on the Kohler Scout page. You can also go directly to this page using this link. Once here you will want to click on the “Get Started” button.
You will then select what product you are trying to identify. Faucets, meaning bathroom & kitchen. Toilets, well that one is obvious. Valves this is for showers and it is the heart of the system. Showers, which is the choice I needed. Sinks which again is pretty self explanatory.
Clicking on “Showers” will take you to the identification section. Here you can enter the model number if you know it or you can upload a picture. 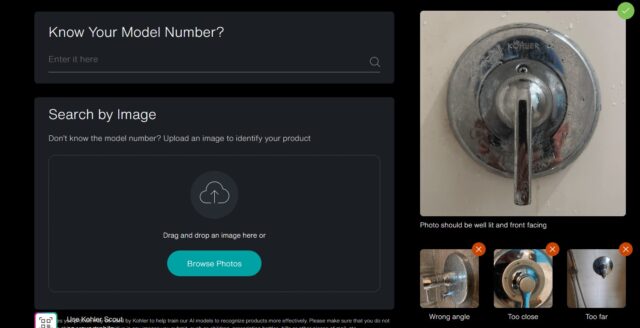 They show you how to take the picture so that the tool will stand a better chance of making the ID. The only thing I did to this picture was brighten it a bit, change the white scale, crop it and enhance it.
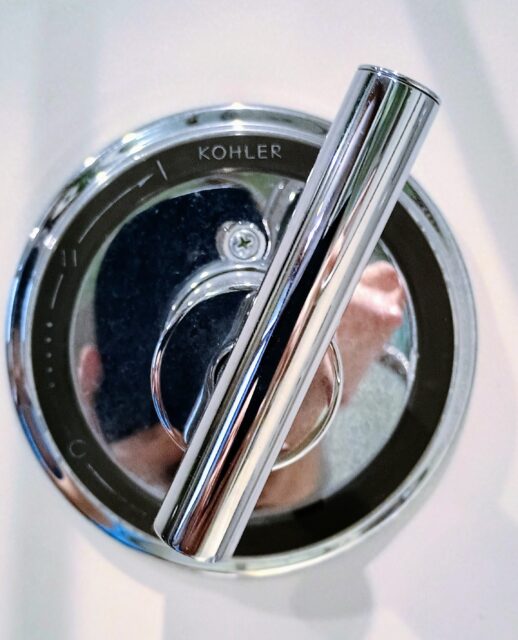
This is what it matched my product to.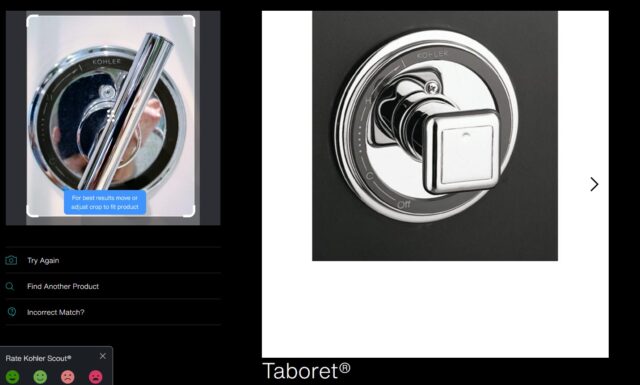
At first glance you would say well those aren’t the same BUT they are. The handle is different but that’s not uncommon in product lines. They will all be the “Taboret” line and what’s under the hood is all the same, but sometimes you could get them with different cosmetic looks such as finishes or handles.
The next thing I did was to do a search for “Kohler Taboret 2 handle shower wall mount” , changed my view to images and started scrolling. 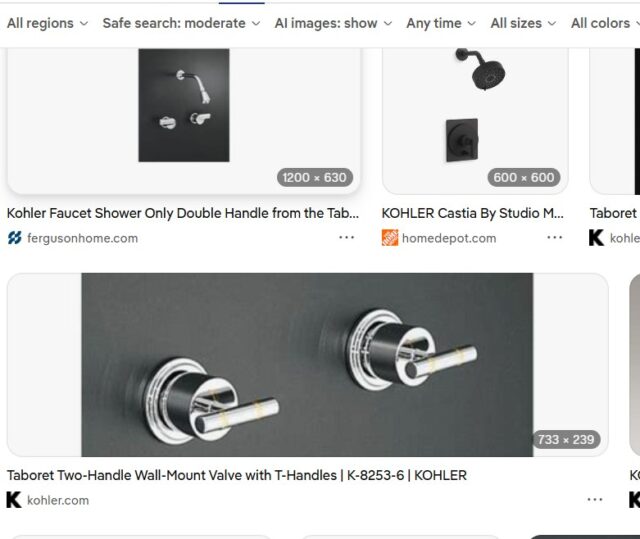
Those look pretty close to our handles. I now know that the model number for this handle is K-8253-6. I can now go back to the Kohler Parts page and search for K-8253-6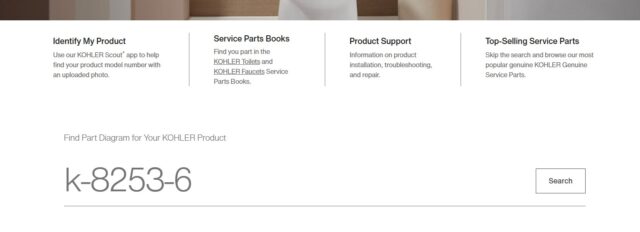
This brings me directly to the Service Parts Diagrams 1 & 2, these two diagrams give me breakouts of parts as well as all the part numbers. Diagram 1 is just the handle this helps to know how to take it apart and put it back together again but it does not give us the part number for the valve/cartridge.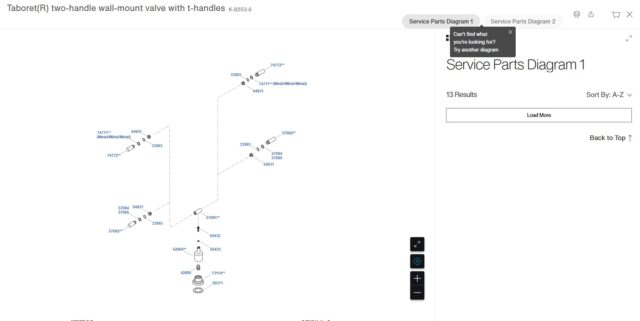
I went back in and change the search to Taboret rather than the specific handle model number. I selected Bath & Shower Faucets under Product Category and scrolled down till I found the handles I was looking for.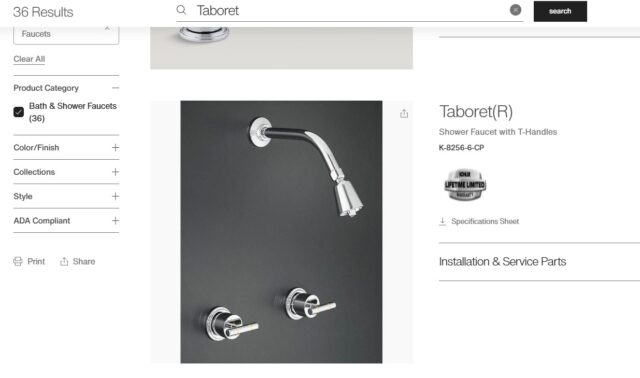 NOTE: Since this product is discontinued any place where “hide discontinued” was a limiter I did have to uncheck that in order to see our product.
NOW you can get all the break outs and part numbers you should need. You can print them, down load them as PDF’s or gawk at them on your screen.
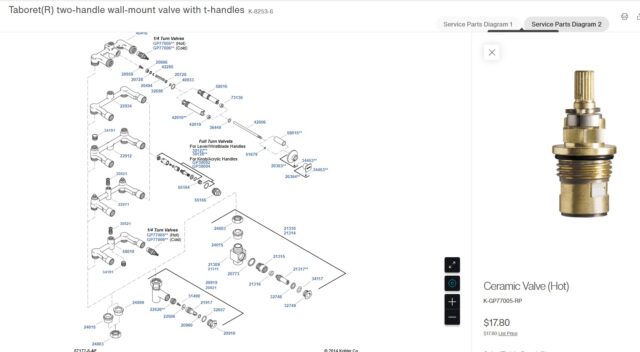
Notice that the diagram shows you multiple different Yoke Assemblies, those are the pictures on the far left of the diagram that look like a pipe with two arms sticking out. There are different cartridges’ for different Yoke Assemblies. Also note that the Hot/Cold arms use different cartridge numbers. You can view/order the part by clicking on the number if it is in blue. I have the handle disassembled all the way down to the cartridge in the shower. By looking at GP77005 (HOT) and GP30002 or 30127 I could clearly see that ours matched GP77005.
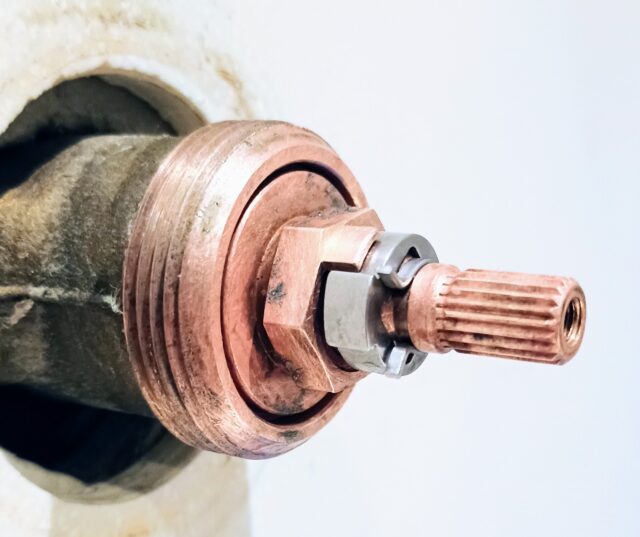
This is ours.
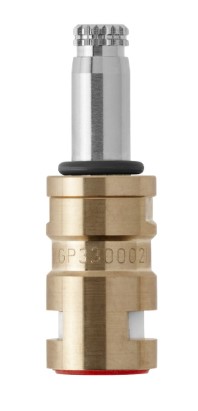
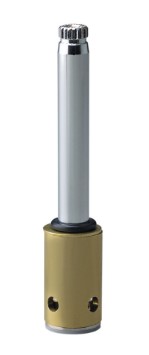
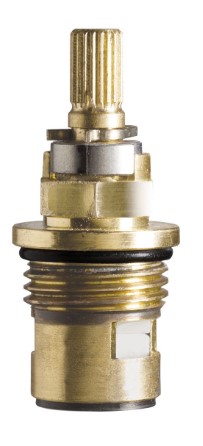
GP3002 30127 GP77005-RP
Comparing these to what is in there now the only one that matches is the GP77005-RP. The cost of a new one is under $20 even if you order it directly from Kohler. You can also find them on Amazon. You might also be able to pick one up locally if you have a plumbing supply store near you or even sometimes from a big box store. Our local Home Depot had the two Kohler valves we need for about the same price as Amazon.
When do you call a plumber? At any point that you feel unsure, if you really can’t identify your product or what replacement part to get (the cost of these can add up if you buy the wrong ones), if you can’t get the cartridges’ unstuck, if you have to shut the water off for the whole house or it’s a little dodgey and your worried you might not be able to get it off all the way. In no way should you take this post as a guarantee it will work and that you won’t have problems because life happens. I’ve laid out what I’ve done, how I did it, what I would replace it with and where I can get those replacement parts. Right now I’m still working on trying to get the darn thing unstuck because it won’t budge. If it continues to act like this then we will probably have to call the plumber and possibly take a wall apart in the bedroom behind the shower to access things. Even if we get it all apart, the right parts in, and it’s working grand there could be other issues like what happened in the basement where the water turn off for that shower leaked and did a lot of damage. All plumbing should be done knowing you can do it all right and still have problems it really is a do it at your own risk kind of adventure.
I wrote this post last week but it never got published. I kept the paper towel wrapped around the stem and I kept it damp with vinegar. I also used a wire brush to gently wipe away residue that might have formed which could be keeping the part from turning. In a week nothing has worked. It’s time to admit that the valve might have seized up internally. When you look at this valve and you read the directions it is a threaded valve unlike the downstairs shower. We also discovered that there is no turn off valve for the shower. Bill took off the panel access and discovered that this only gives access to the BodySpa wall units motor.
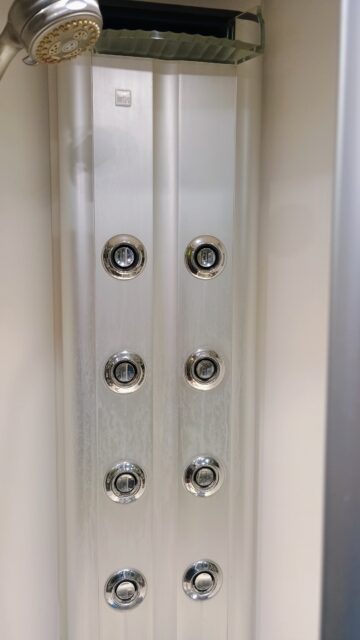
He also saw that a water line ran up, did a bend around the tub fill handles. We assumed that meant that the water lines fed into the shower handle yoke. Which then fed back down to the tub fill yoke. To use the BodySpa you need to fill the tub pan with water, then turn the spa on. It does not get it’s water supply from the water lines. We were able to find the install documents for all of this but no where in them does it say where the water lines all run or where a shut off should be placed. Must be plumbers choice.
Still thinking that the main water lines must run to the shower control which then feeds back down to the tub fill Bill took the echelon cover off the shower control handle. The thought was that like the hall bath there must not be actual handle for turning the water off it must be screws behind the echelon. It wasn’t. The basement bathroom has shut offs in the ceiling in the bedroom. If there are shut offs in the ceiling we will never know because I’m not tearing the ceiling out to look. The basement was easy it’s a drop down celling but these ceilings are drywalled. Bill did go into the crawl space to see if the shut offs were maybe installed on the lines there, nope. Okay there has to be a reason why they would have selected to remodel, turn a bedroom into a bathroom all in the 90’s and NOT put a shut off here. I don’t know what that reason might be but there is a shut off for all the water in the basement and that looks like what we need to do here.
We ran to Home Depot and got both the cold and the hot valves. I would rather have them both even though I think I just need the cold one. Needing a part in the middle of a plumbing job isn’t fun, especially since we have to turn off the water for the house. Reading the installation directions we are confident that the valve unscrews from the yoke, it does not pull out of the yoke. We have the tools, we have the parts now we just need a time to do the fix. Once it’s done and all put back together again we are going to place a moisture alarm in the access area for the BodySpa motor. Had we done that in the basement when we fixed that shower we would have known that the shut off valve in the ceiling was leaking.
Might there be an easier/faster way of figuring out what product you have and finding parts, maybe. This is just how I did and I have never been accused of working smart not hard.
I want to note that when using vinegar both Moen and Delta support a 50/50 solution of vinegar and water to remove calcification and hard water build up. Both recommend you do NOT leave the solution on for more than an hour. Vinegar can damage finishes especially the darker finishes which are more prone to damage in general. But hard cleaning product and even vinegar will cause damage if left on for to long. Your going to ask well then why did you leave yours on for so long? The answer is I had everything with a finish removed, I was wrapping with paper towels damp with vinegar so it stayed where I needed it to, and I knew I was replacing everything once I got it out. Anything that could be damaged that was not intended to be replaced was gone. But you need to do what you feel confident and comfortable with and you need to know what the dangers are before you get started. I’m not saying you have to do this. I’m saying this is what I did.