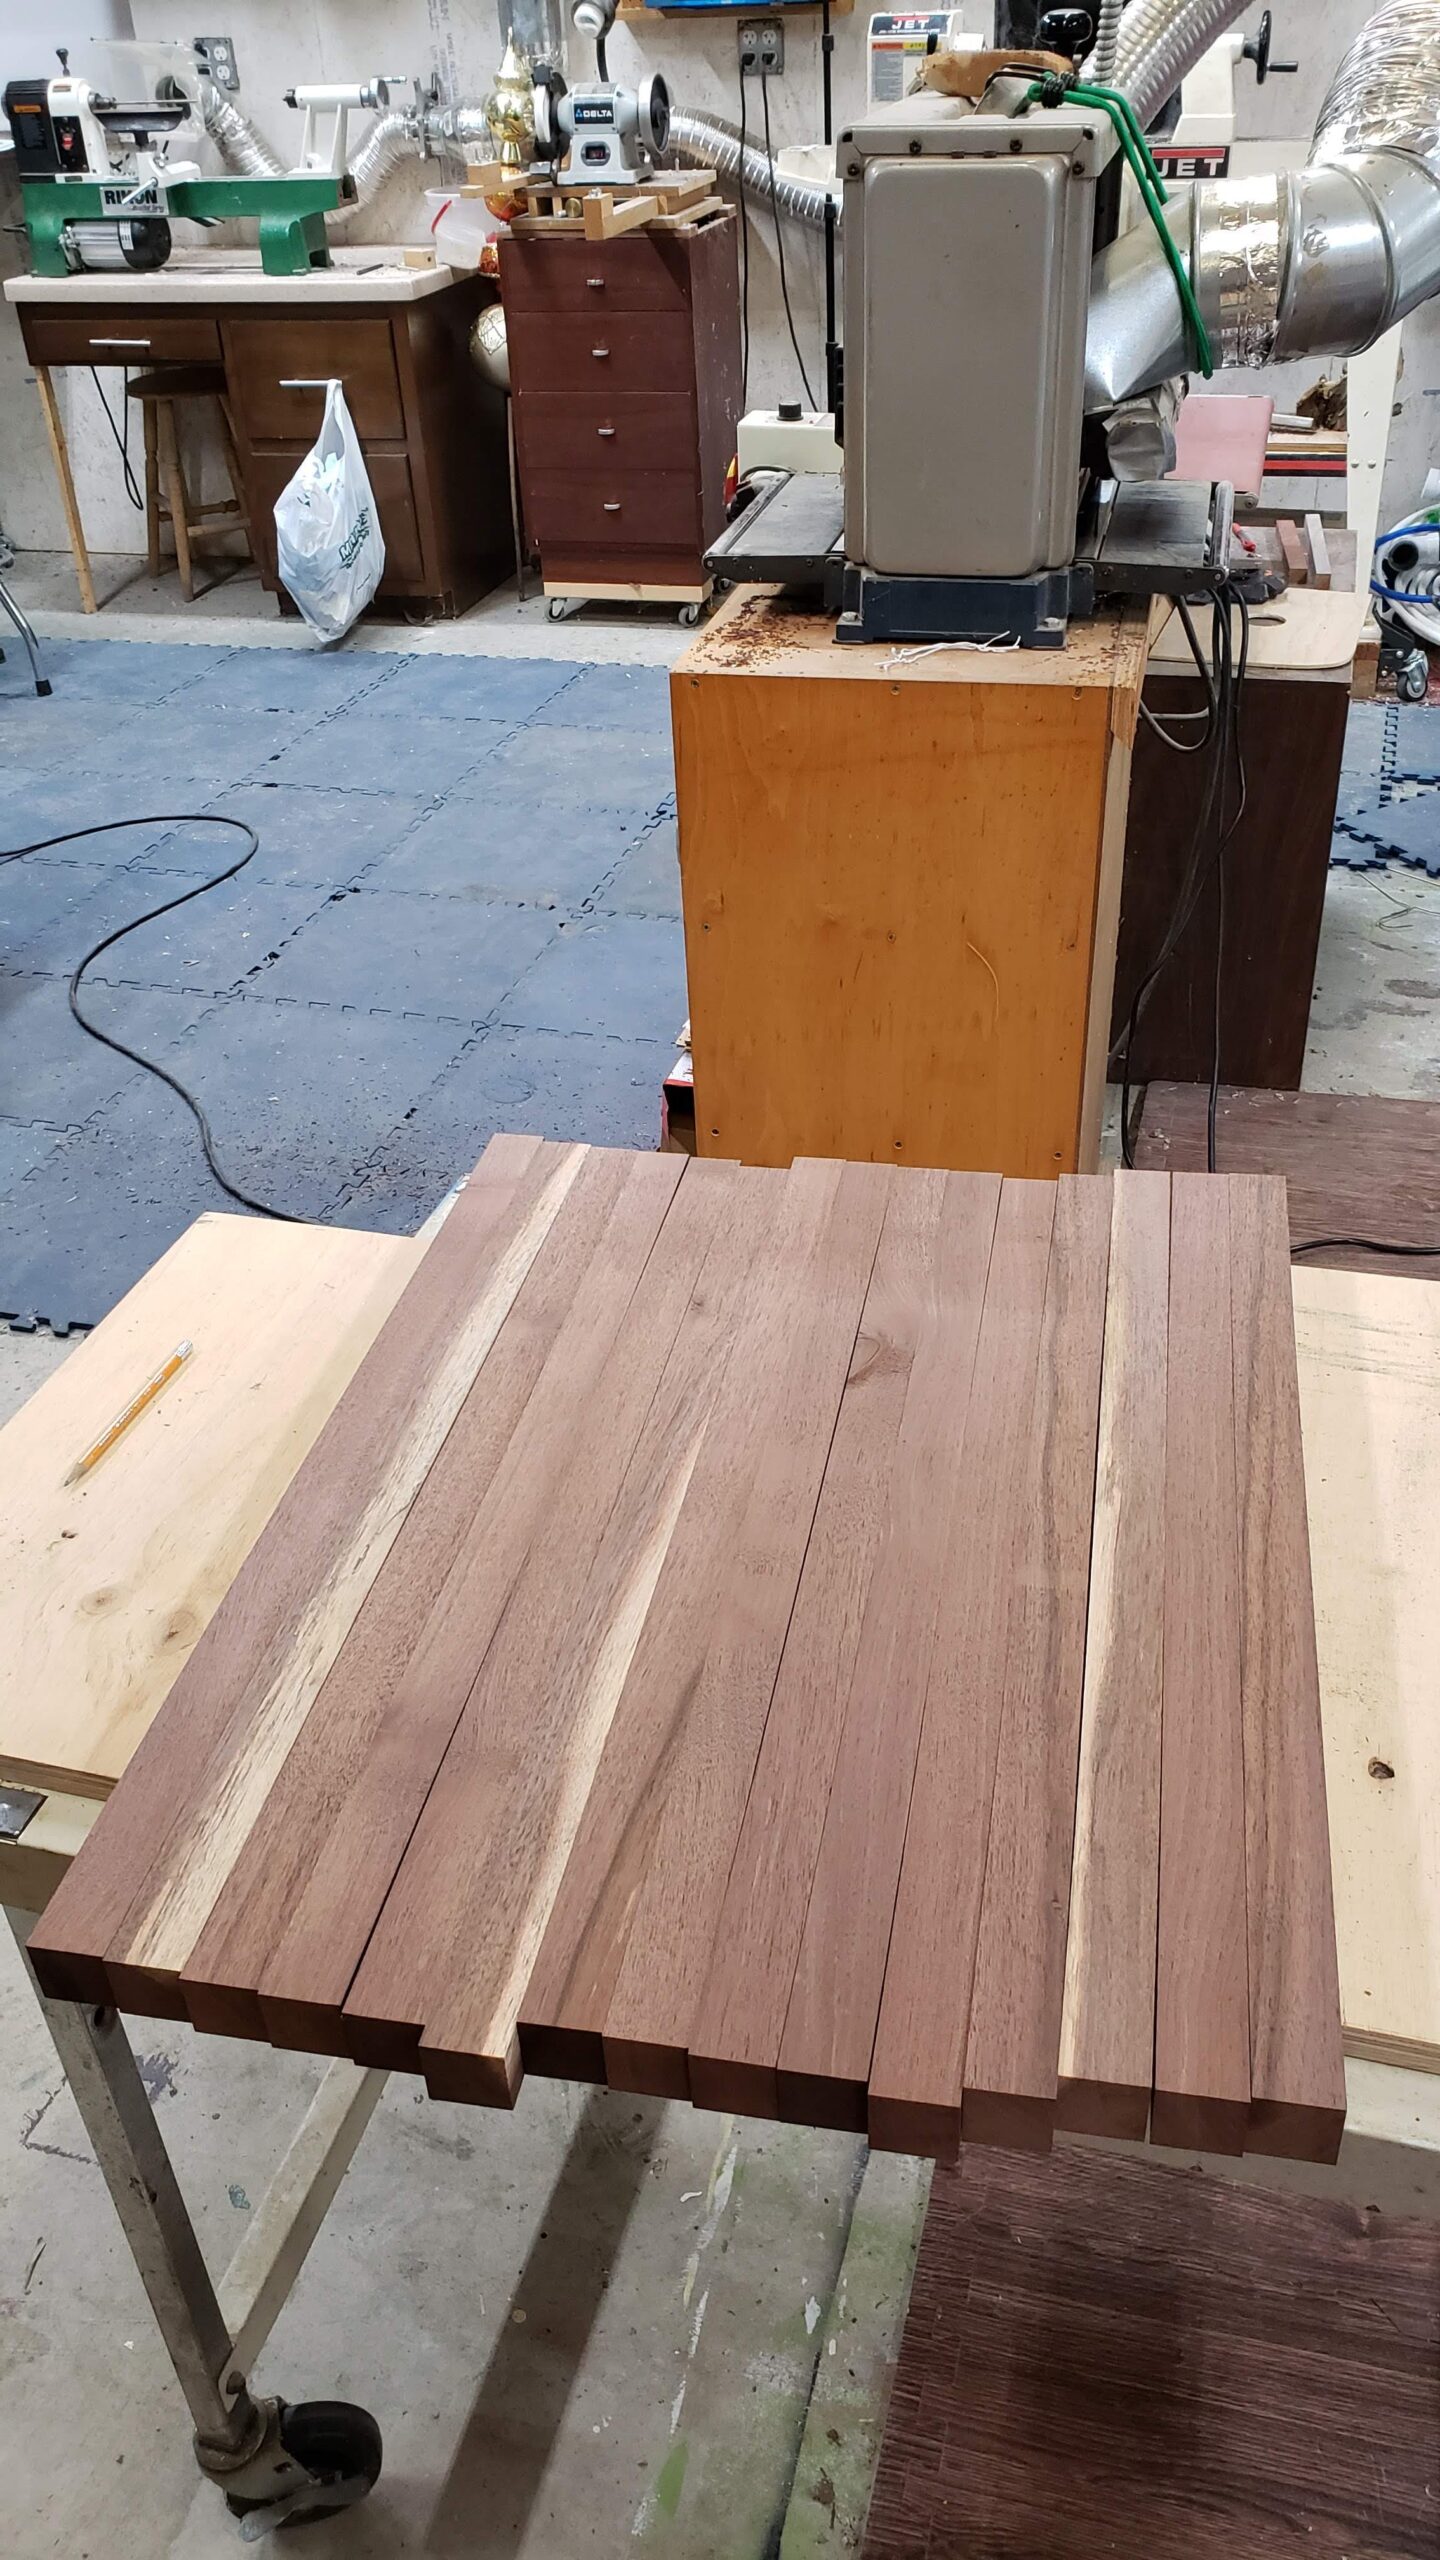
I have another cutting board to make. I would have liked to make it out of maple, but I do not have any maple milled. But I do still have a lot of walnut. This time I want to make an end grain board. Here are the steps I took to make it.
First, I cut 1 1/2 inch strips, 26 inches long. I then jointed and planed them all to the same thickness and width so that I had square strips.
Walnut Strips
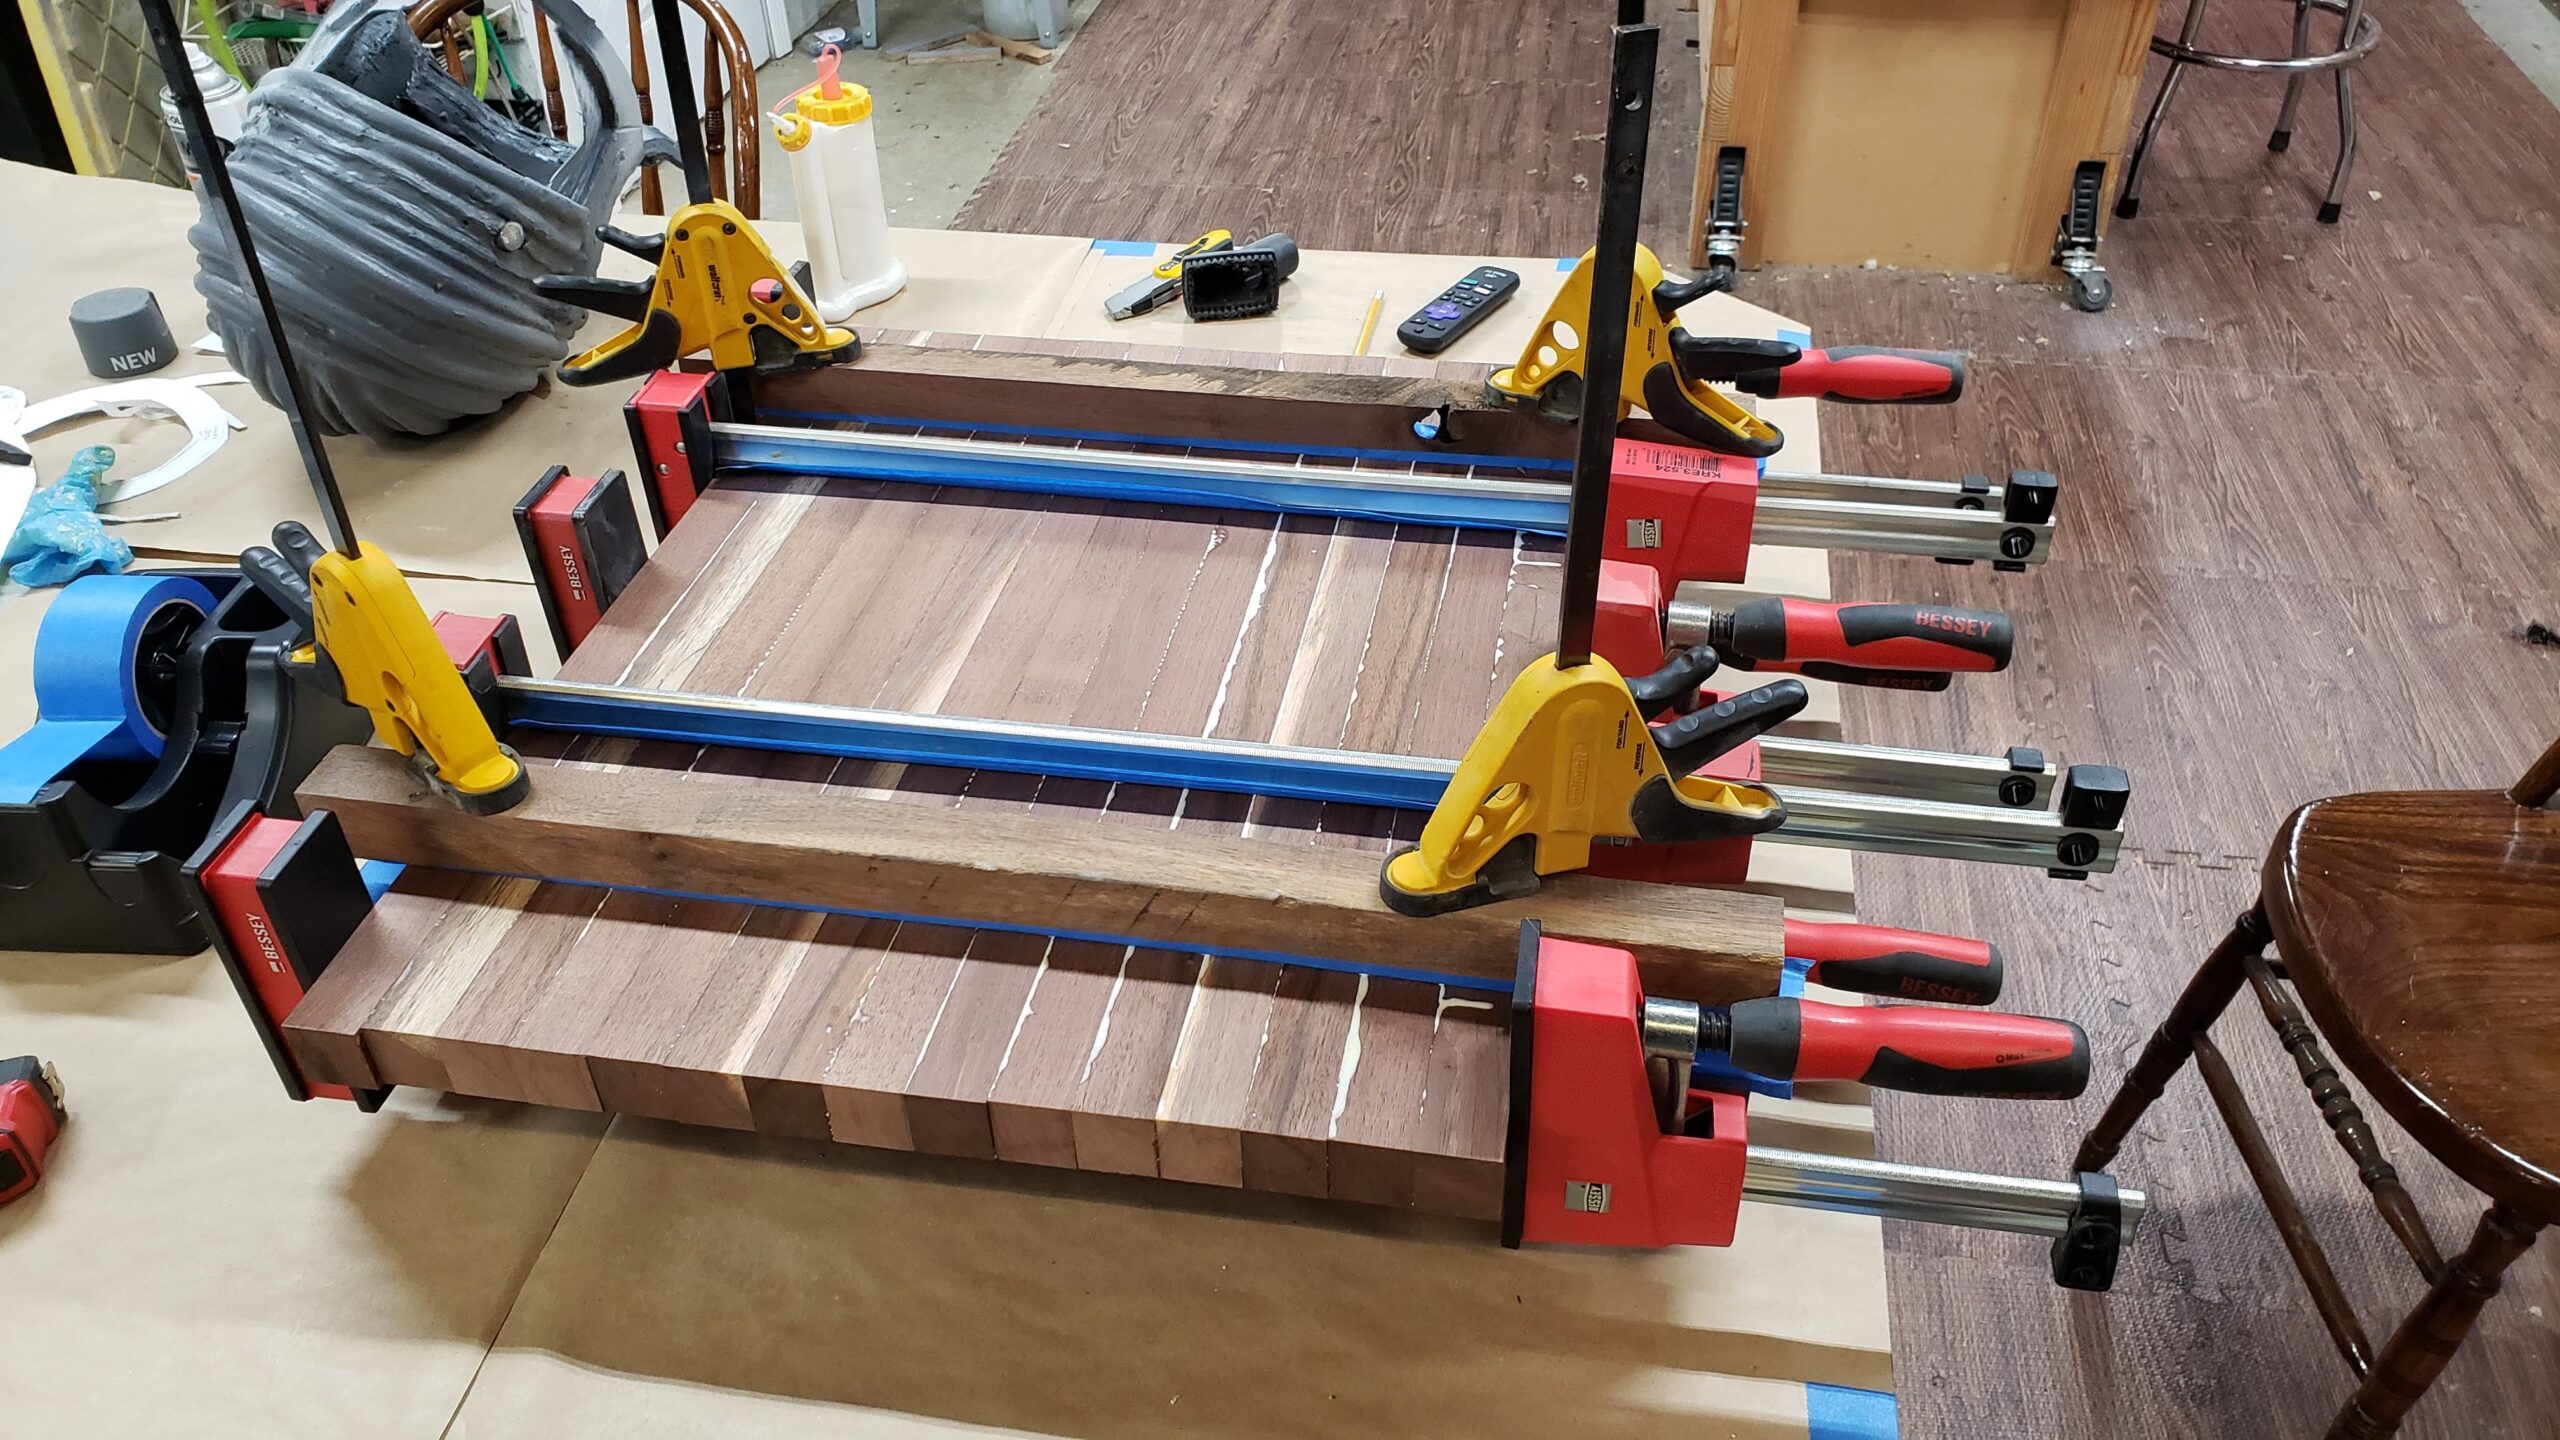
I then glued them with Titebond III and clamped them, using some clamping cauls made from some extra strips. This ensured a flatter board that wouldn’t take too much sanding to get them flat and smooth.
Glued and Clamped Board
I was a little more careful with the application of the glue this time, ensuring good coverage, and kept the squeeze out to a minimum. There was a small line of squeeze out at each glue line.
Glued Up Board
Here is the reverse side of the board, mostly cleaned up. Notice the broken corner on one of the strips at the bottom. For details on how I fixed this, check out this post.
Board Cleaned Up
Now the board was ready for sanding on the drum sander.
Ready for Sanding
Here’s one pass through the sander. It has a 36 grit belt on.
Here it is sanded smooth and flat to 36 grit.
Rough Sanded Board
After this, I proceed through the grits of 80, 150, and 220. It only takes about two passes per side to get them sanded. The most time consuming part of this process is changing out the sanding belts.
Finish Sanded Board
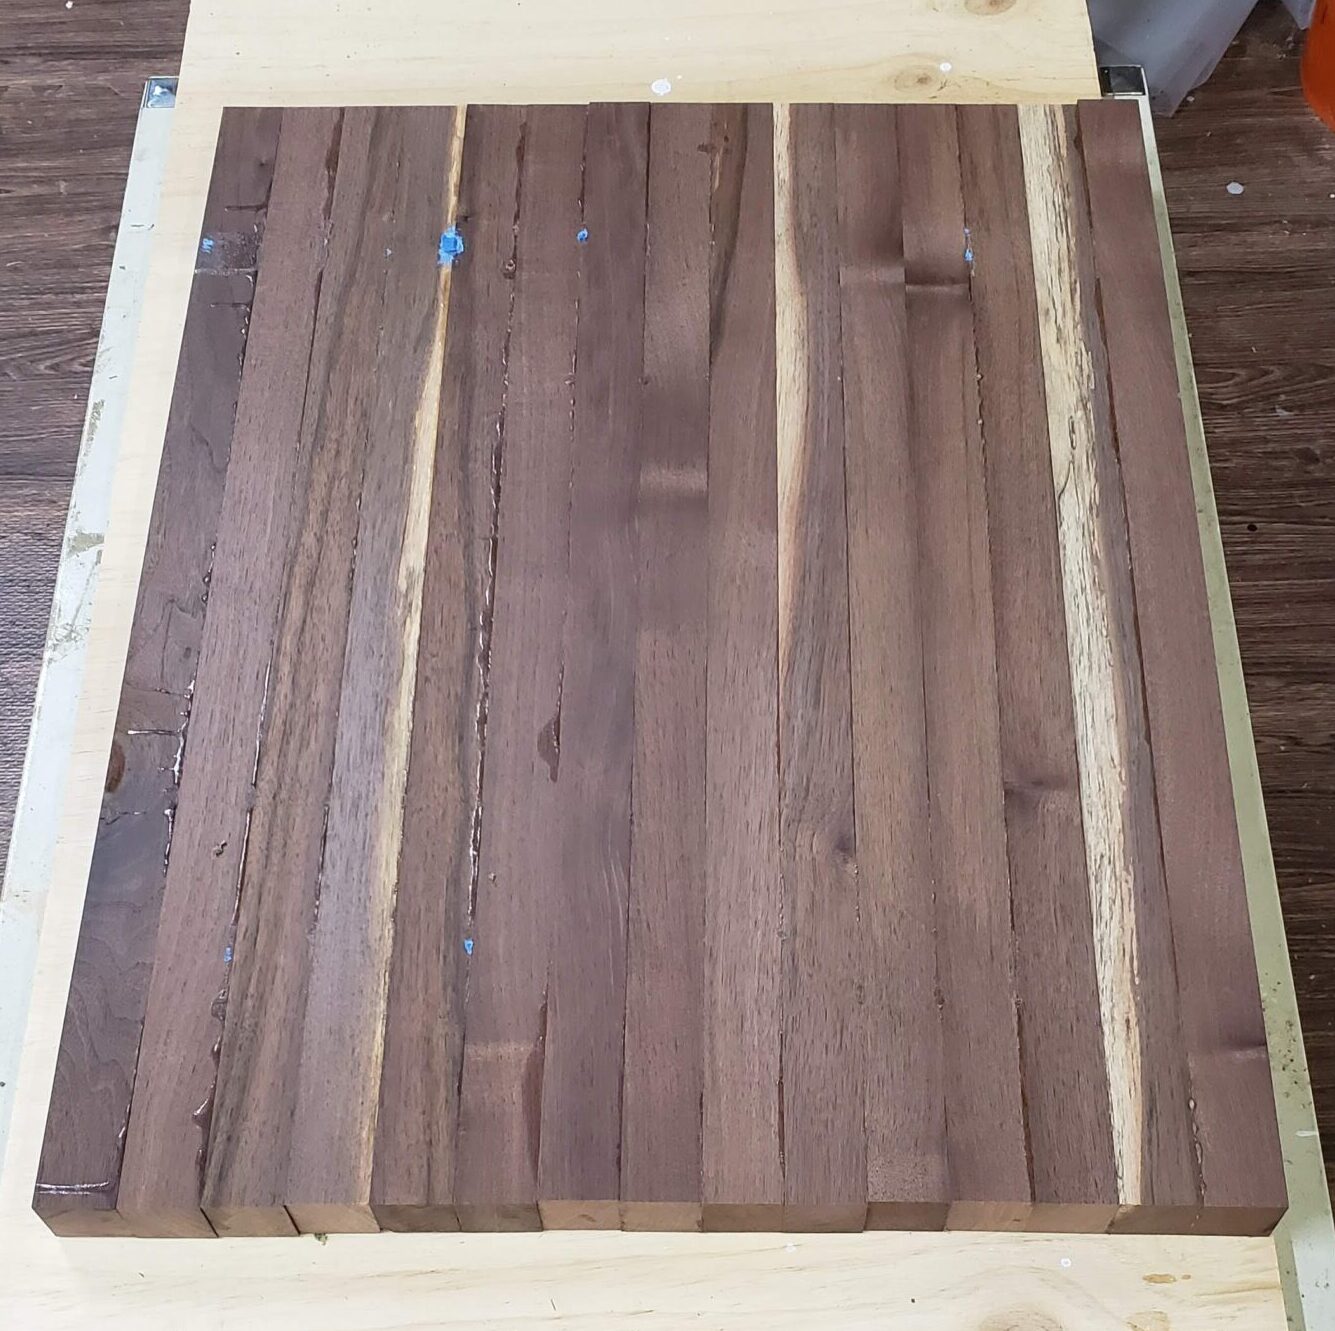
Next, I cut it into strips and glued them up with the end grain facing up. I also laser engraved the logo into one of the strips, but since I forgot to take a picture of it, you’ll have to wait until it’s out of the clamps to see it.
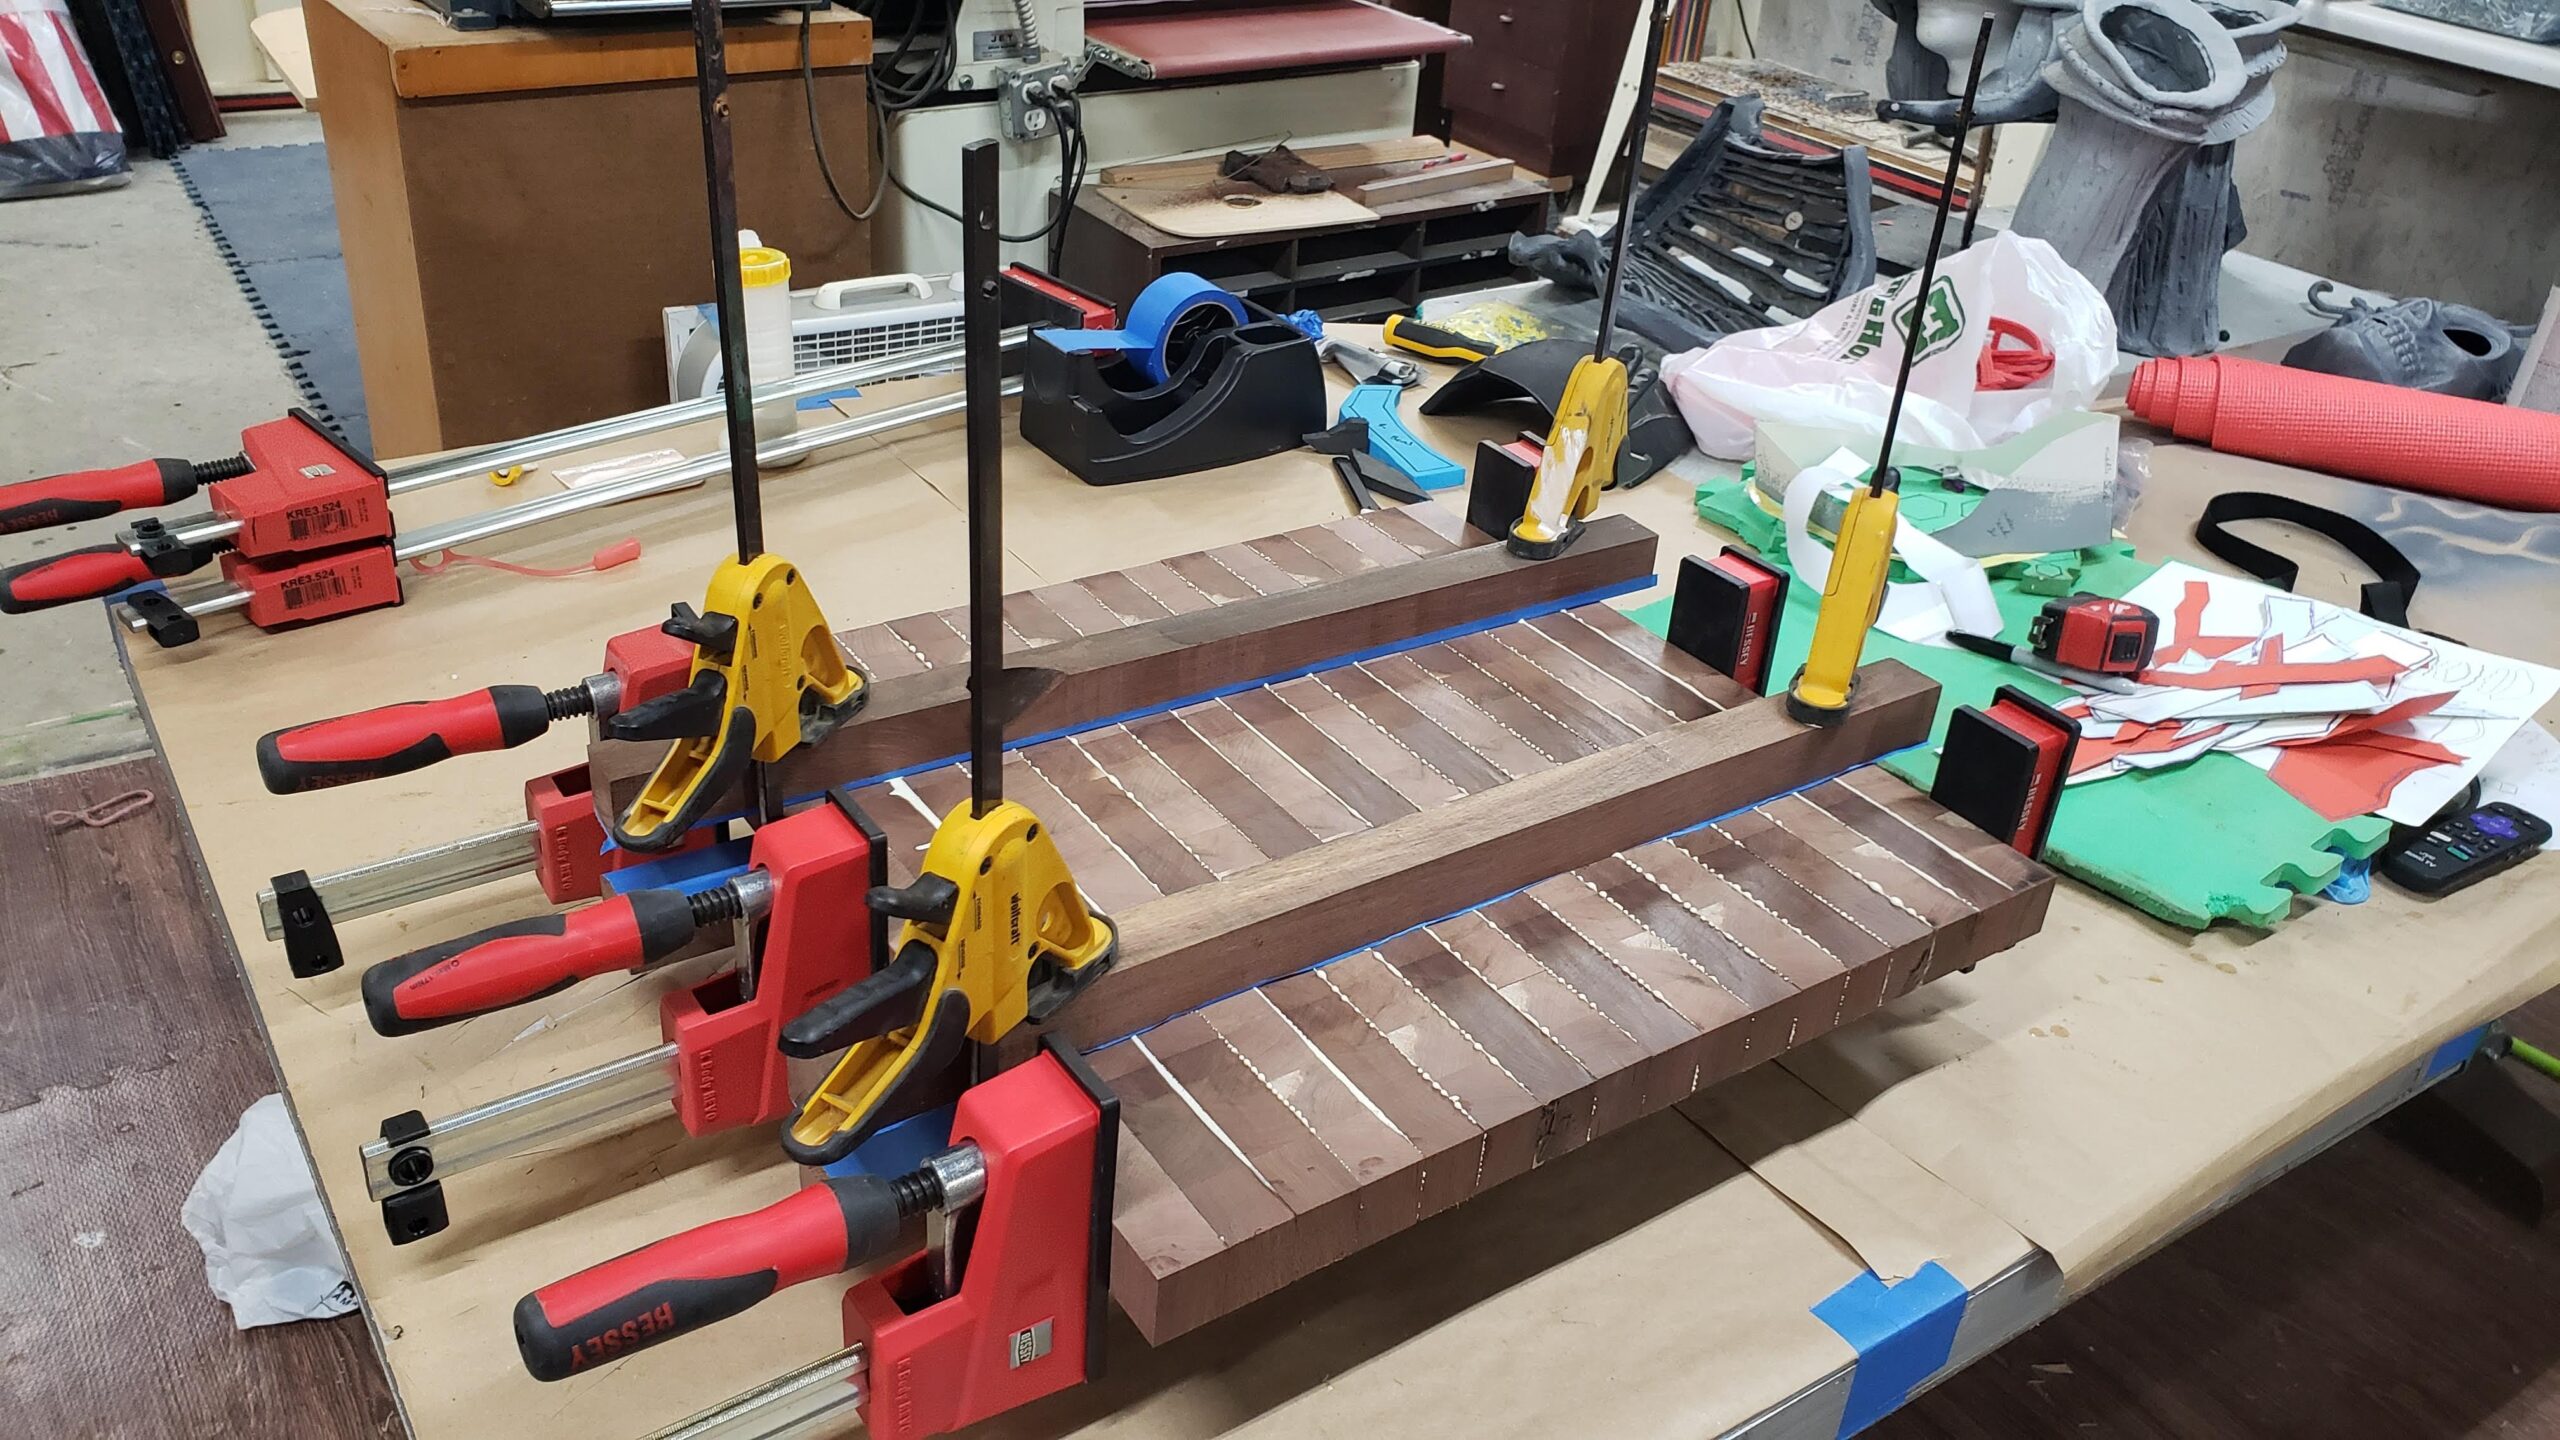
End Grain Glueup
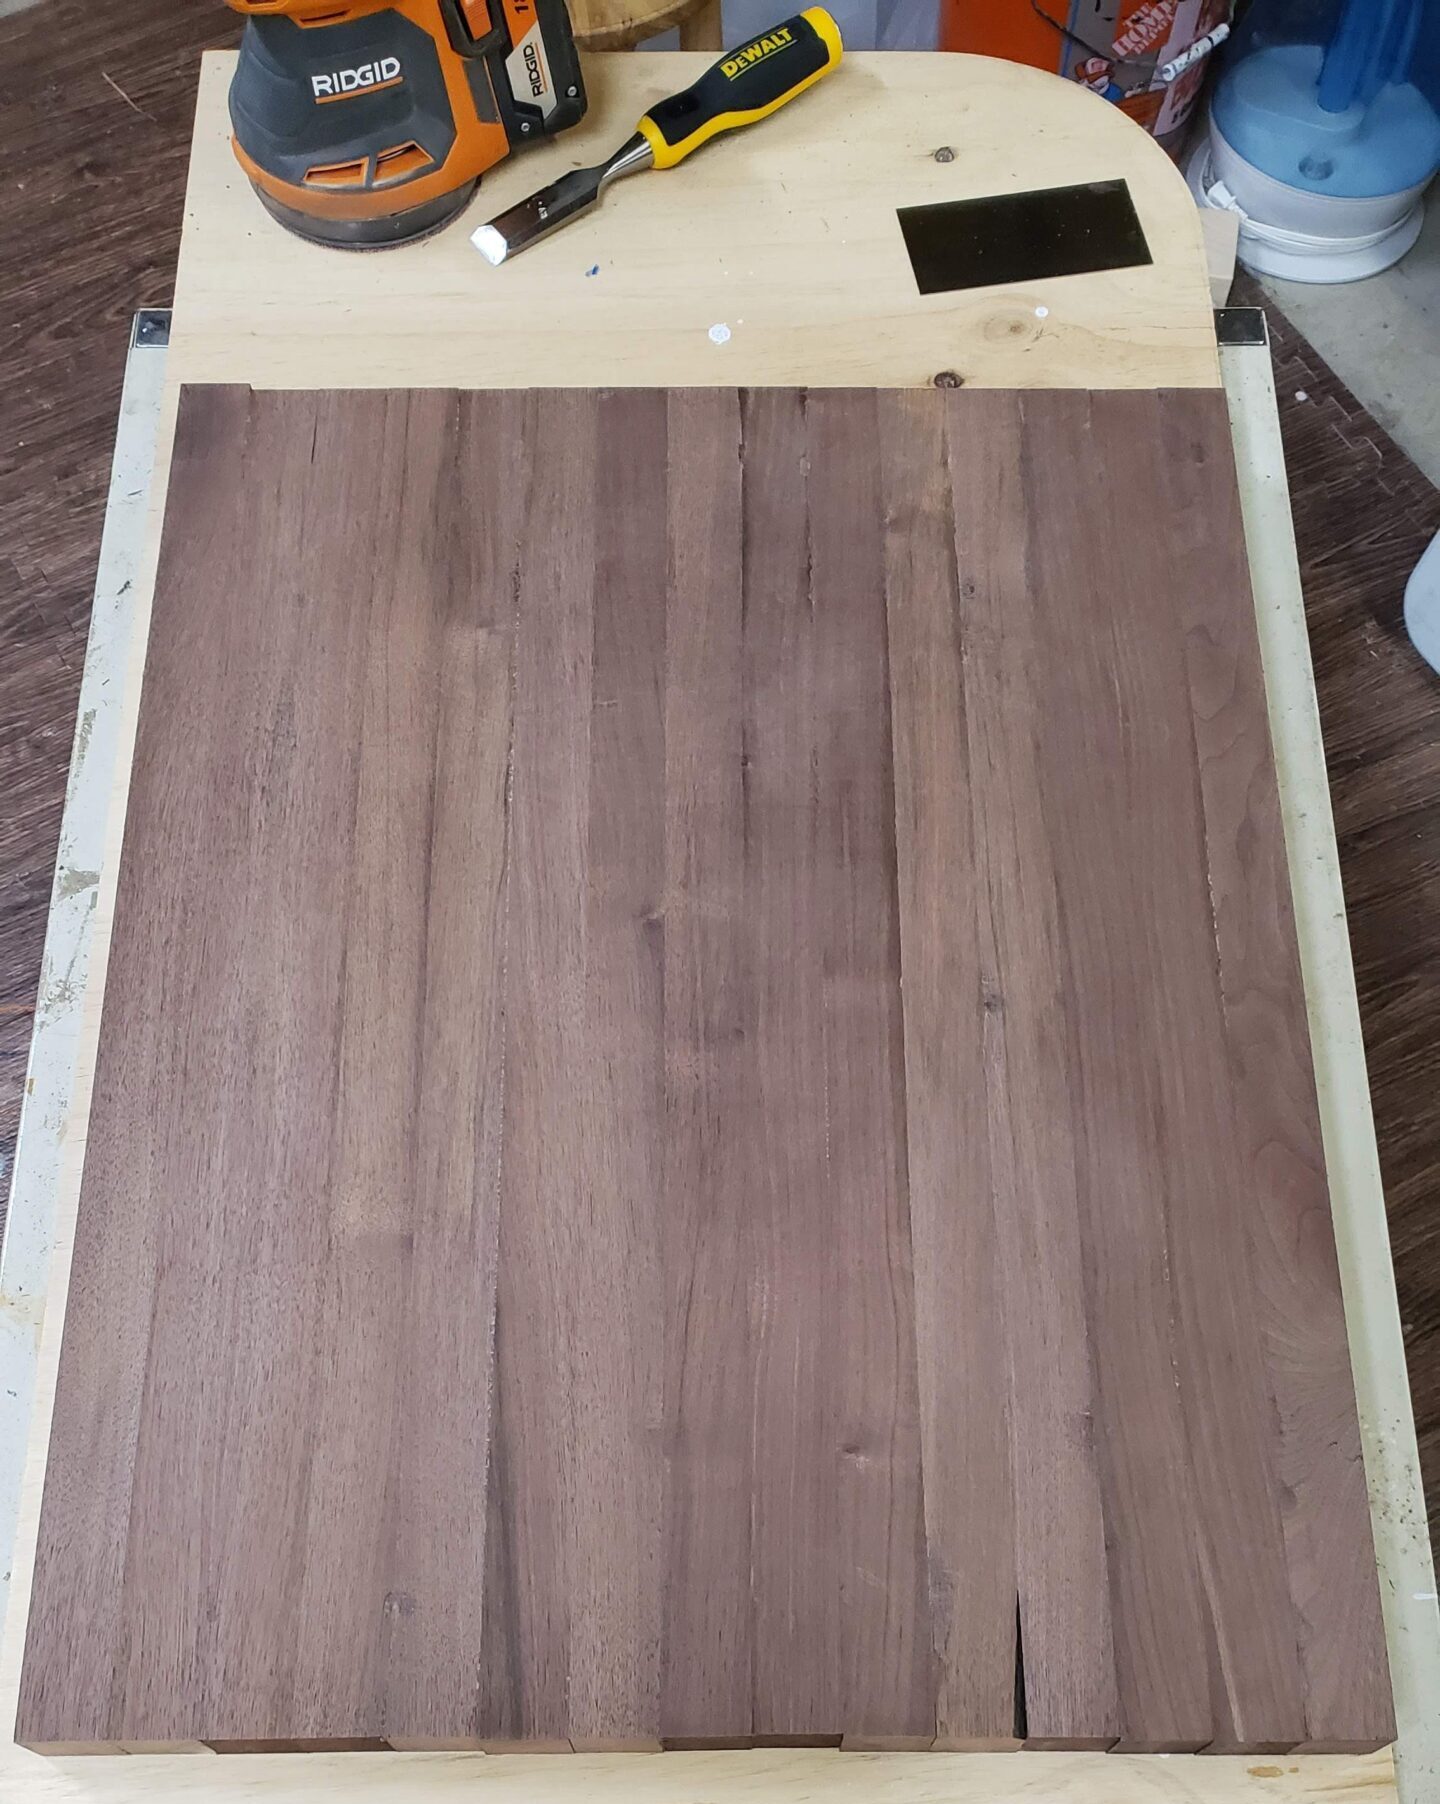
After a day I removed the clamps. There’s a bit of squeeze out to clean up.

Clamps Removed
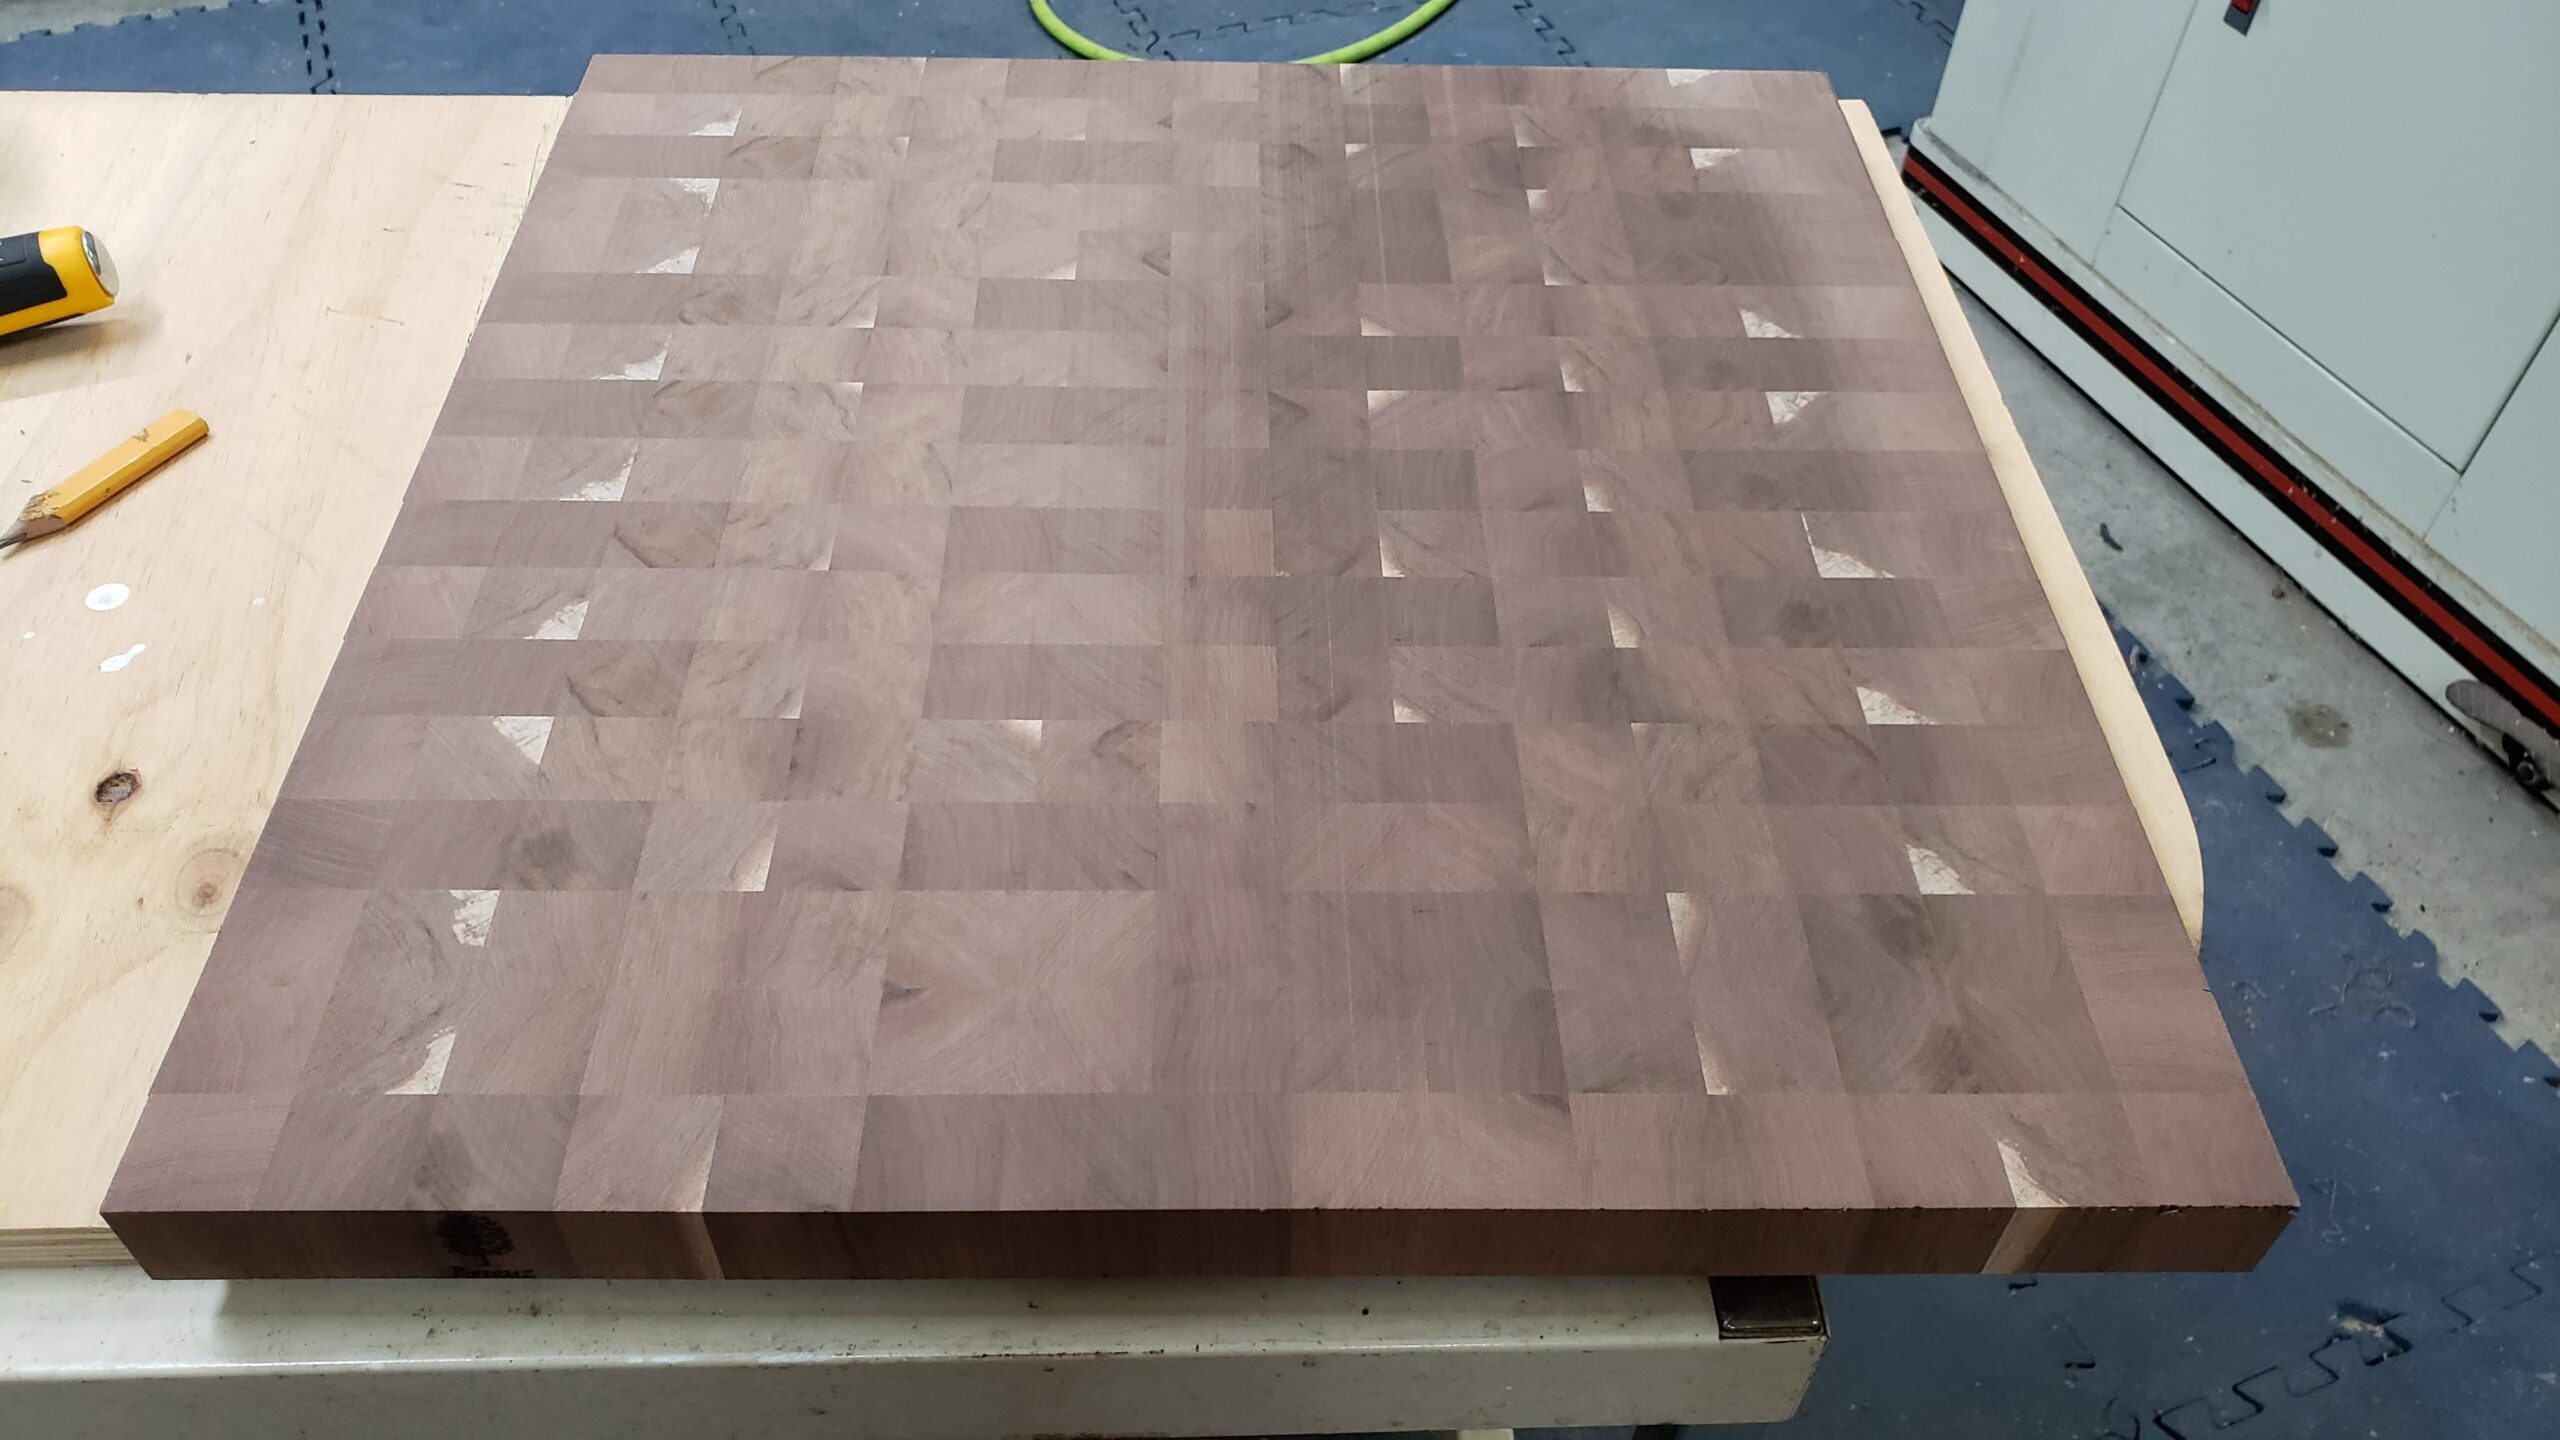
Here’s a closeup of the grain.
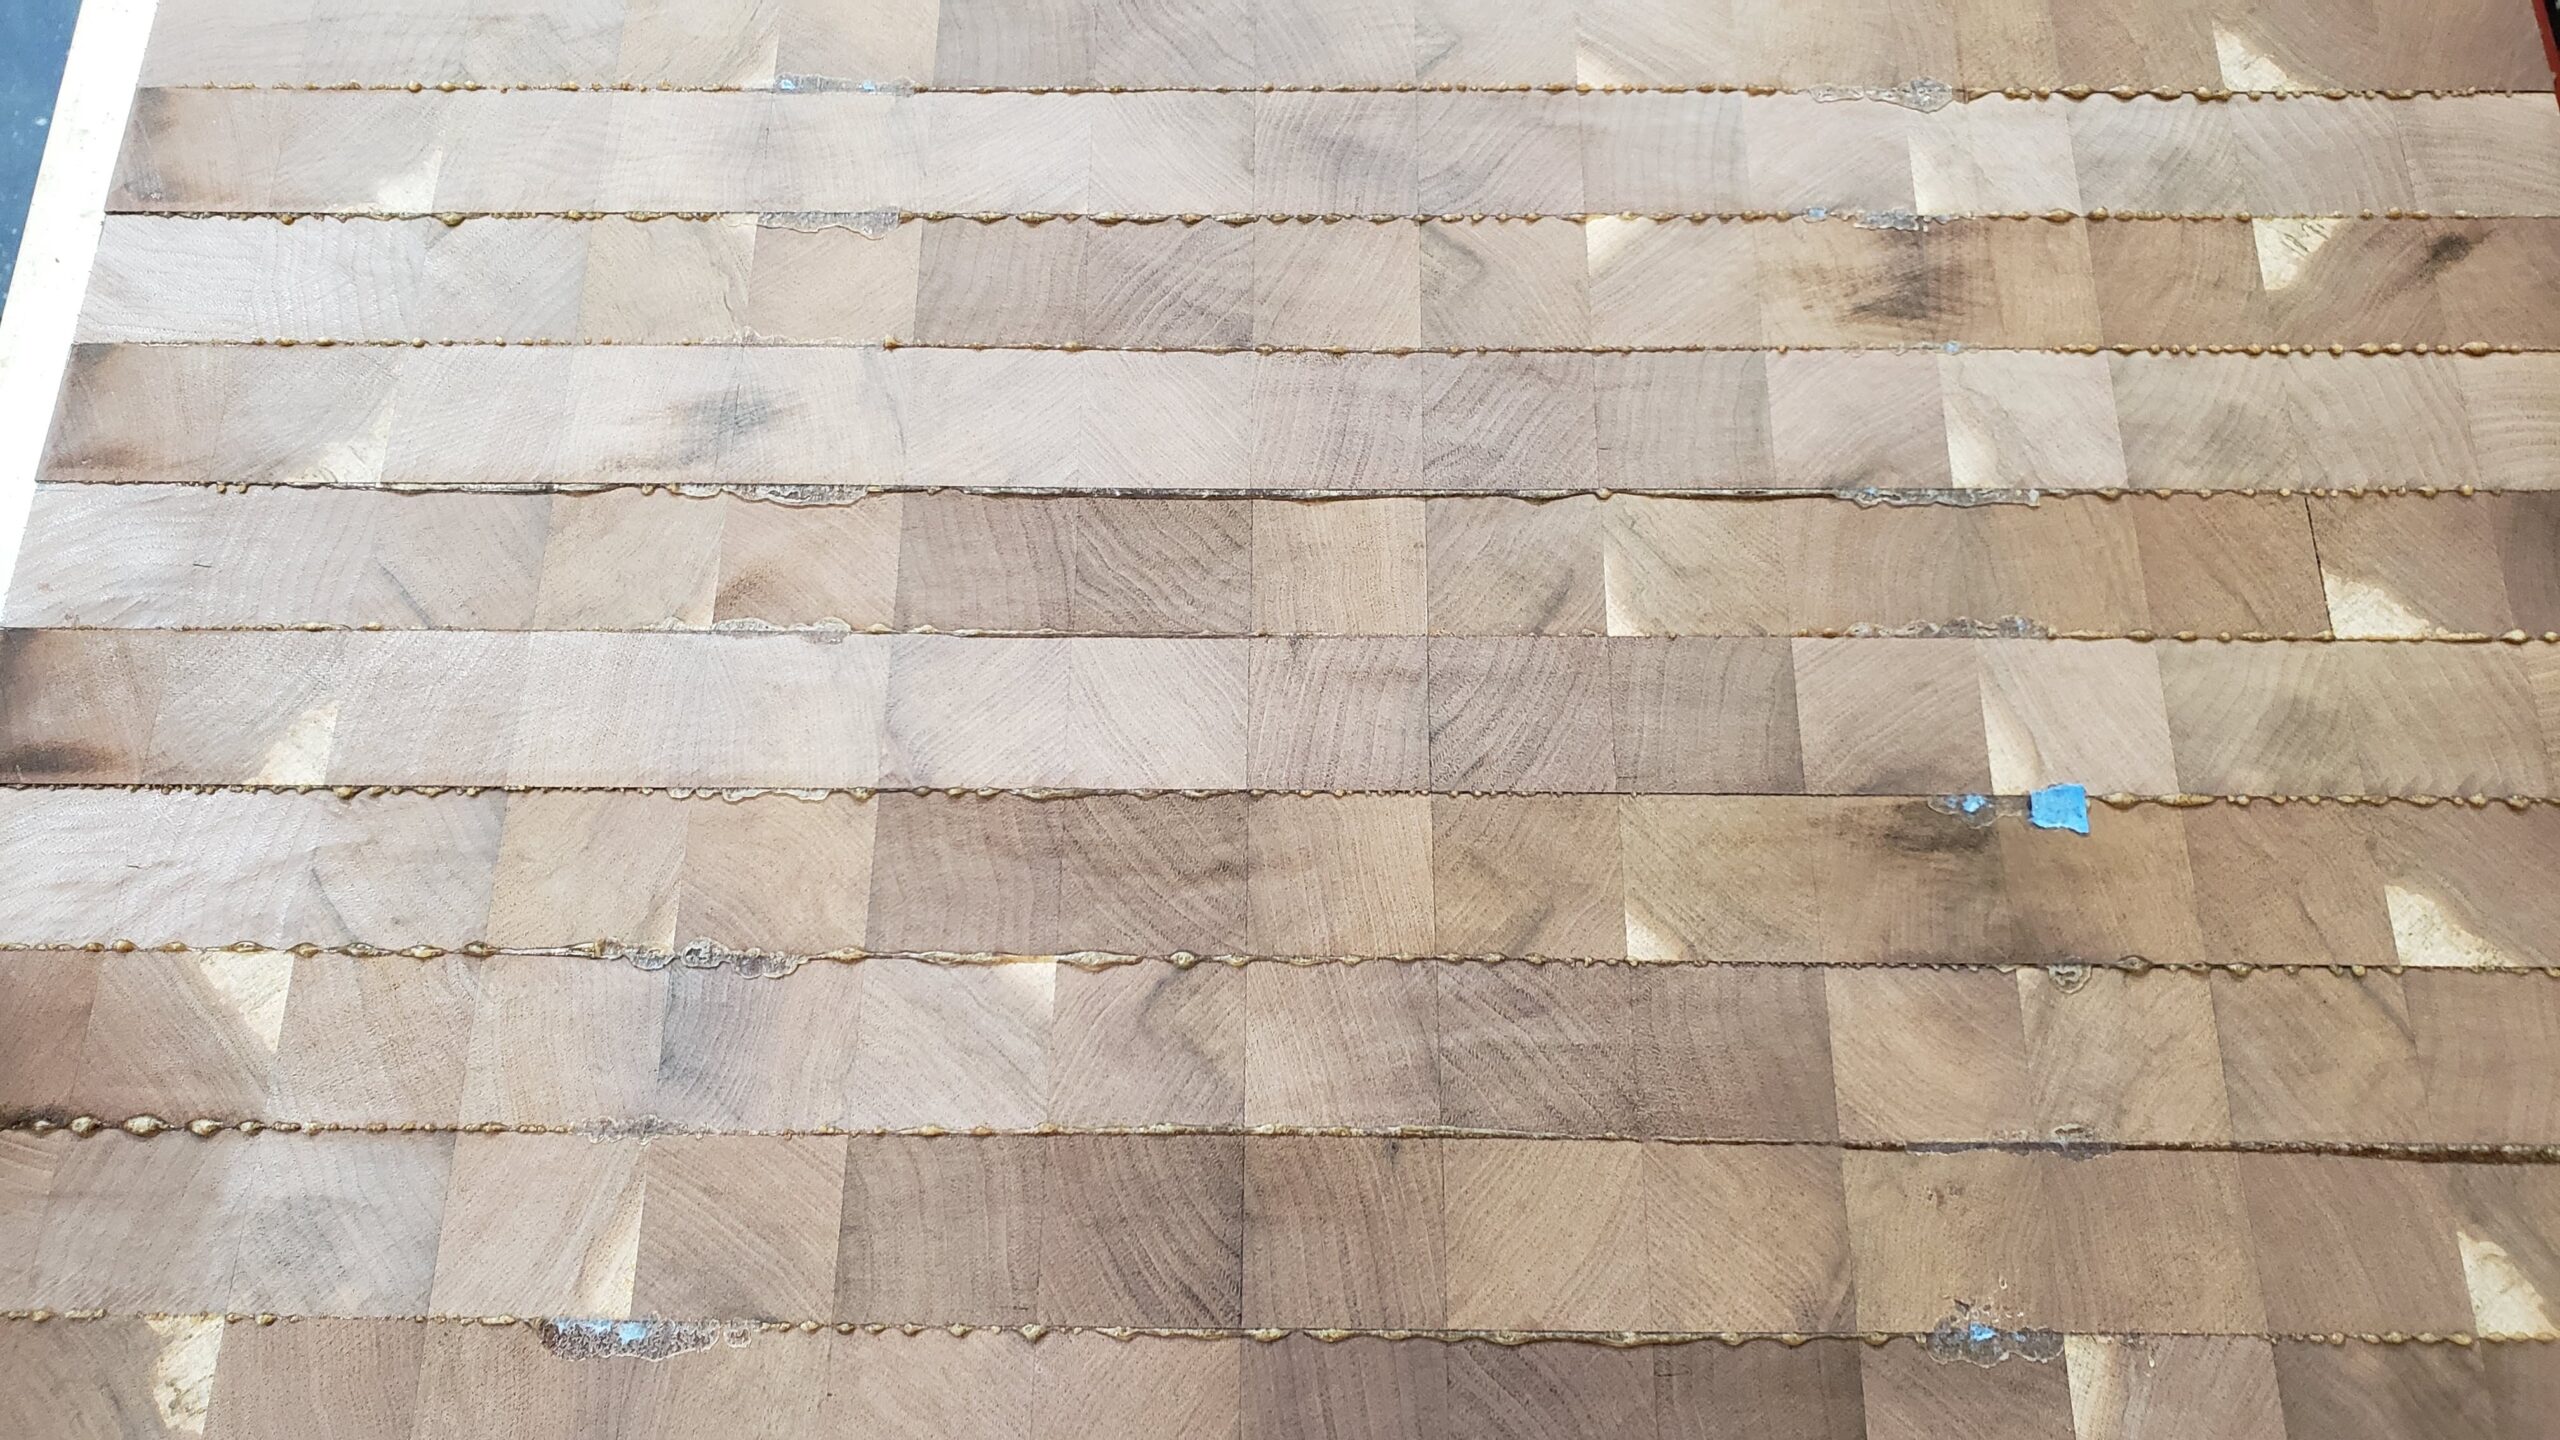
Glued End Grain
OK, you don’t have to wait any longer. Here’s the laser engraved logo. It came out very well.
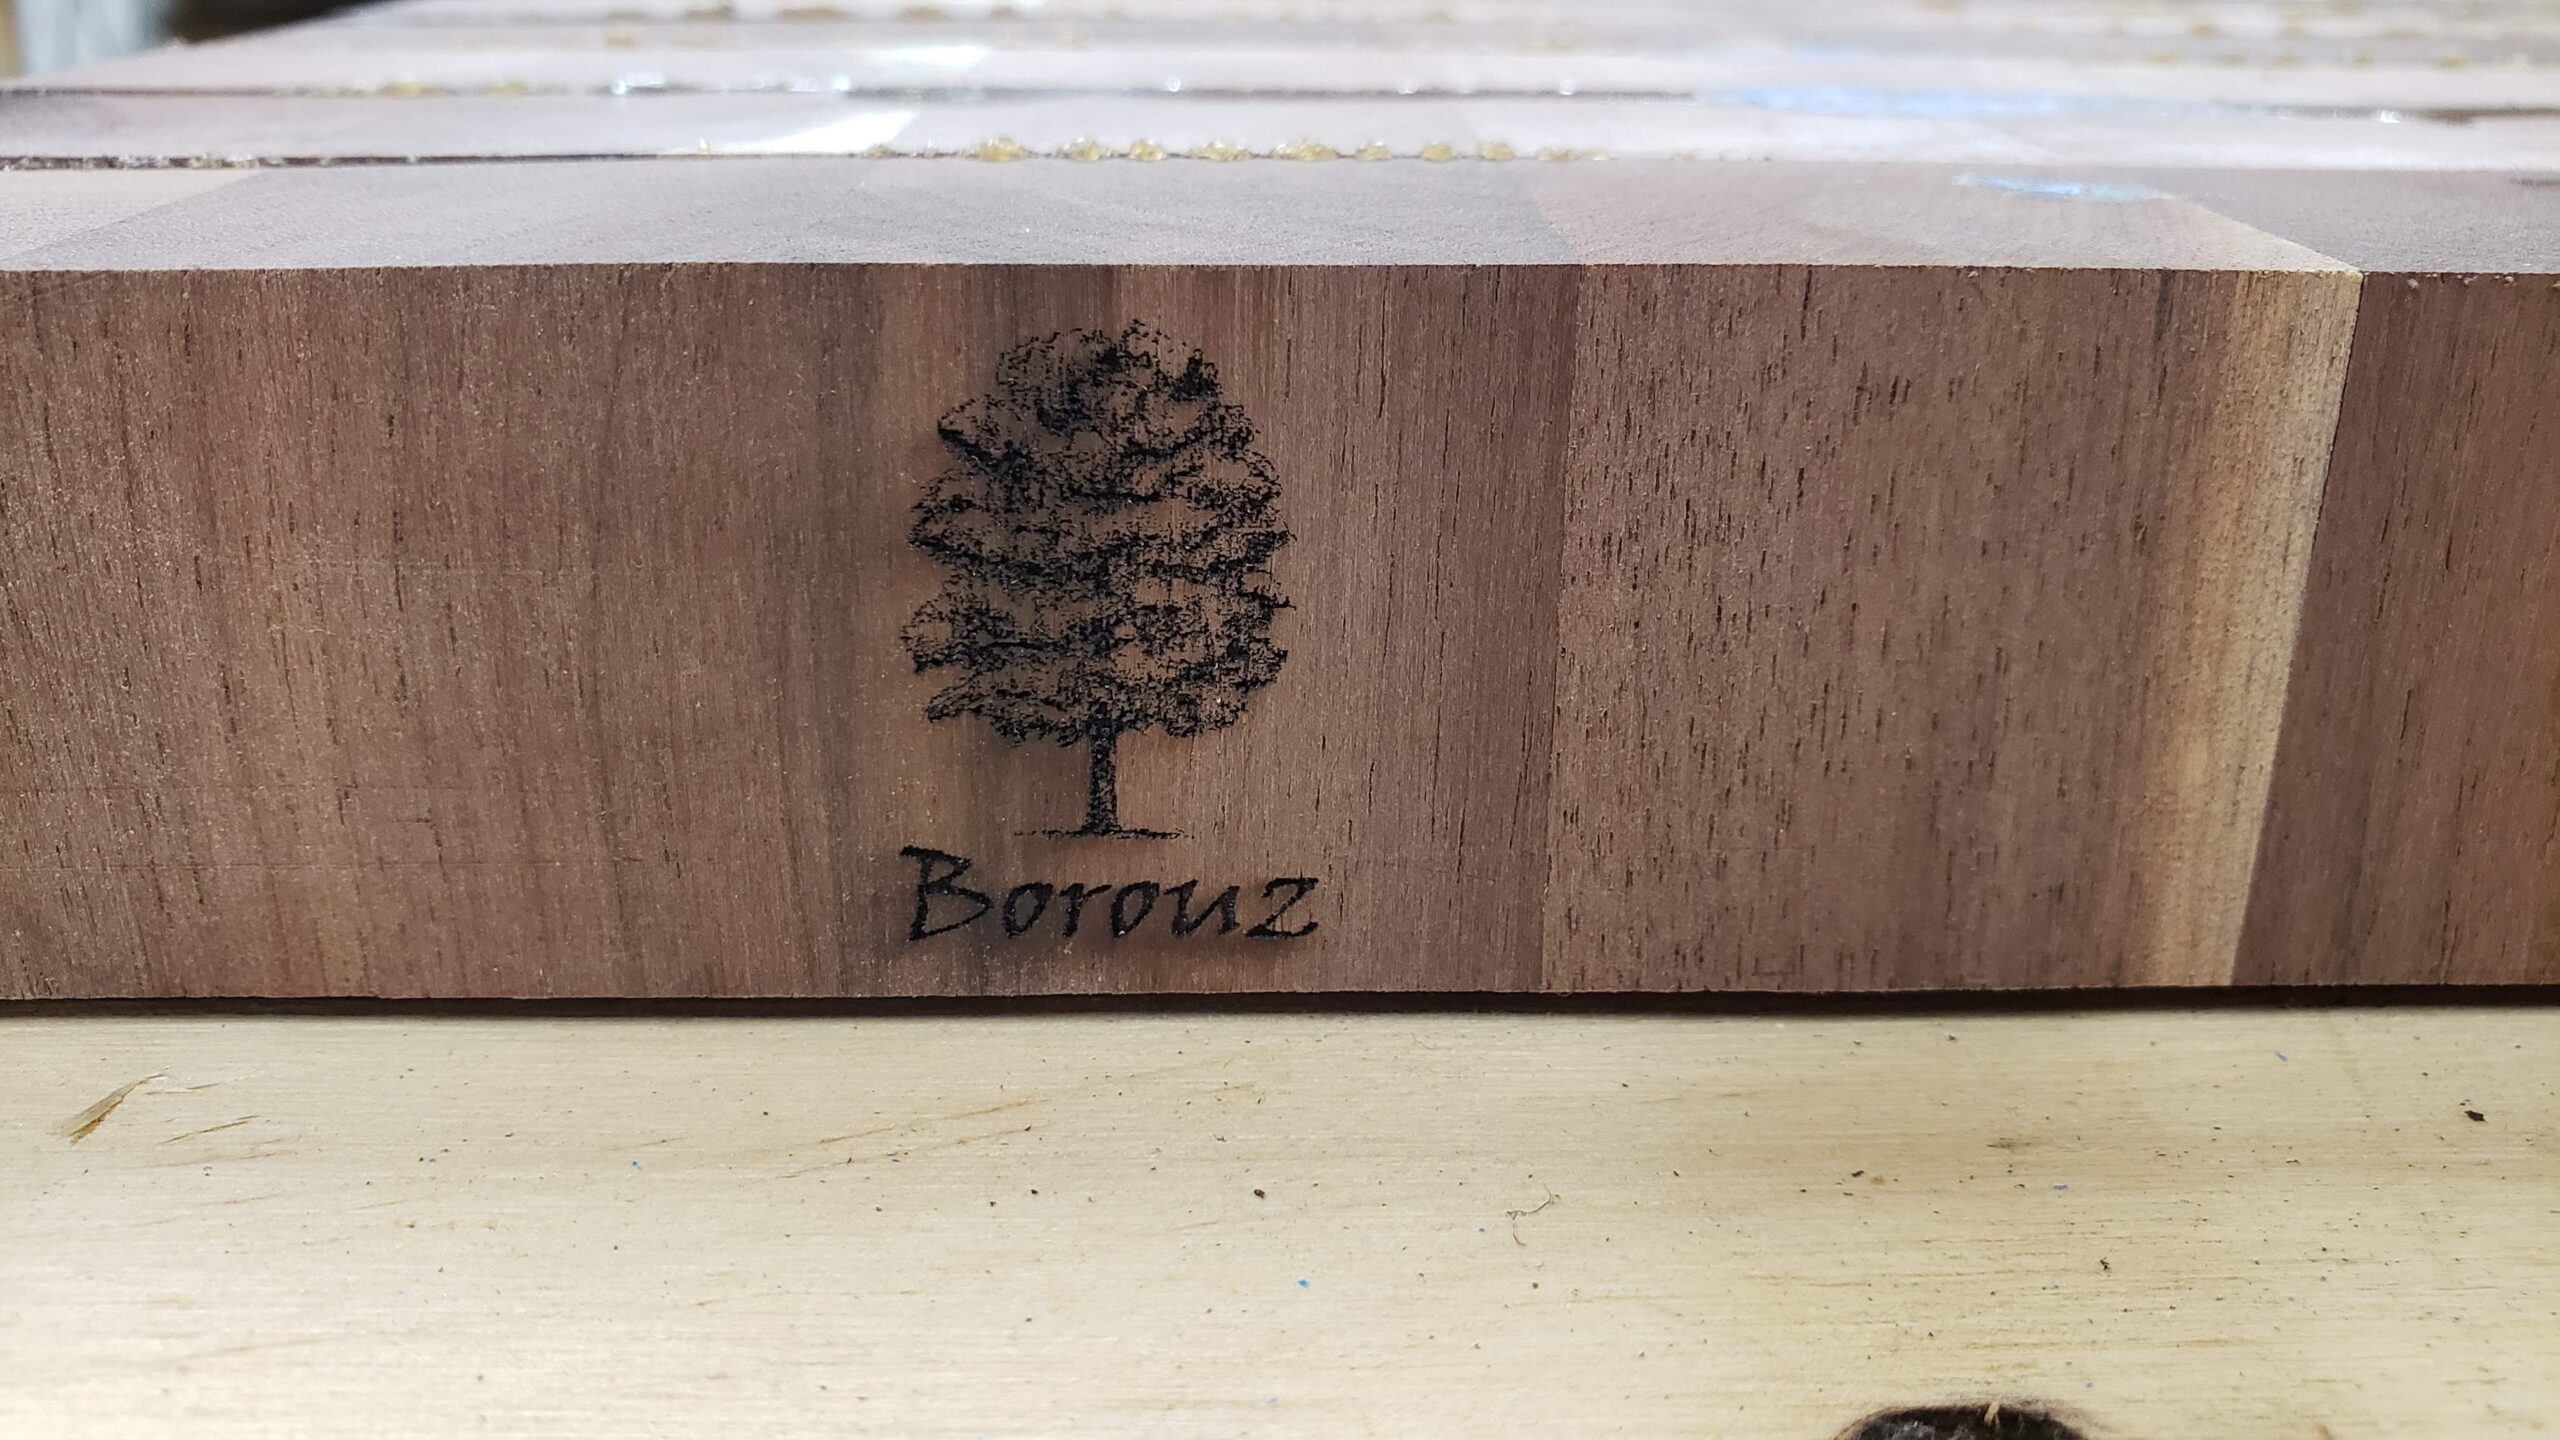
Laser Engraved Logo
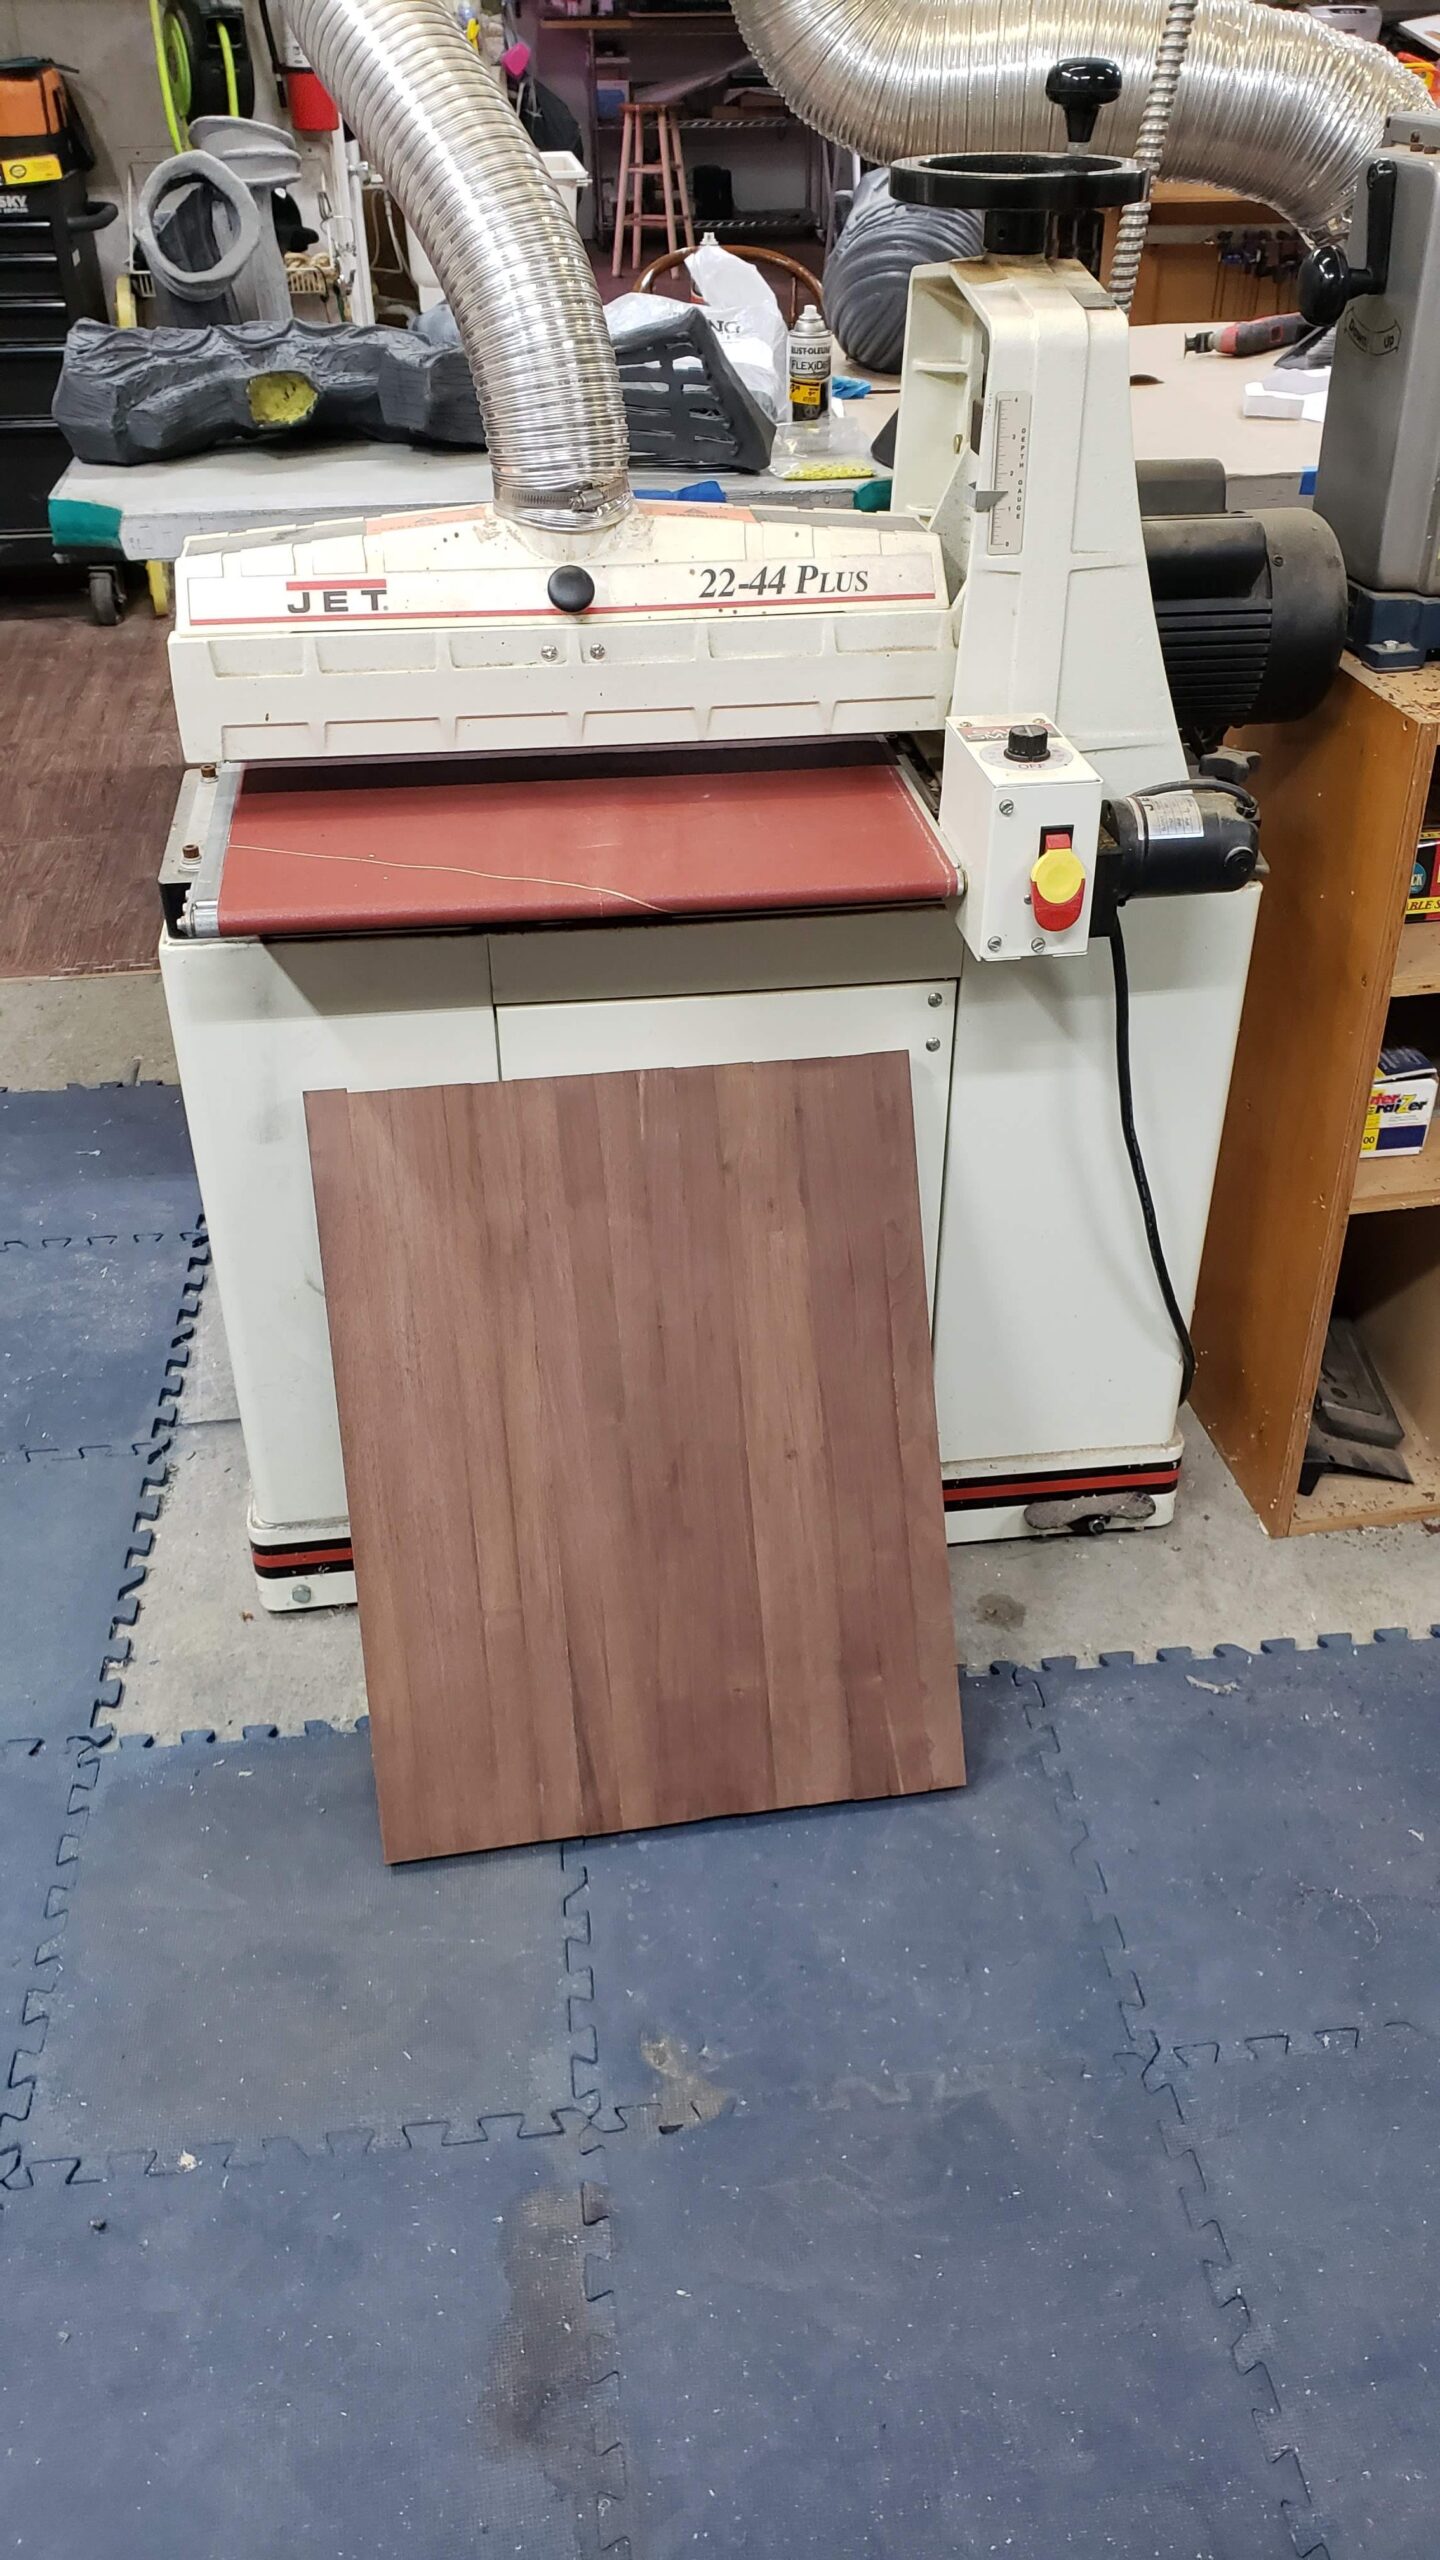
I scraped the glue and proceeded to sand in the drum sander, starting at 36 grit.
Sanded to 36 Grit
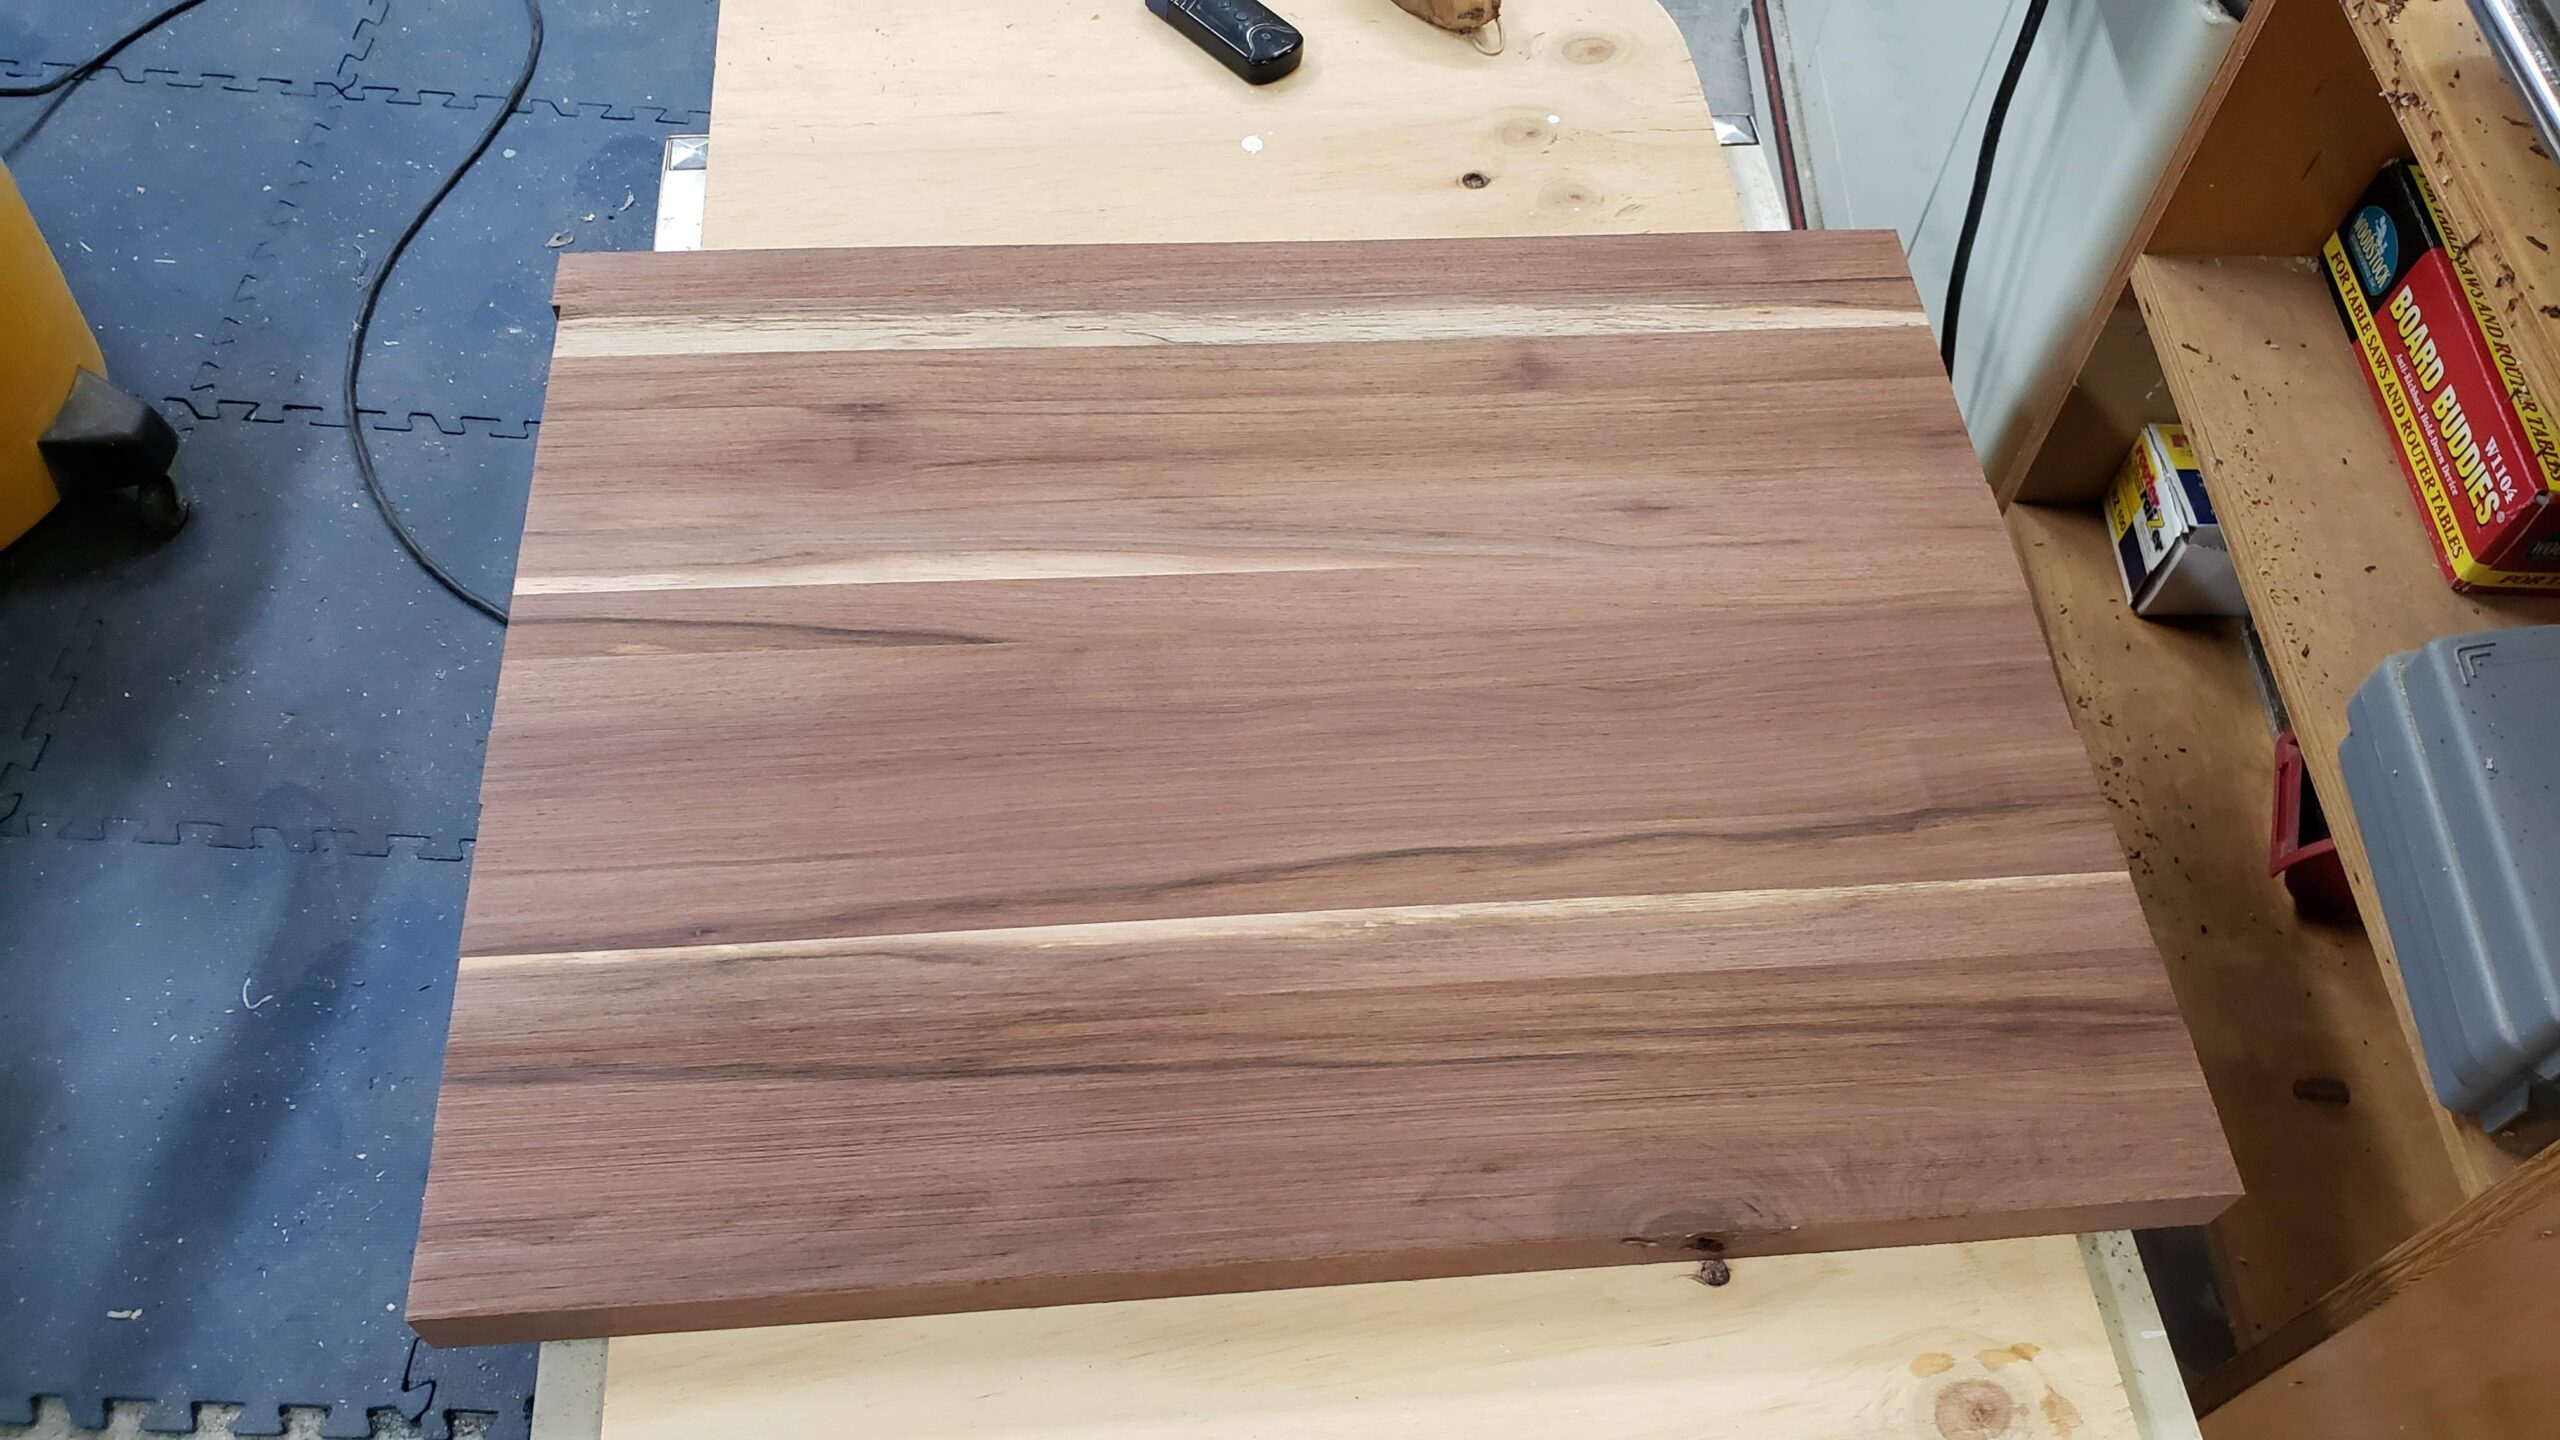
I sanded then at 60, 150, and 220 grit.
Sanded to 220 Grit
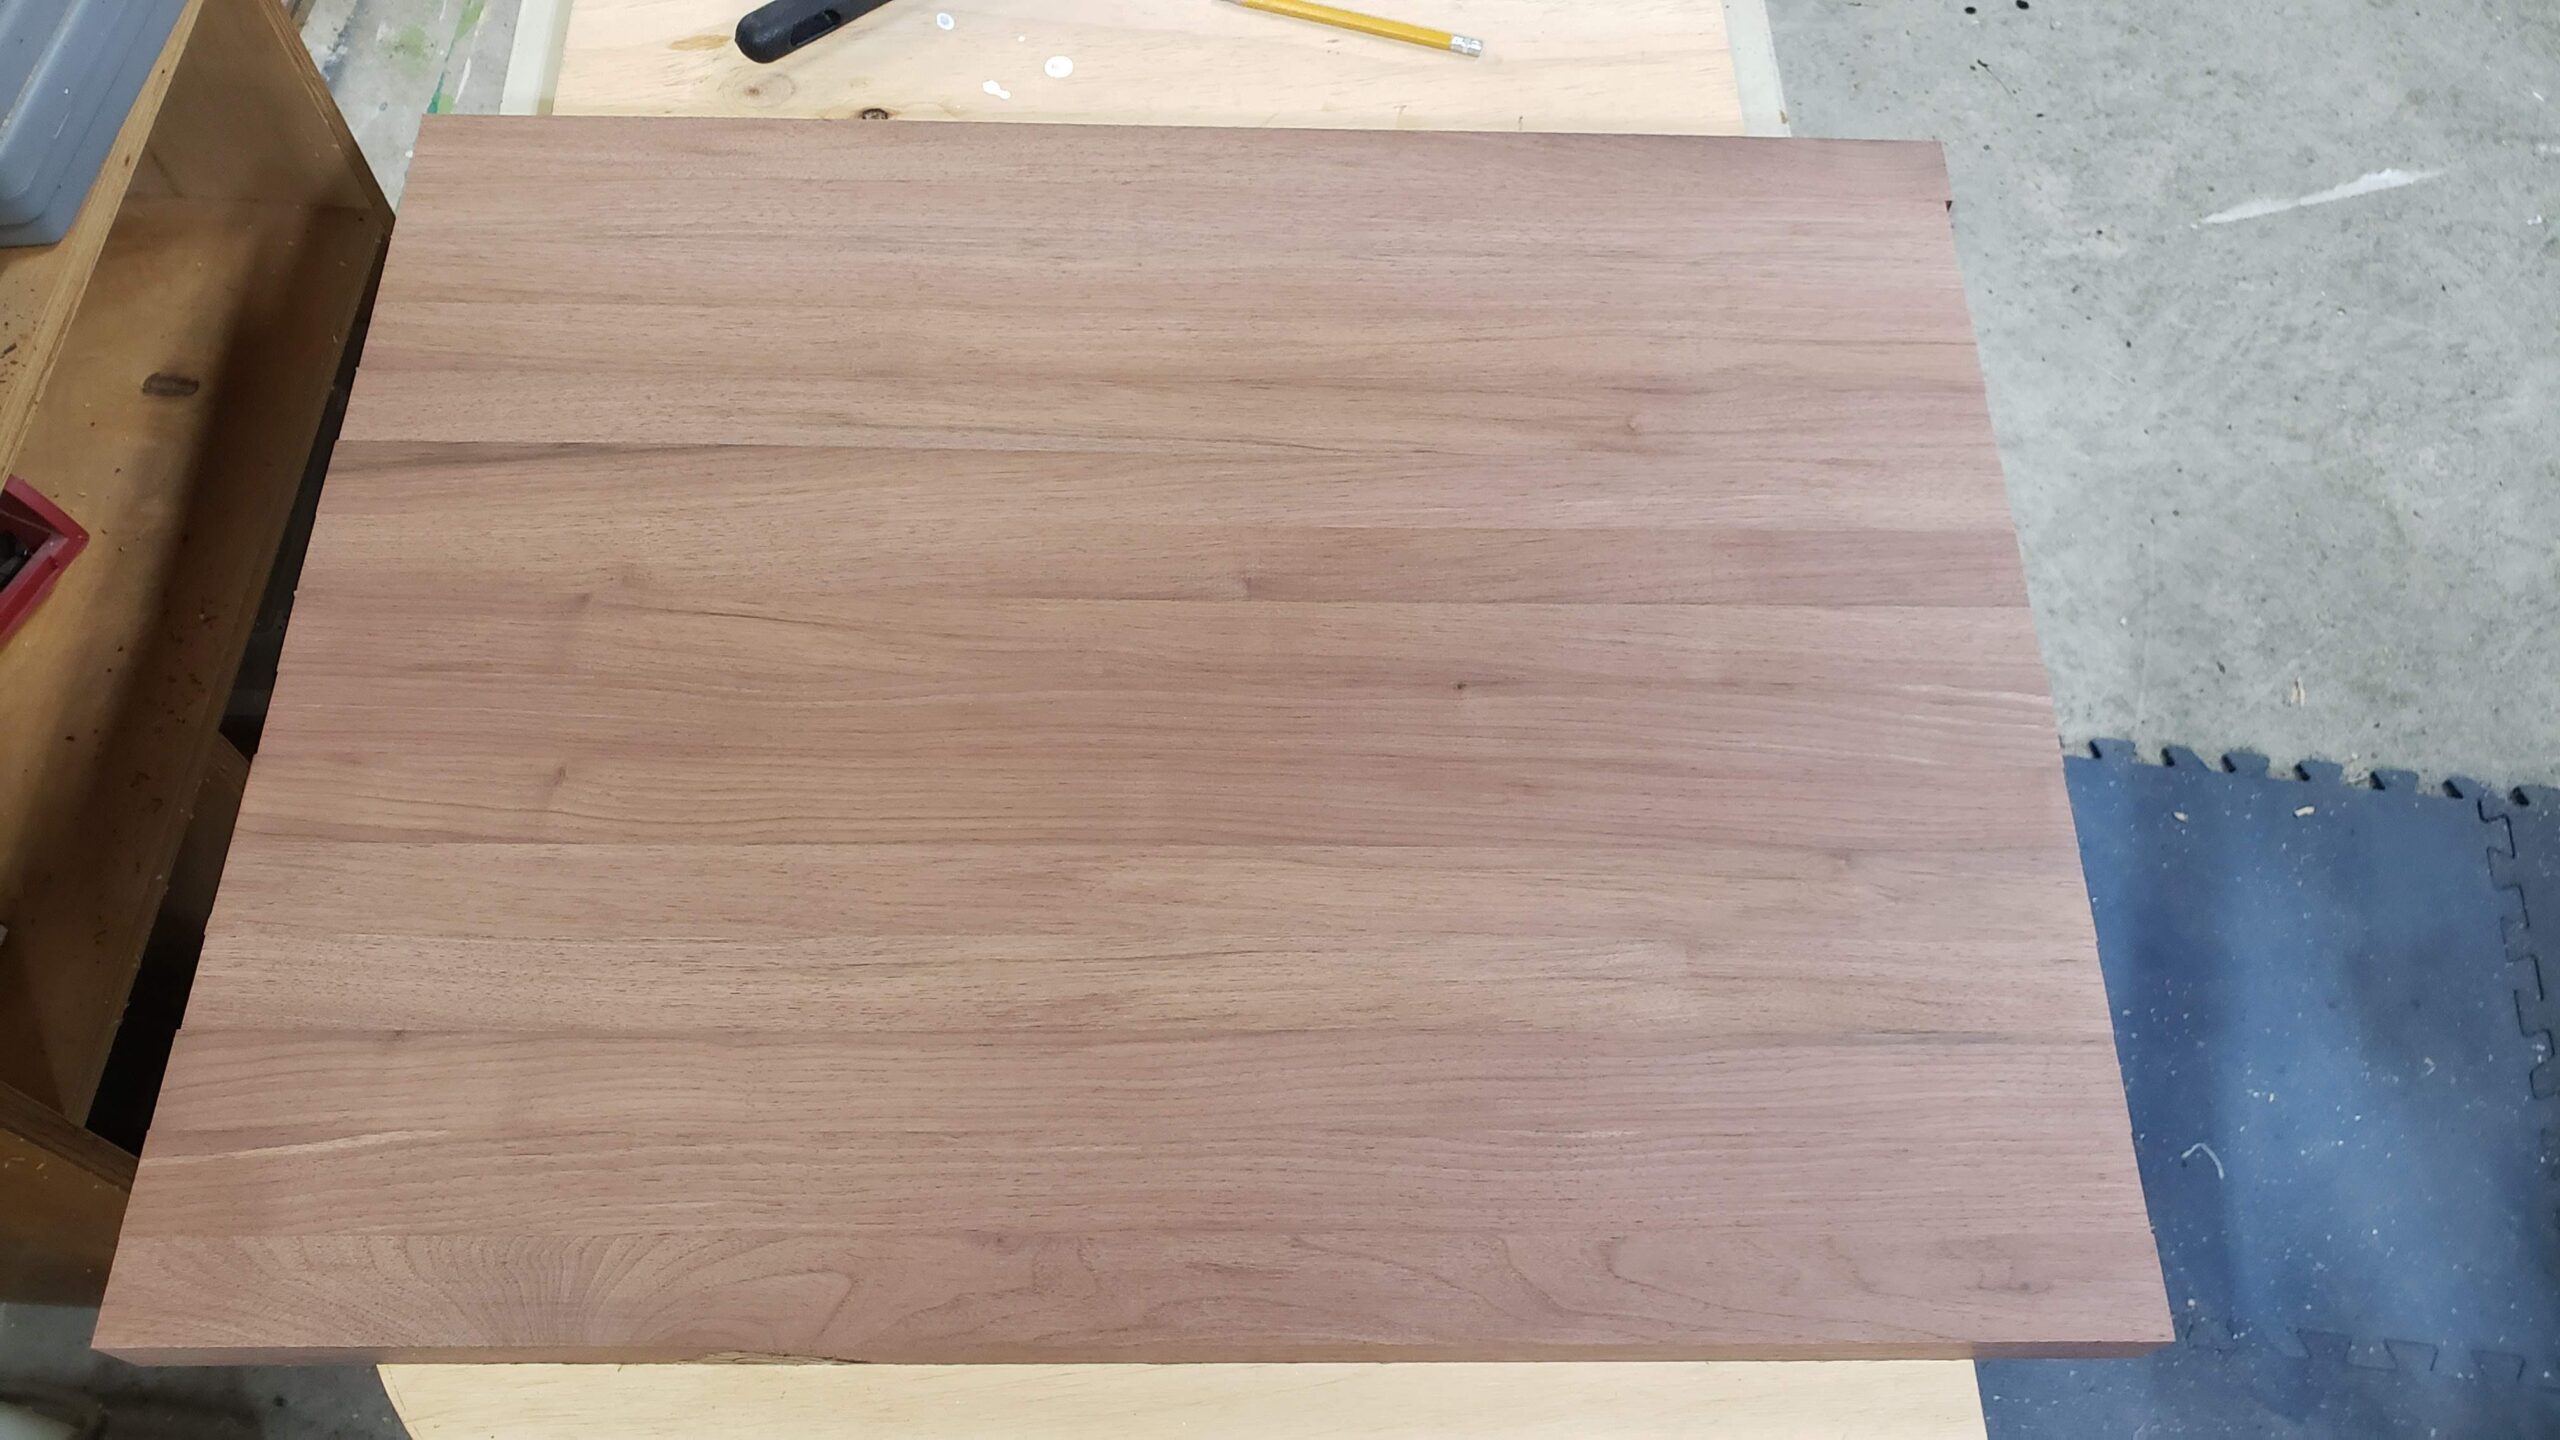
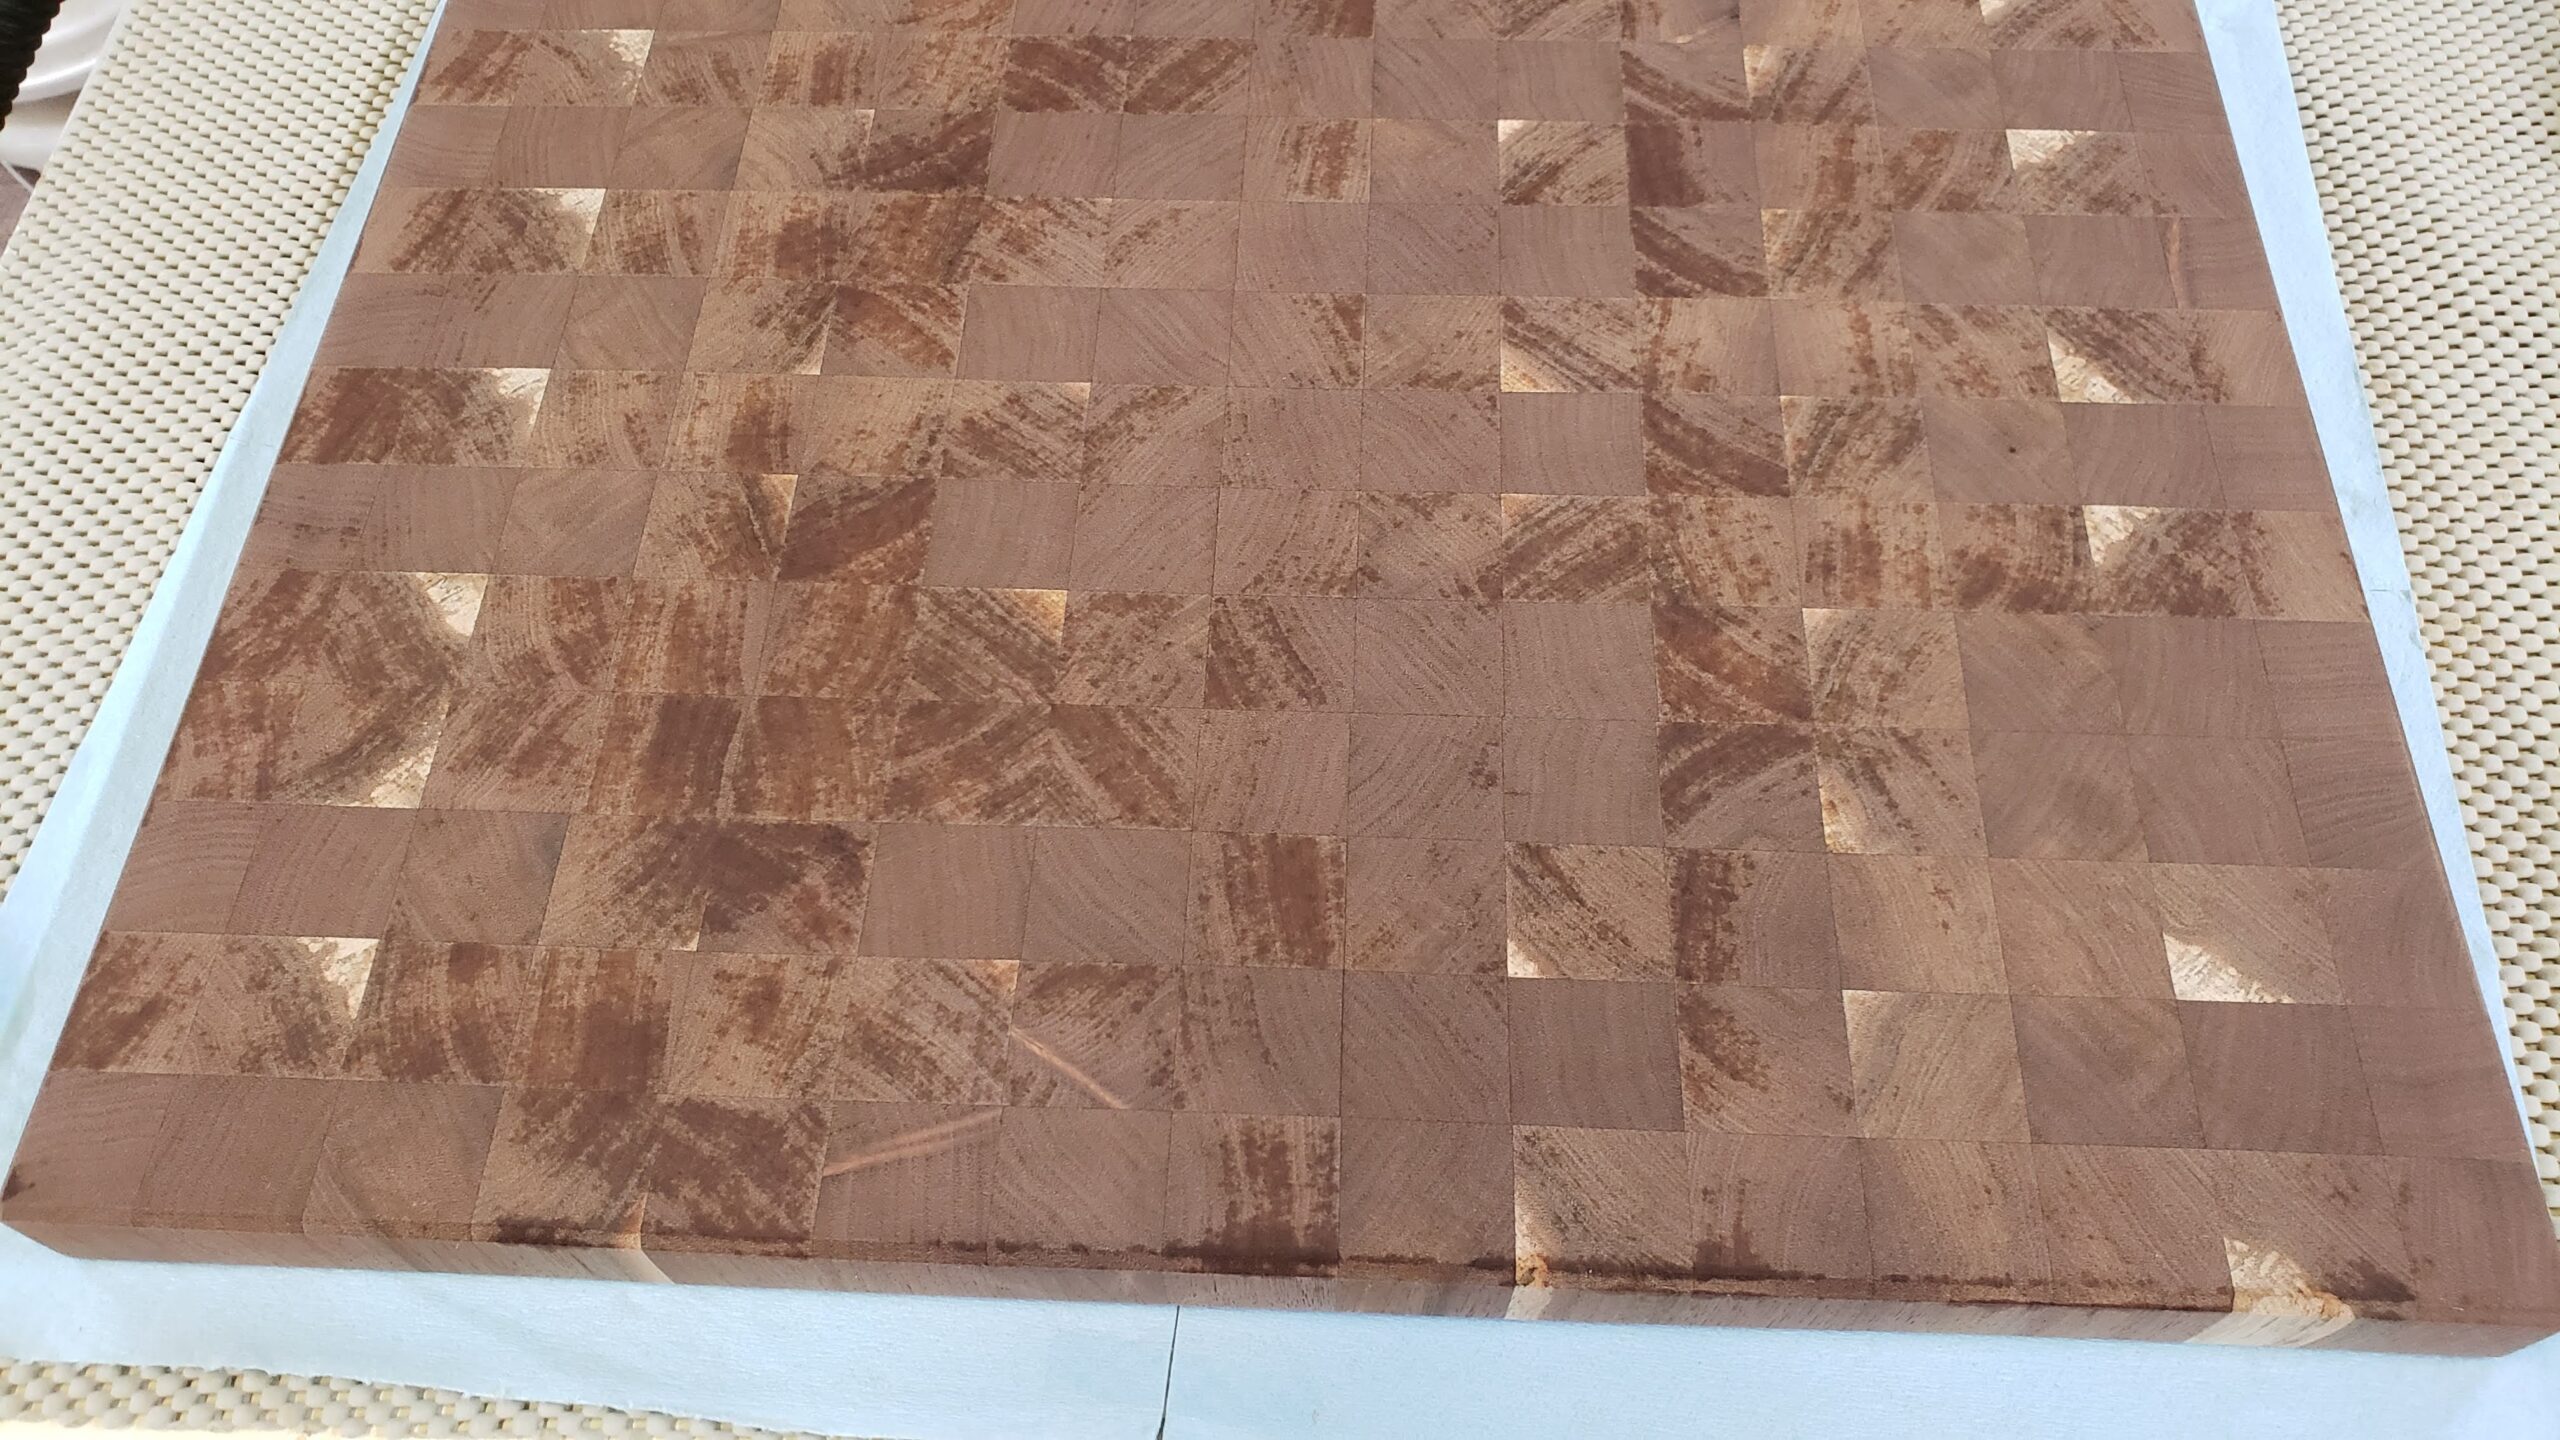
Here’s a closeup of the grain after drum sanding to 220.
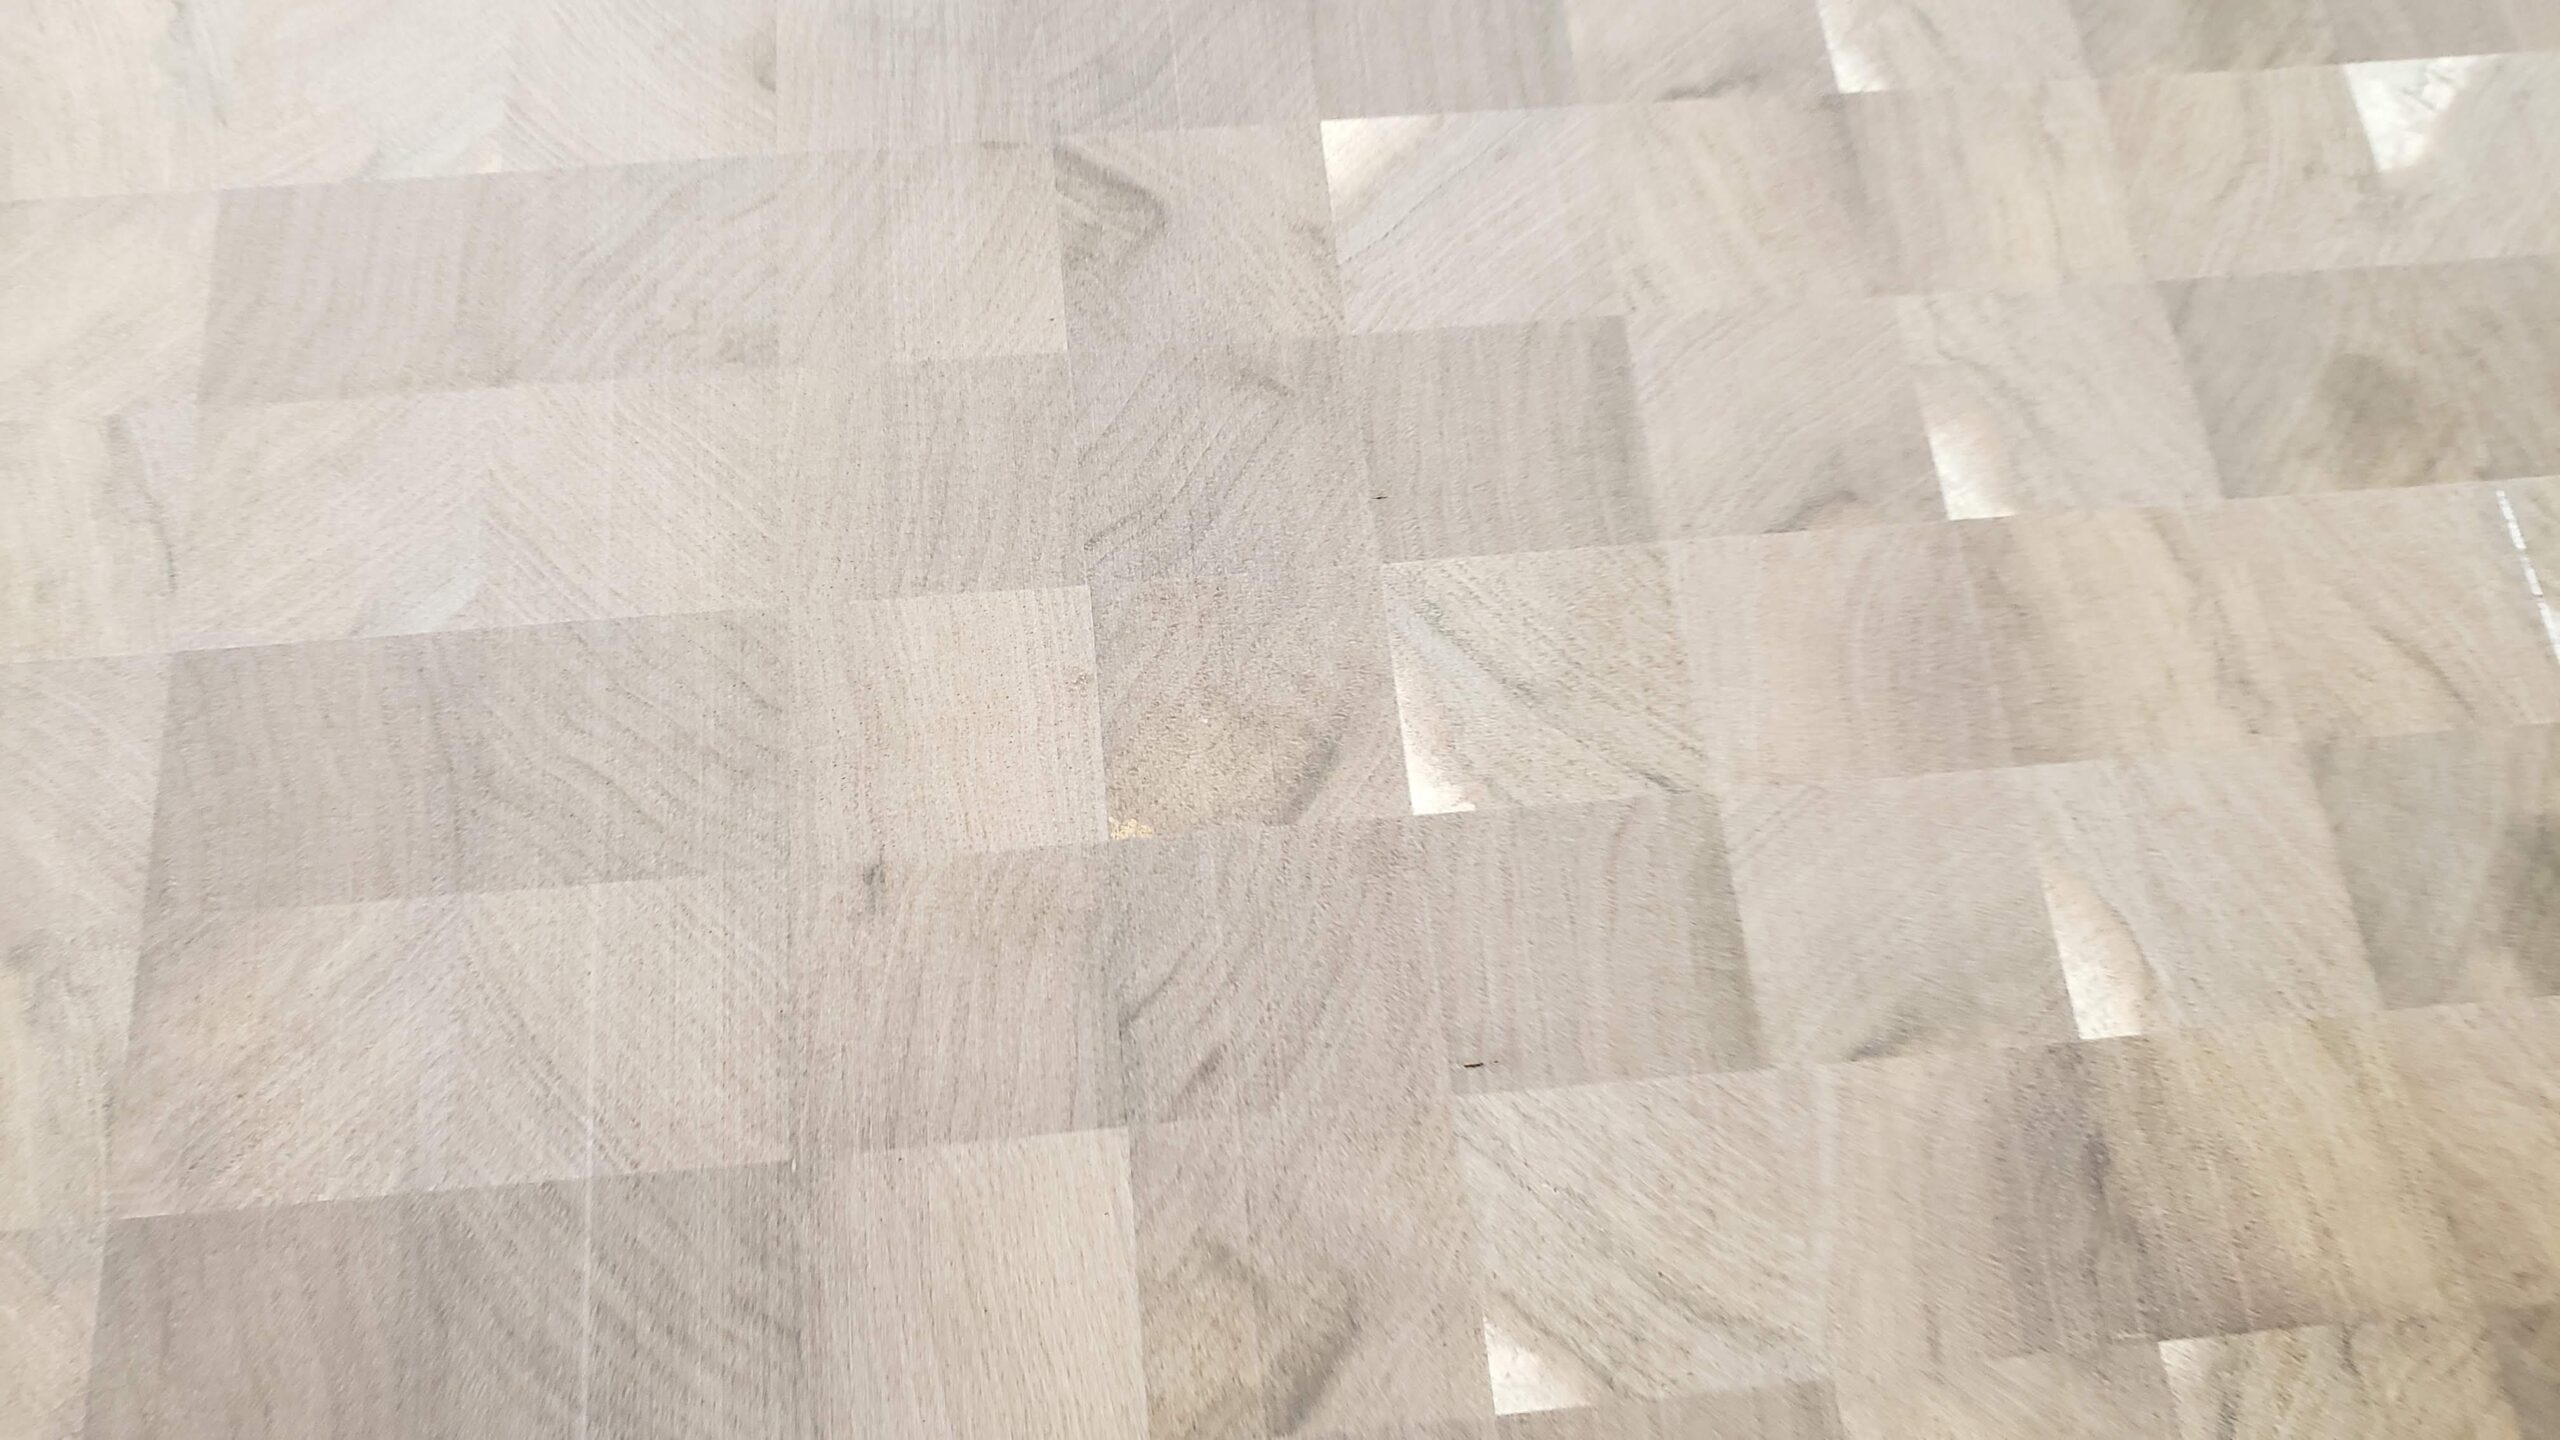
Closeup of Grain
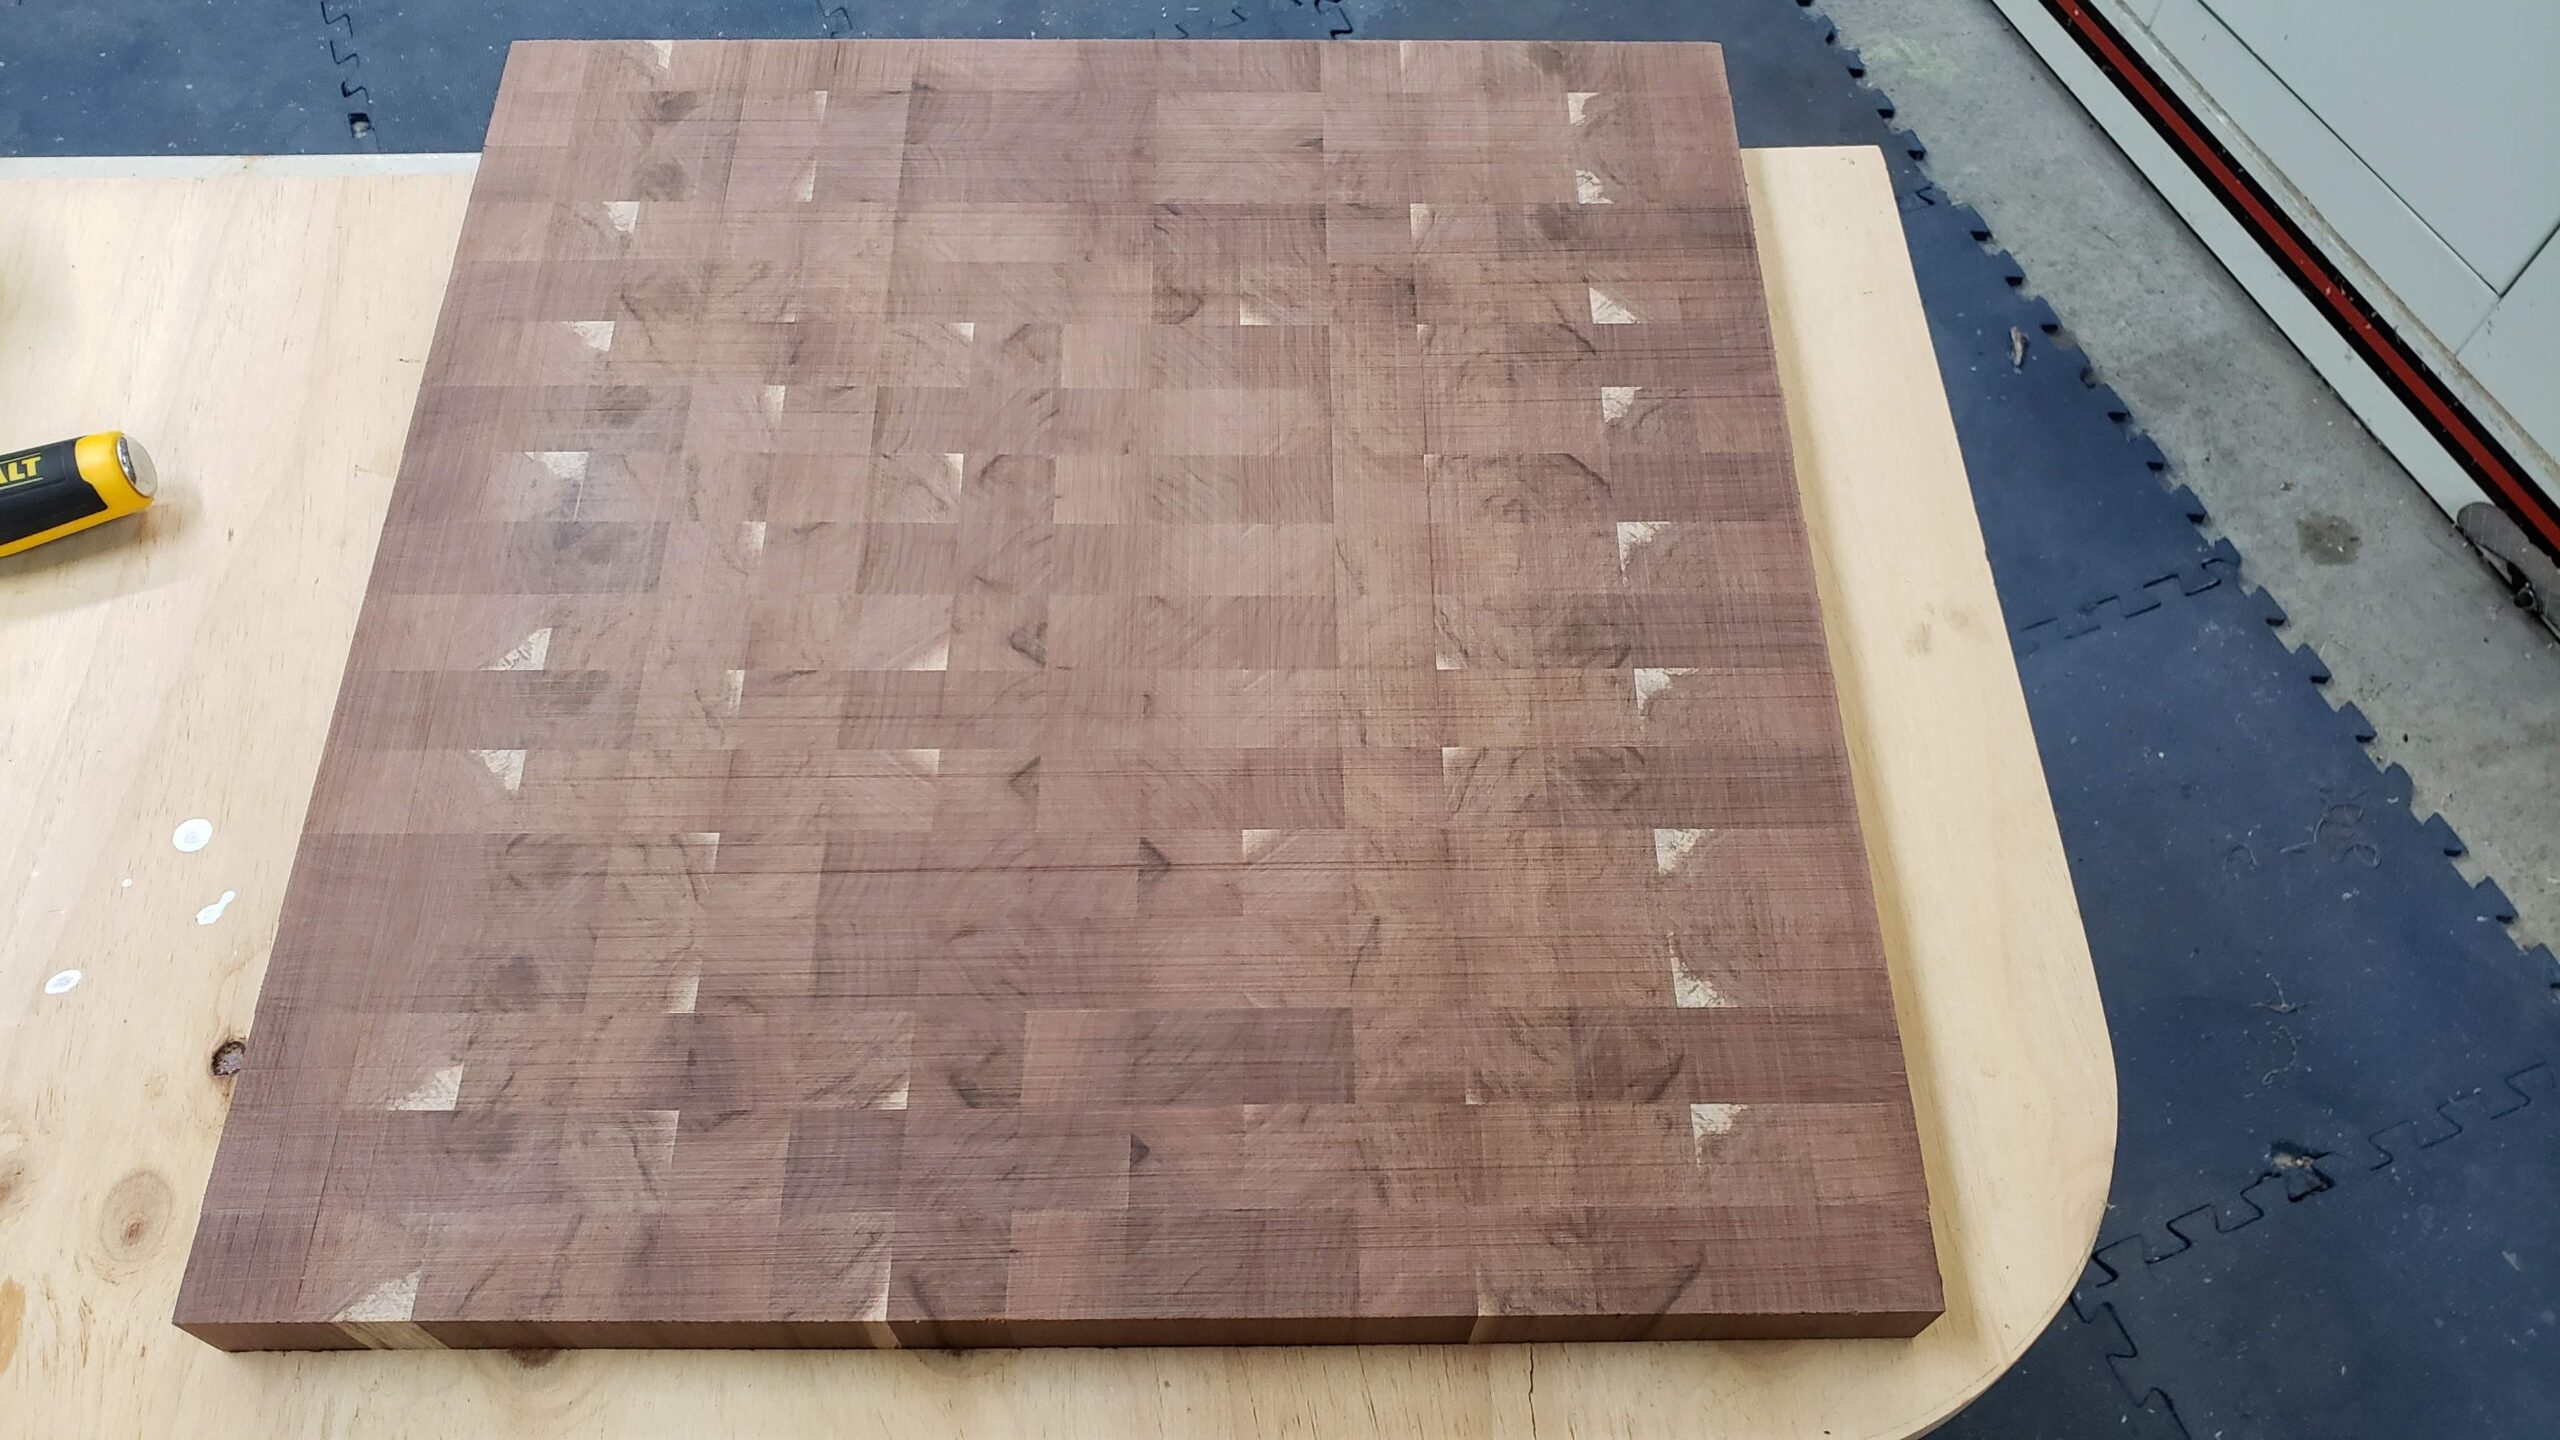
The board seemed a little too square, measuring about 20 1/4″ x 21 1/4″. I decided to make it about the same size as the last one I made, 16″ x 20″. So I took it to the tablesaw and cut about 5″ off.
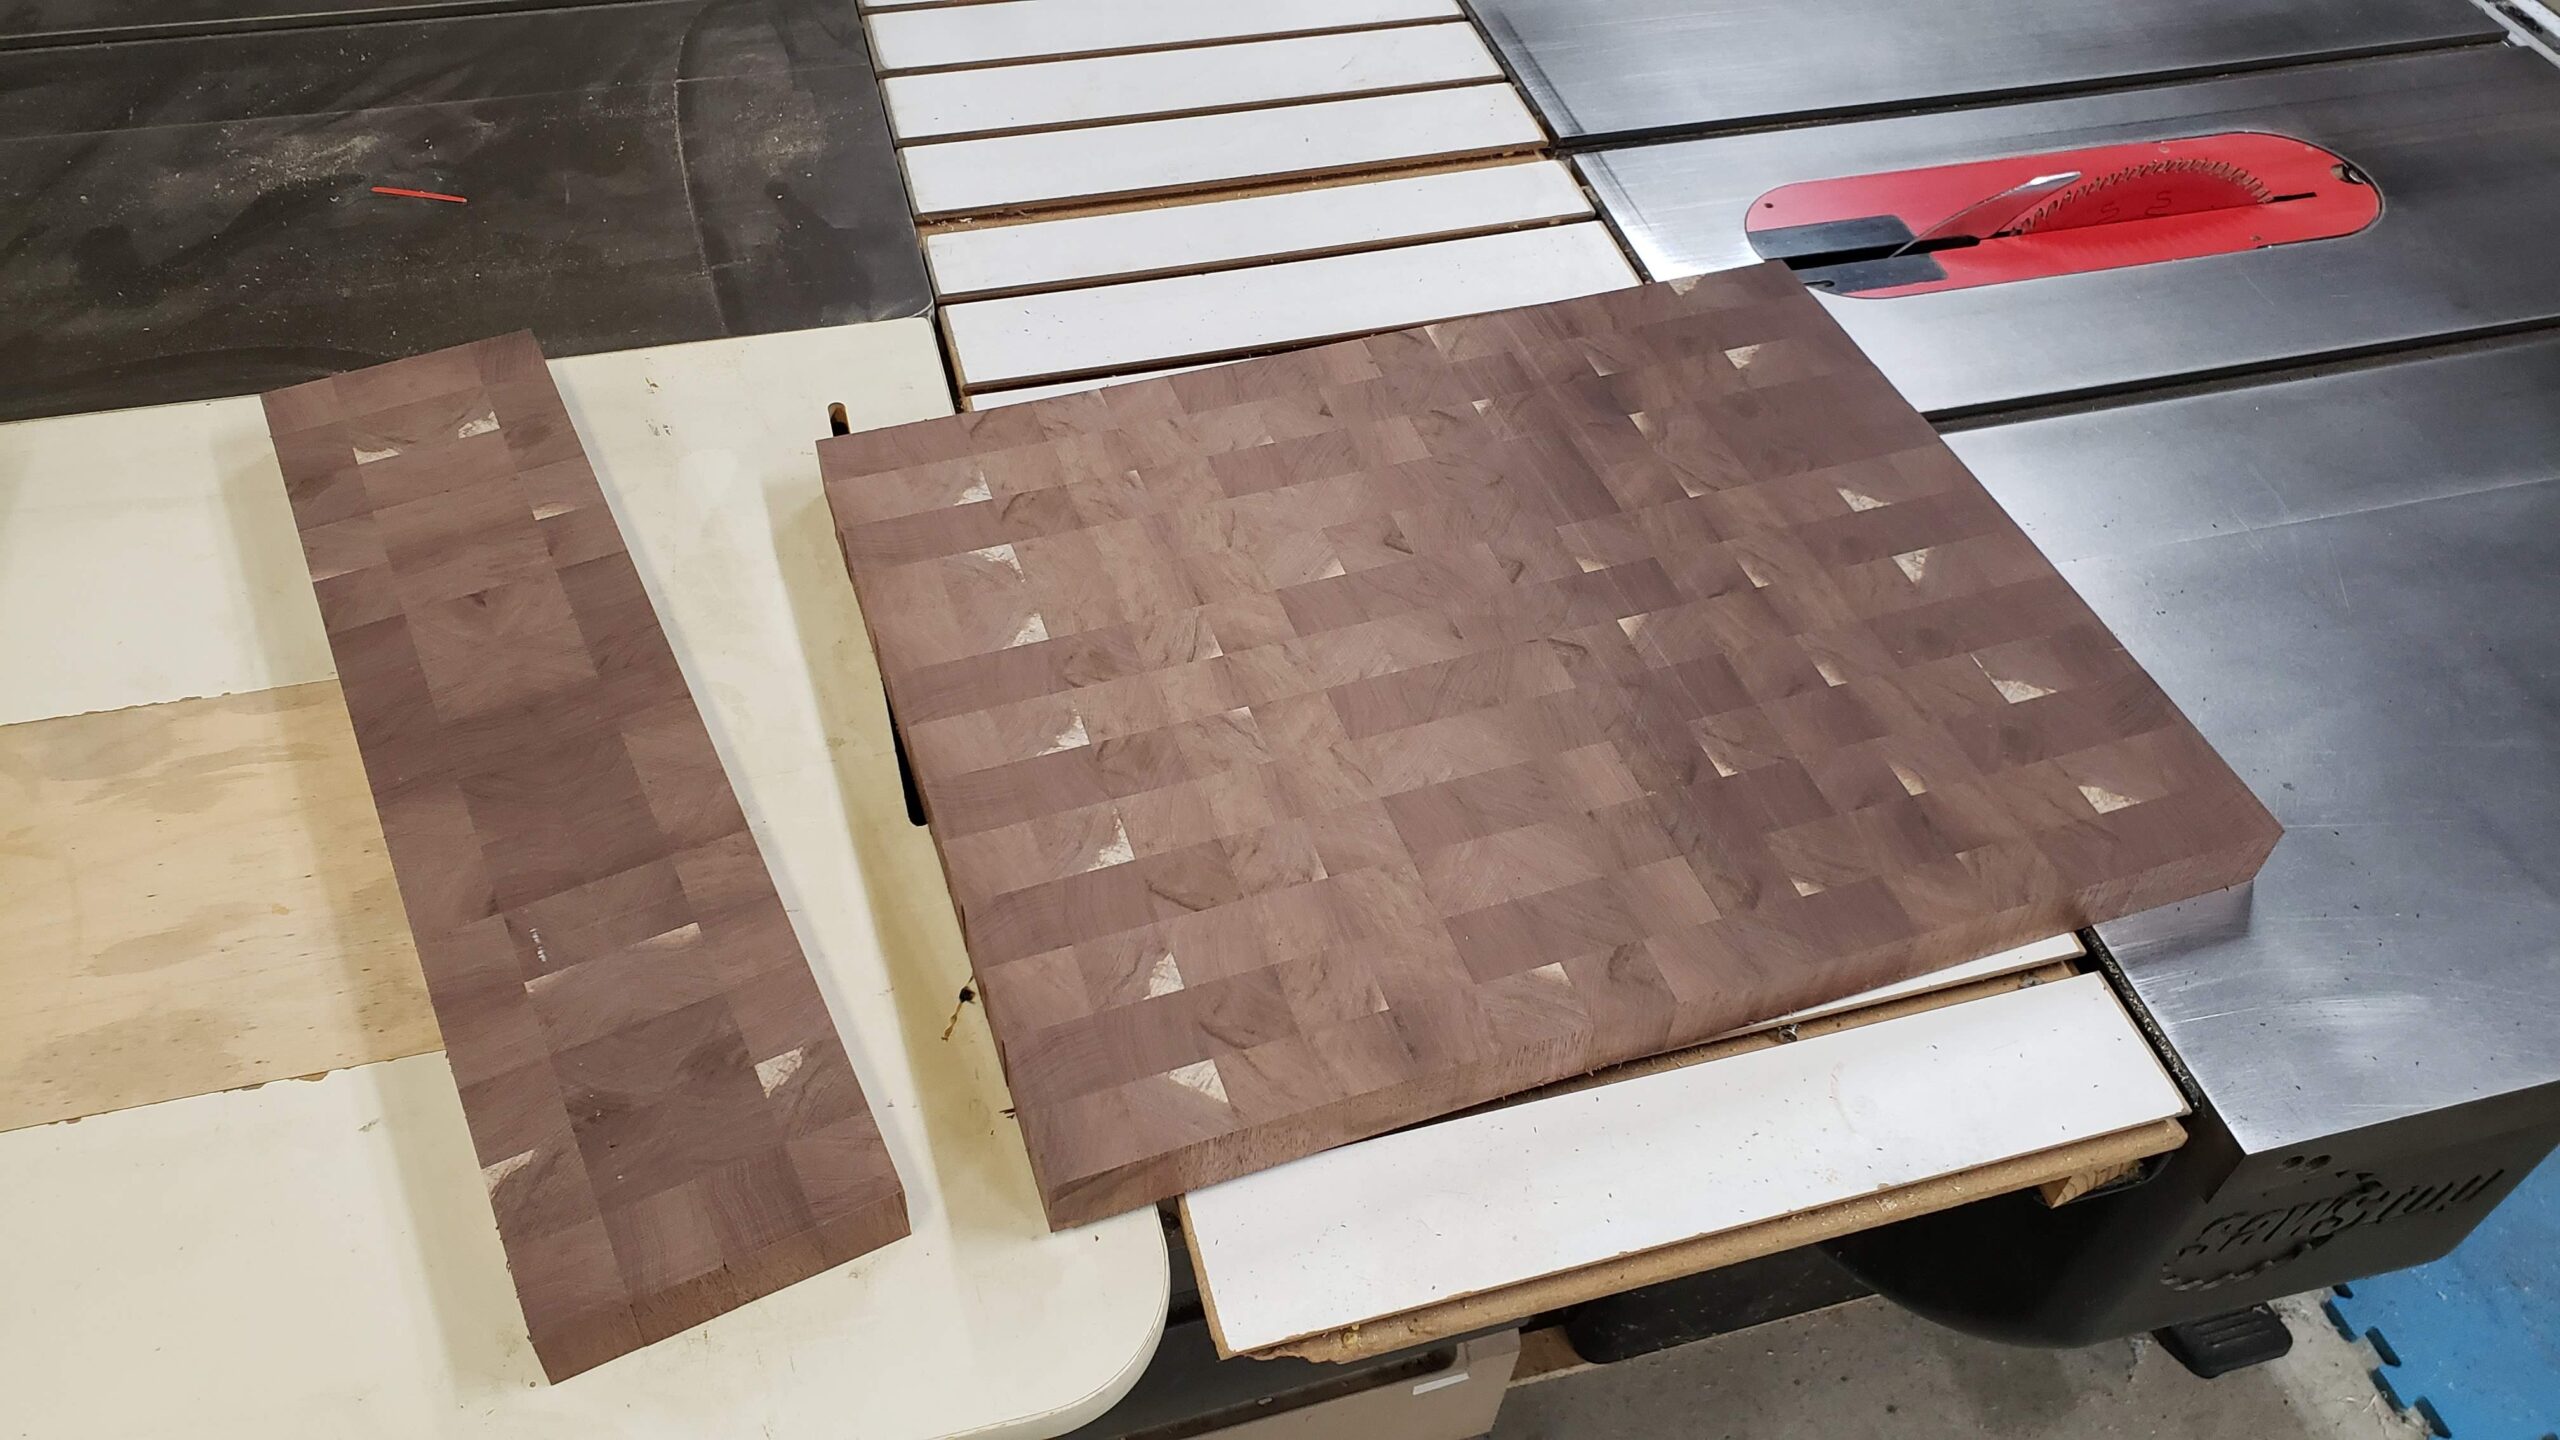
Board Cut
The offcut is big enough to make 8 to 12 – 5″ coasters, or trivets, depending on how thick I resaw it. I haven’t decided yet.
Next, it was time to route the chamfers and finger grooves.
Routed Chamfered Edge
I routed the chamfer on the router table. I also routed the finger groove on the ends.
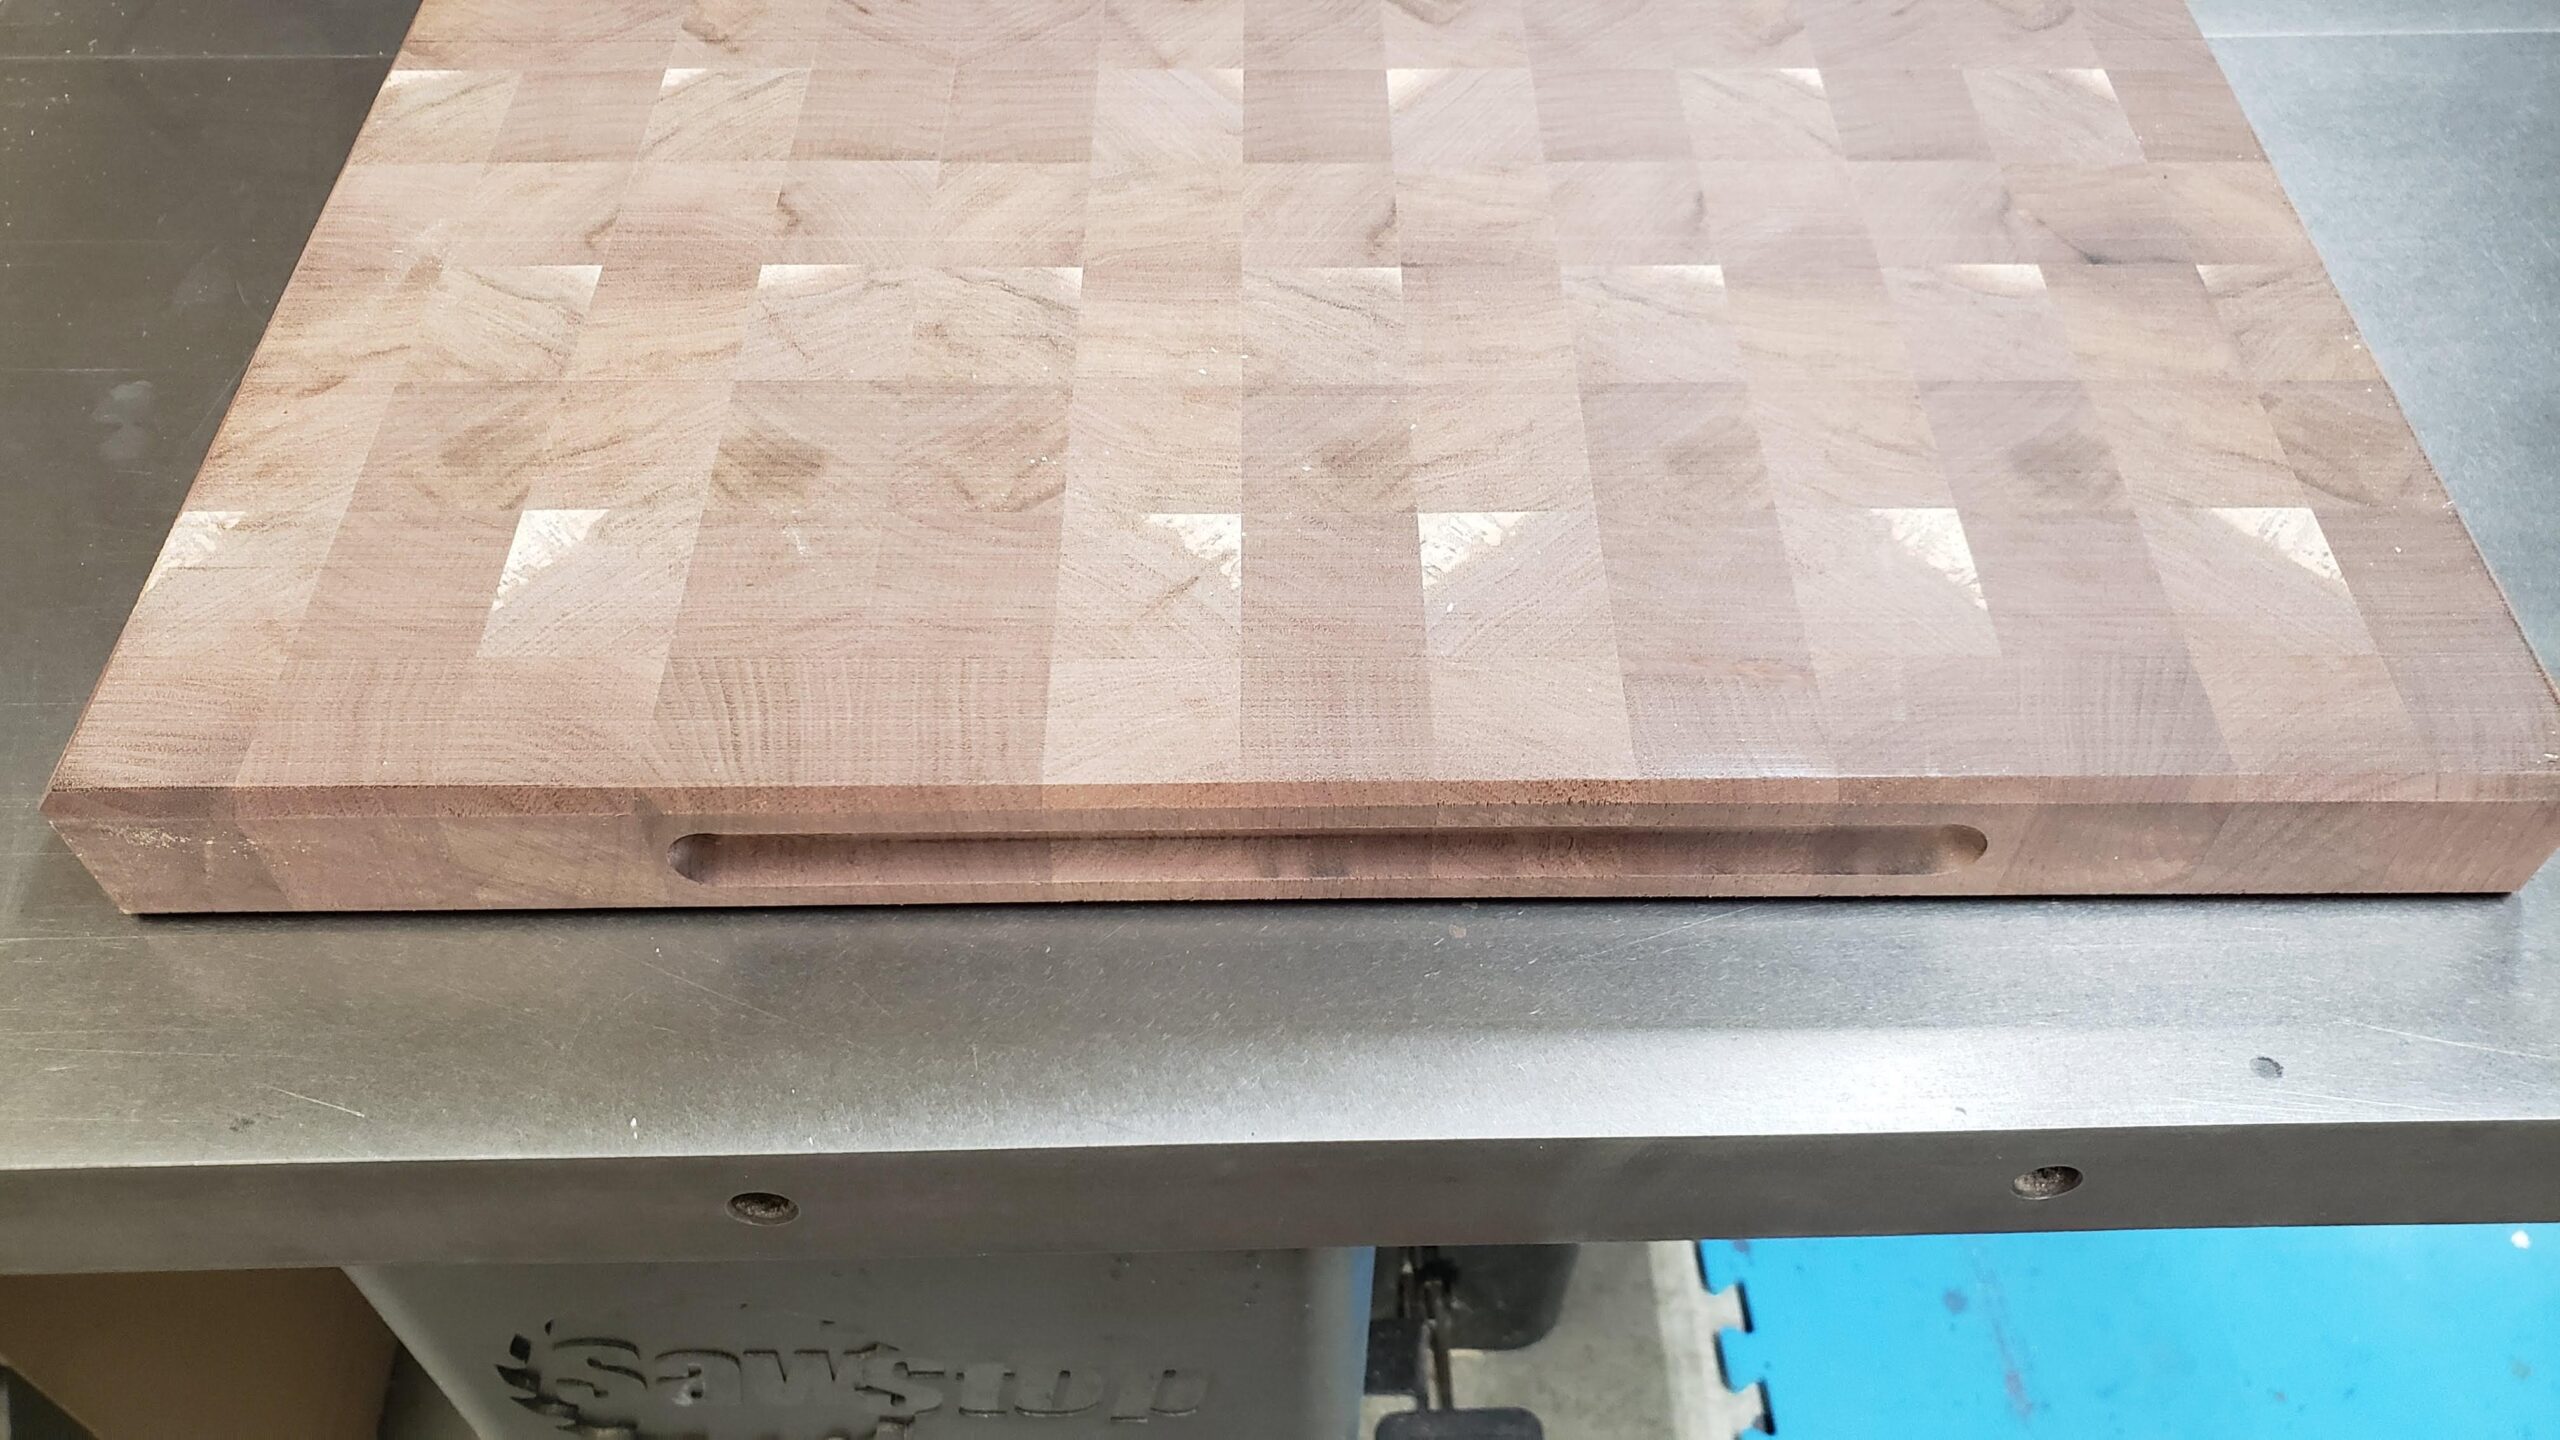
Finger Groove
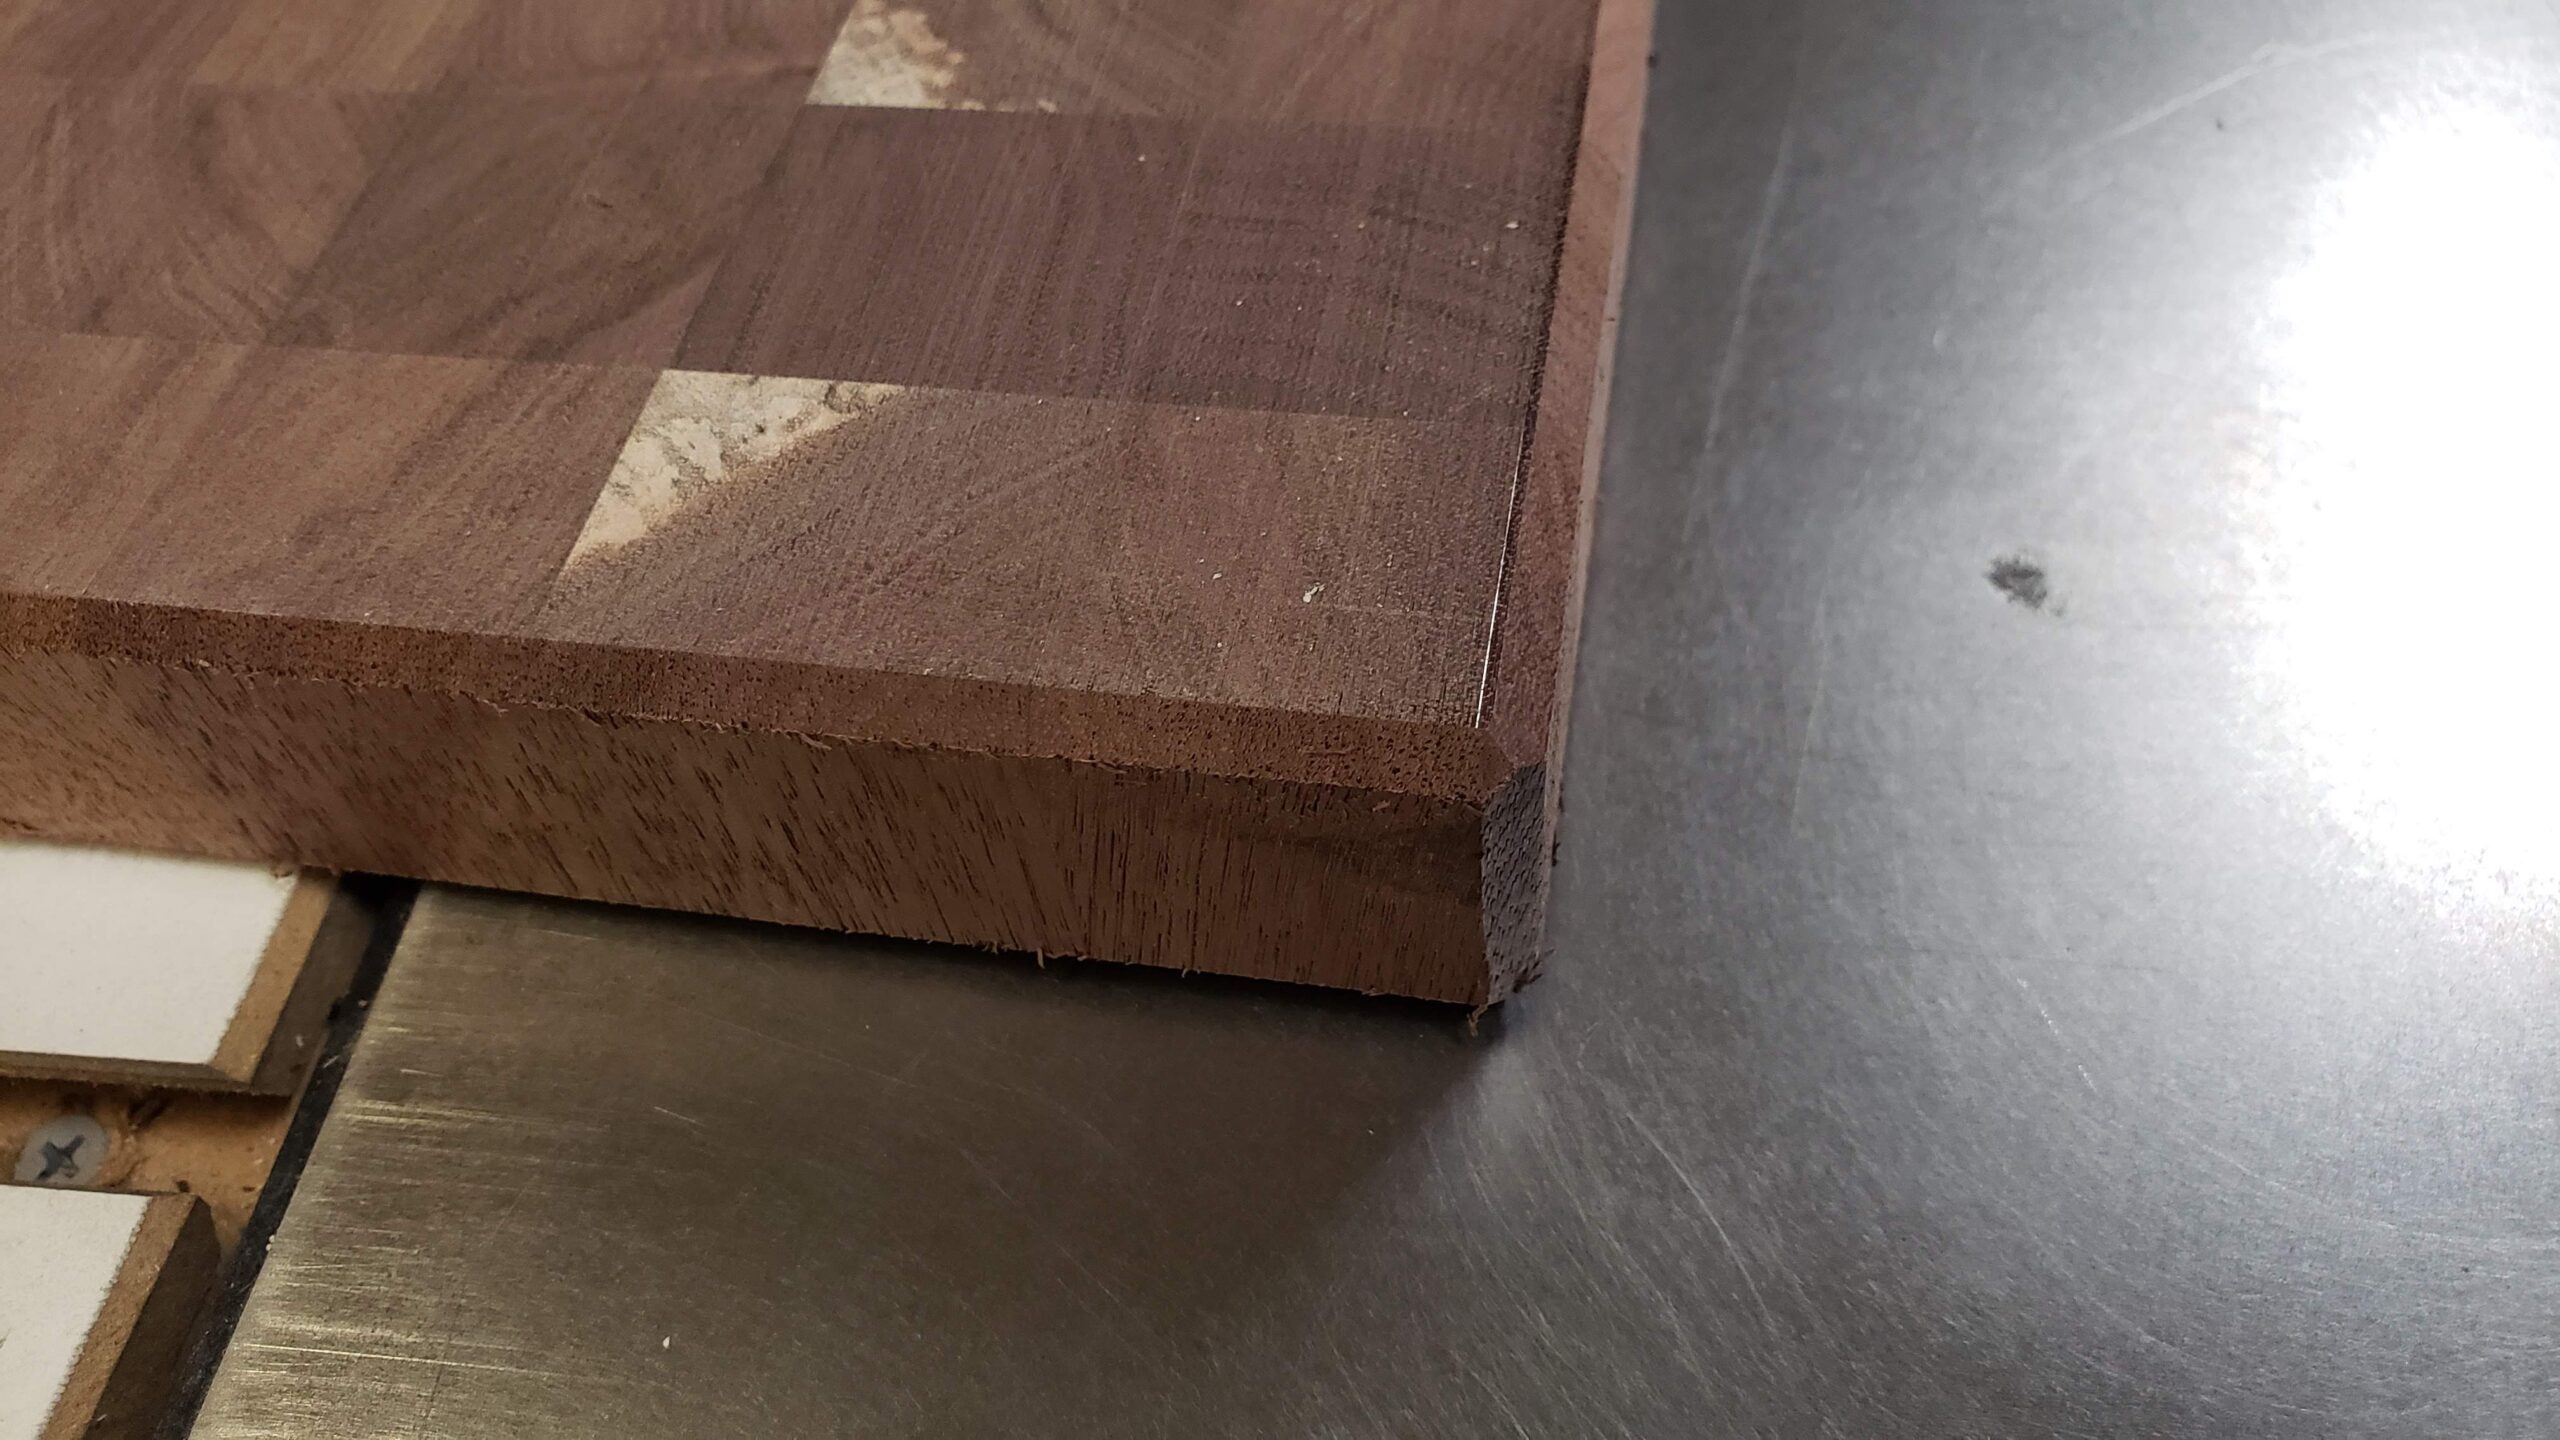
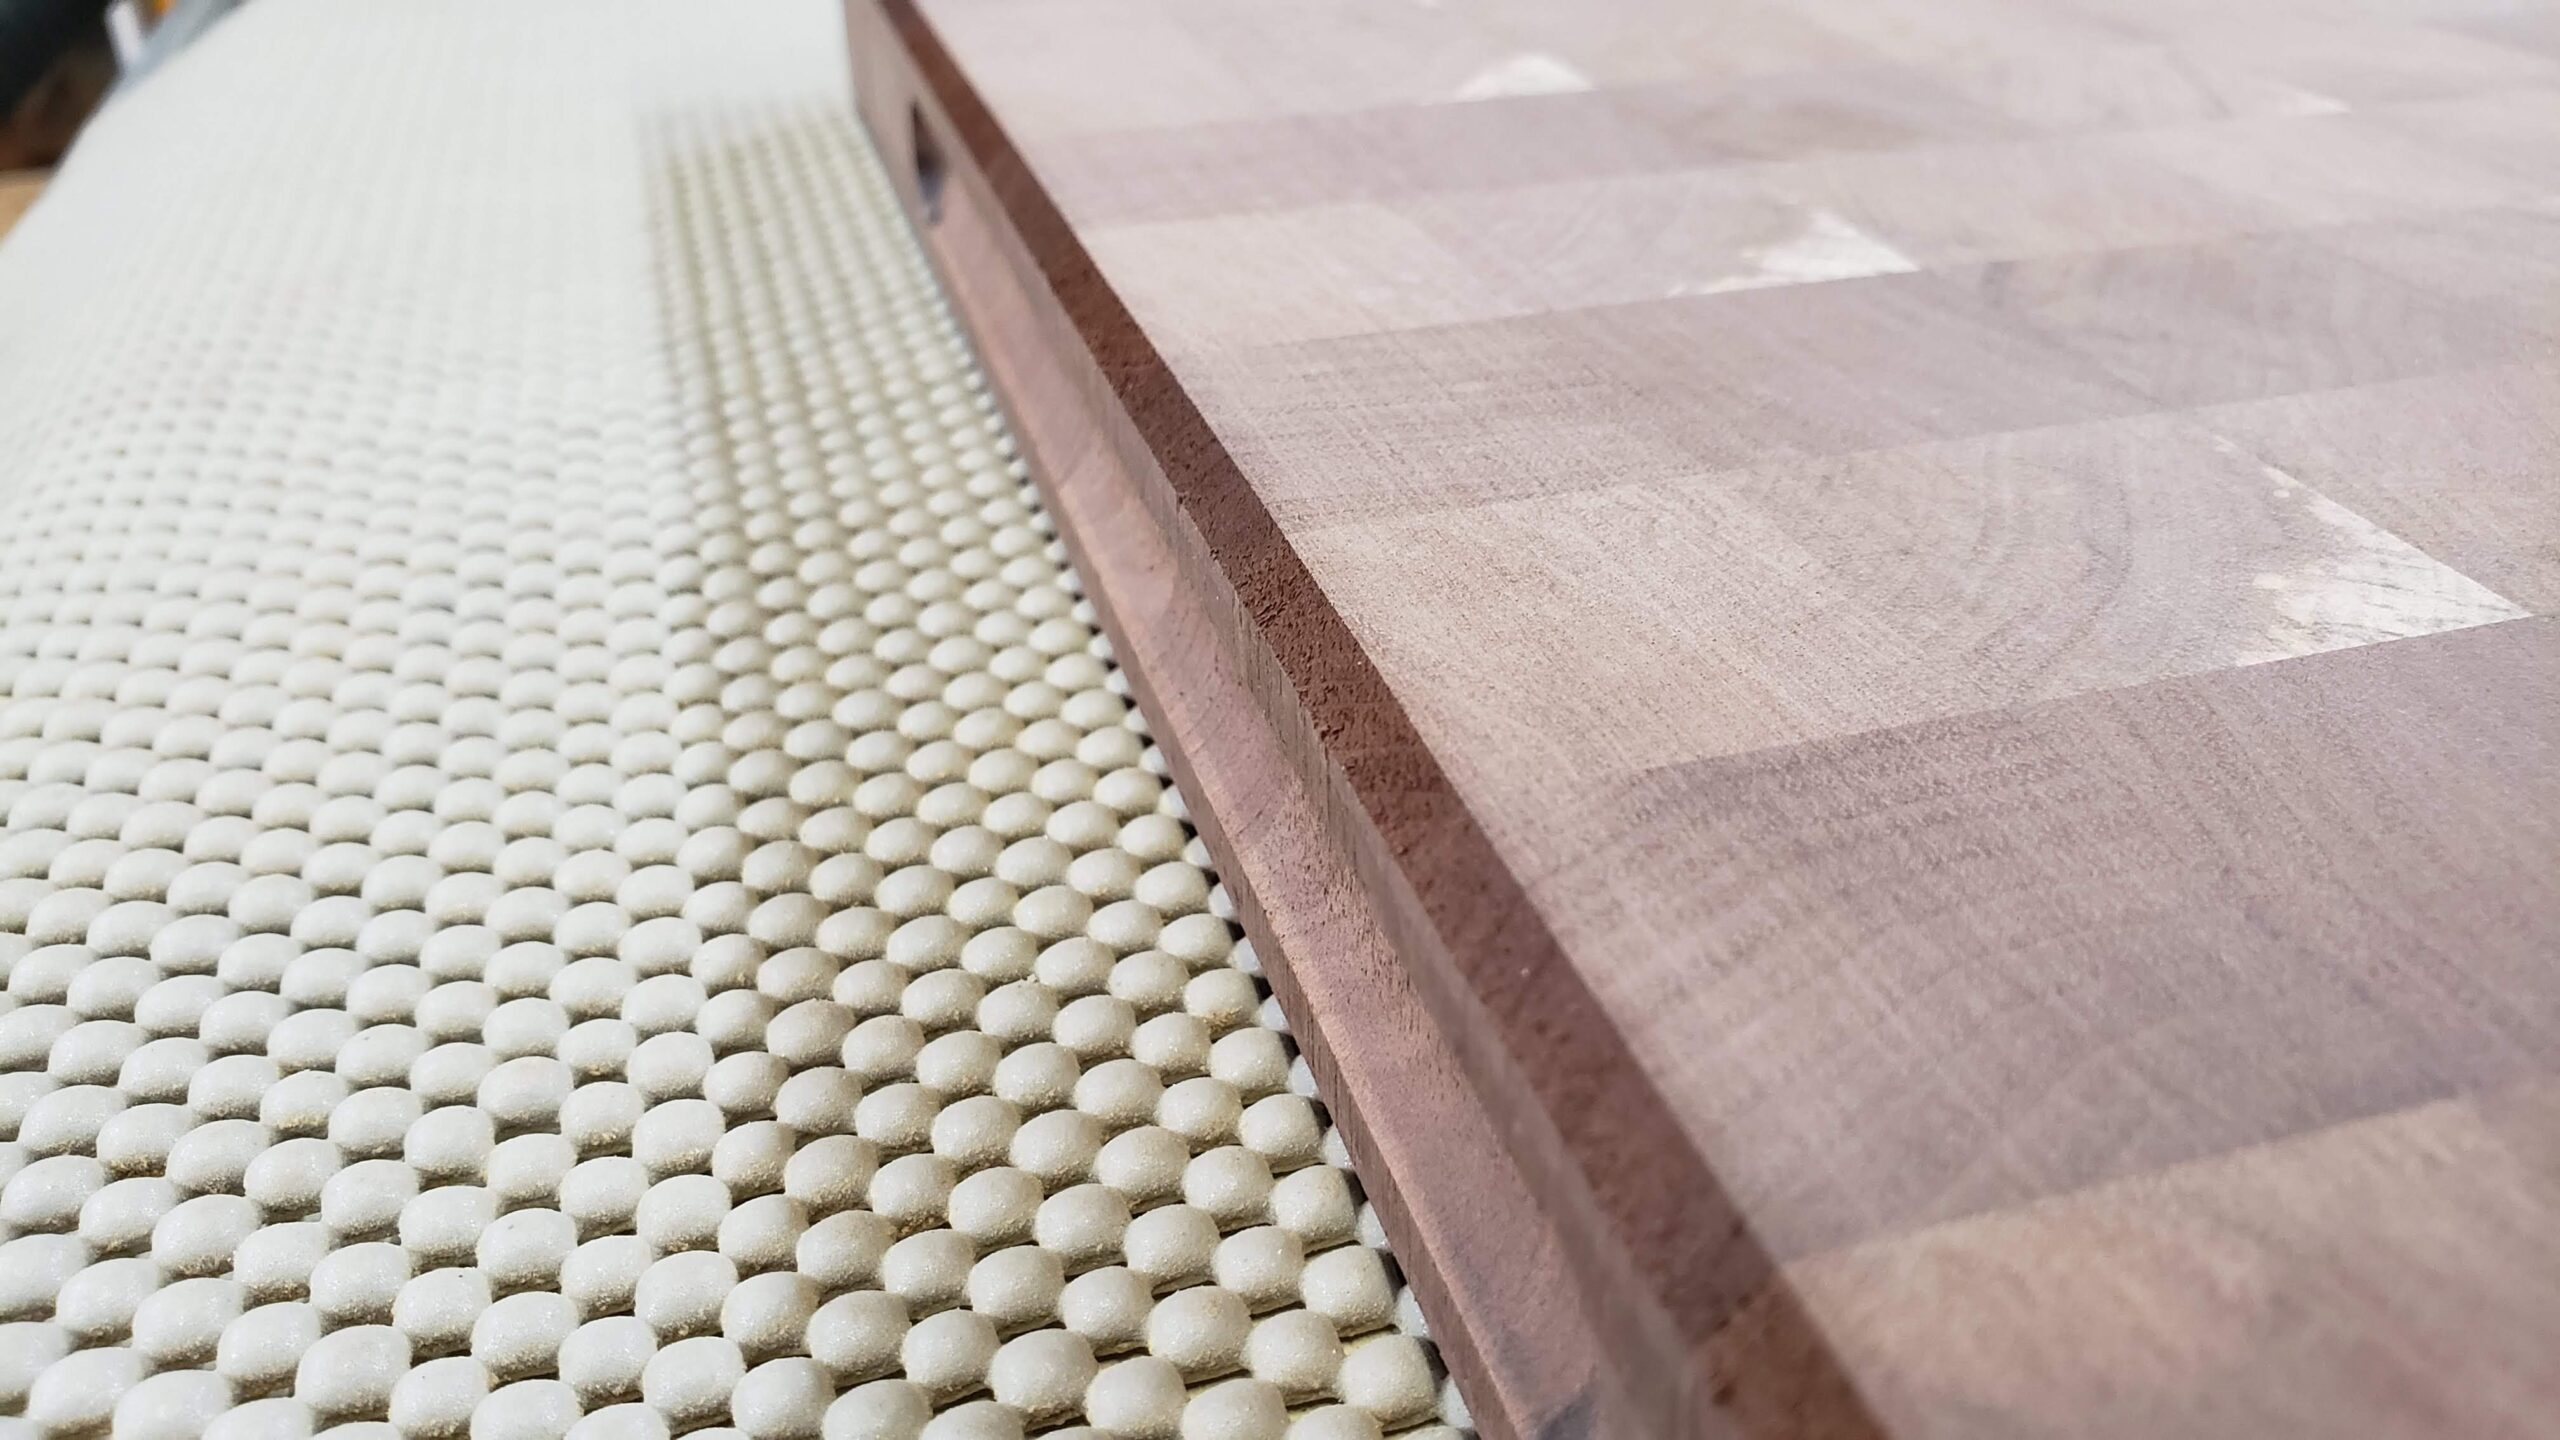
The resulting chamfered edge was a little rough, so I decided to take a cleanup pass with a handheld router.

Routed Chamfer
After this, the edge was much cleaner, but still needed some cleanup
Routed Edge
I needed to figure out a way to sand the chamfer, without rounding over the crisp edges. I designed and built a chamfer sanding jig, details can be found here: Chamfer Sanding Block
Chamfer Sanding Block
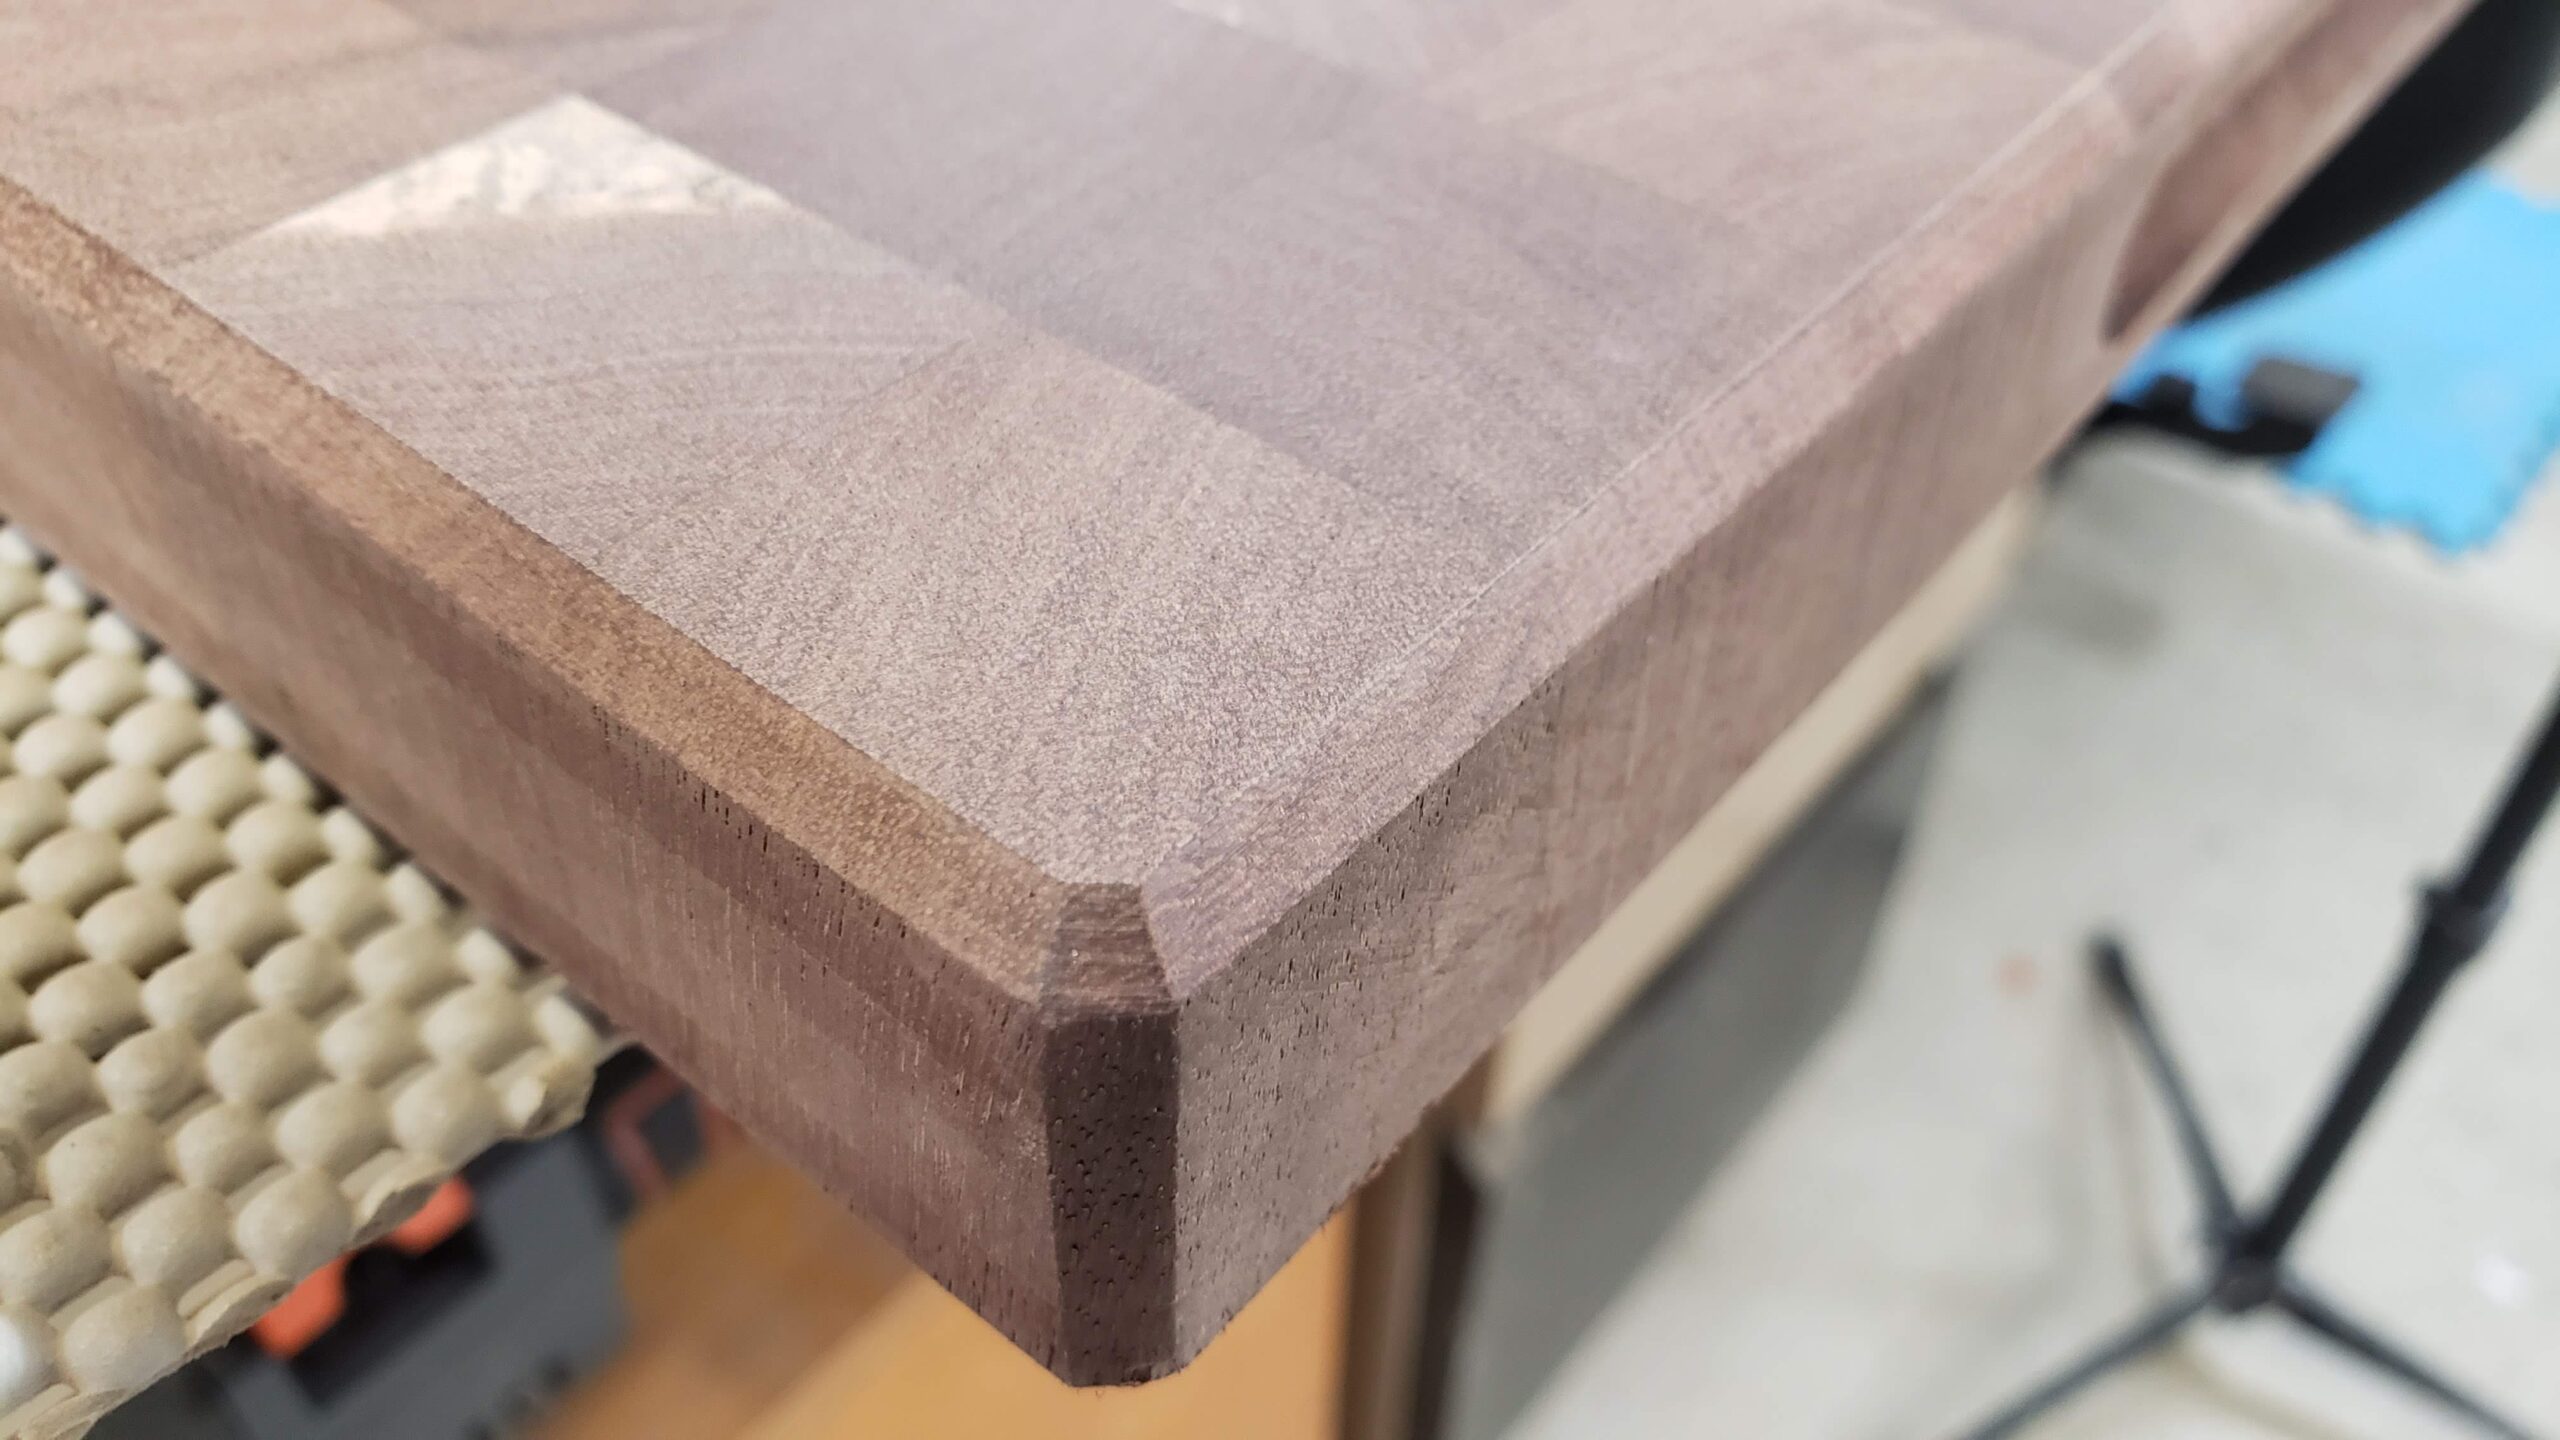
Now it was time to sand all faces. This turned out to be probably the most time consuming part of the entire build. Sure, the drum sander did a lot of heavy lifting here, but to get a perfectly smooth surface on all flats required some work.
Here are some of the chamfers sanded.
Sanded Chamfer
I worked through the grits, starting at 150, all the way up to 320.
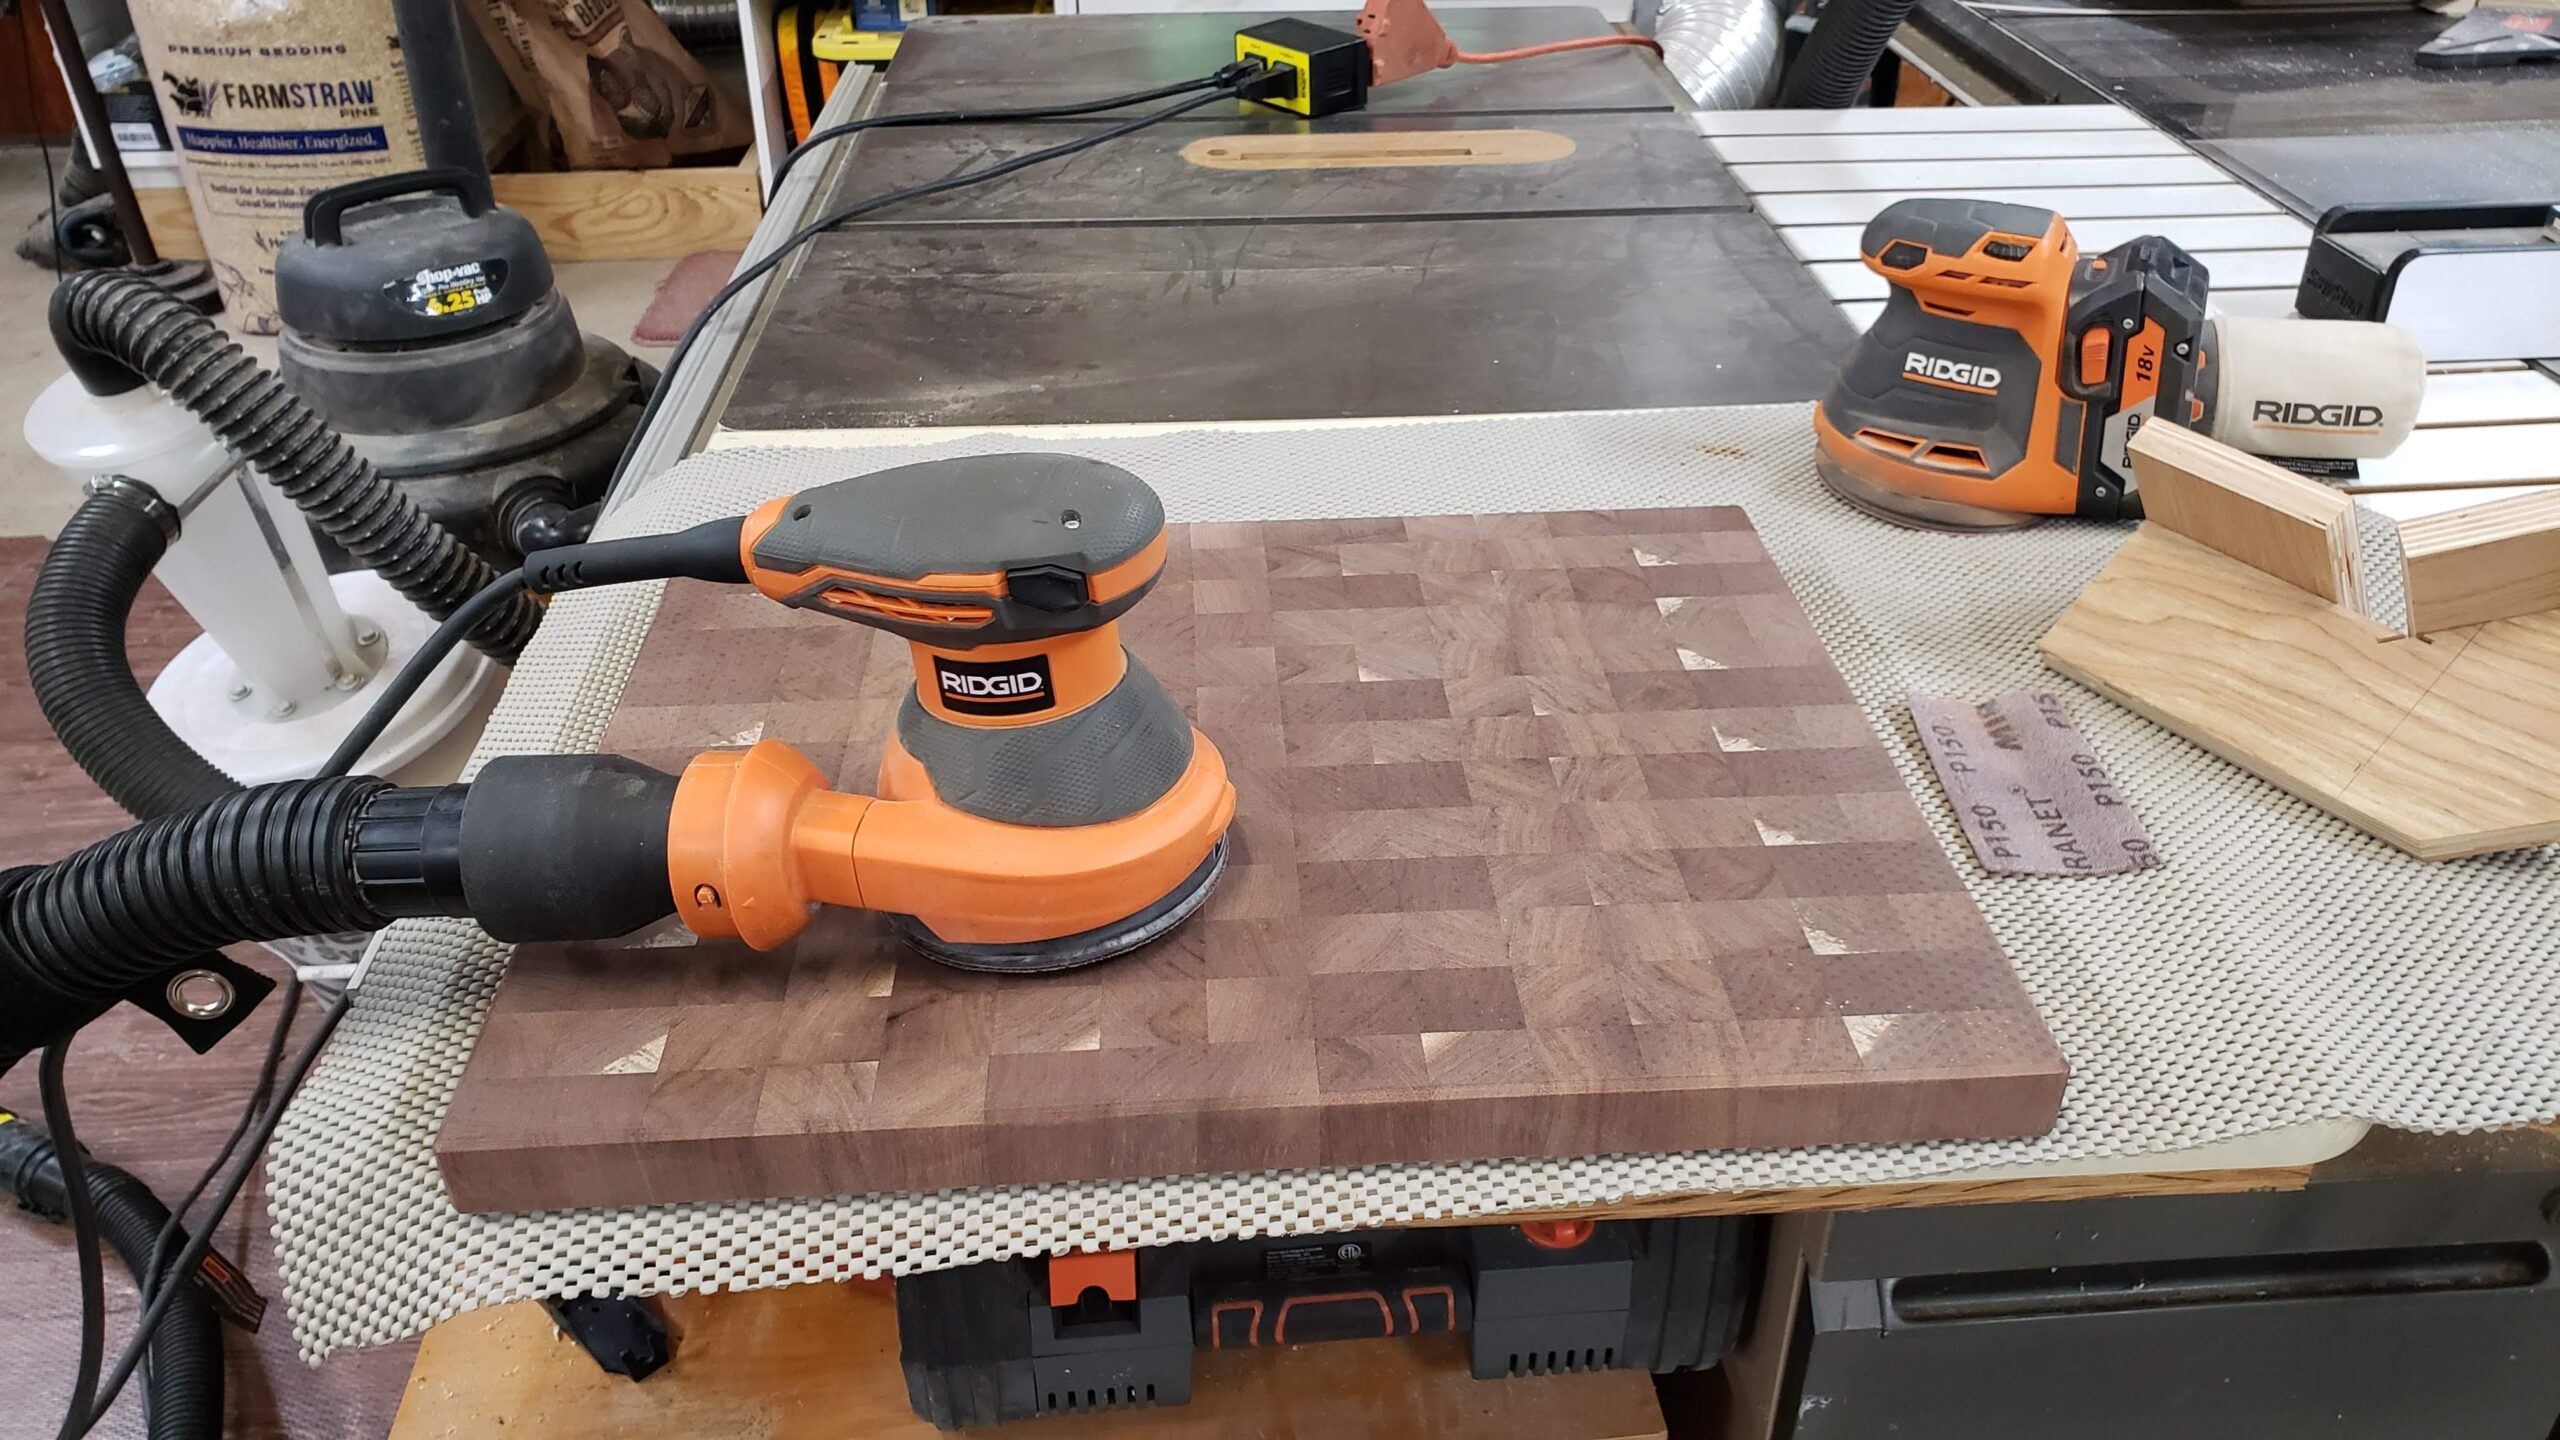
Sanding the Board
I have my corded random orbit sander connected to a shop vac. This collects virtually all of the dust.
I use the battery sander for sanding the sides. It’s a lot easier keeping it flat on the sides than the corded one with the dust hose.
One thing that happened when I flipped the board over was hundreds of little dots all over the surface, from the anti-slip pad. This was unfortunate, and I do not know what caused it. They did not just wipe off; they had to be sanded off. I put some paper shop towels between the board and the pad, and that seems to have stopped it.
Dots From Anti-Slip Pad
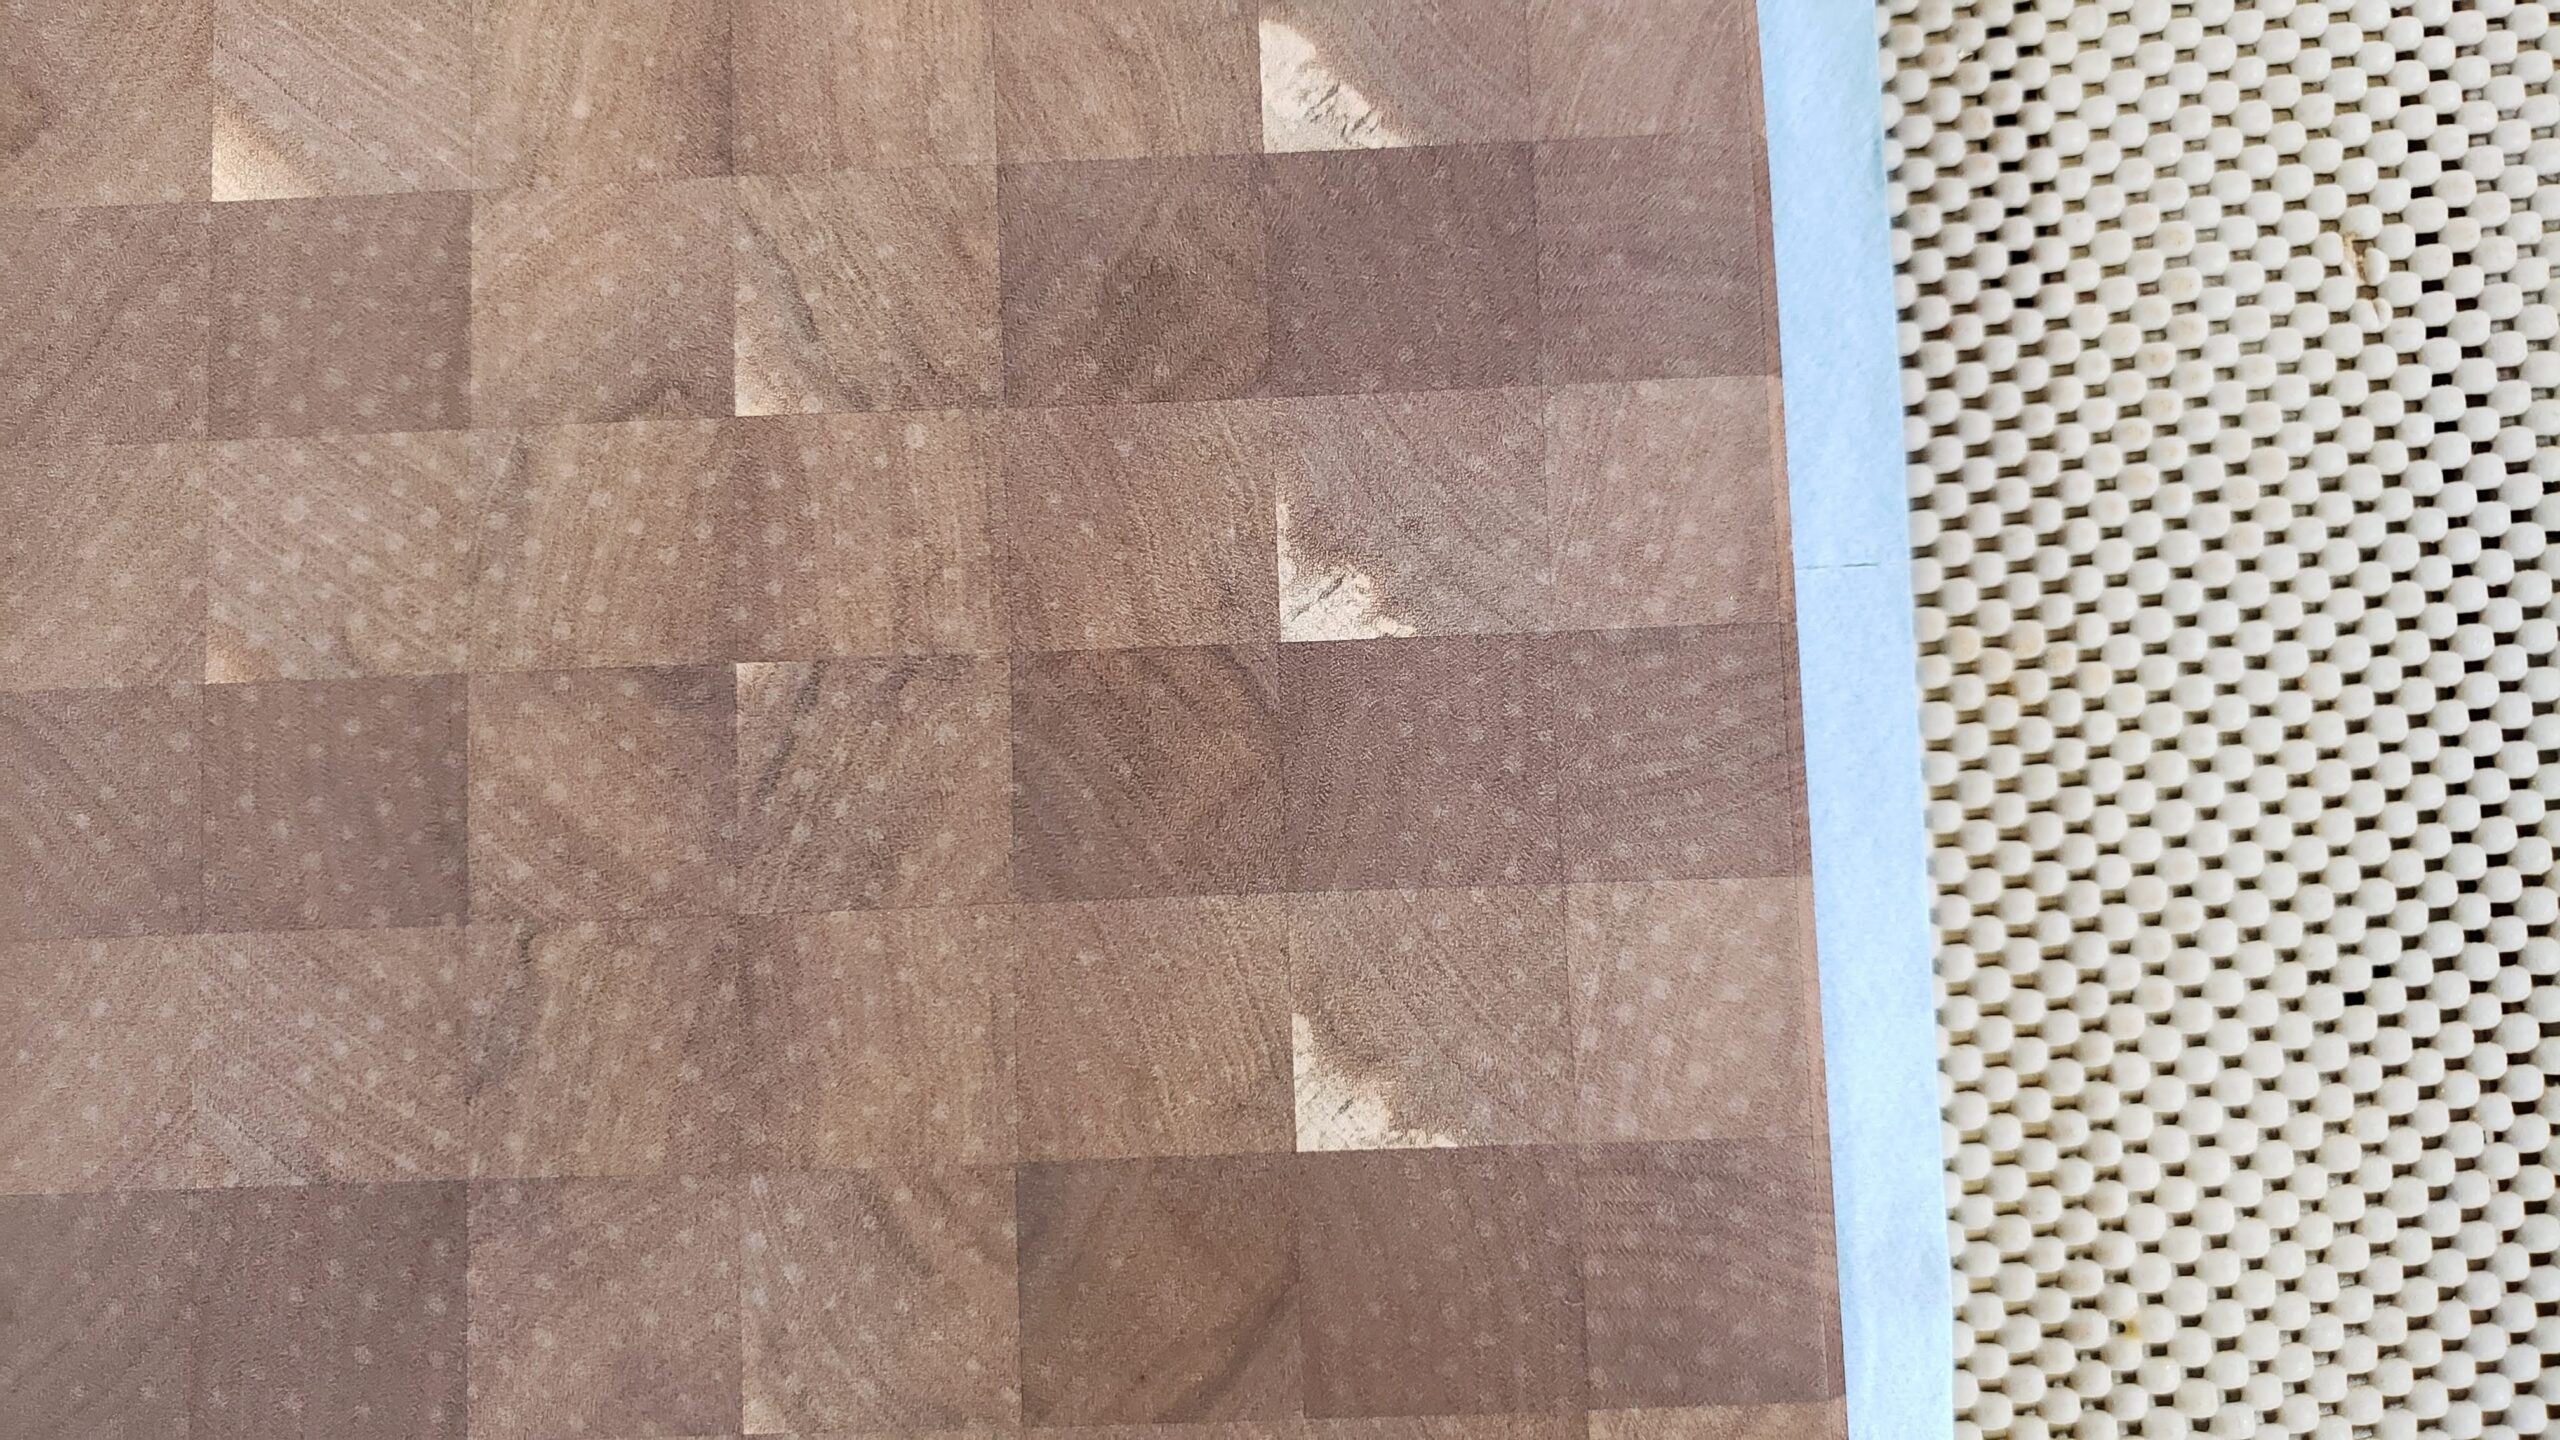
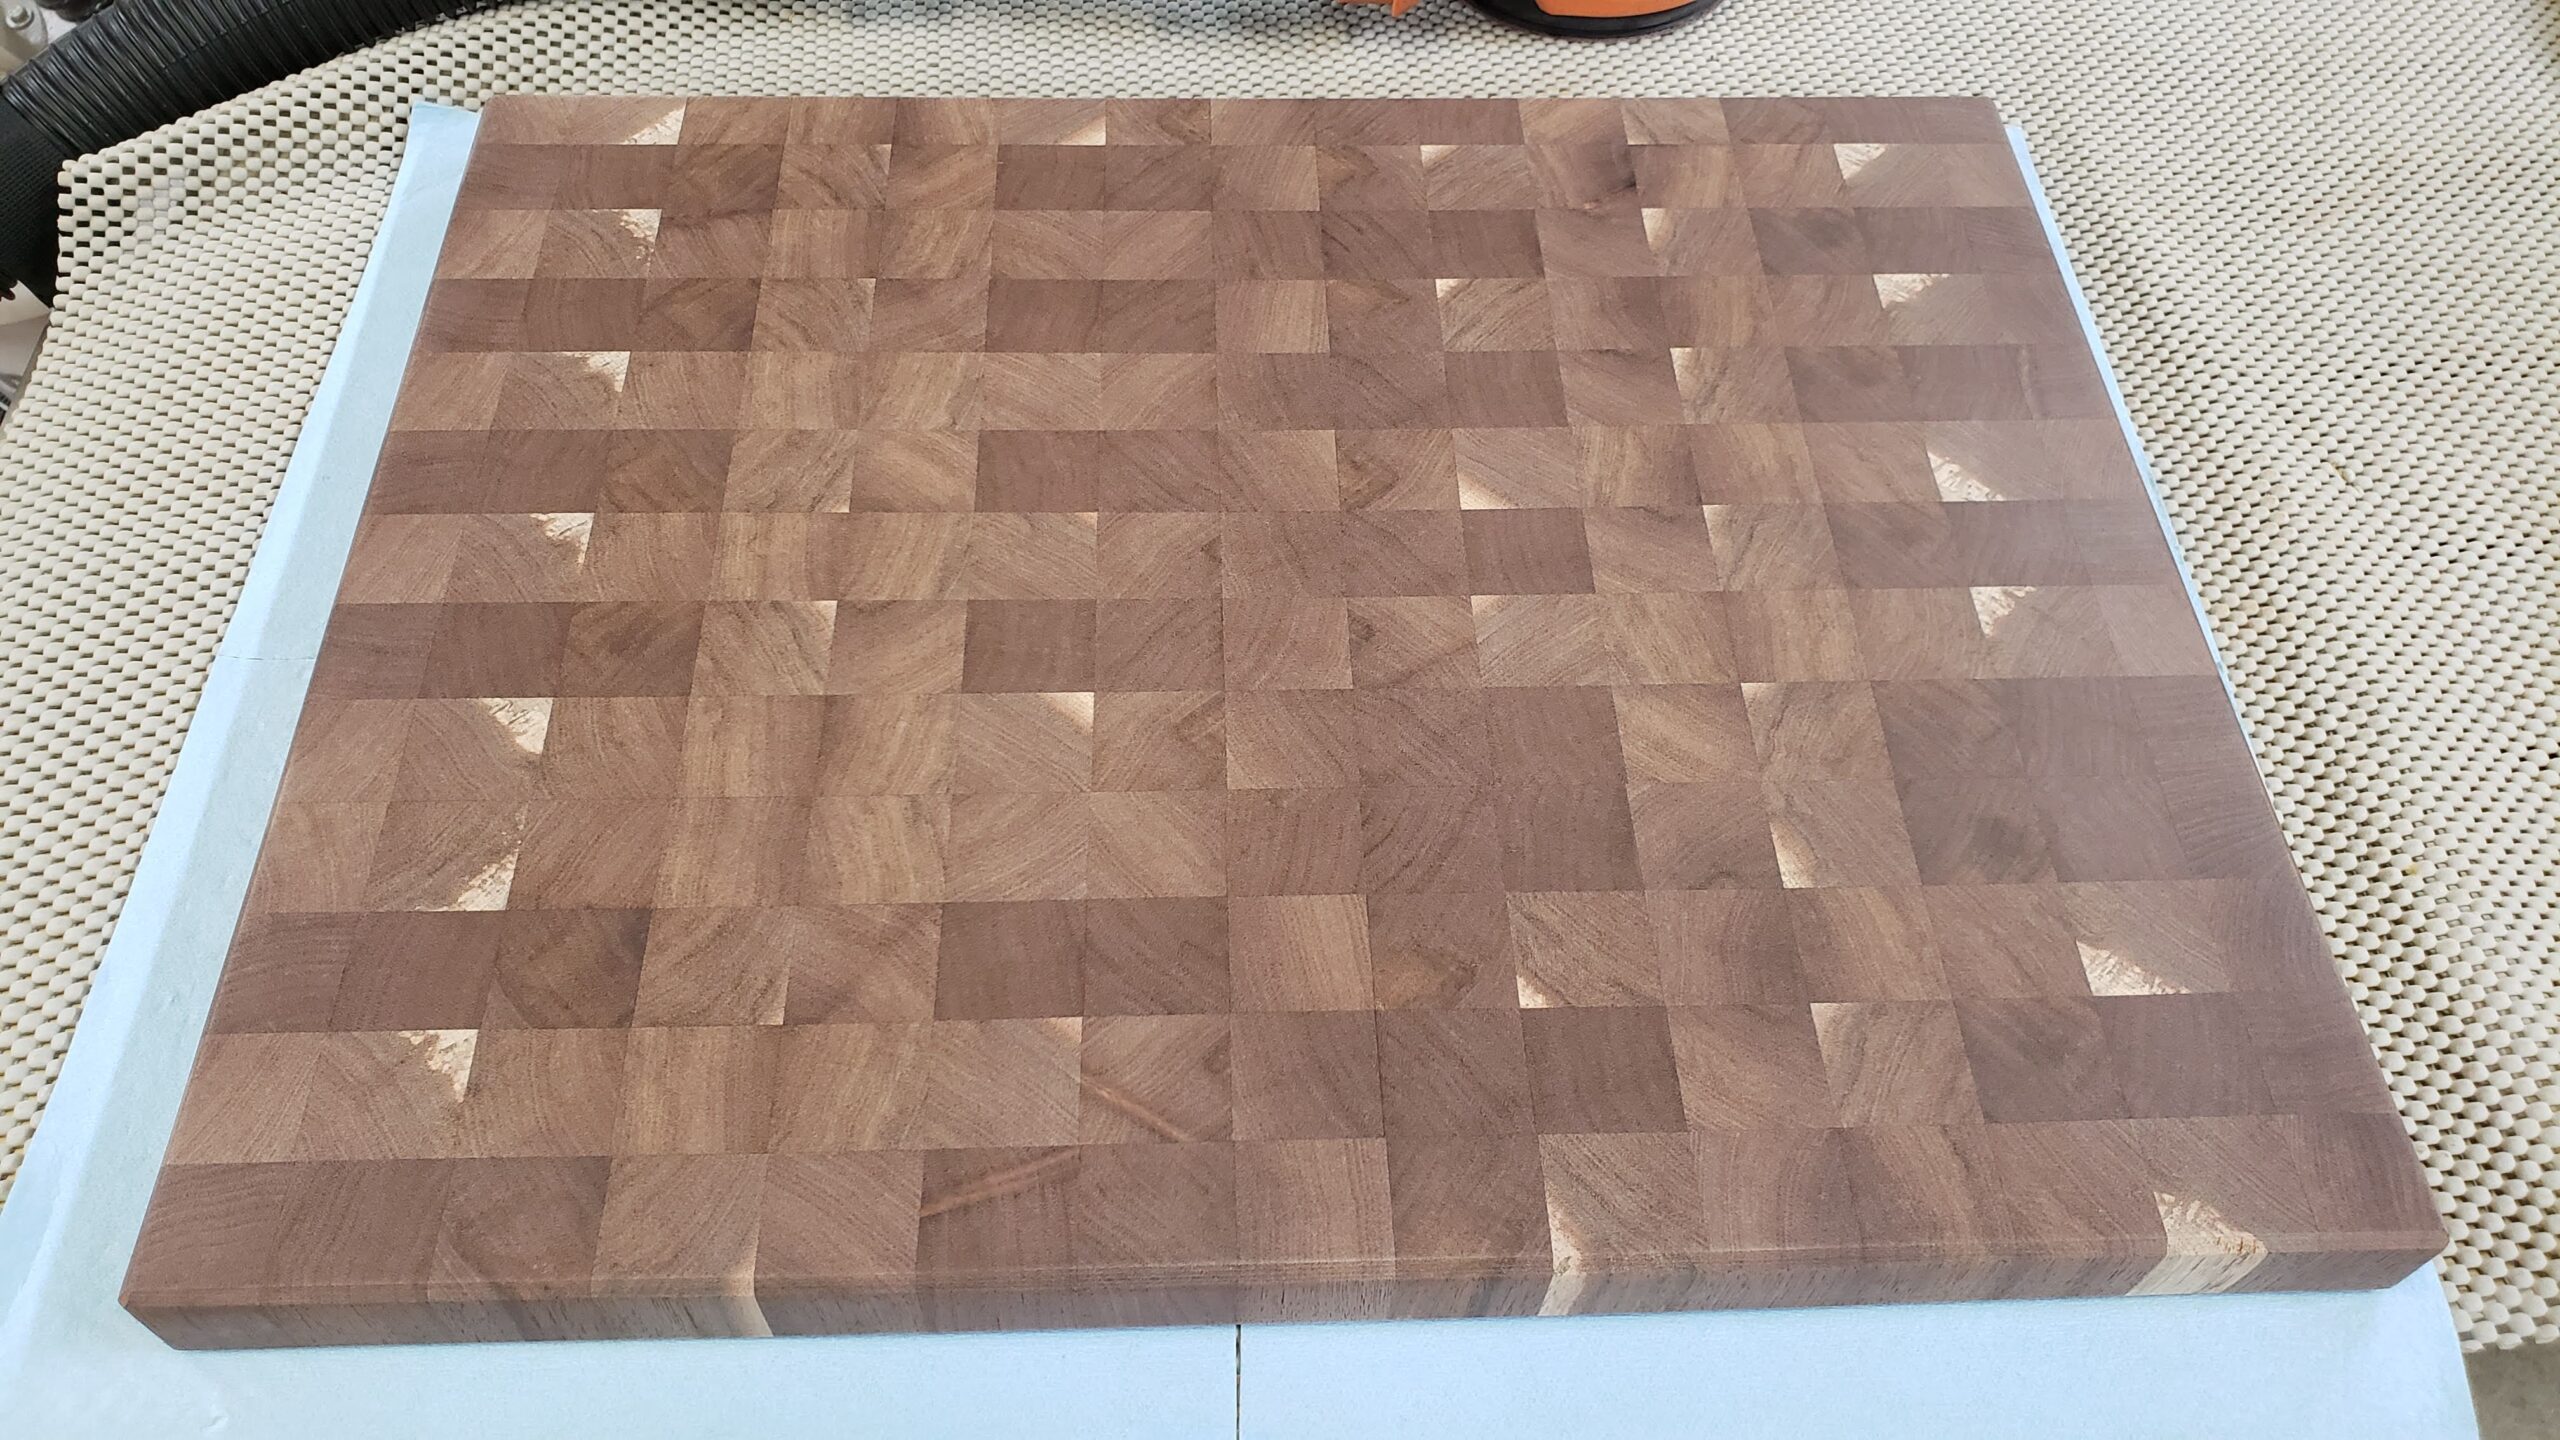
Here is the board sanded to 180 grit.
Grain Closeup
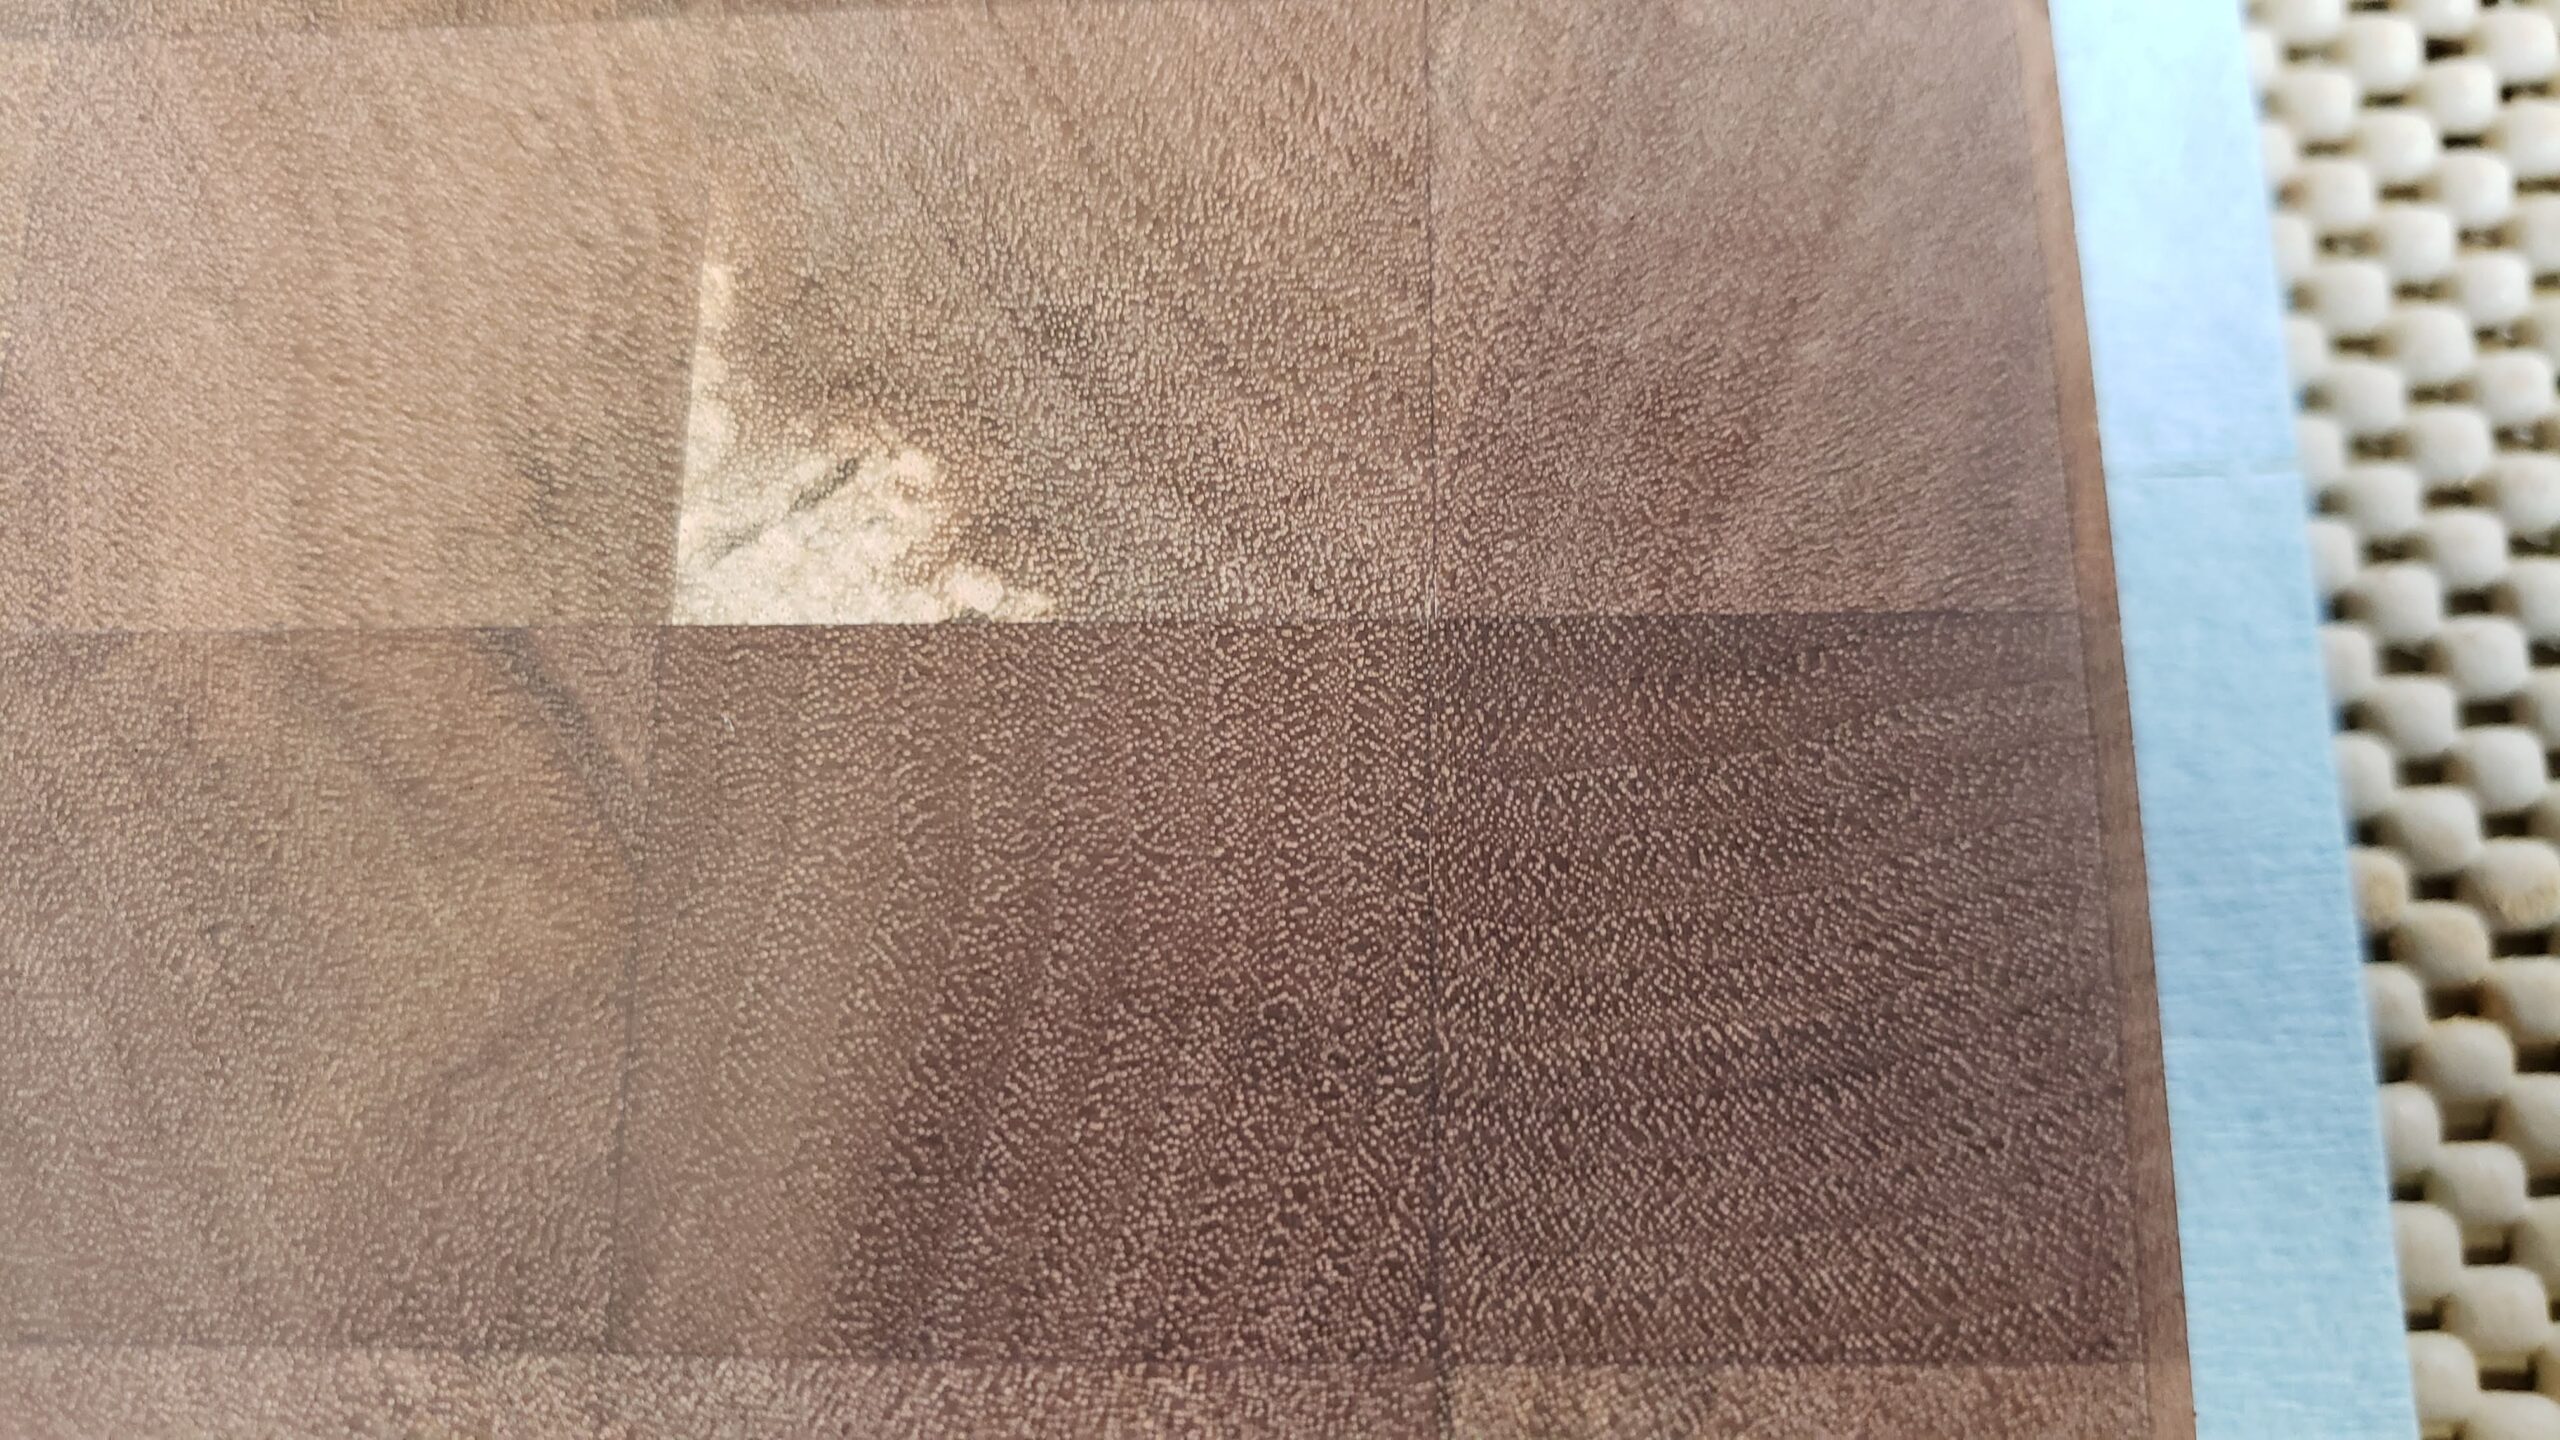
I sanded through 320 grit.

Sanded Grain Closeup
Next, I wiped the board with a water dampened paper towel to raise the grain.
Raising the Grain
I then let it dry.
Drying Board
After the water was completely dried, I lightly sanded again with 320. 400 for the chamfers.
Finished Sanding
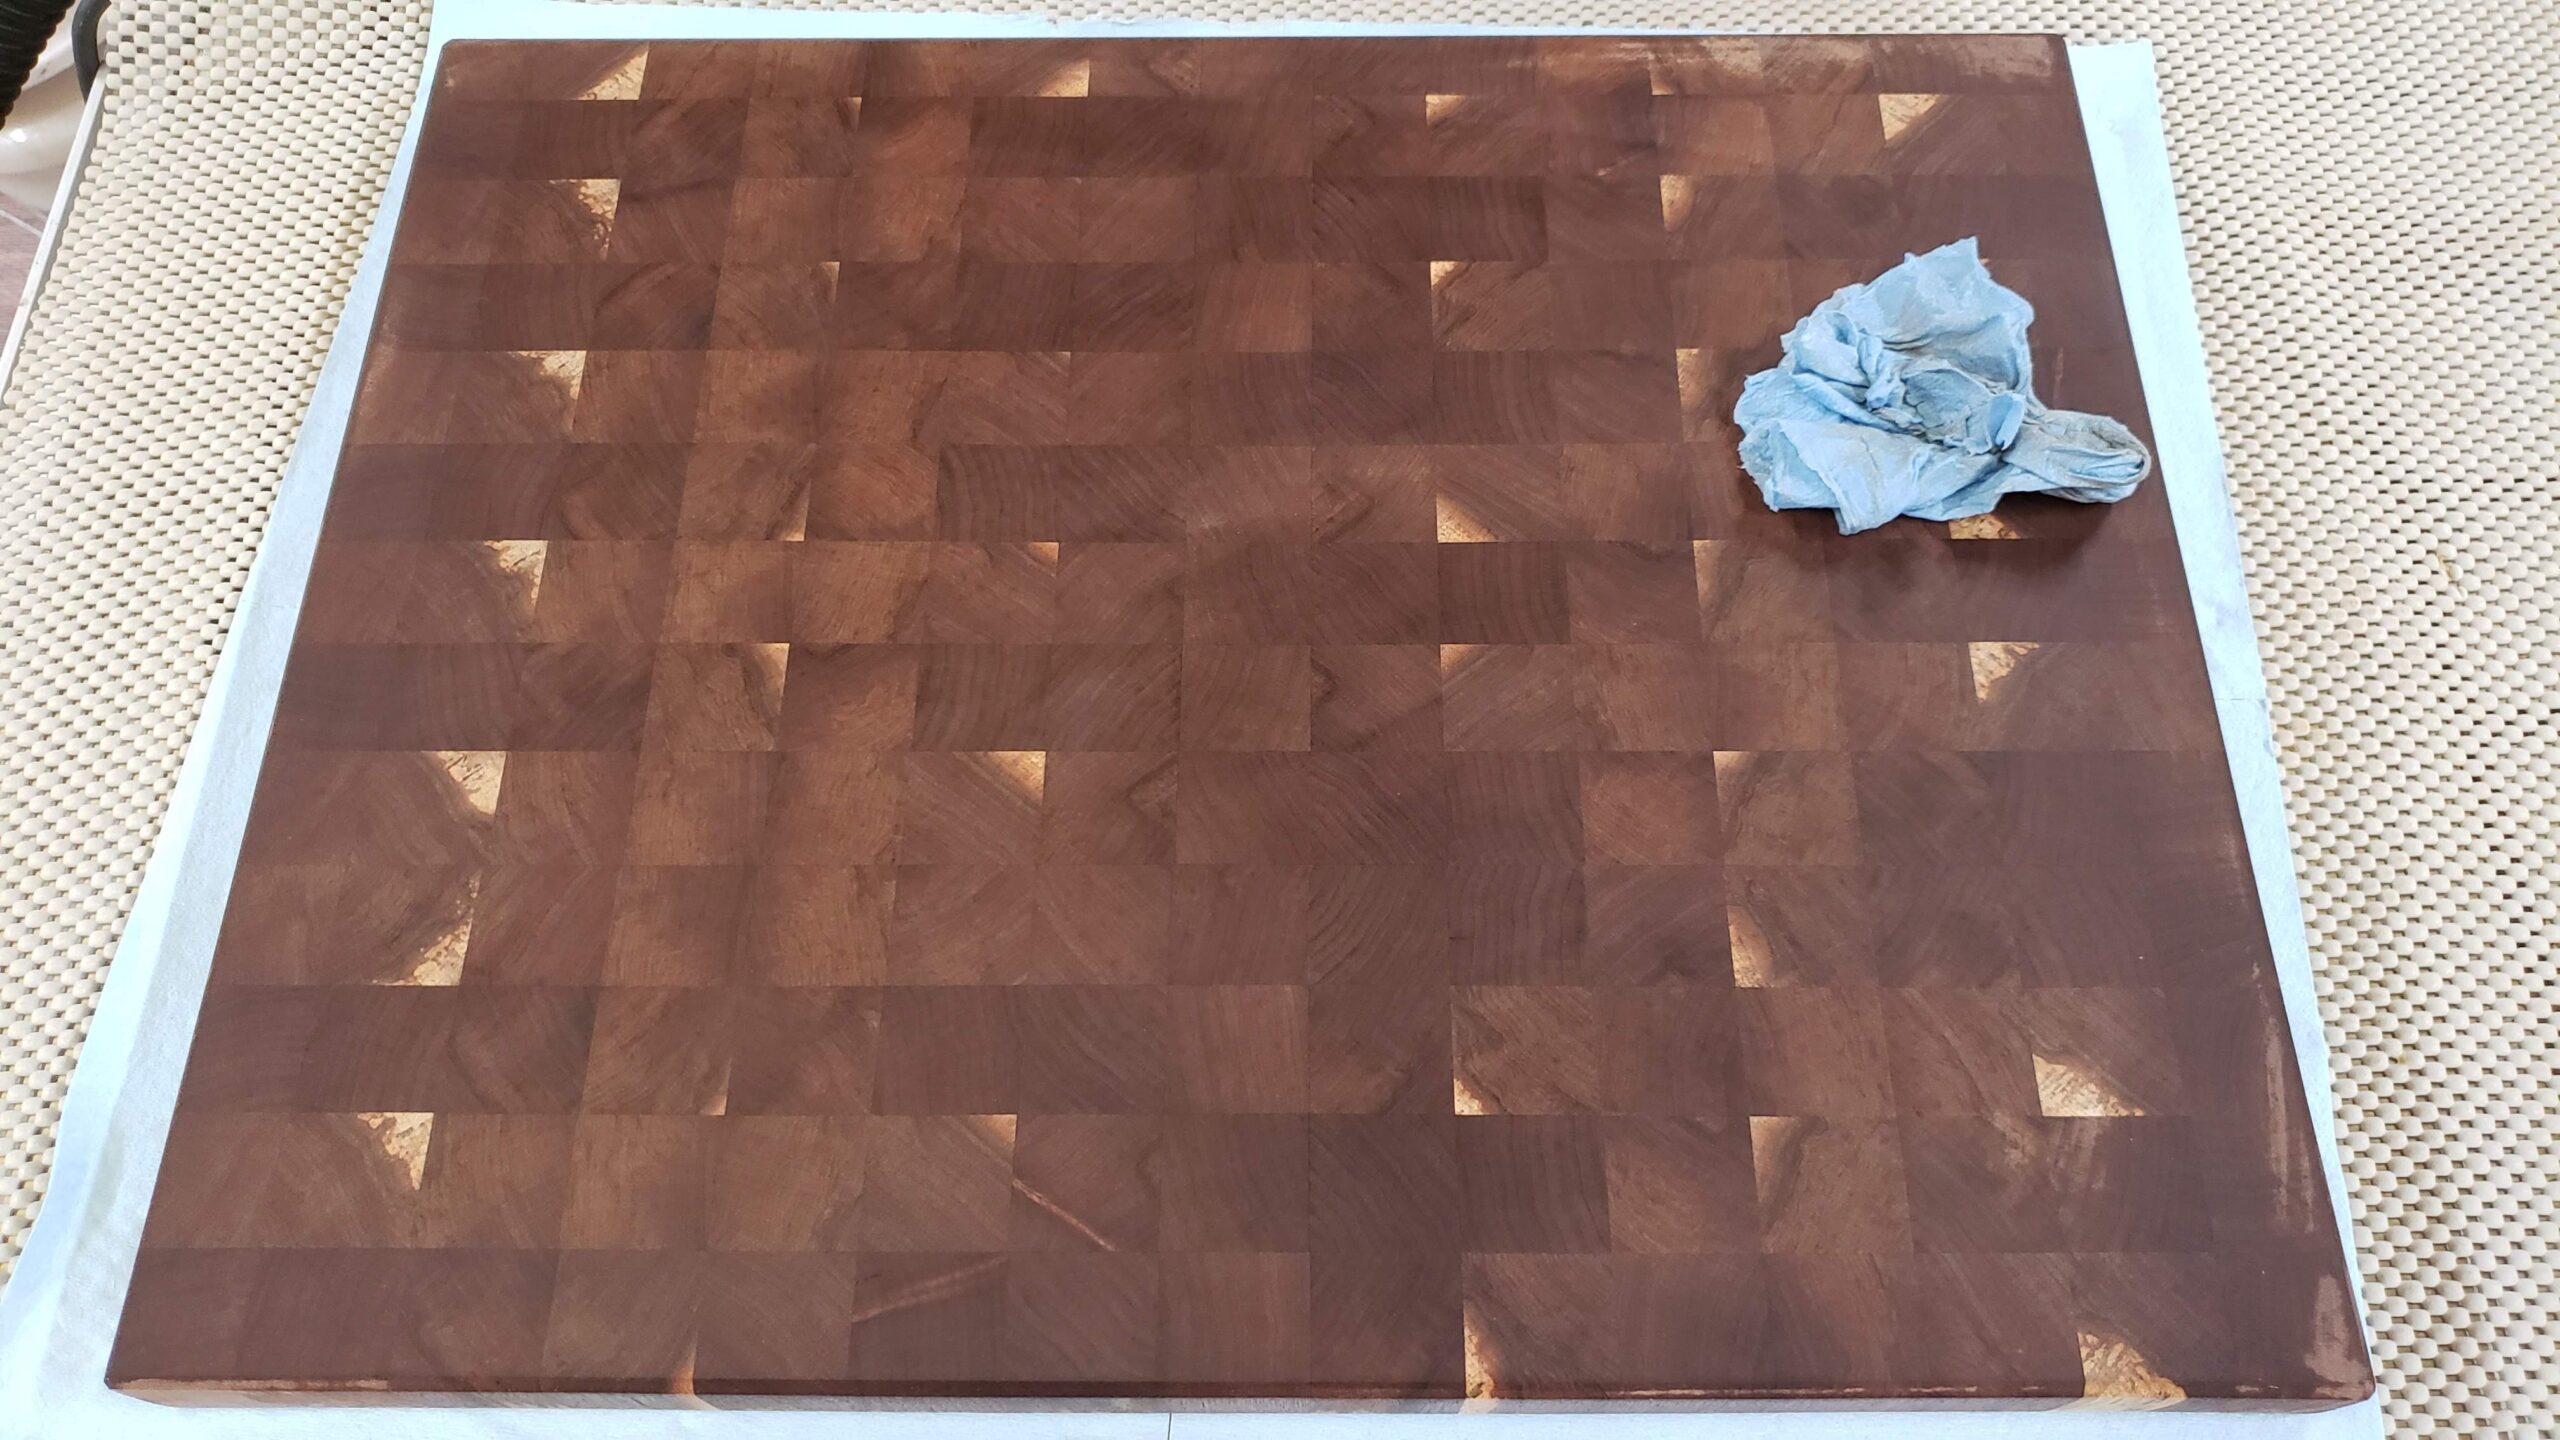
Now it was time to finish the board. There are many options for this. I think the two that I like most are pure tung oil, and a beeswax and mineral oil paste I like to call Cutting Board Butter. Read more about how to make this here: Cutting Board Butter.
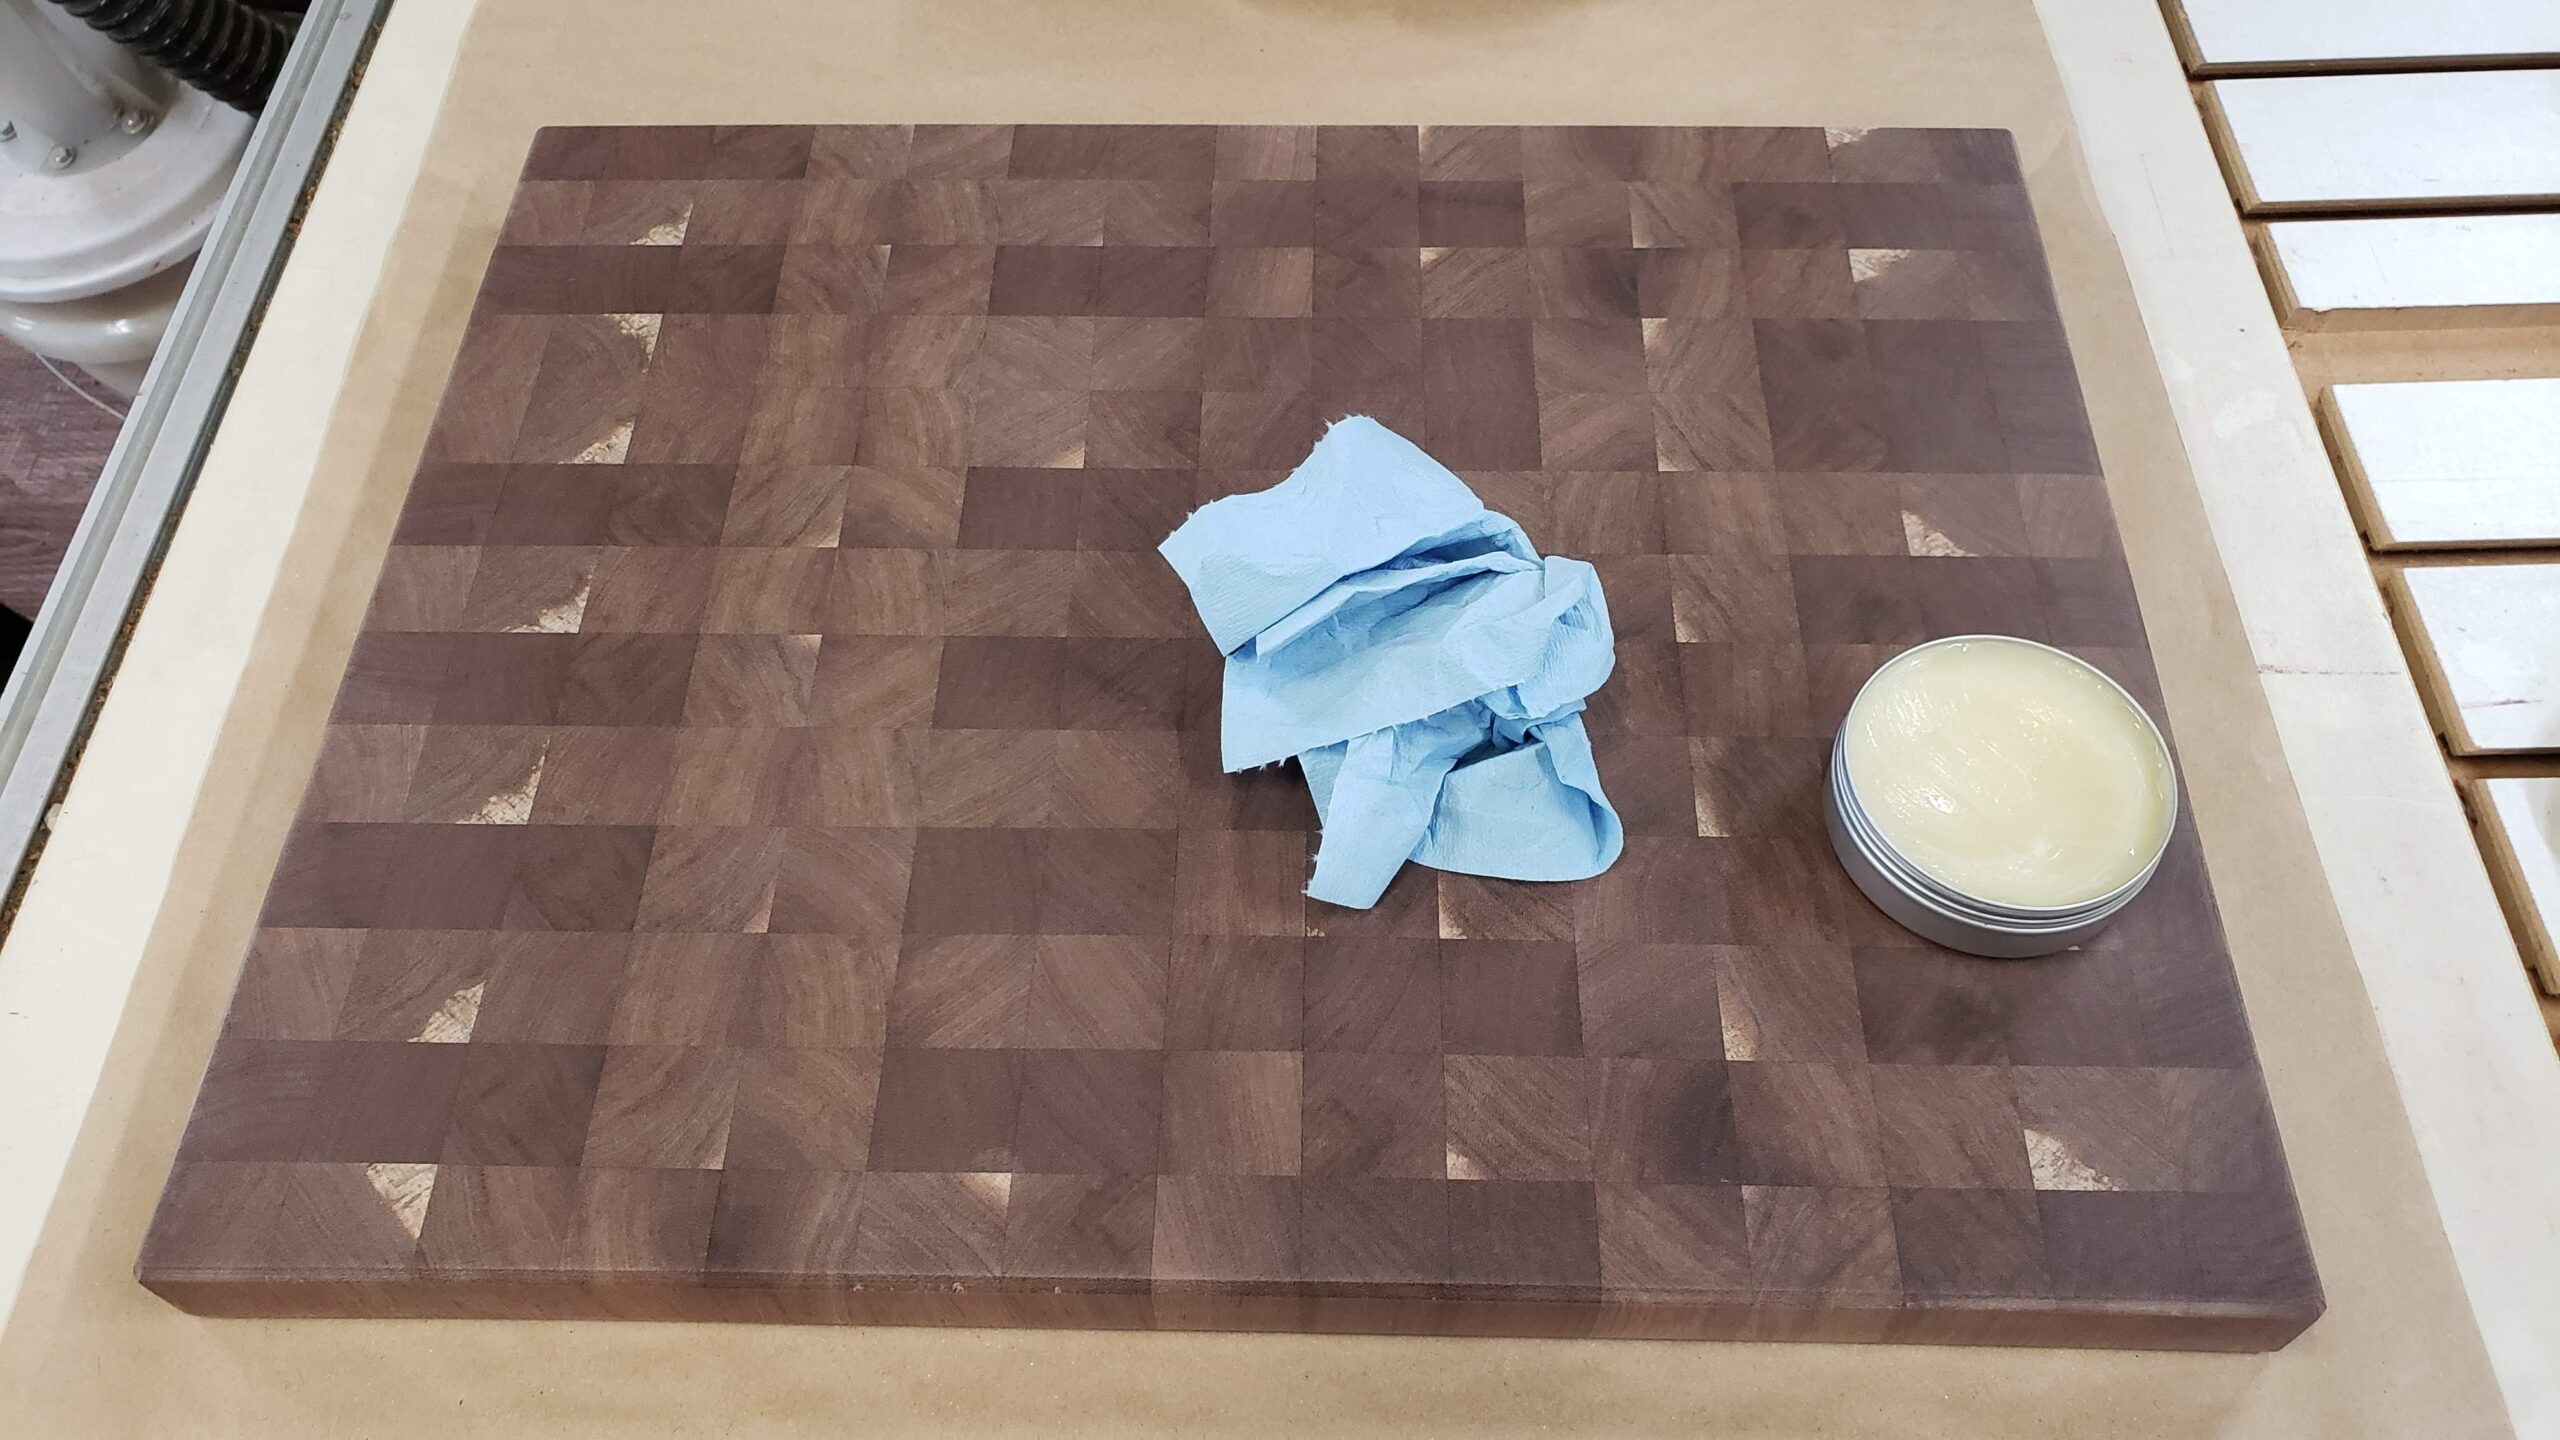
Applying Cutting Board Butter
I applied a liberal coat and rubbed it in, and then allowed it to soak in for about an hour.
One Coat of Finish
After about an hour, I applied another coat.
Second Coat of Cutting Board Butter
I let this soak in for a while and then buffed it off.
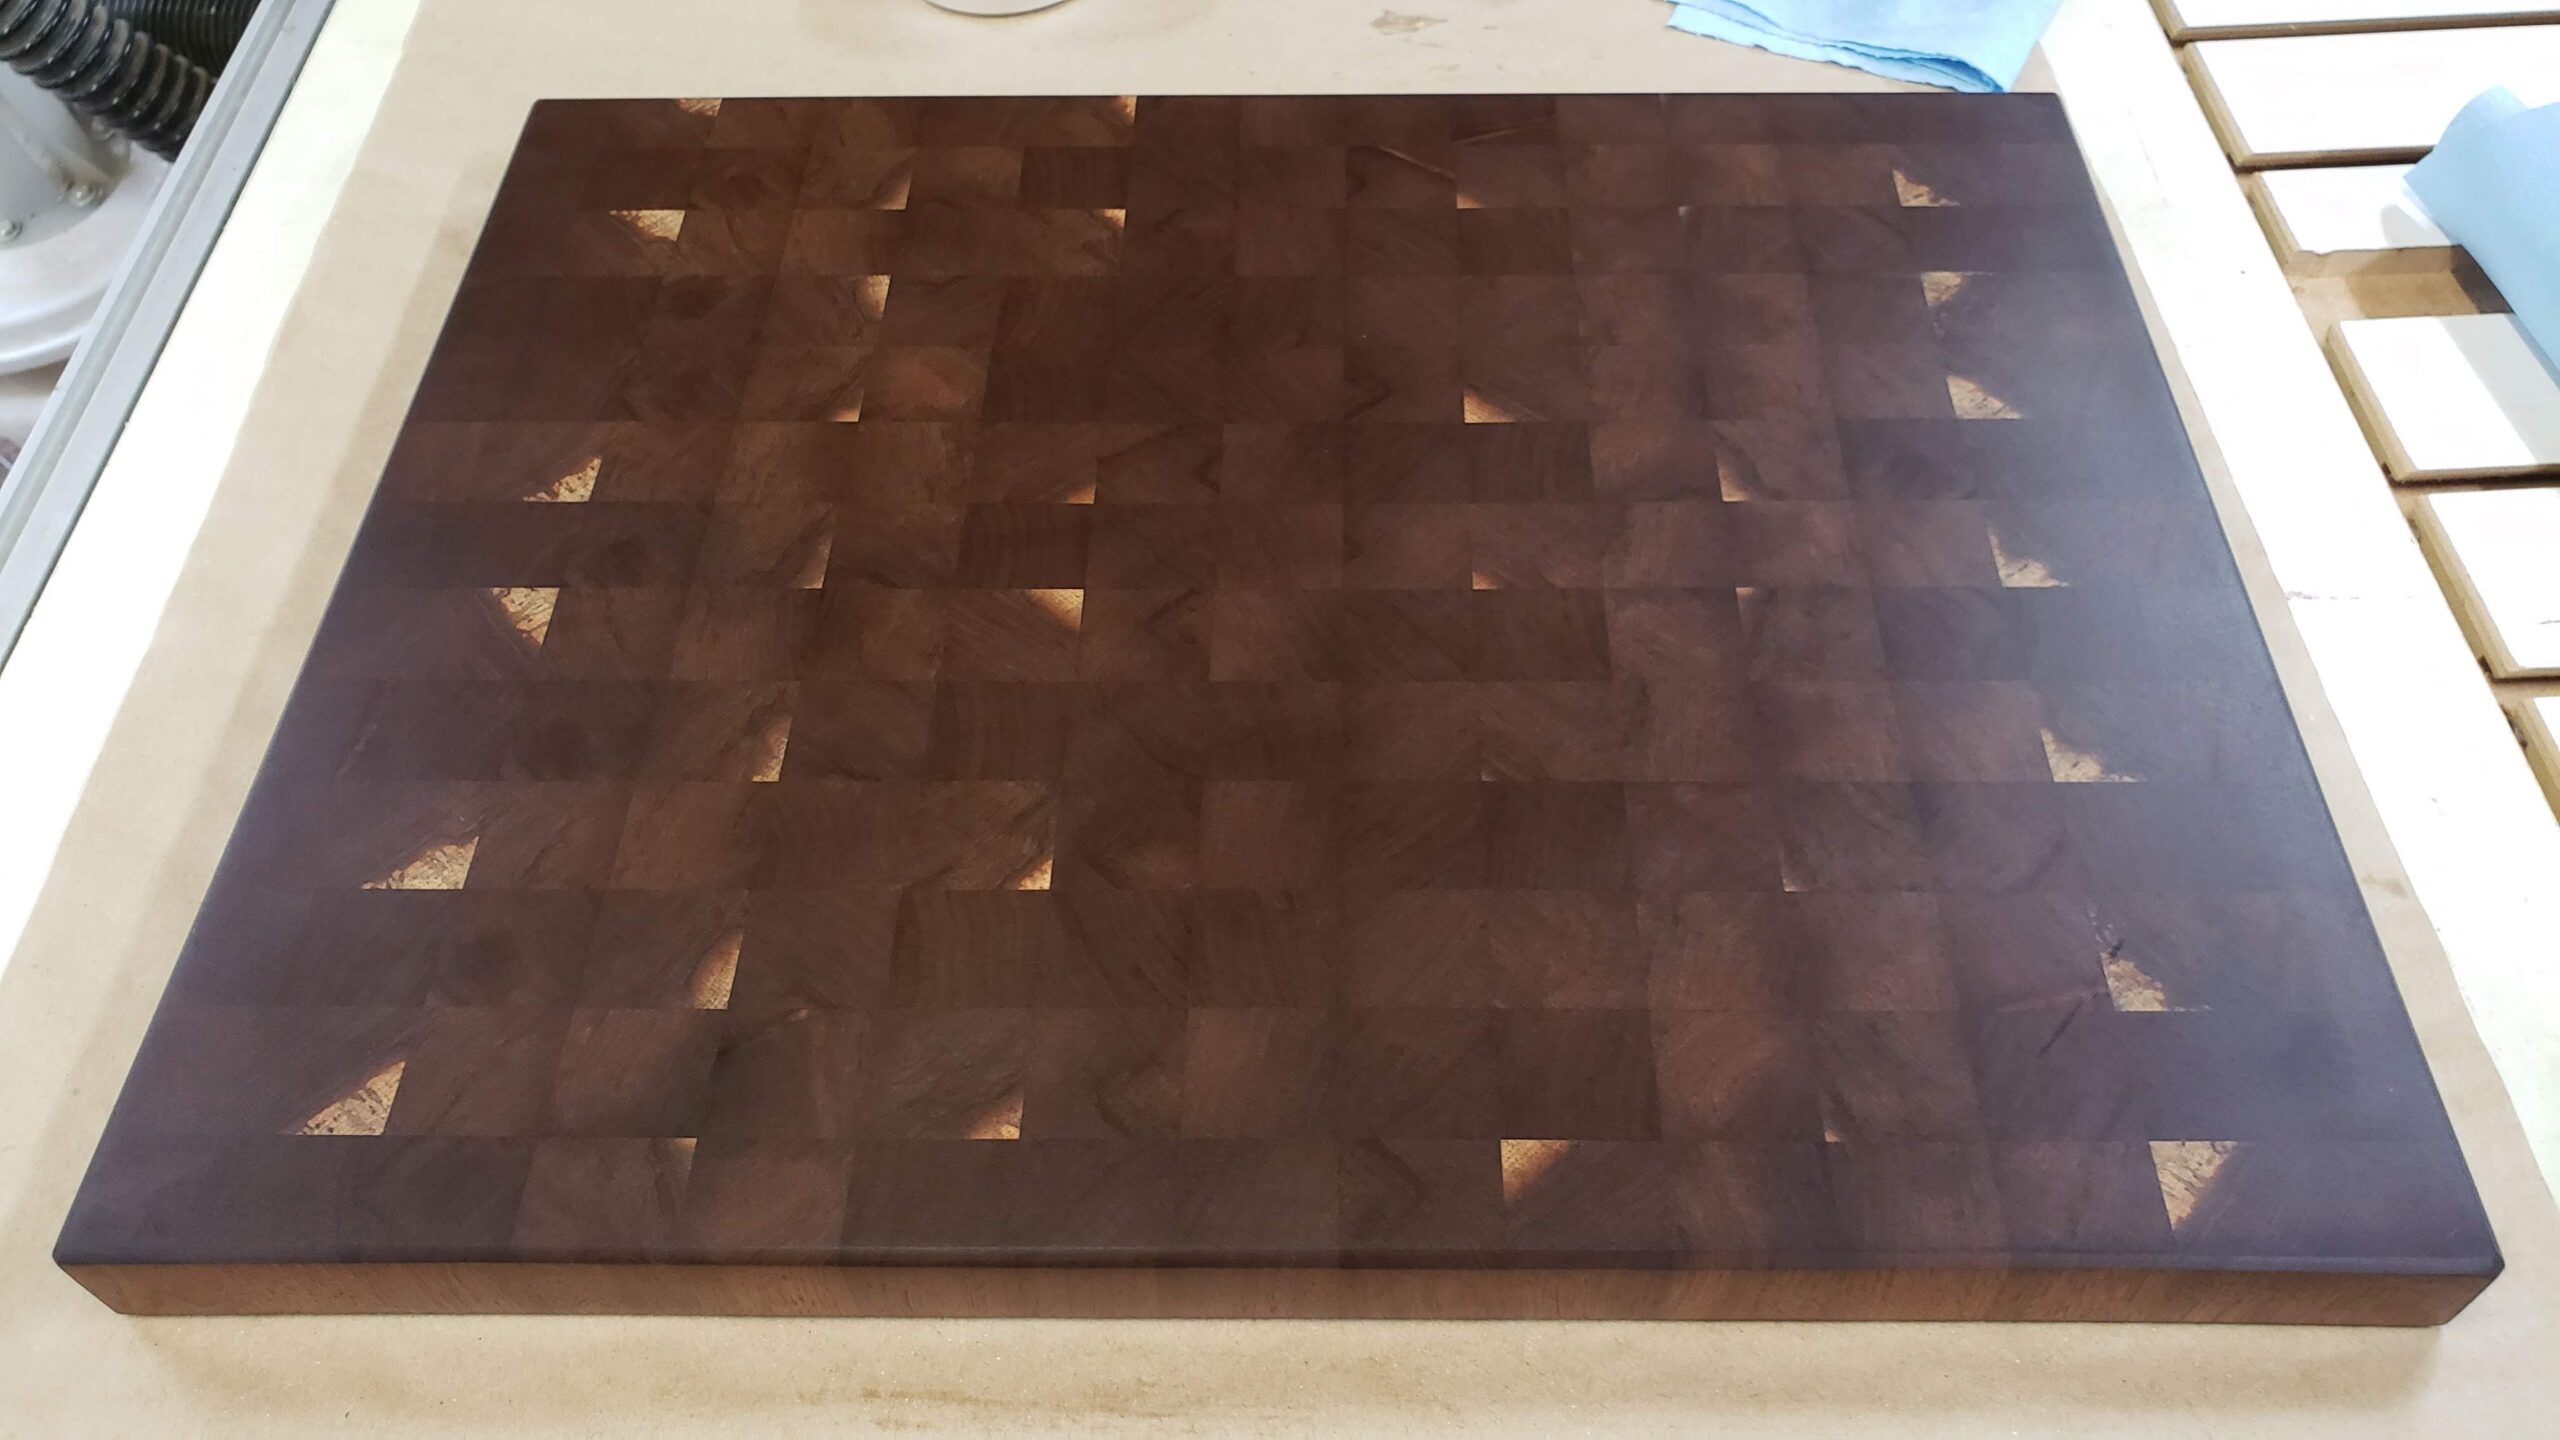
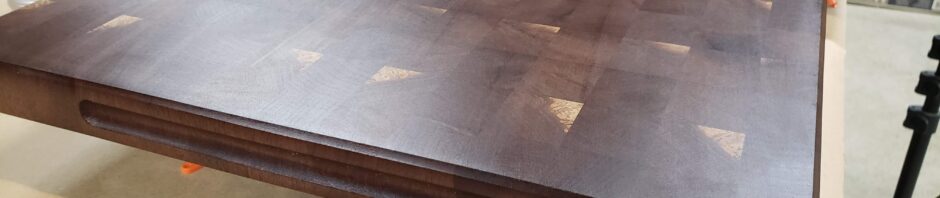
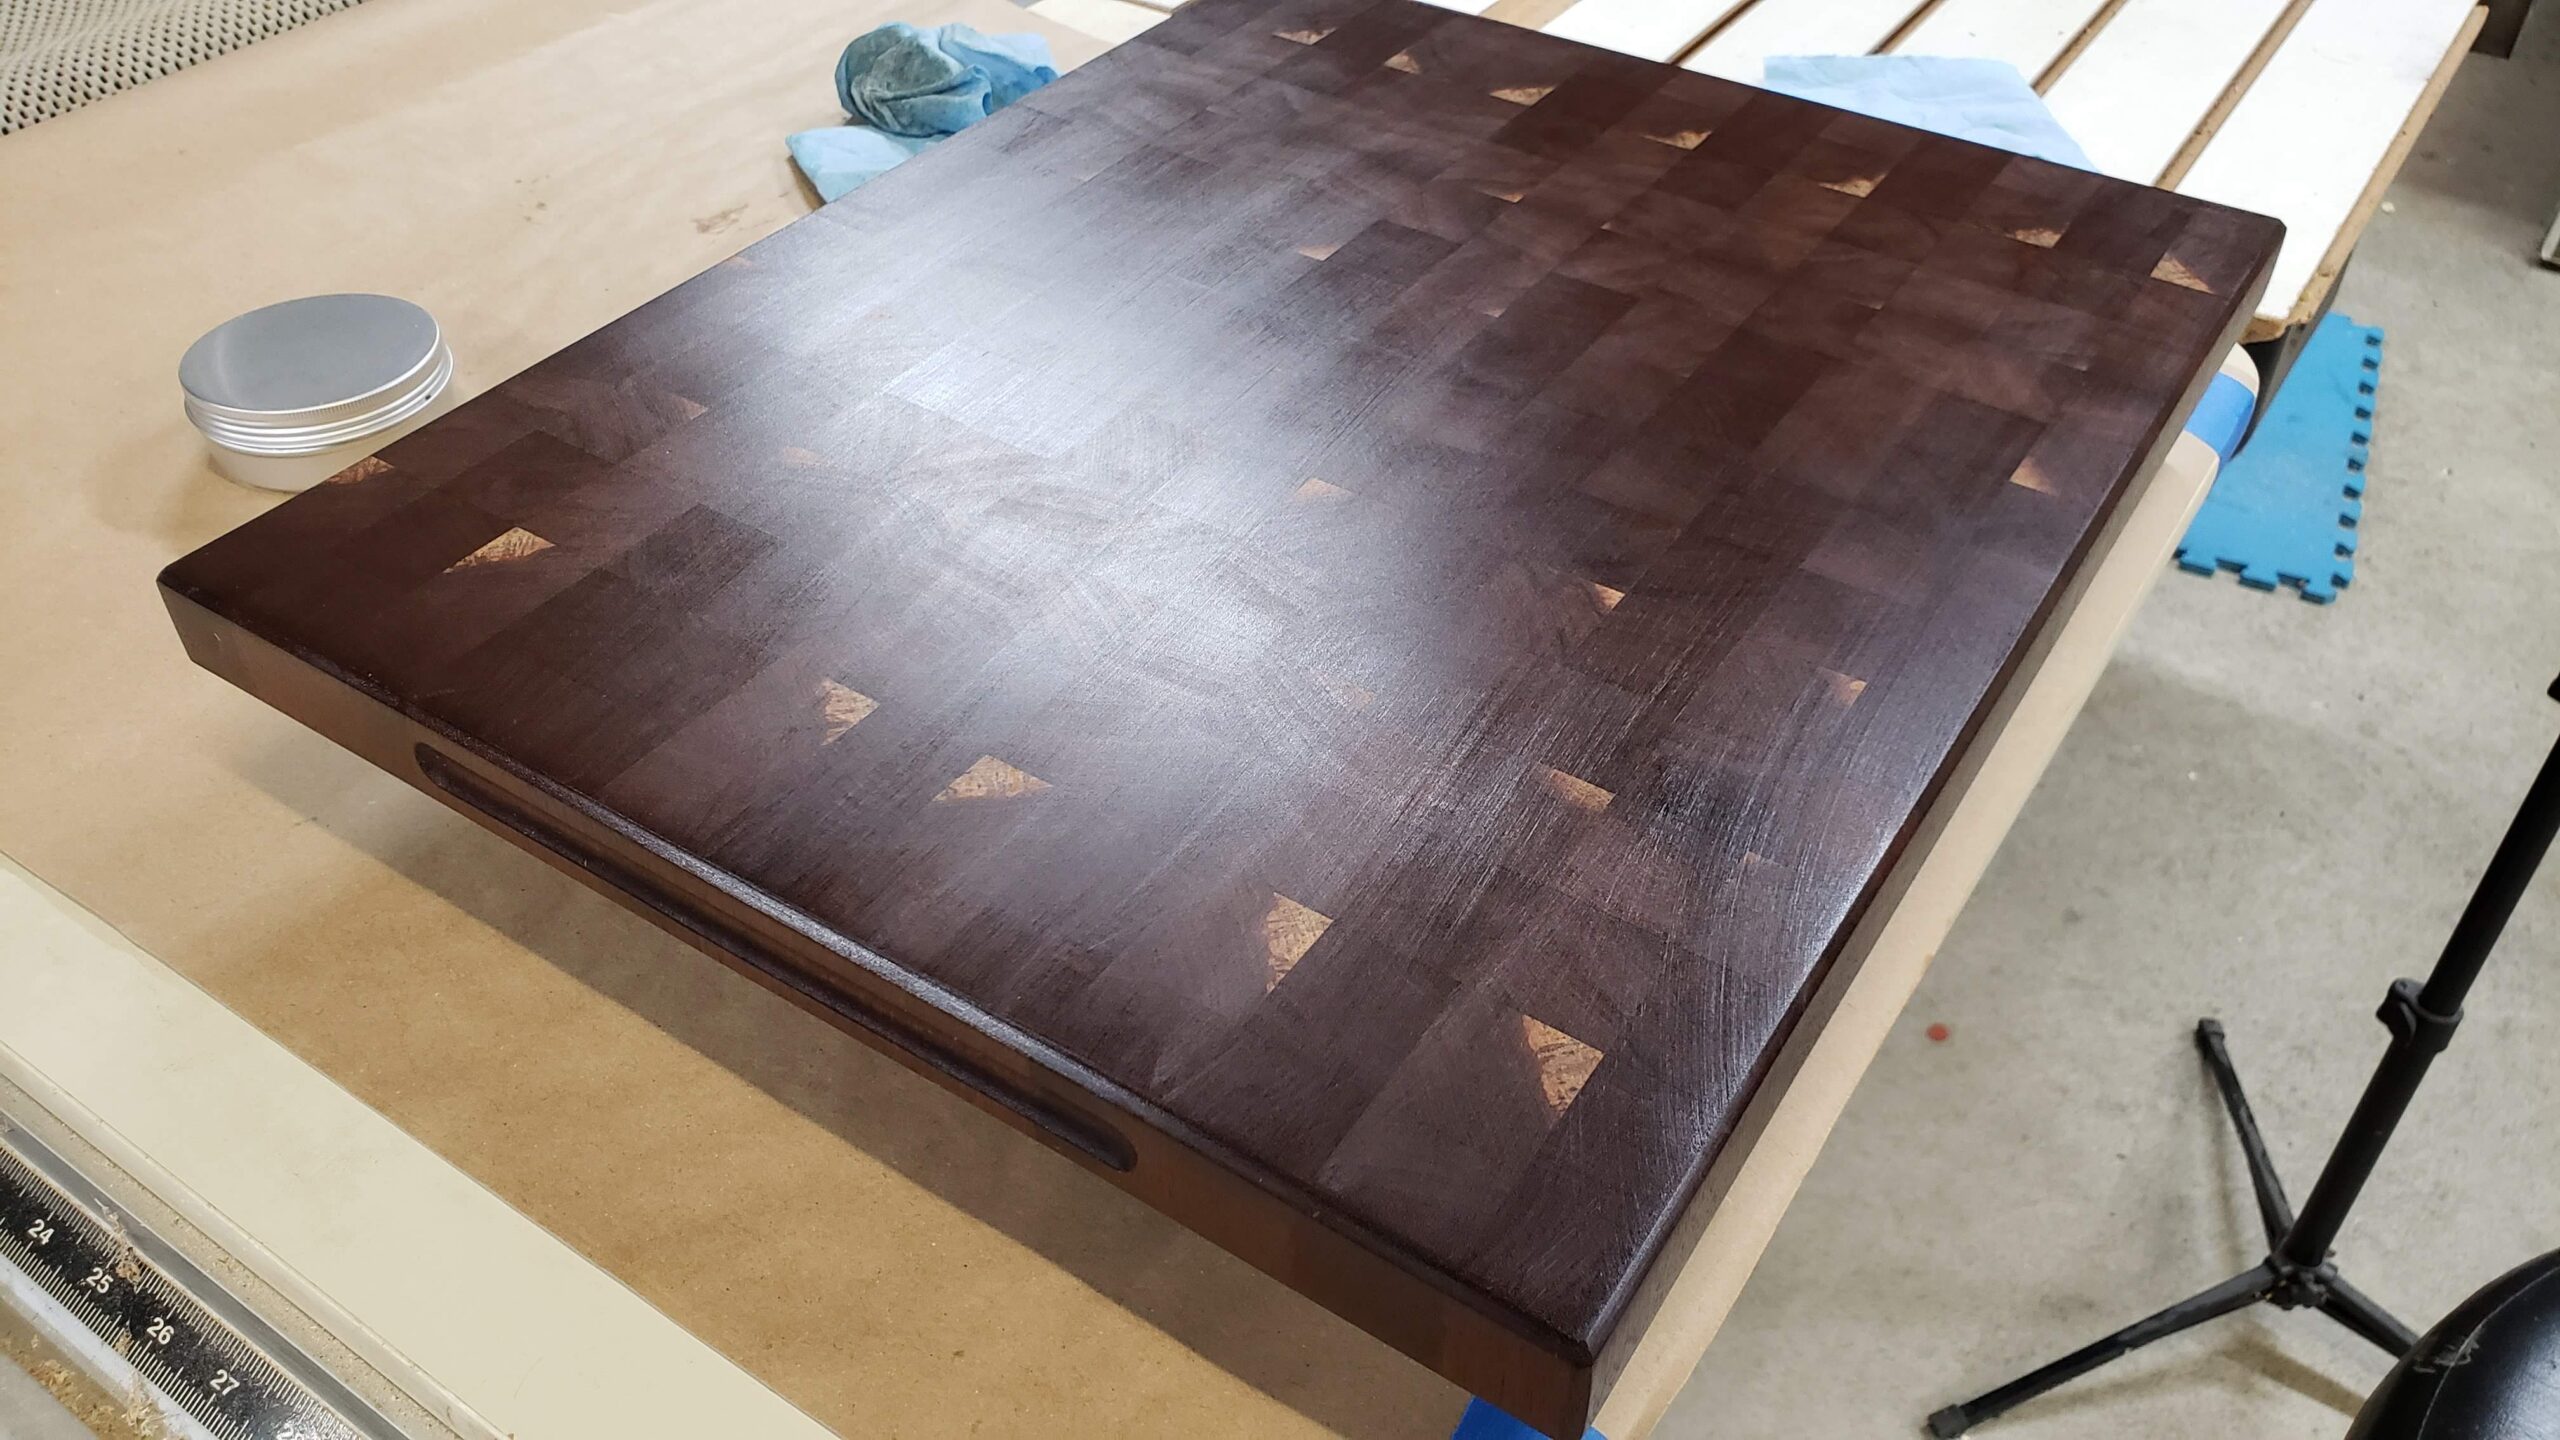
Finished Board
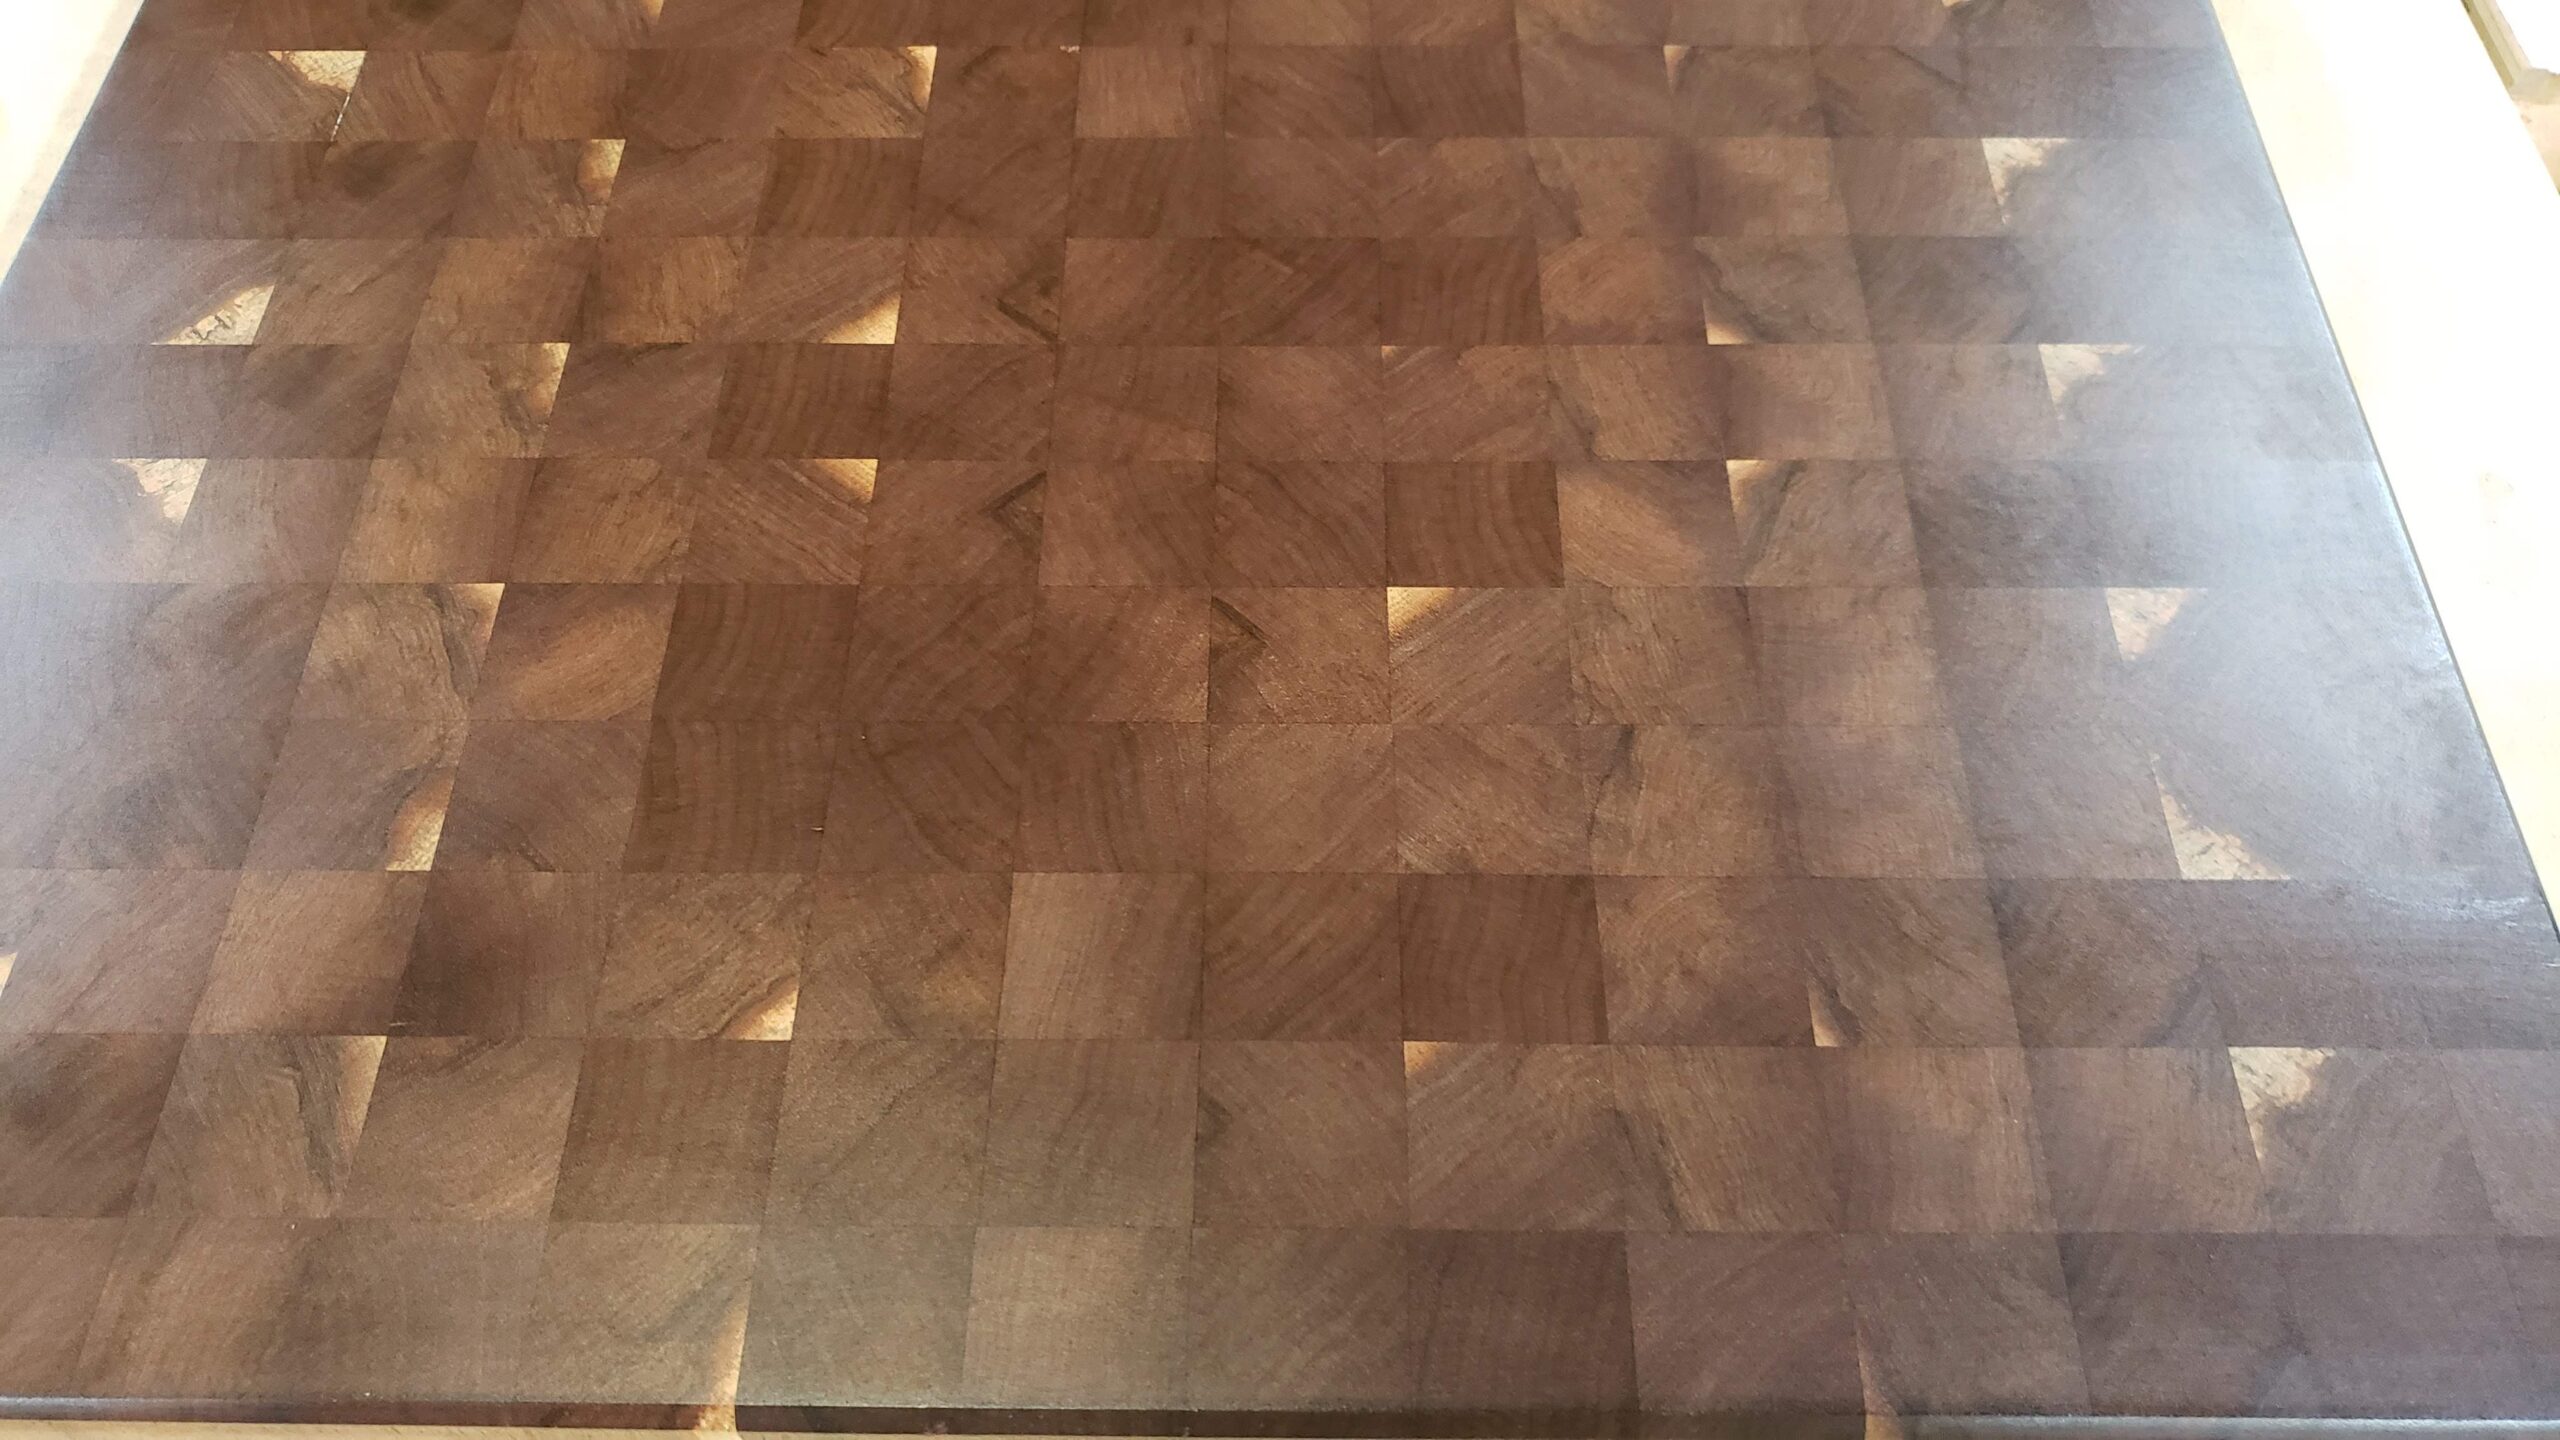
Here’s a closeup of the finish.
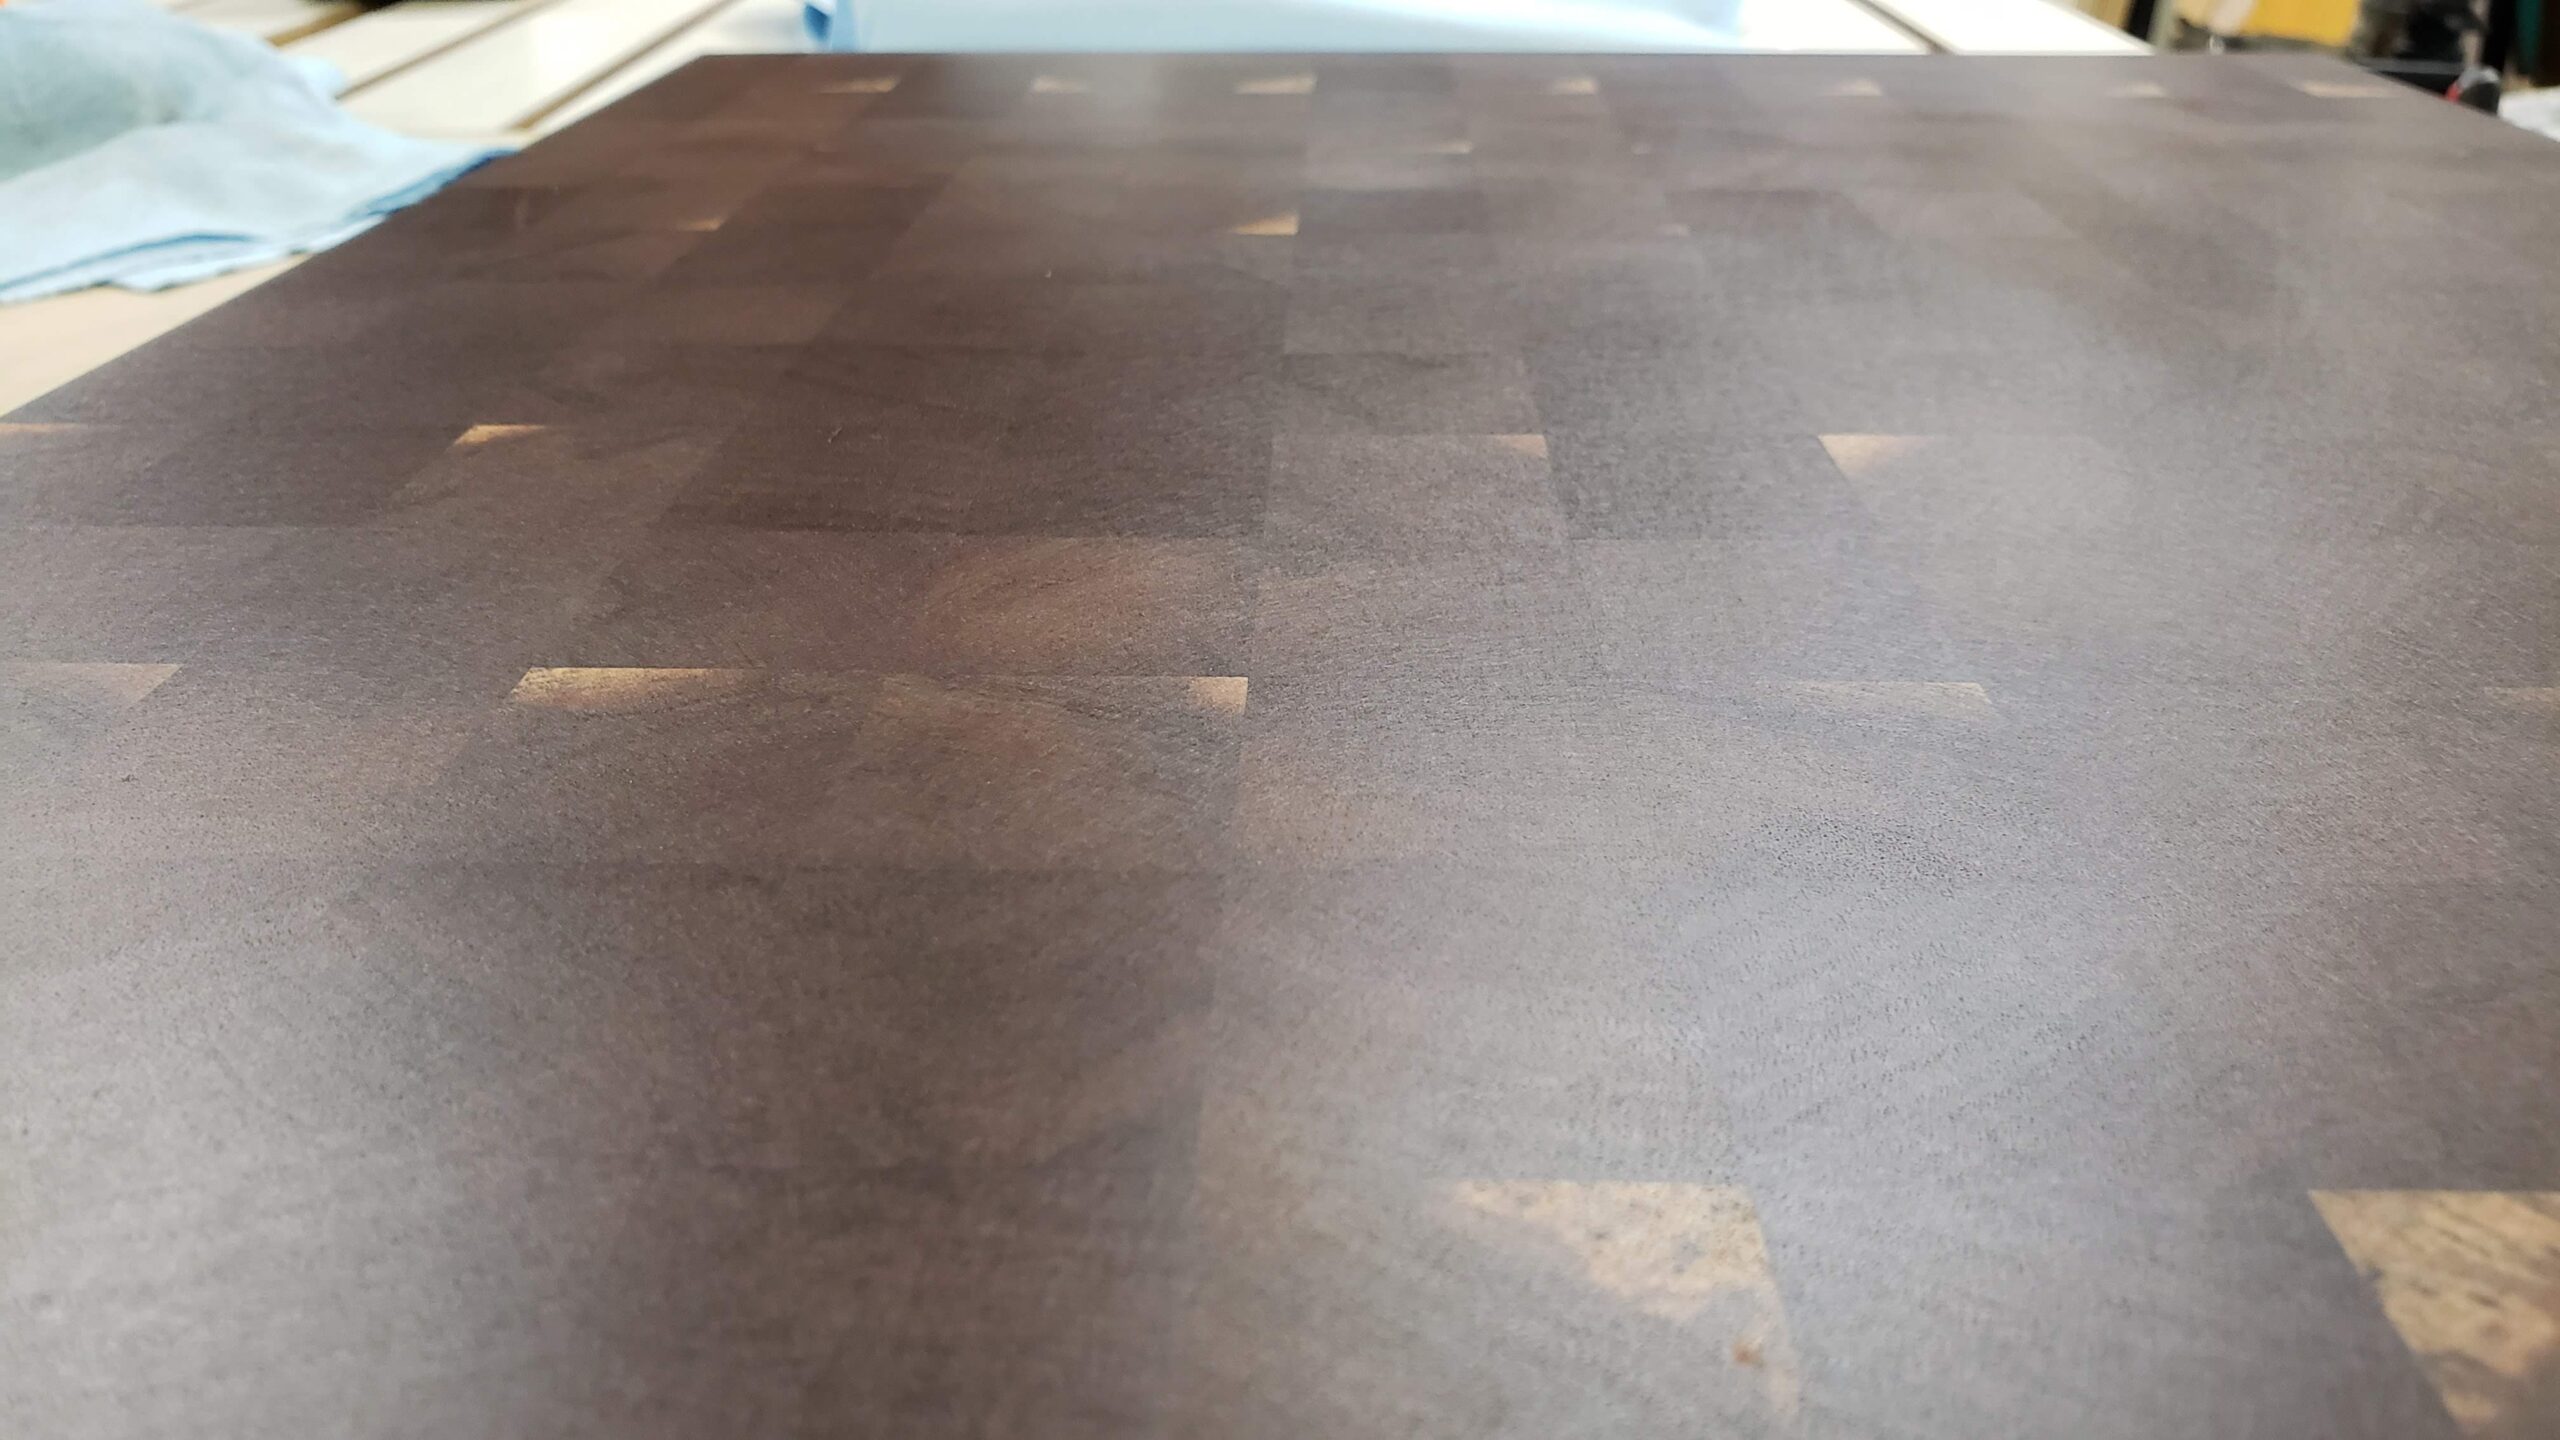
Finished Board
Thanks for viewing. I hope you found this informative.