A while ago I purchased the Chicago Electric Power Tools Professional Series 9 Amp Circular Saw Blade Sharpener from Harbor Freight. I did not think that I would be able to get the professional results I got when I sent away my saw blades to be sharpened, however I did believe I could touch up the blades after a cleaning and stretch out the life of them. After all, getting them professionally sharpened costs $20 to $30 per blade, depending on the number of teeth. Sending in a half dozen blades would typically cost about $150.
Harbor Freight Saw Blade Sharpener
Right now, this sharpener is on clearance at Harbor Freight for $34.97. So for the price of getting two blades sharpened, you can get your own sharpener. It wasn’t on sale when I purchased it, I think I payed around $40.
My first sharpening session was with the diamond wheel. I first cleaned the blades, and then sharpened. The results were ok, the blades, were definitely sharper than they had been, but not as sharp as when I had them professionally sharpened. So I decided to figure out how to make it better.
This sharpener comes with two 4″ sharpening wheels, a 100 grit emery wheel, and a 150 grit diamond wheel. The arbor is 10 mm. The arbor on the emery wheel is 10 mm and the diamond wheel is 20 mm. The bushing for the diamond wheel is 20 mm on one side, and 25 mm on the other.
One of the reasons that professionally sharpened blades are sharper is because of the grit of the sharpening wheels. Pro sharpeners typically use 300 to 600 grit sharpening wheels, and this results in a much finer edge on the teeth.
I started looking for some alternative sharpening wheels, but couldn’t find any with the correct arbor size. What I did find was this 4″ 400 grit wheel with a 5/8″ arbor hole for around 8 bucks, and these 5/8″ to 3/8″ (10 mm) saw blade arbor bushings. This brand has multiple grit wheels, from 150 up to 3000 grit. I chose 400 grit, thinking that’s a pretty good place to start.
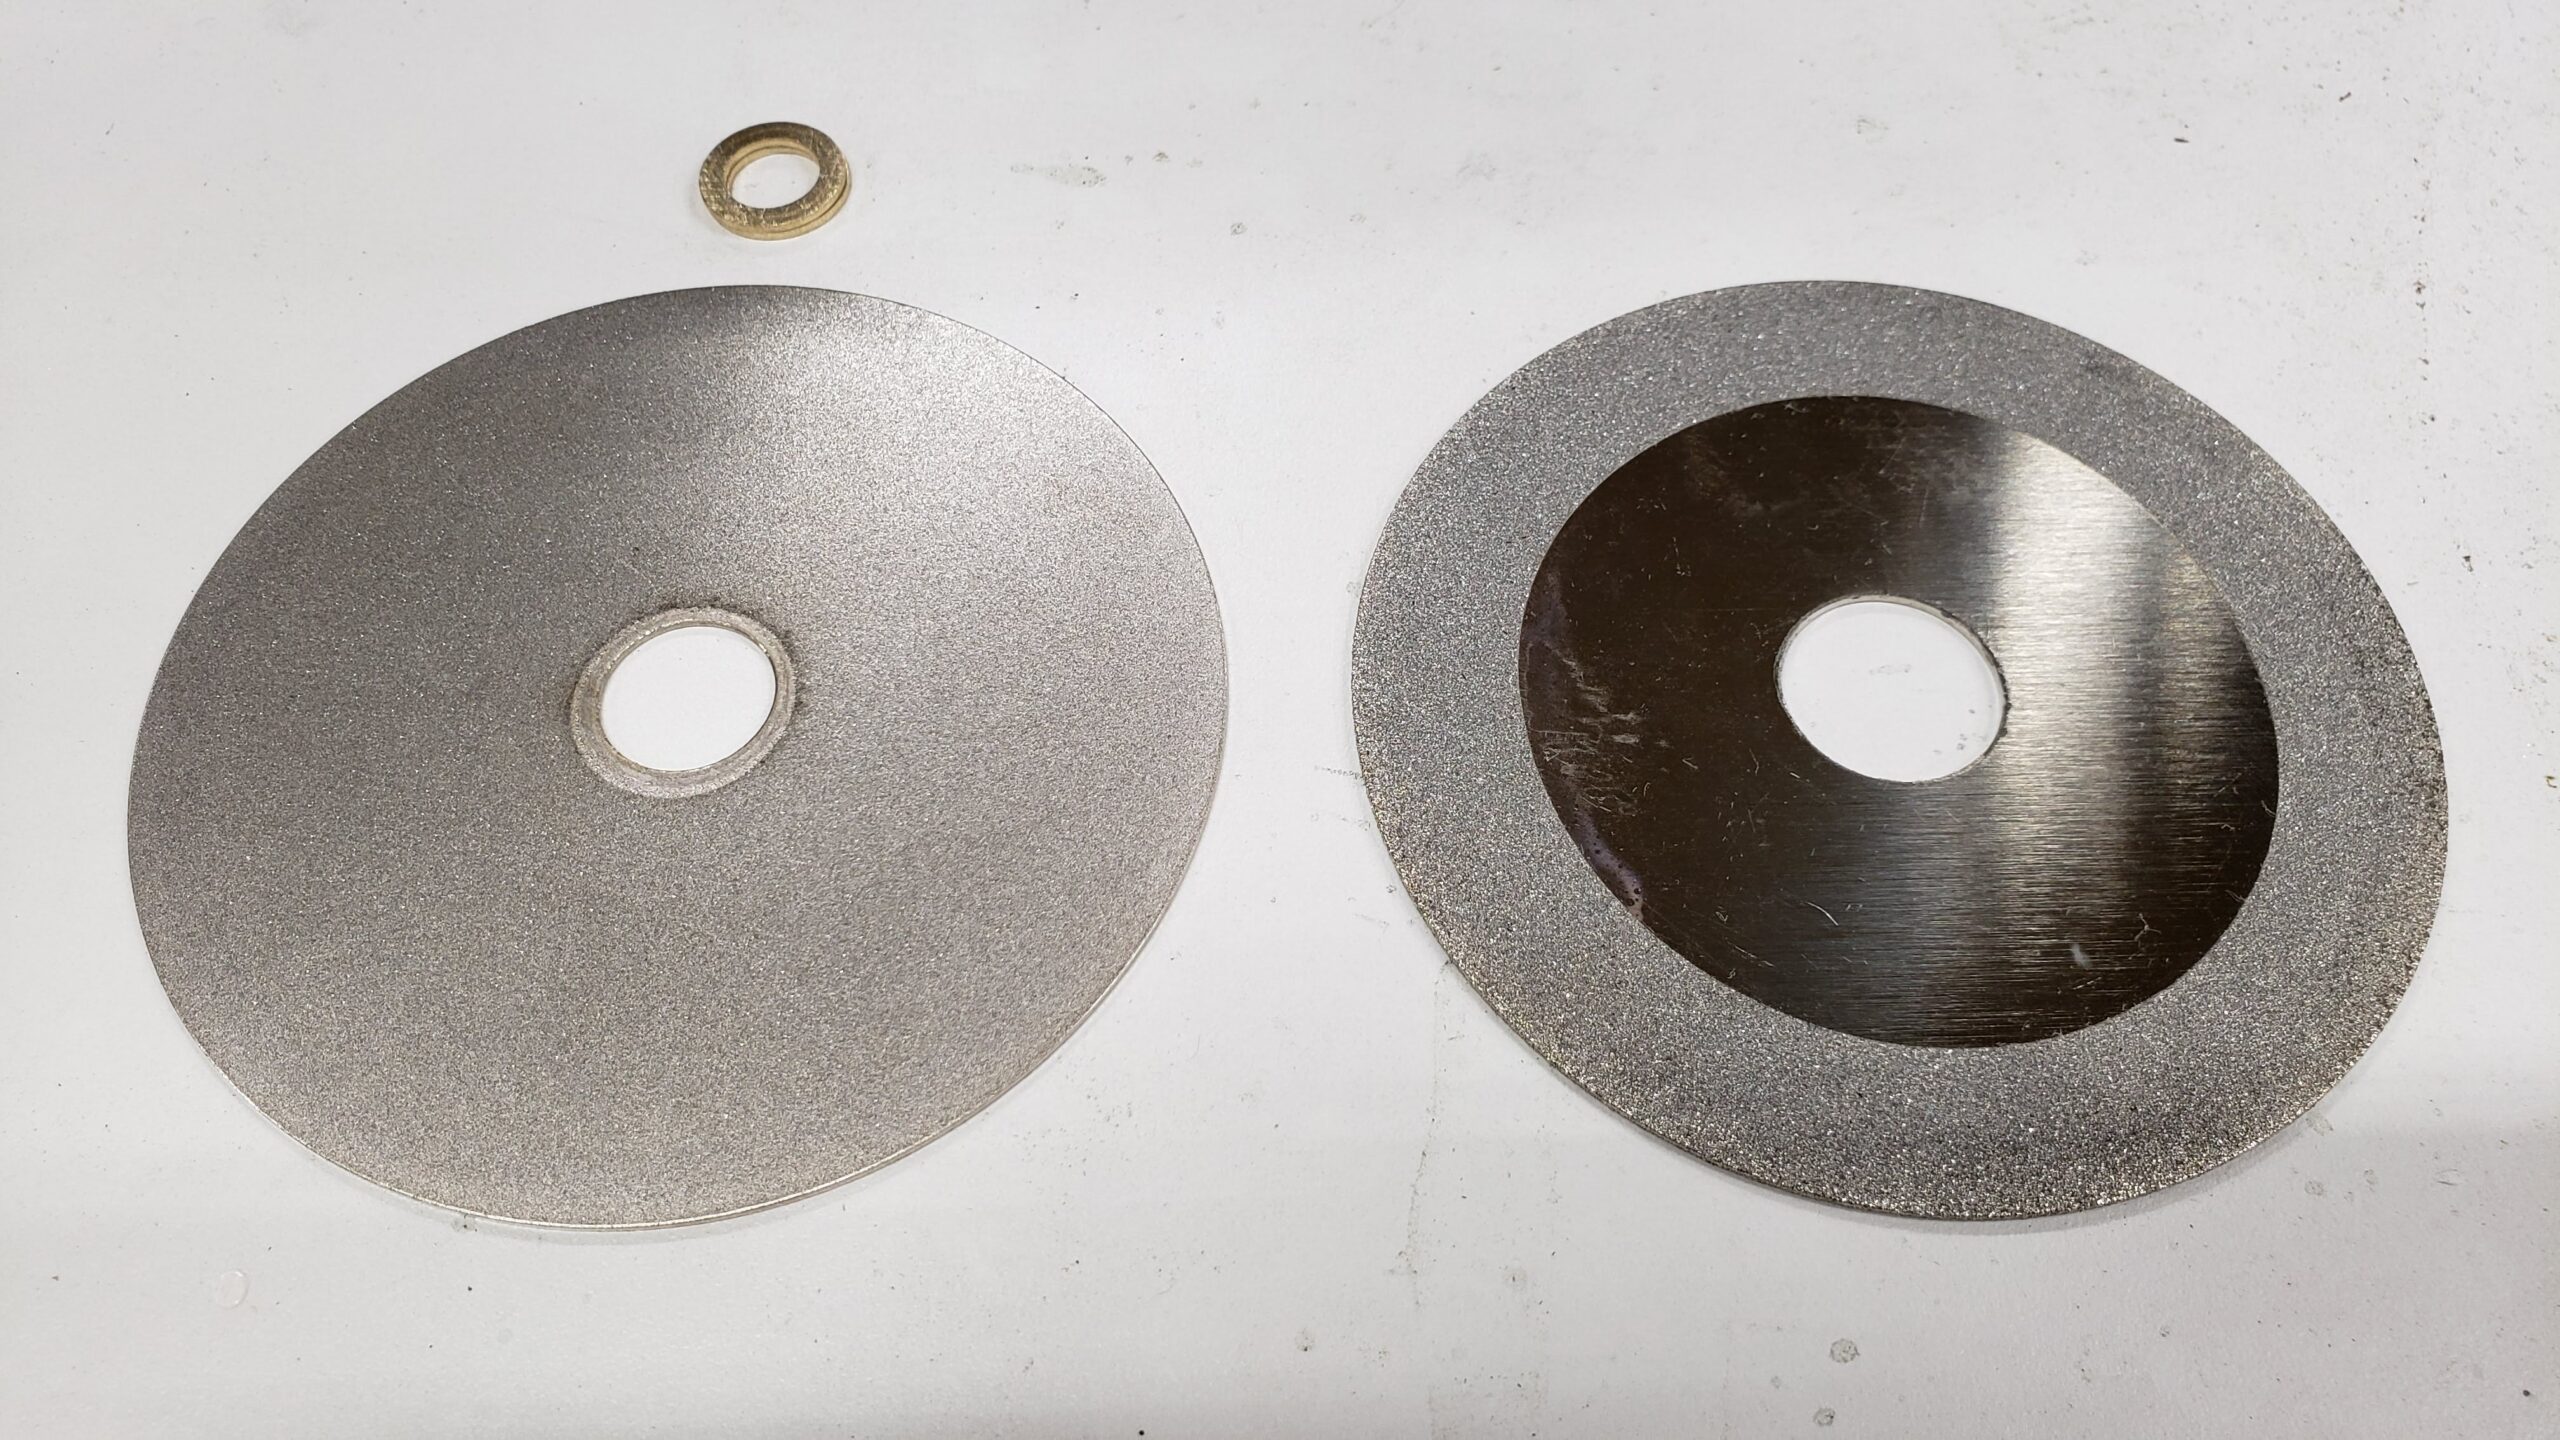
Below are some comparisons between the stock 150 grit wheel on the right and the upgraded 400 grit wheel and bushings on the left.
Diamond Sharpening Wheels
Here are some closeups of the grain.
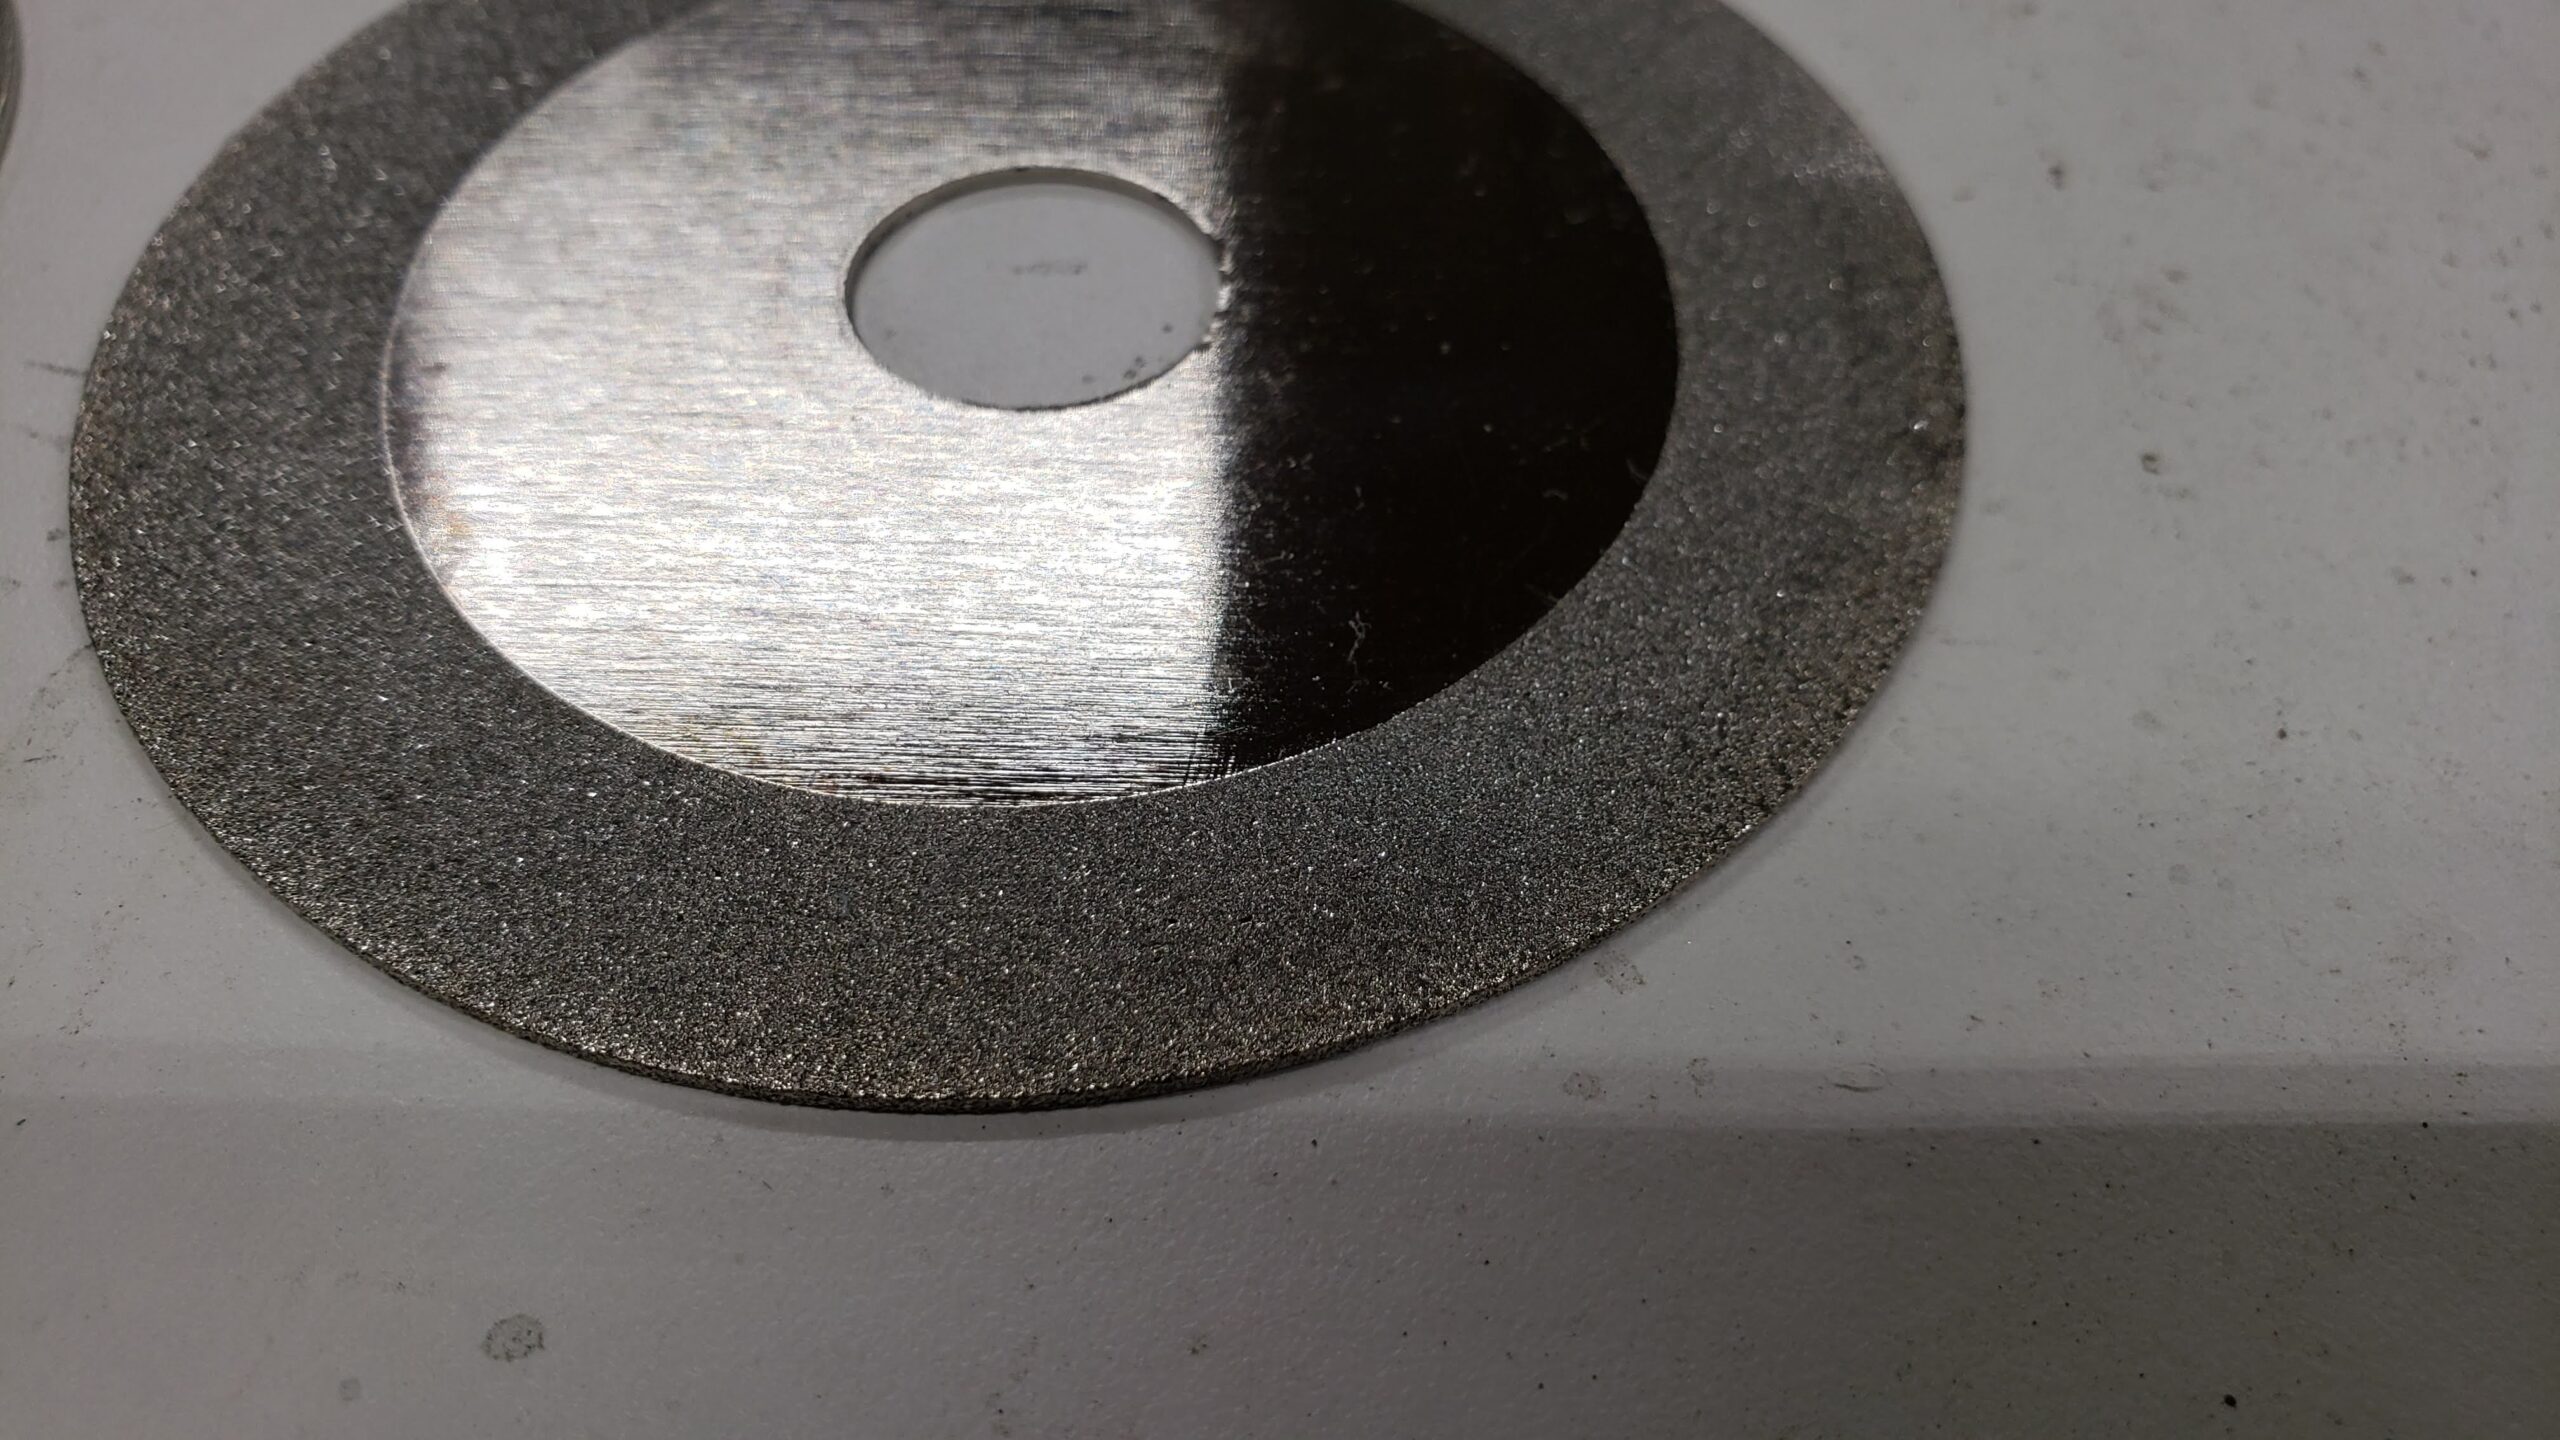
Stock 150 Grit Wheel
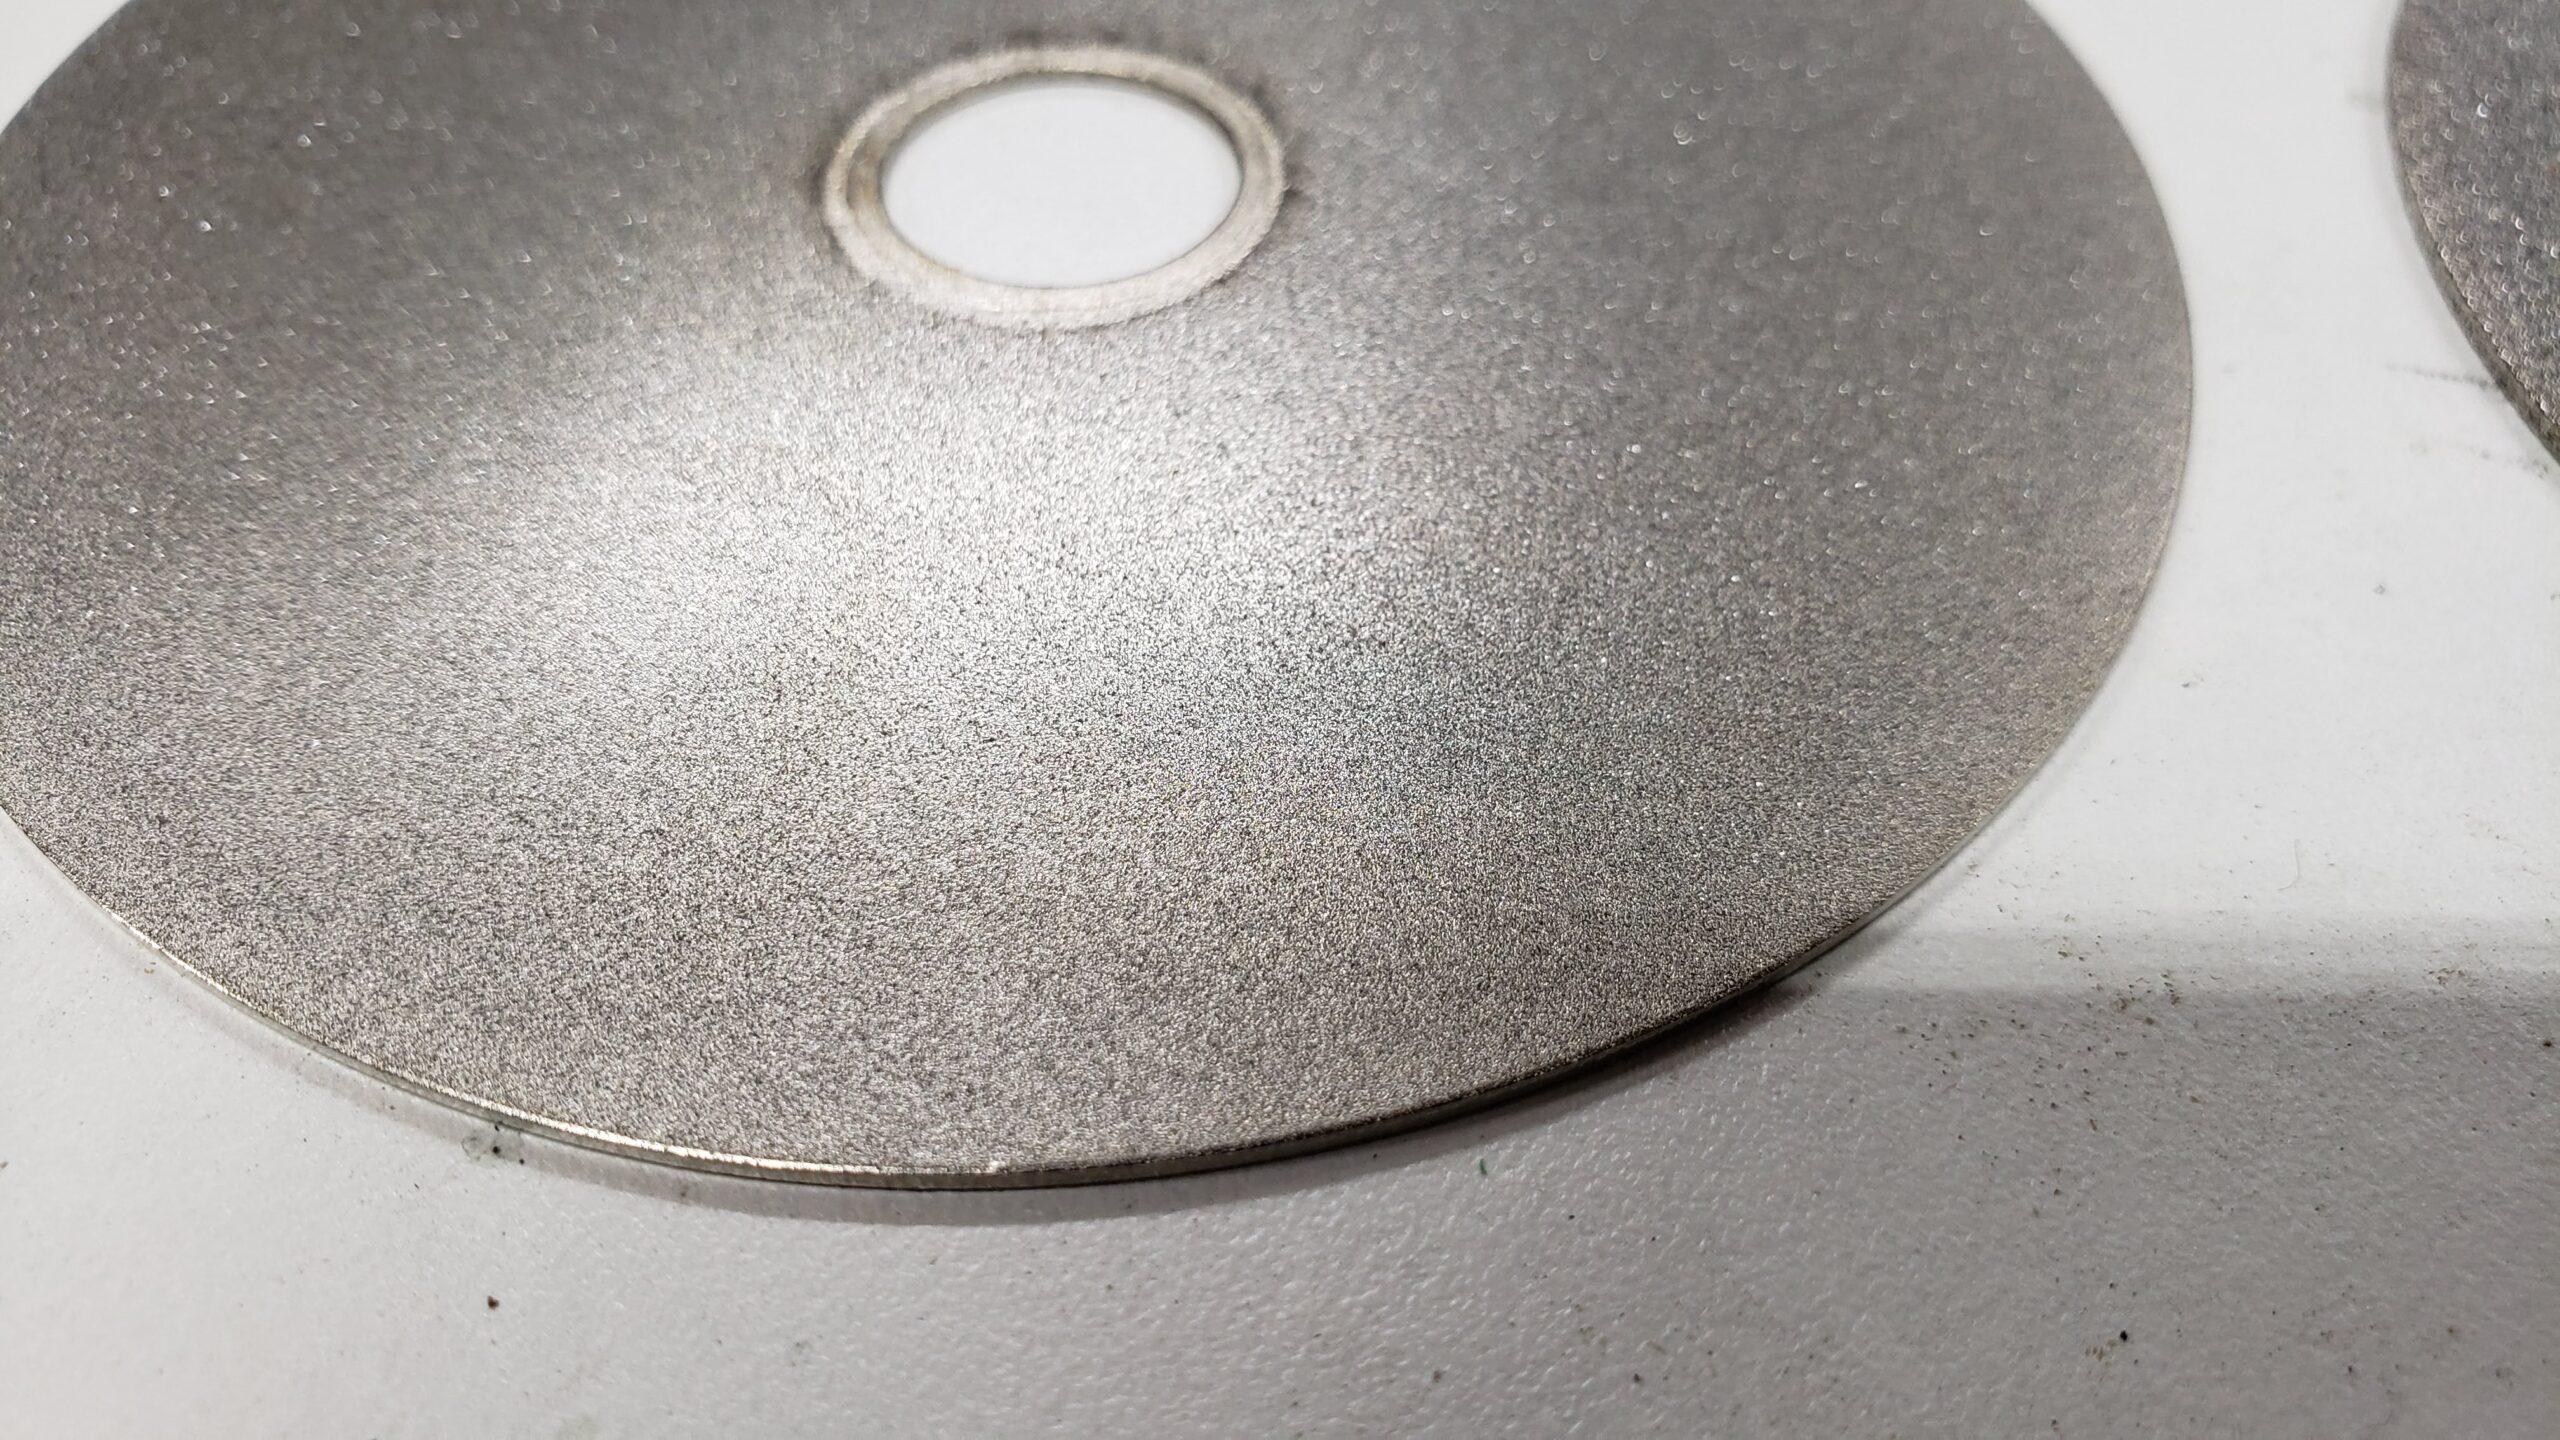
400 Grit Wheel
I had to use 2 bushings, as the space inside the original bushing was too large, allowing the small bushing to come loose and cause the wheel to wobble.
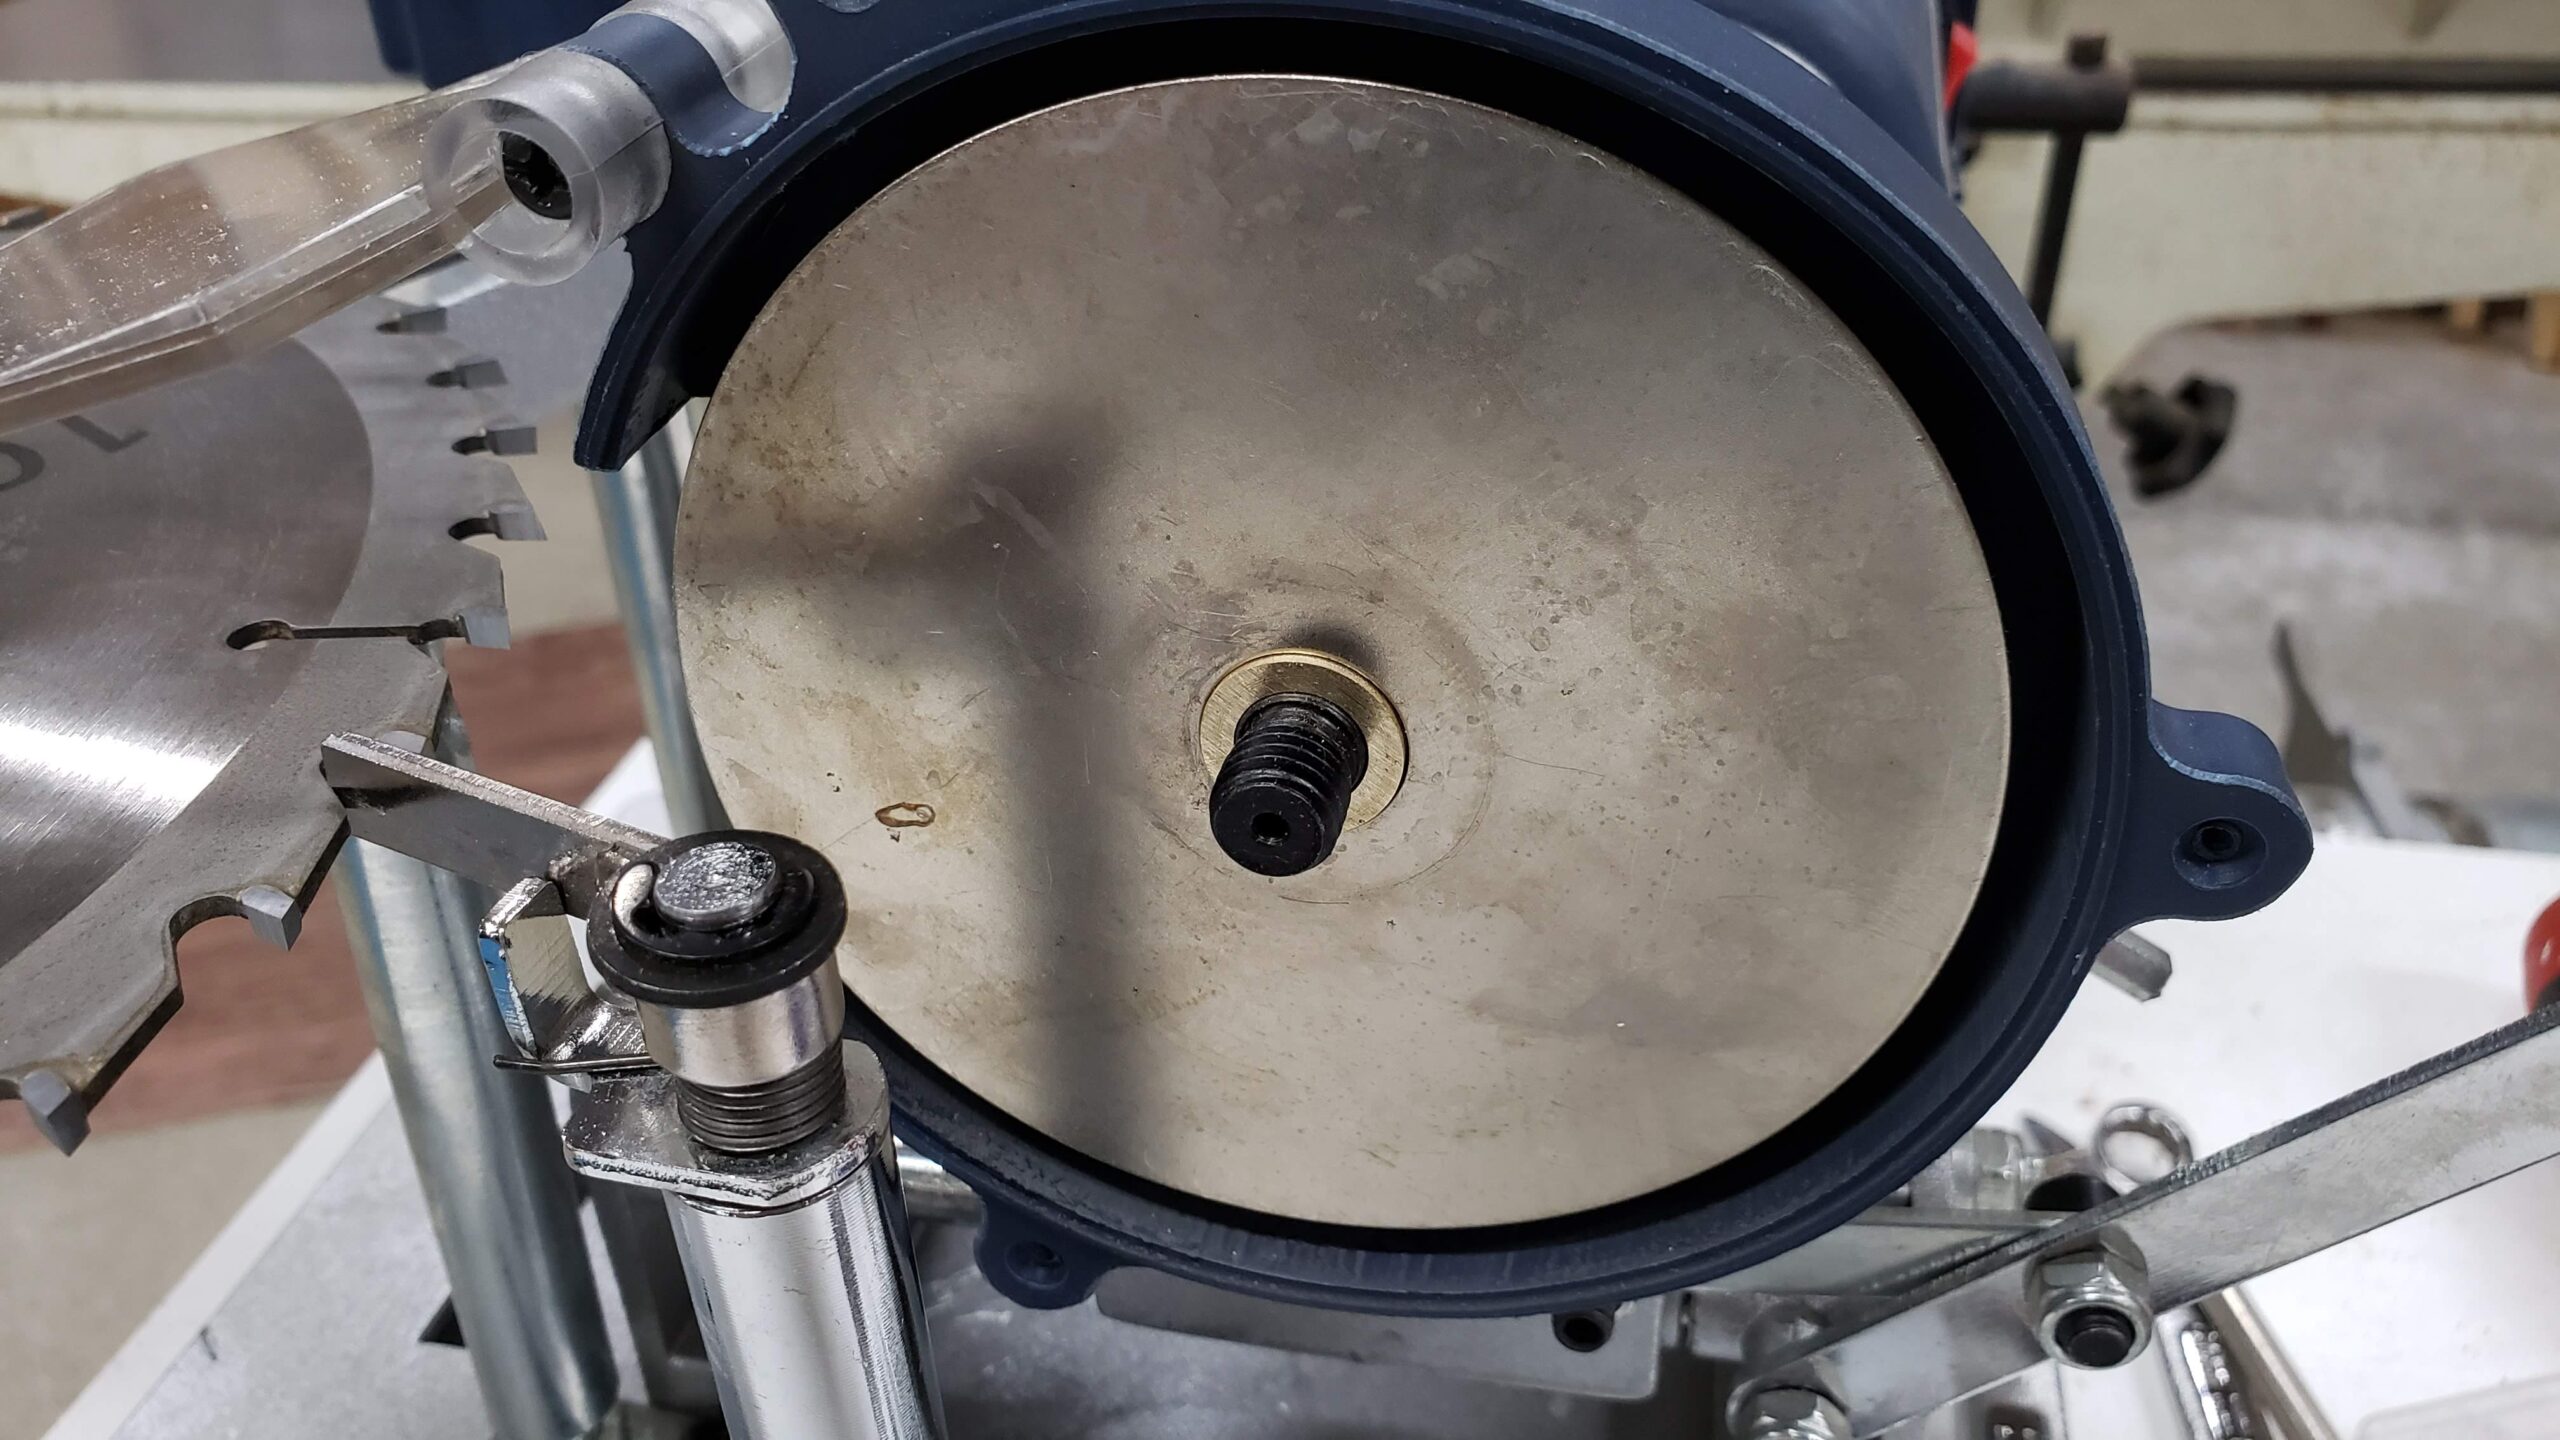
Wheel and Bushings
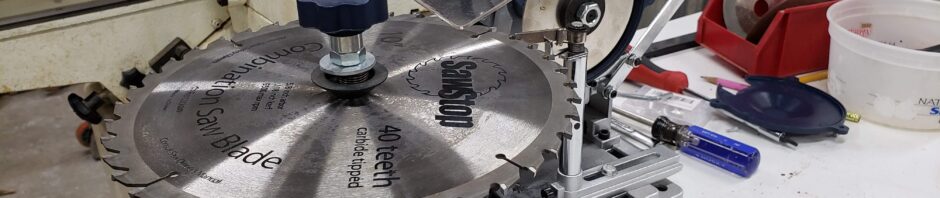
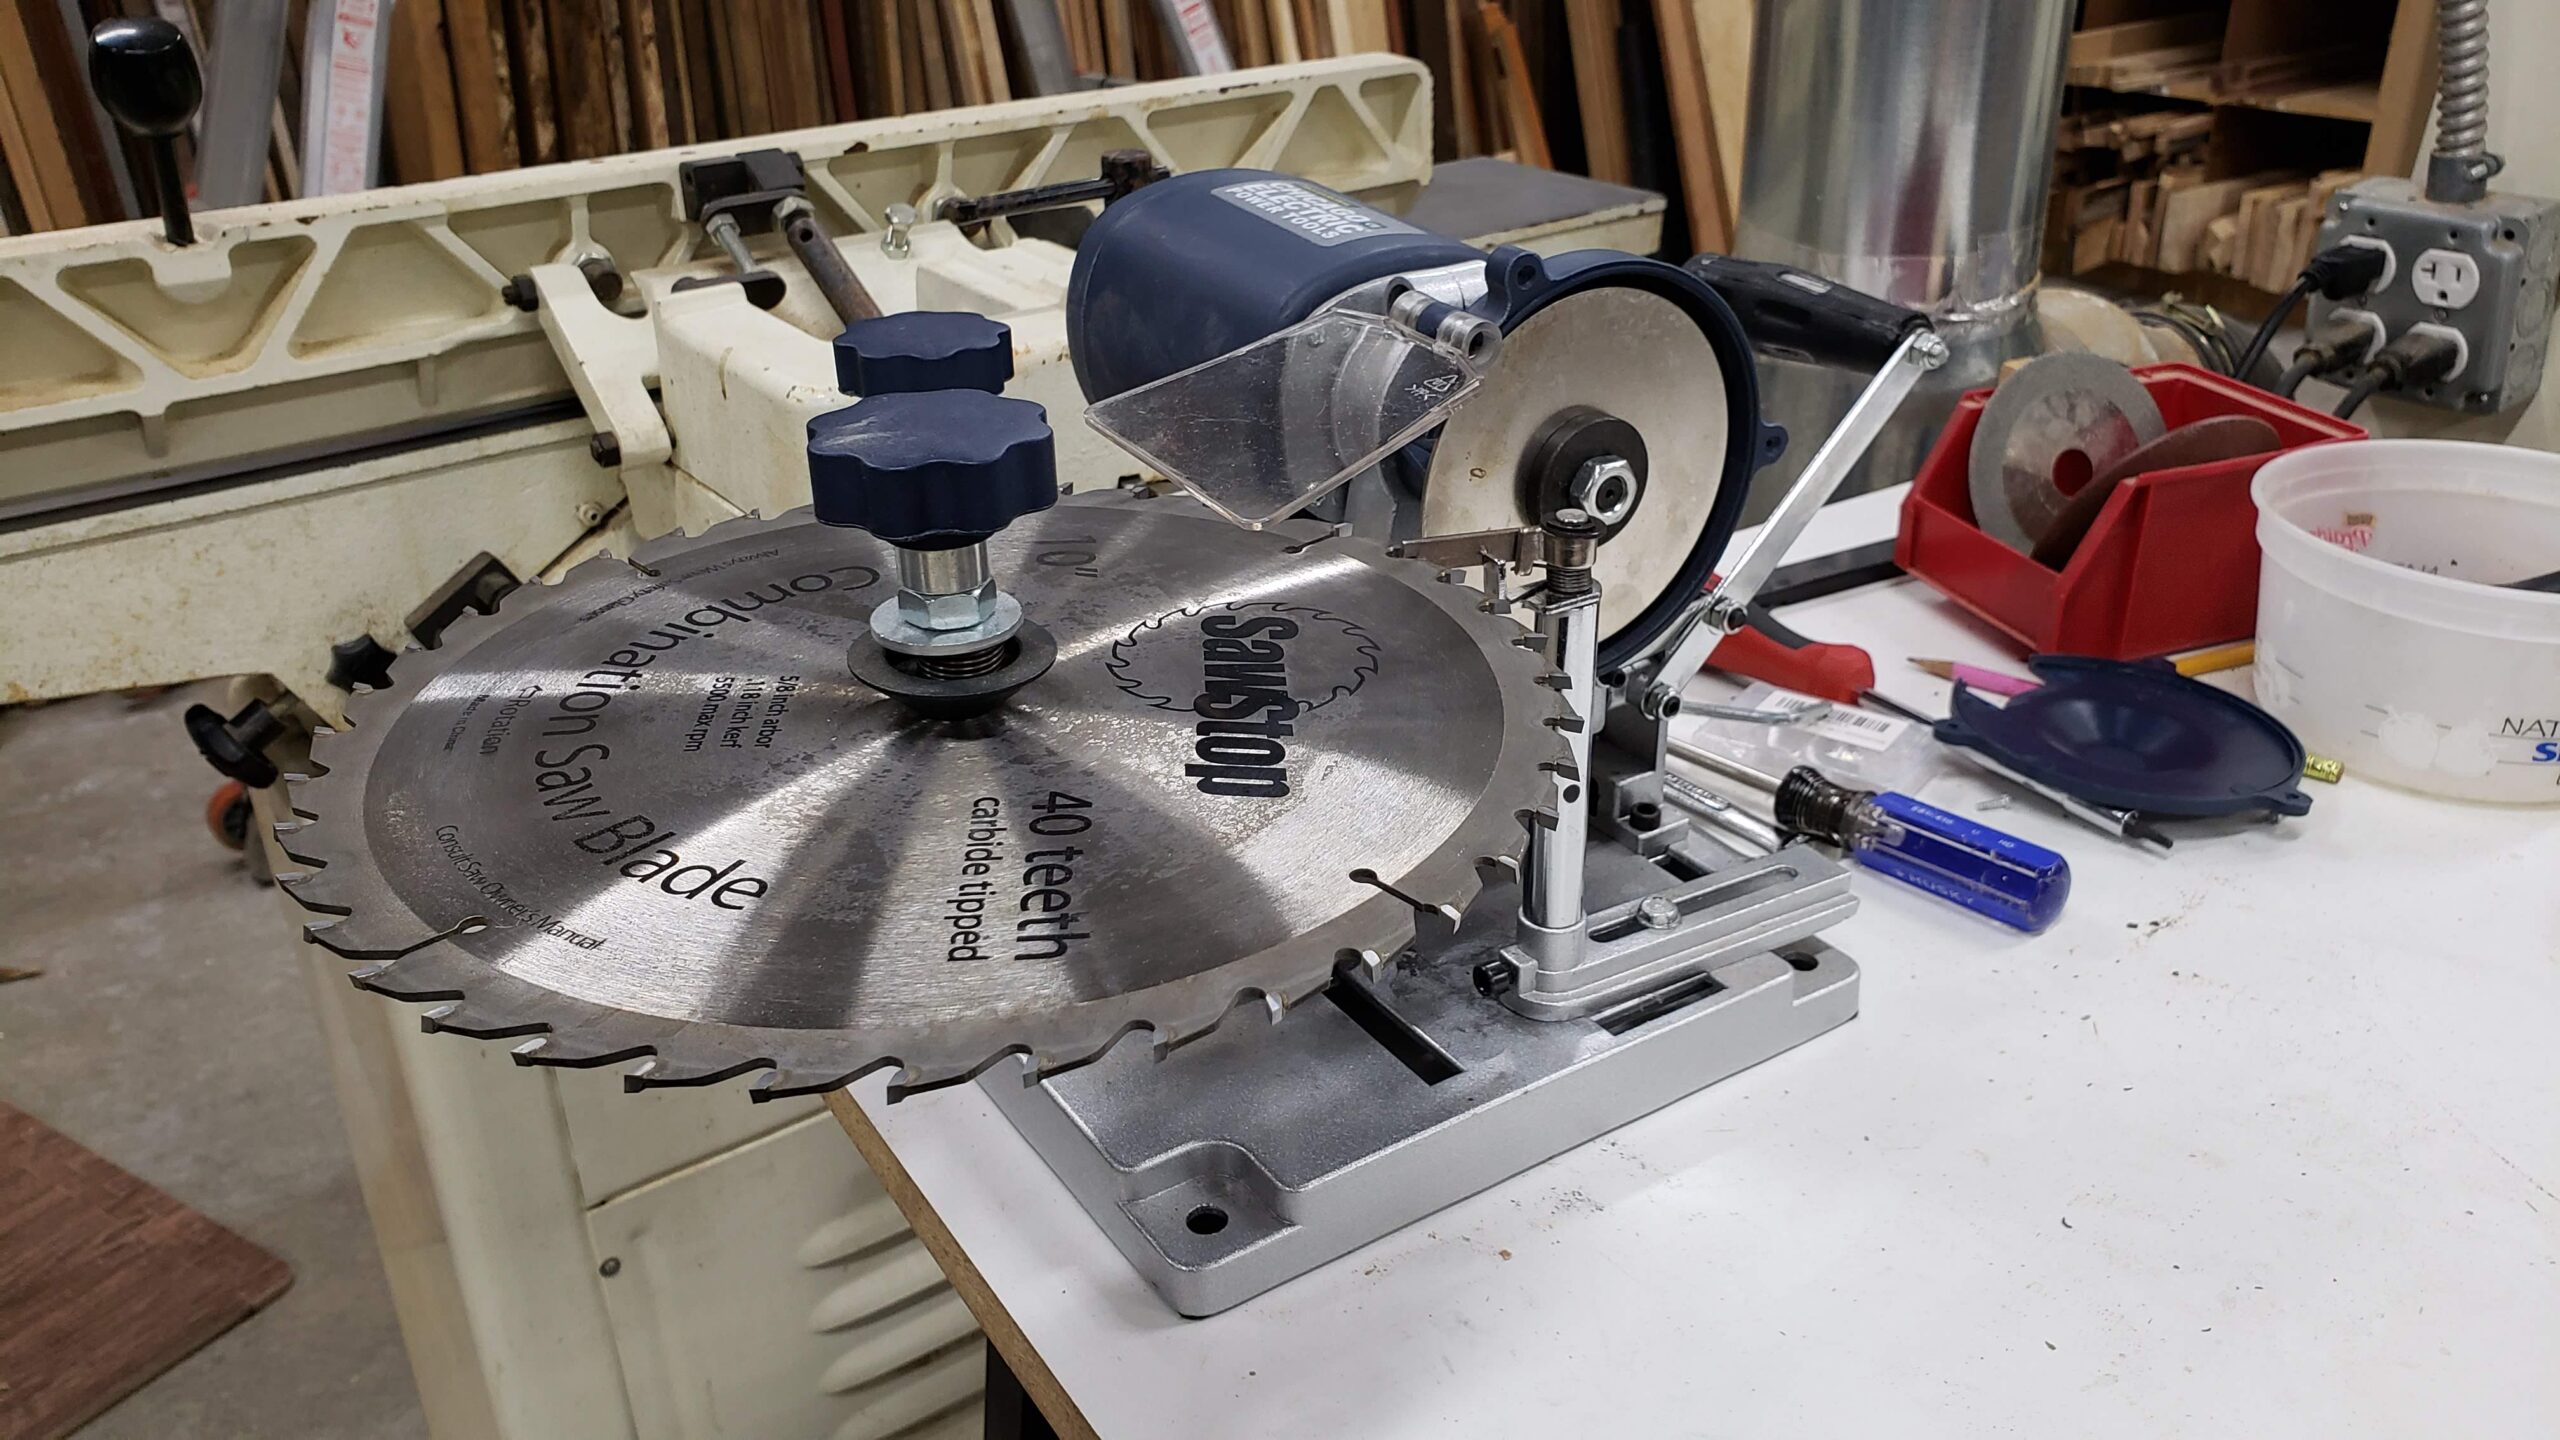
Here’s a shot of the business side of the wheel, mounted in the sharpener.
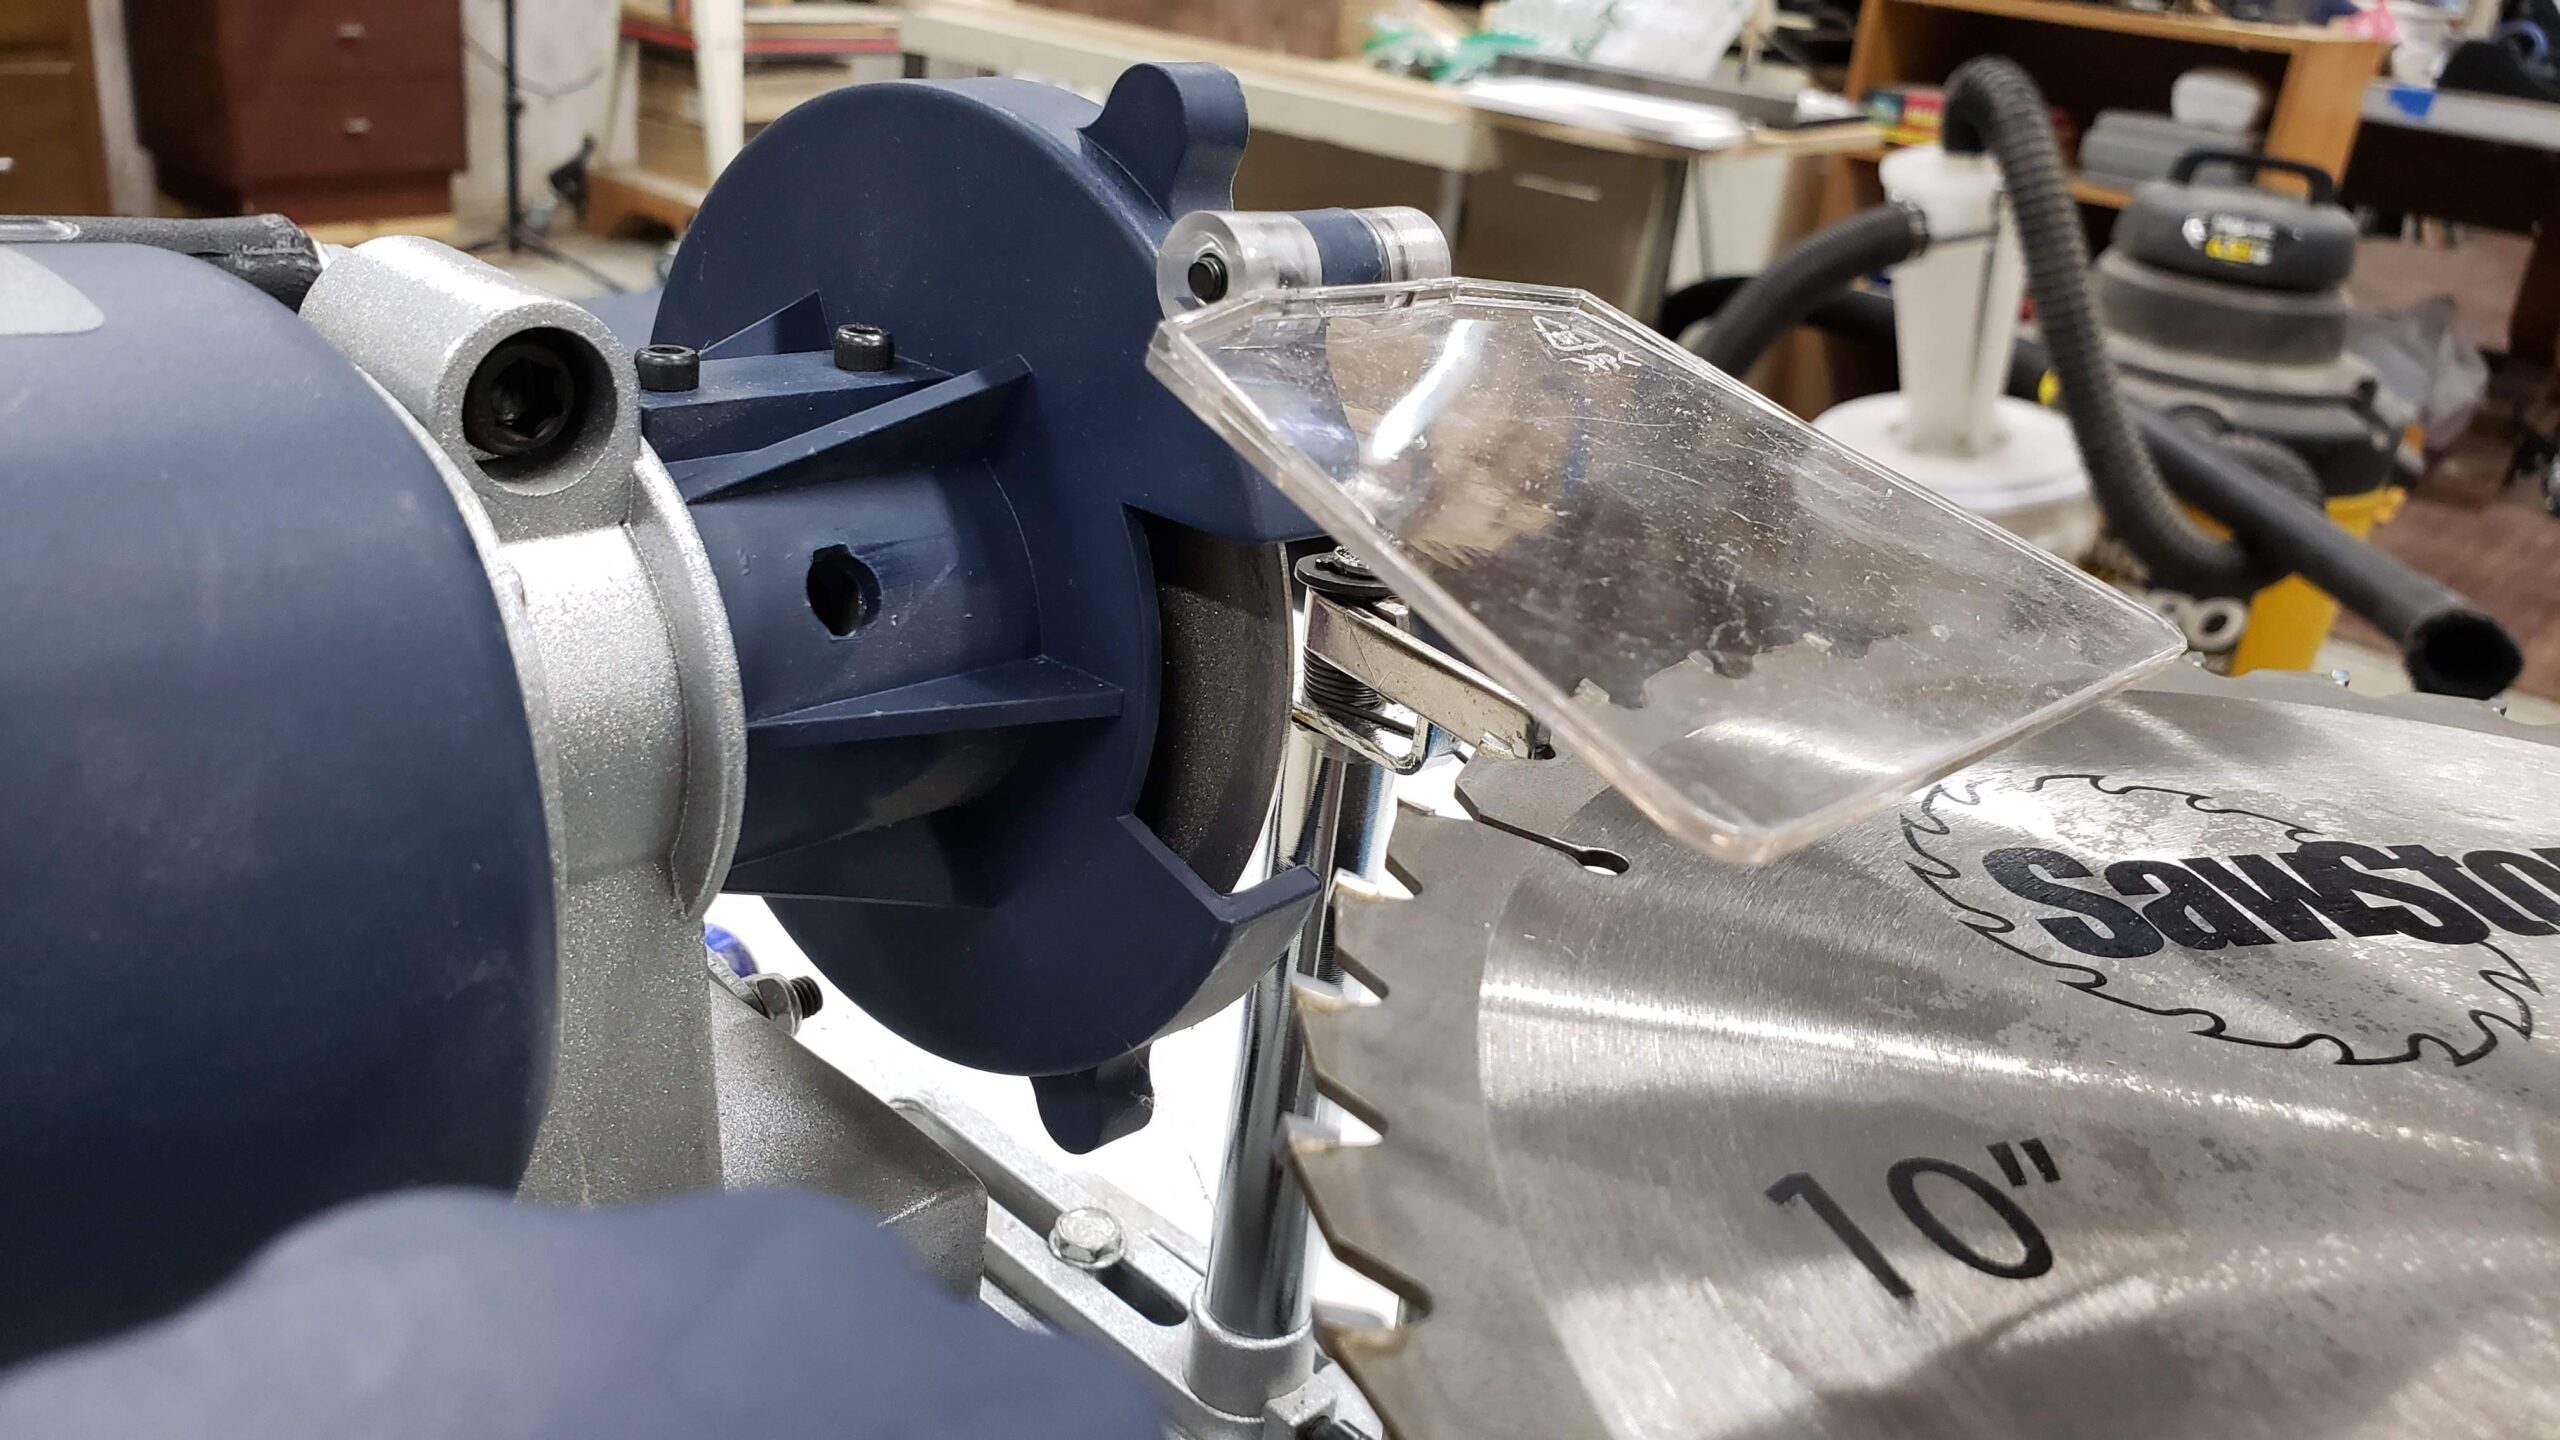
Upgraded Sharpening Wheel
One difference in the wheels, as can be seen in the closeup shots, is that the upgraded wheel does not have any sharpening media on the edge of the wheel. The effect this has on sharpening is that you cannot turn the blade against the stop and pull the sharpener into it. So what I do is turn the blade with the tooth against the stop, back it off just a bit, pull the sharpener forward, and then rotate the blade tooth into the wheel, sharpening until the other tooth hits the stop.
The results look rather impressive. The ground face of the tooth is very clean and sharp, with much smaller grinding marks than the stock wheel. The blade I’m sharpening here is the stock combination blade that came with my SawStop saw. While it is not the best blade around, I’ve found that it is a pretty decent combination blade.
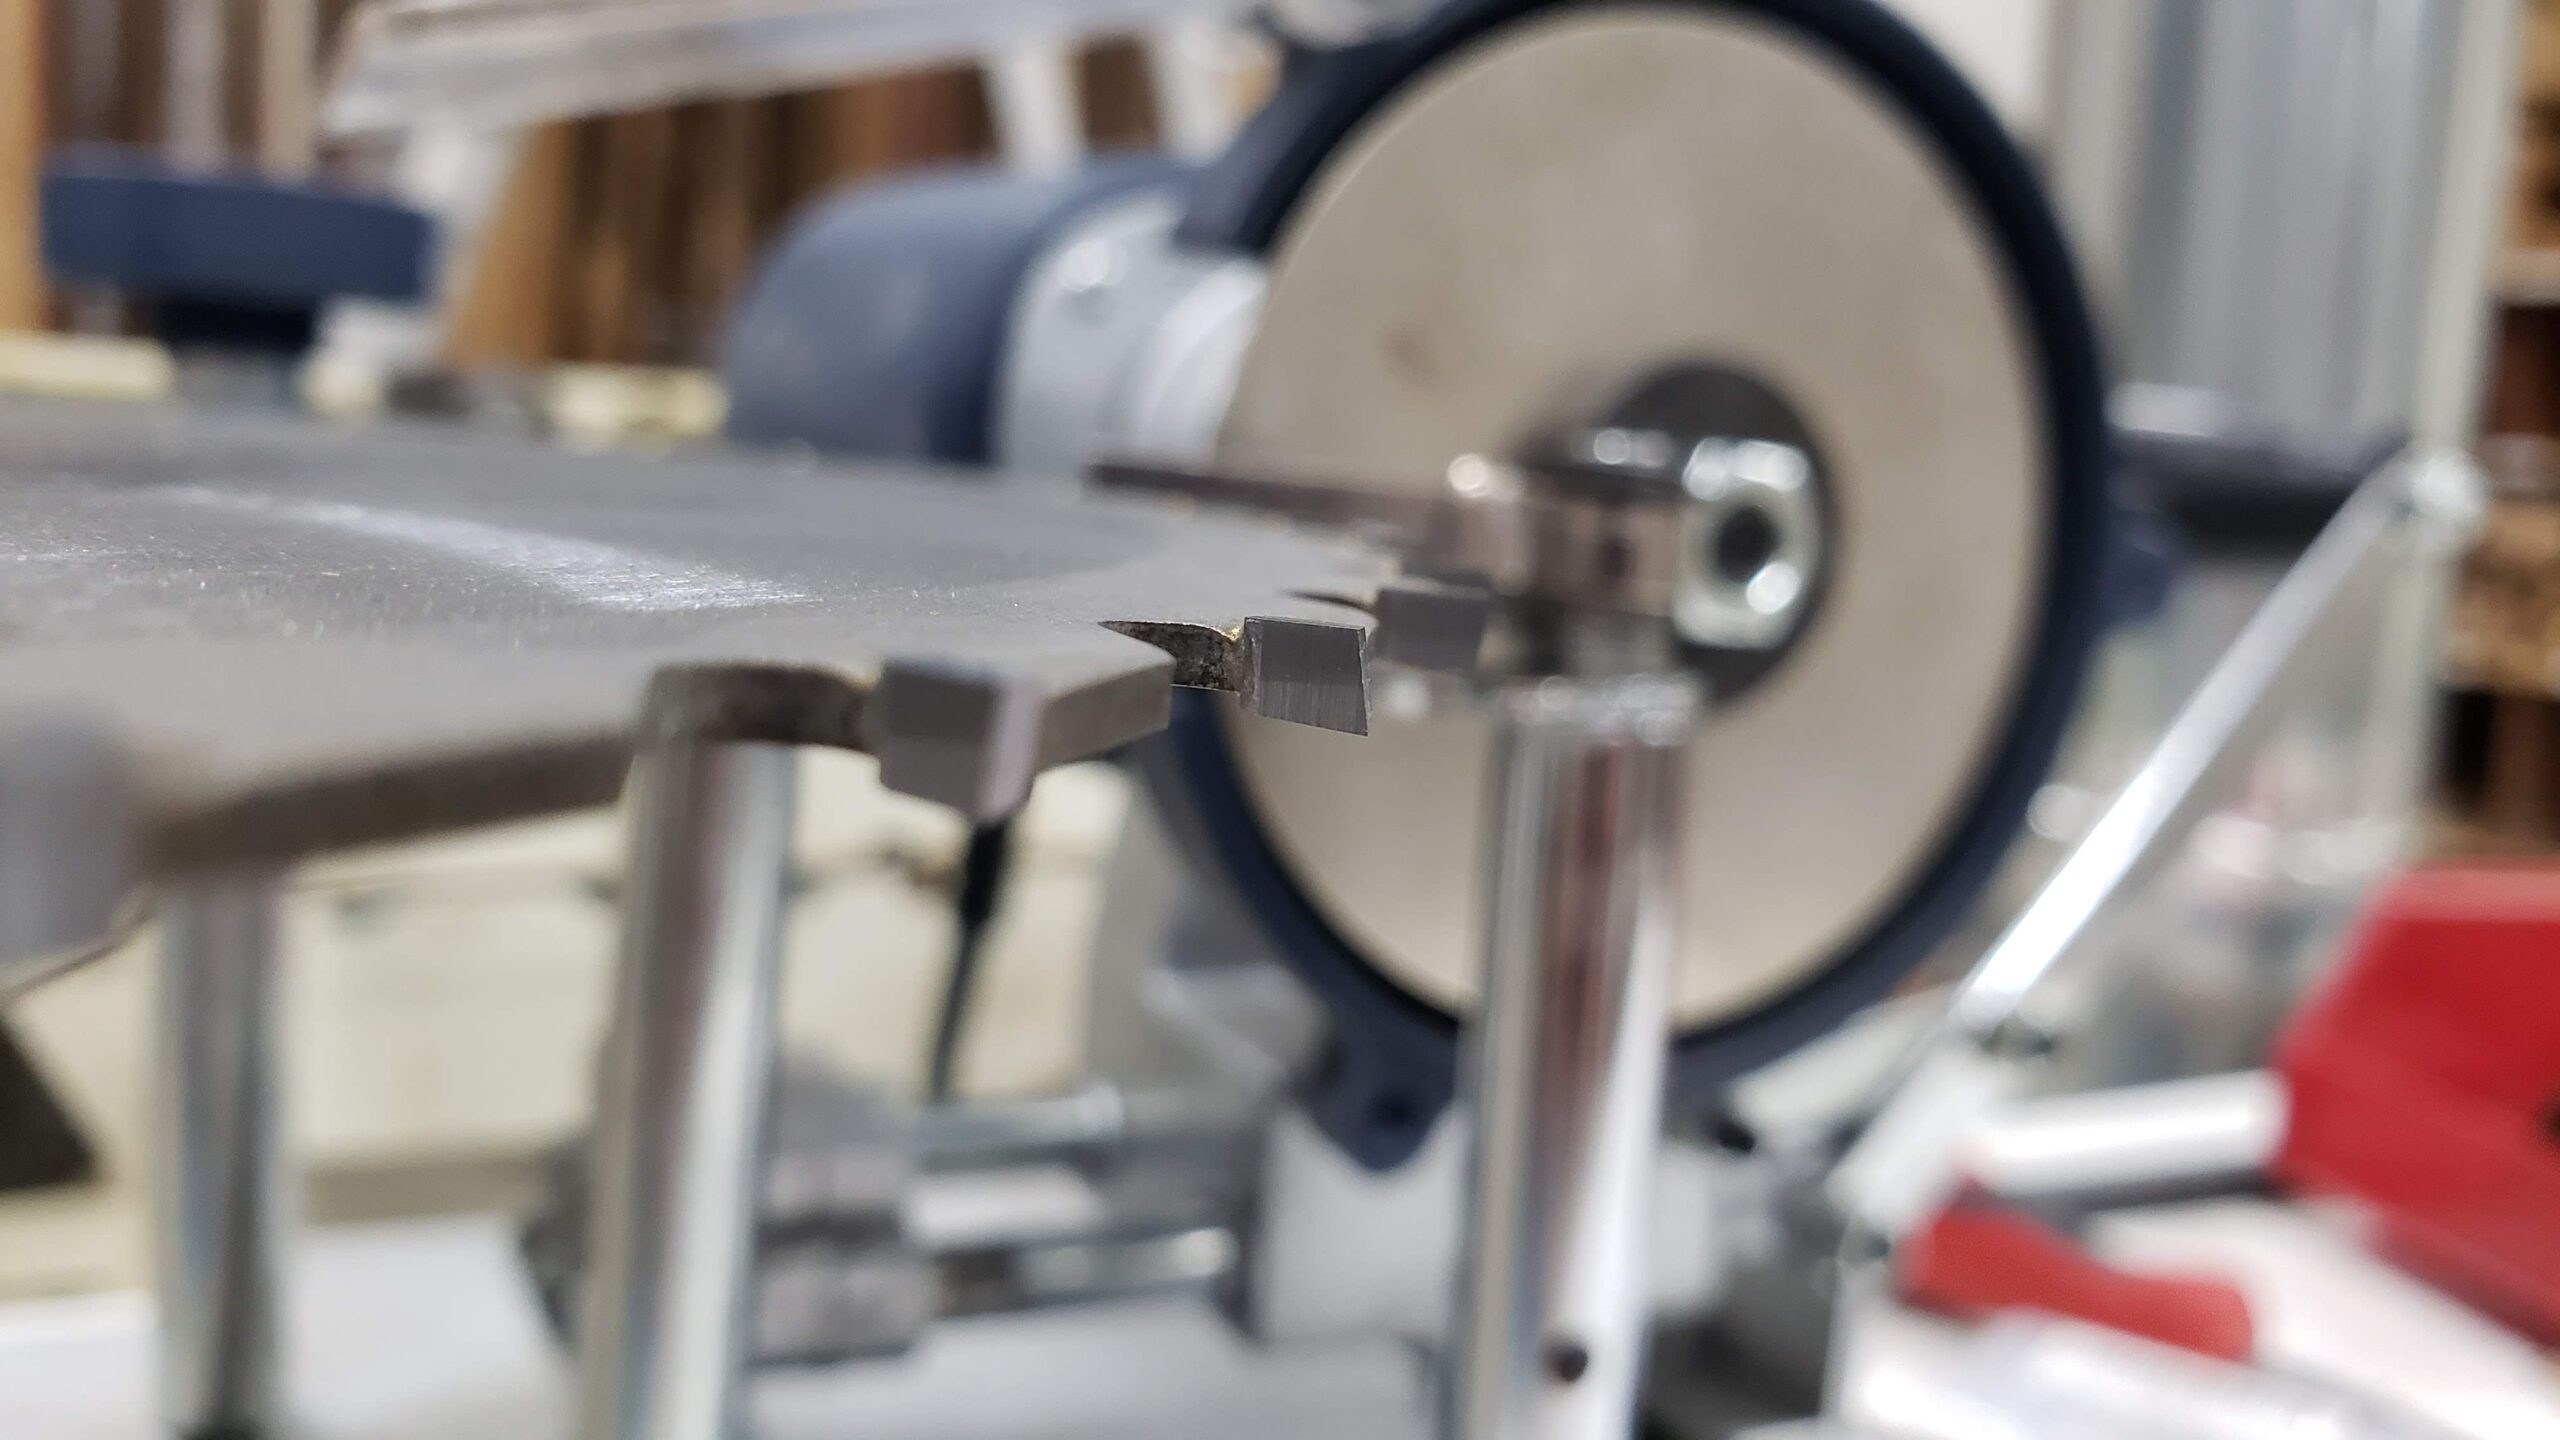
Closeup of tooth
I hope you find this information useful.