Years ago, shortly after I began pen turning, I discovered that you can have your turned pens laser engraved. I would send them off and they would be returned with my requested text engraved on them. They were always spectacular, and I wondered what it would take to be able to do this myself.
Curly Satinwood
With the price of lasers as the currently are, this now became a possibility. It was one of the primary things I wanted one for.
Several months after I got the laser, I purchased a rotary roller for it. This allows you to rotate a round object, while engraving on it. I assumed that you had to rotate a pen in order to engrave on it. It has also held me up from trying my first pen engraving.
Information on the Internet regarding laser engraving pens is rather sparse, but I did find this video from Rich over at Louisiana Hobby Guy. He didn’t use a rotary, just engraved the curved surface directly. So I thought I would give that a try. That would be simple. I would test these on pen blanks that I have turned round and slightly polished. Like a pen blank would be when engraved.
My first attempt was a dark blue Alumilite blank that I had made. I started out with a speed of 2500 mm/min, and 50% power. This left an engraving that was not very pronounced. I tried again at 100% power, and this was much better. See image below. Bottom engraving is the first, top is the second.
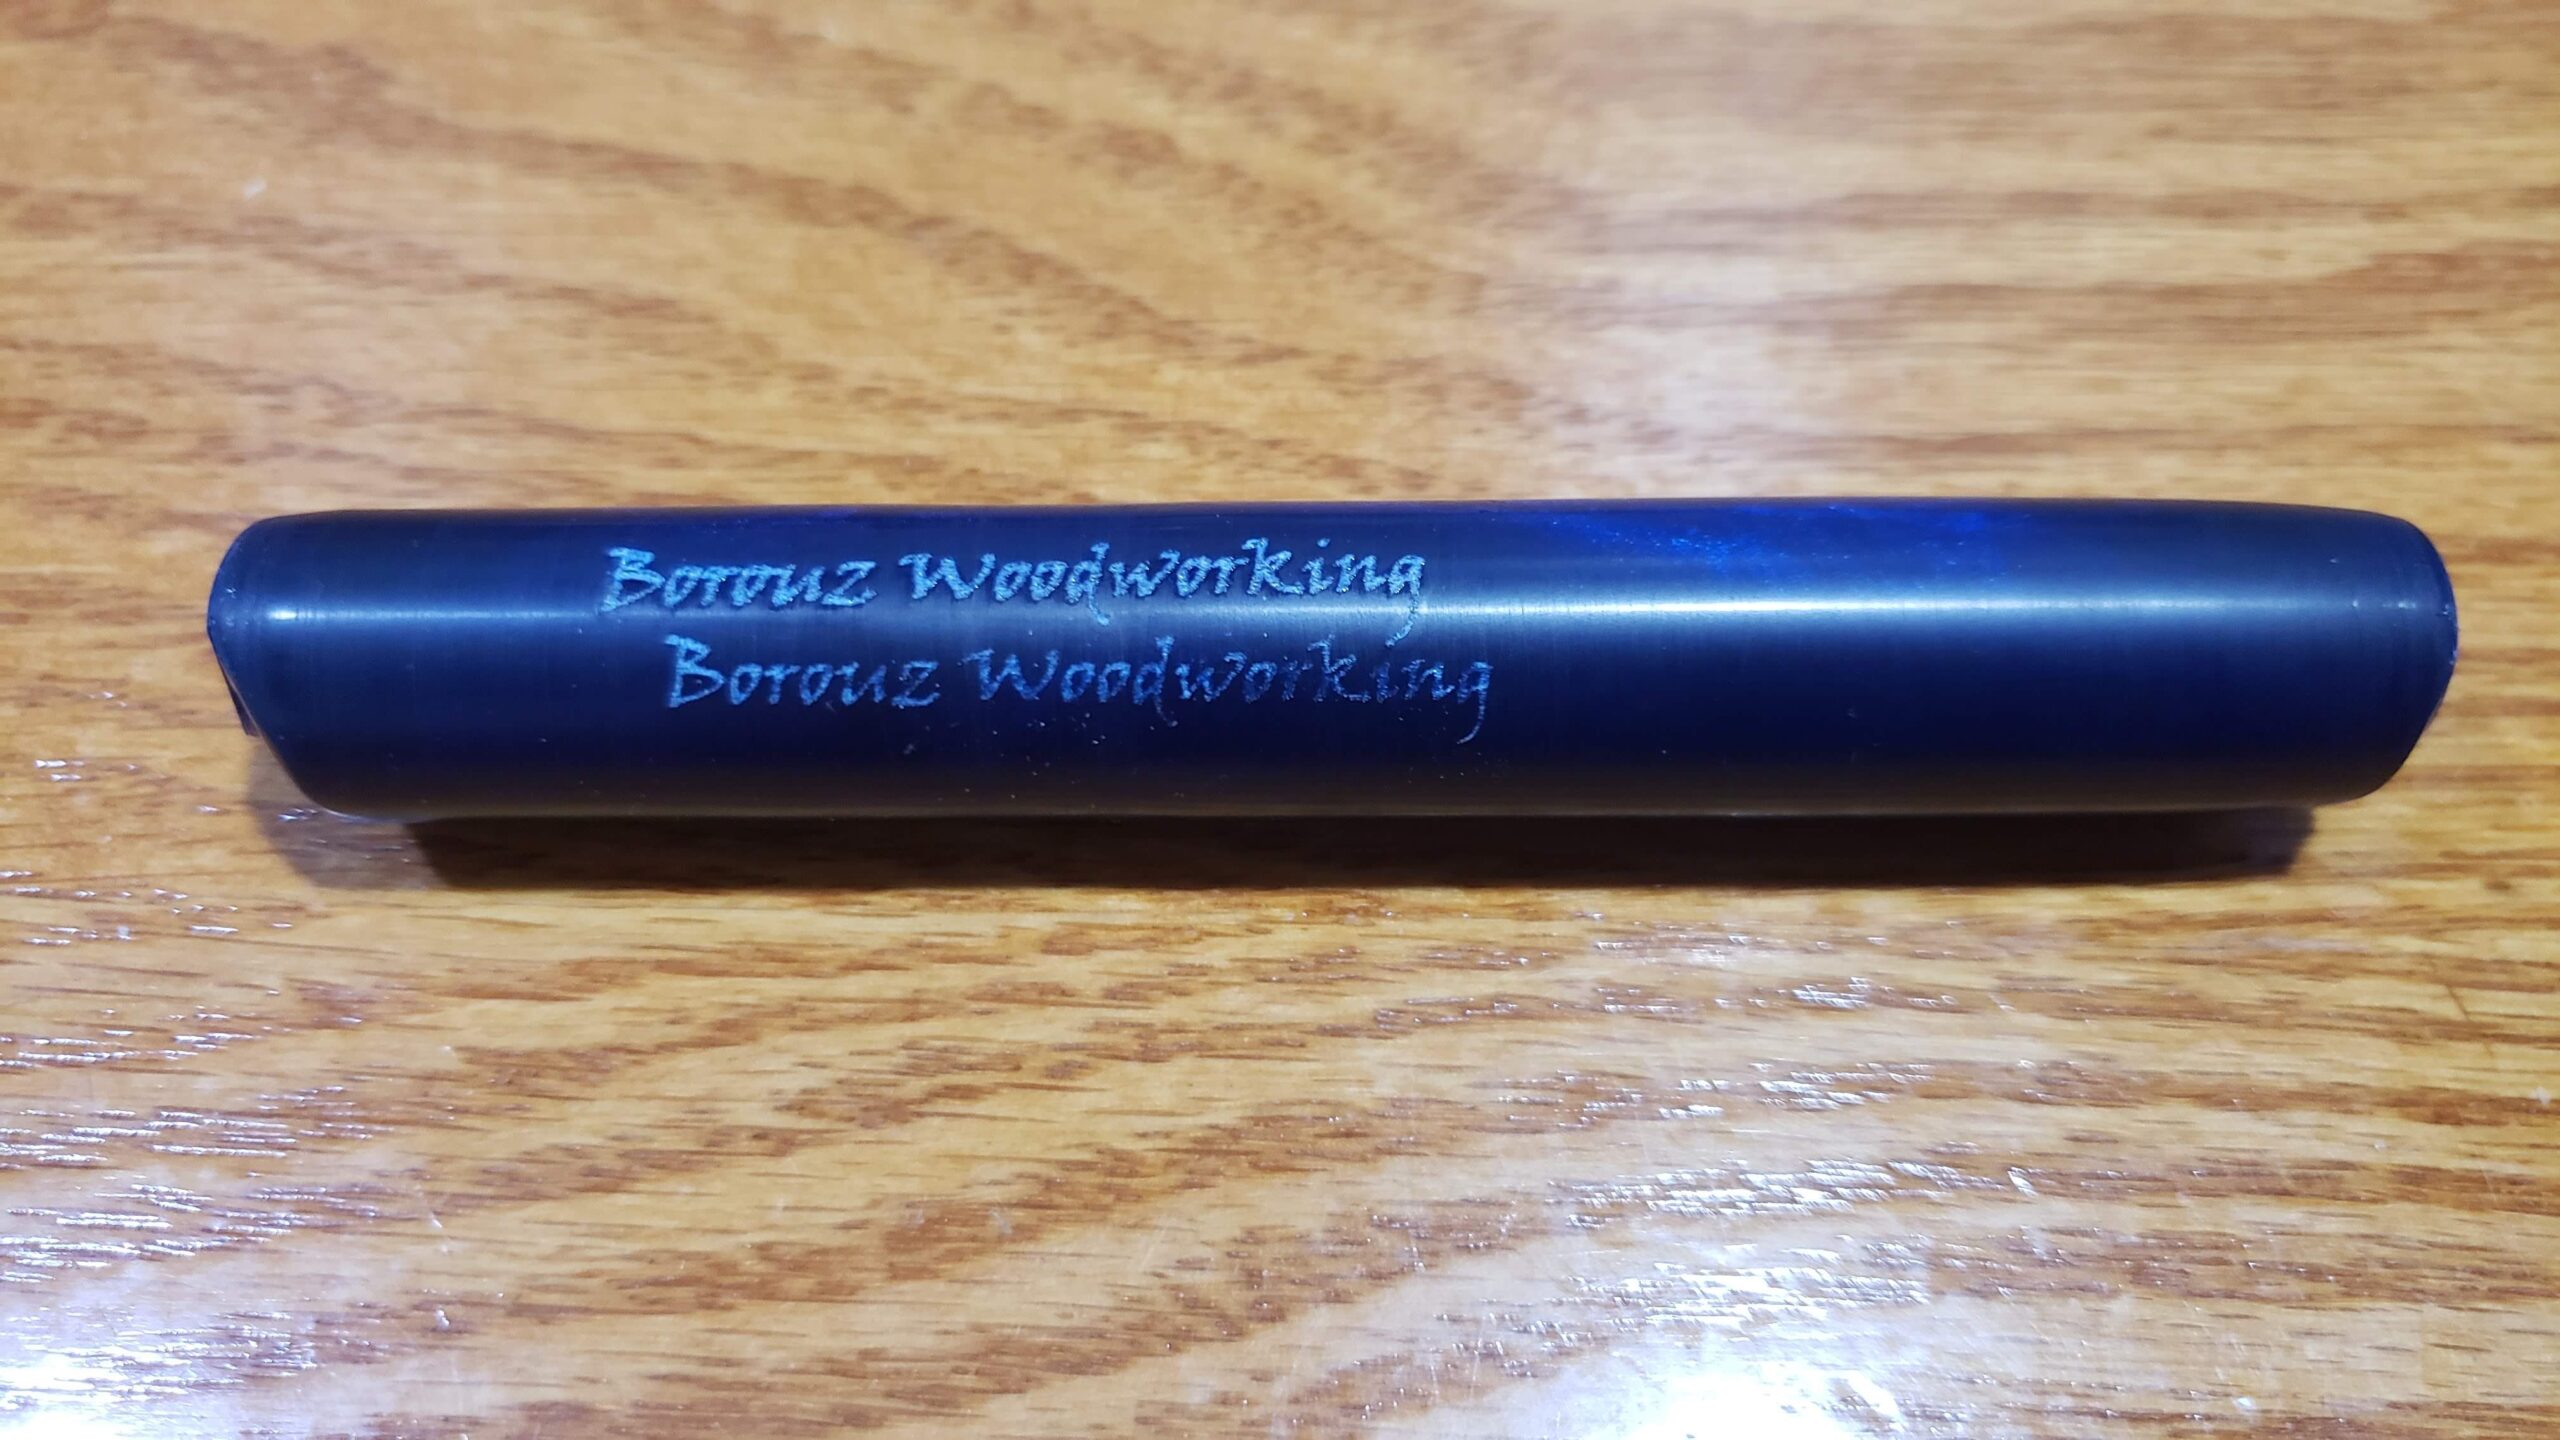
First and Second Engraving
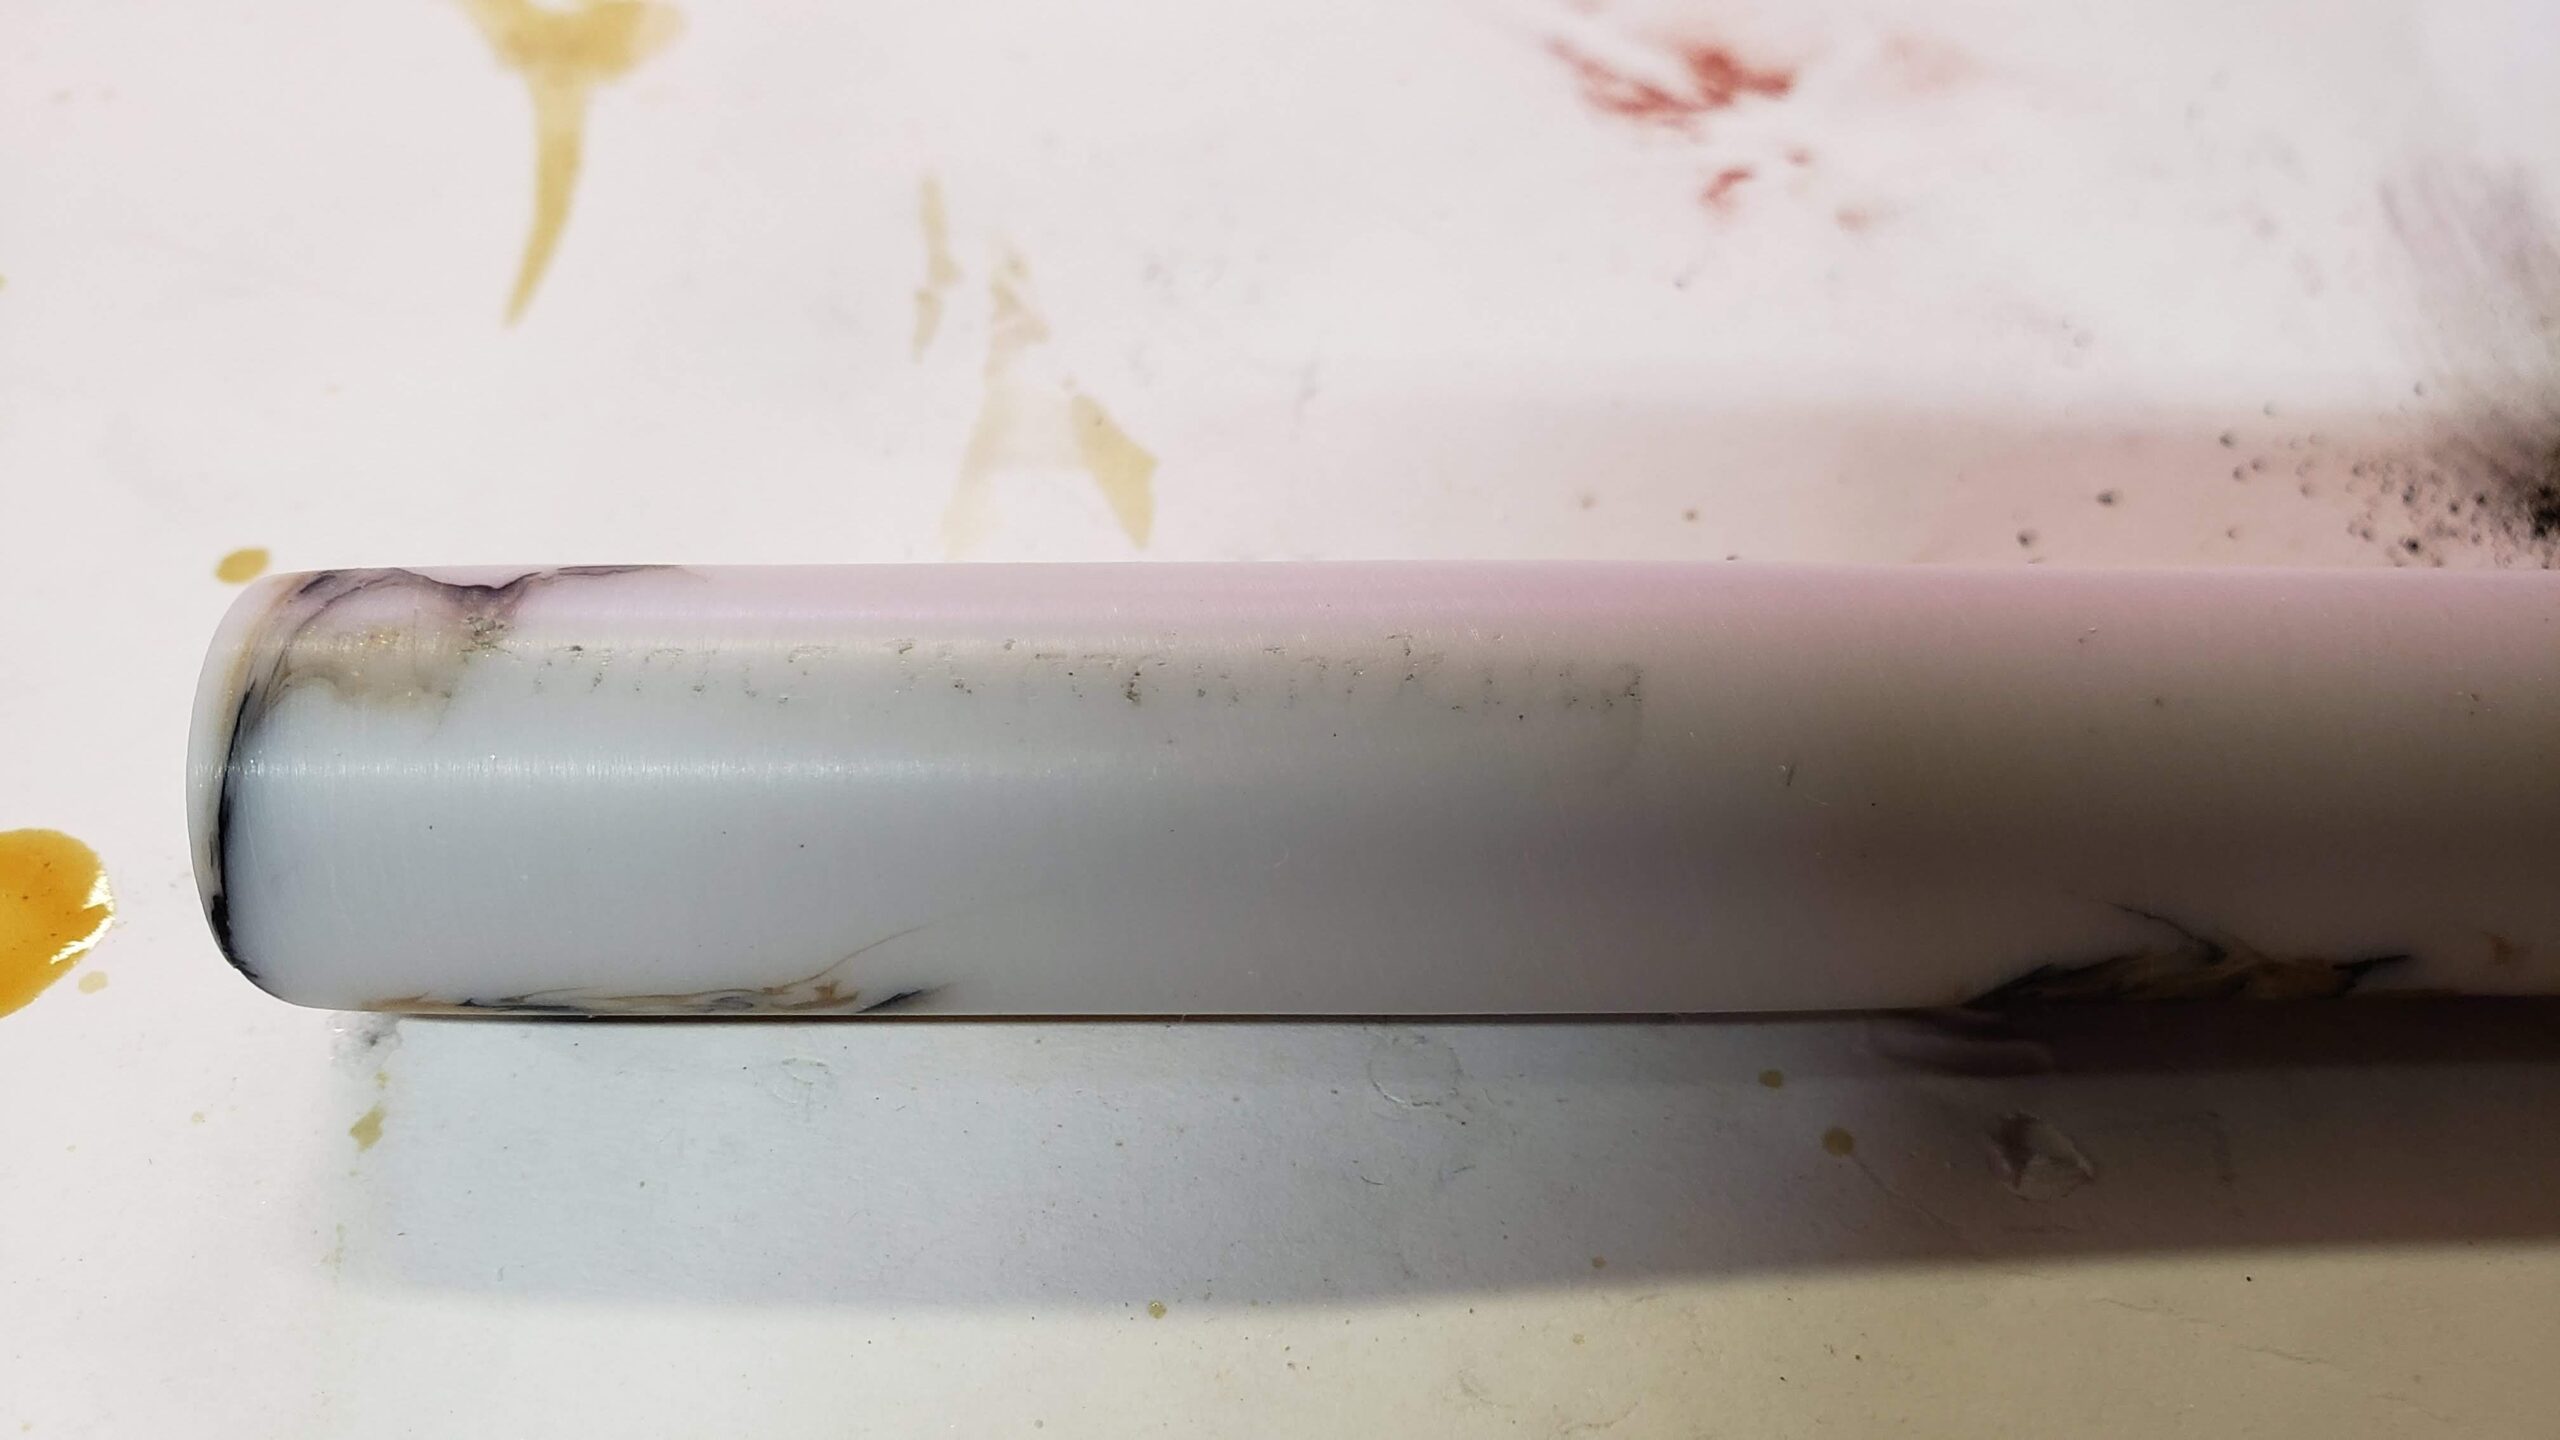
My next attempt was on a white with black and gold Alumilite blank. This one didn’t engrave as well as the dark blue. The depth of cut was very shallow and not very noticeable.
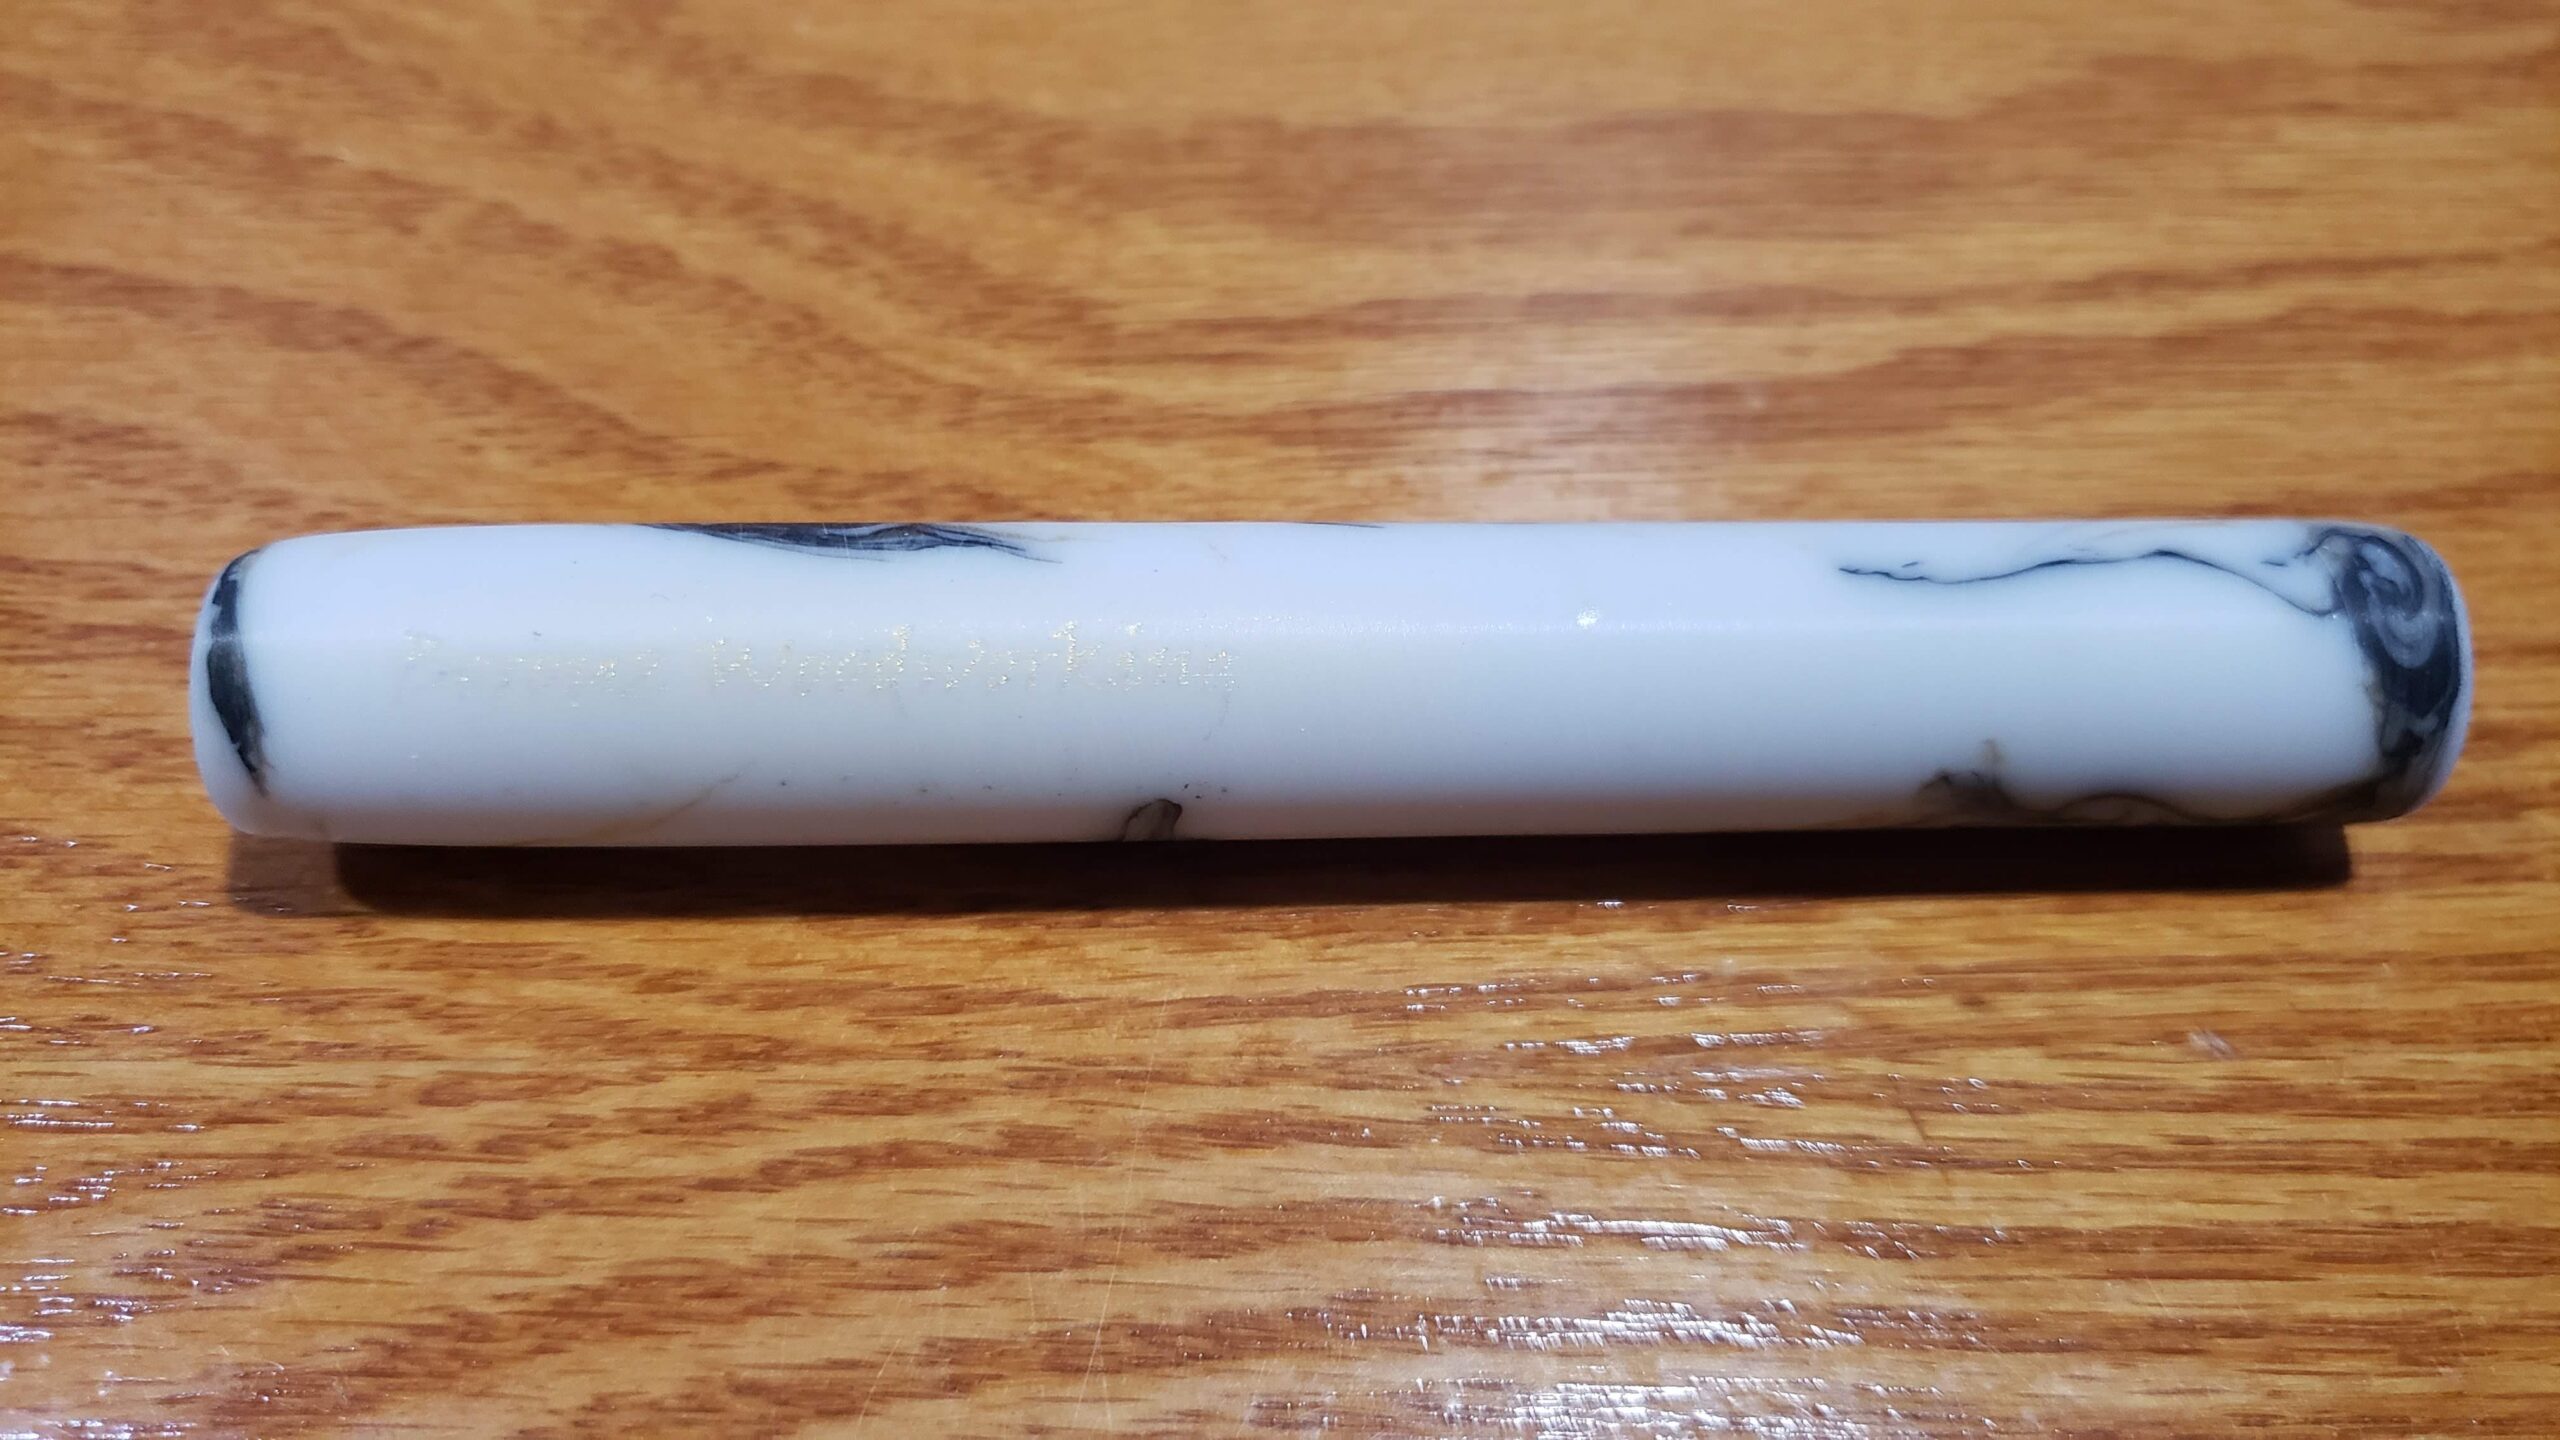
White Alumilite Blank Engraved
I took some gold mica powder and rubbed i into the engraving, and that made it somewhat more noticeable.
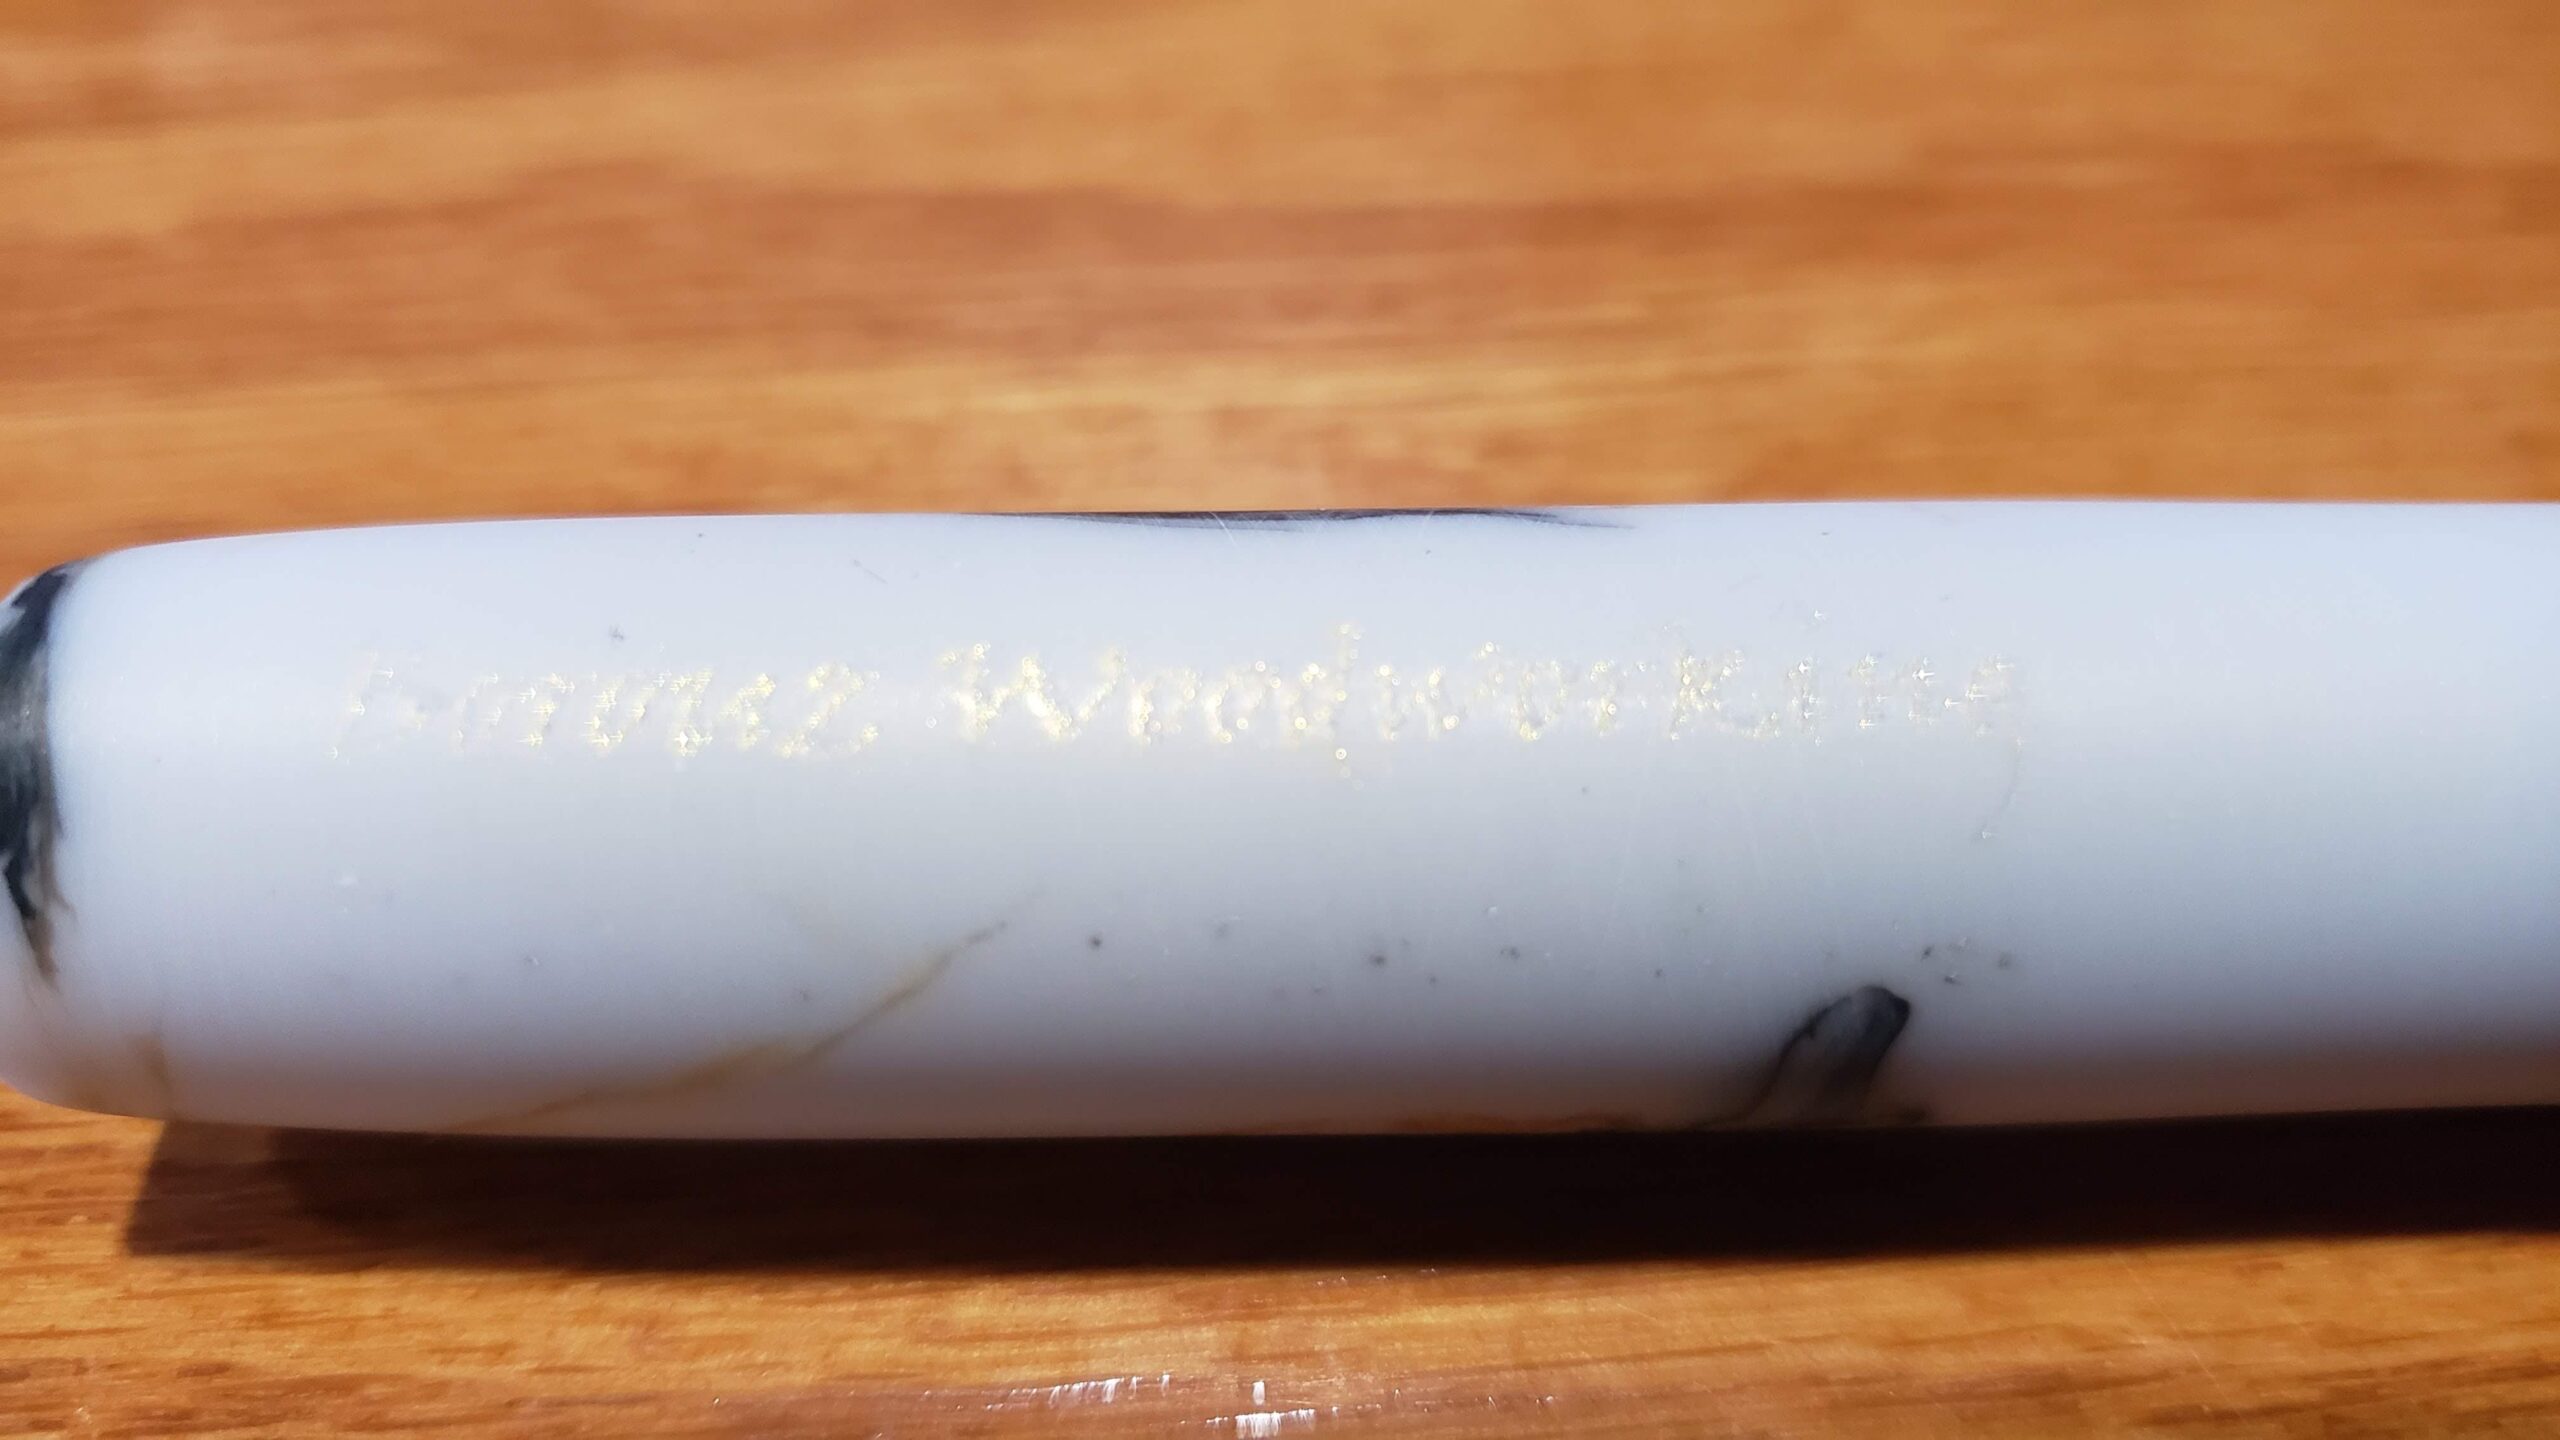
Close Up Gold in White
A darker powder or paint would be better.
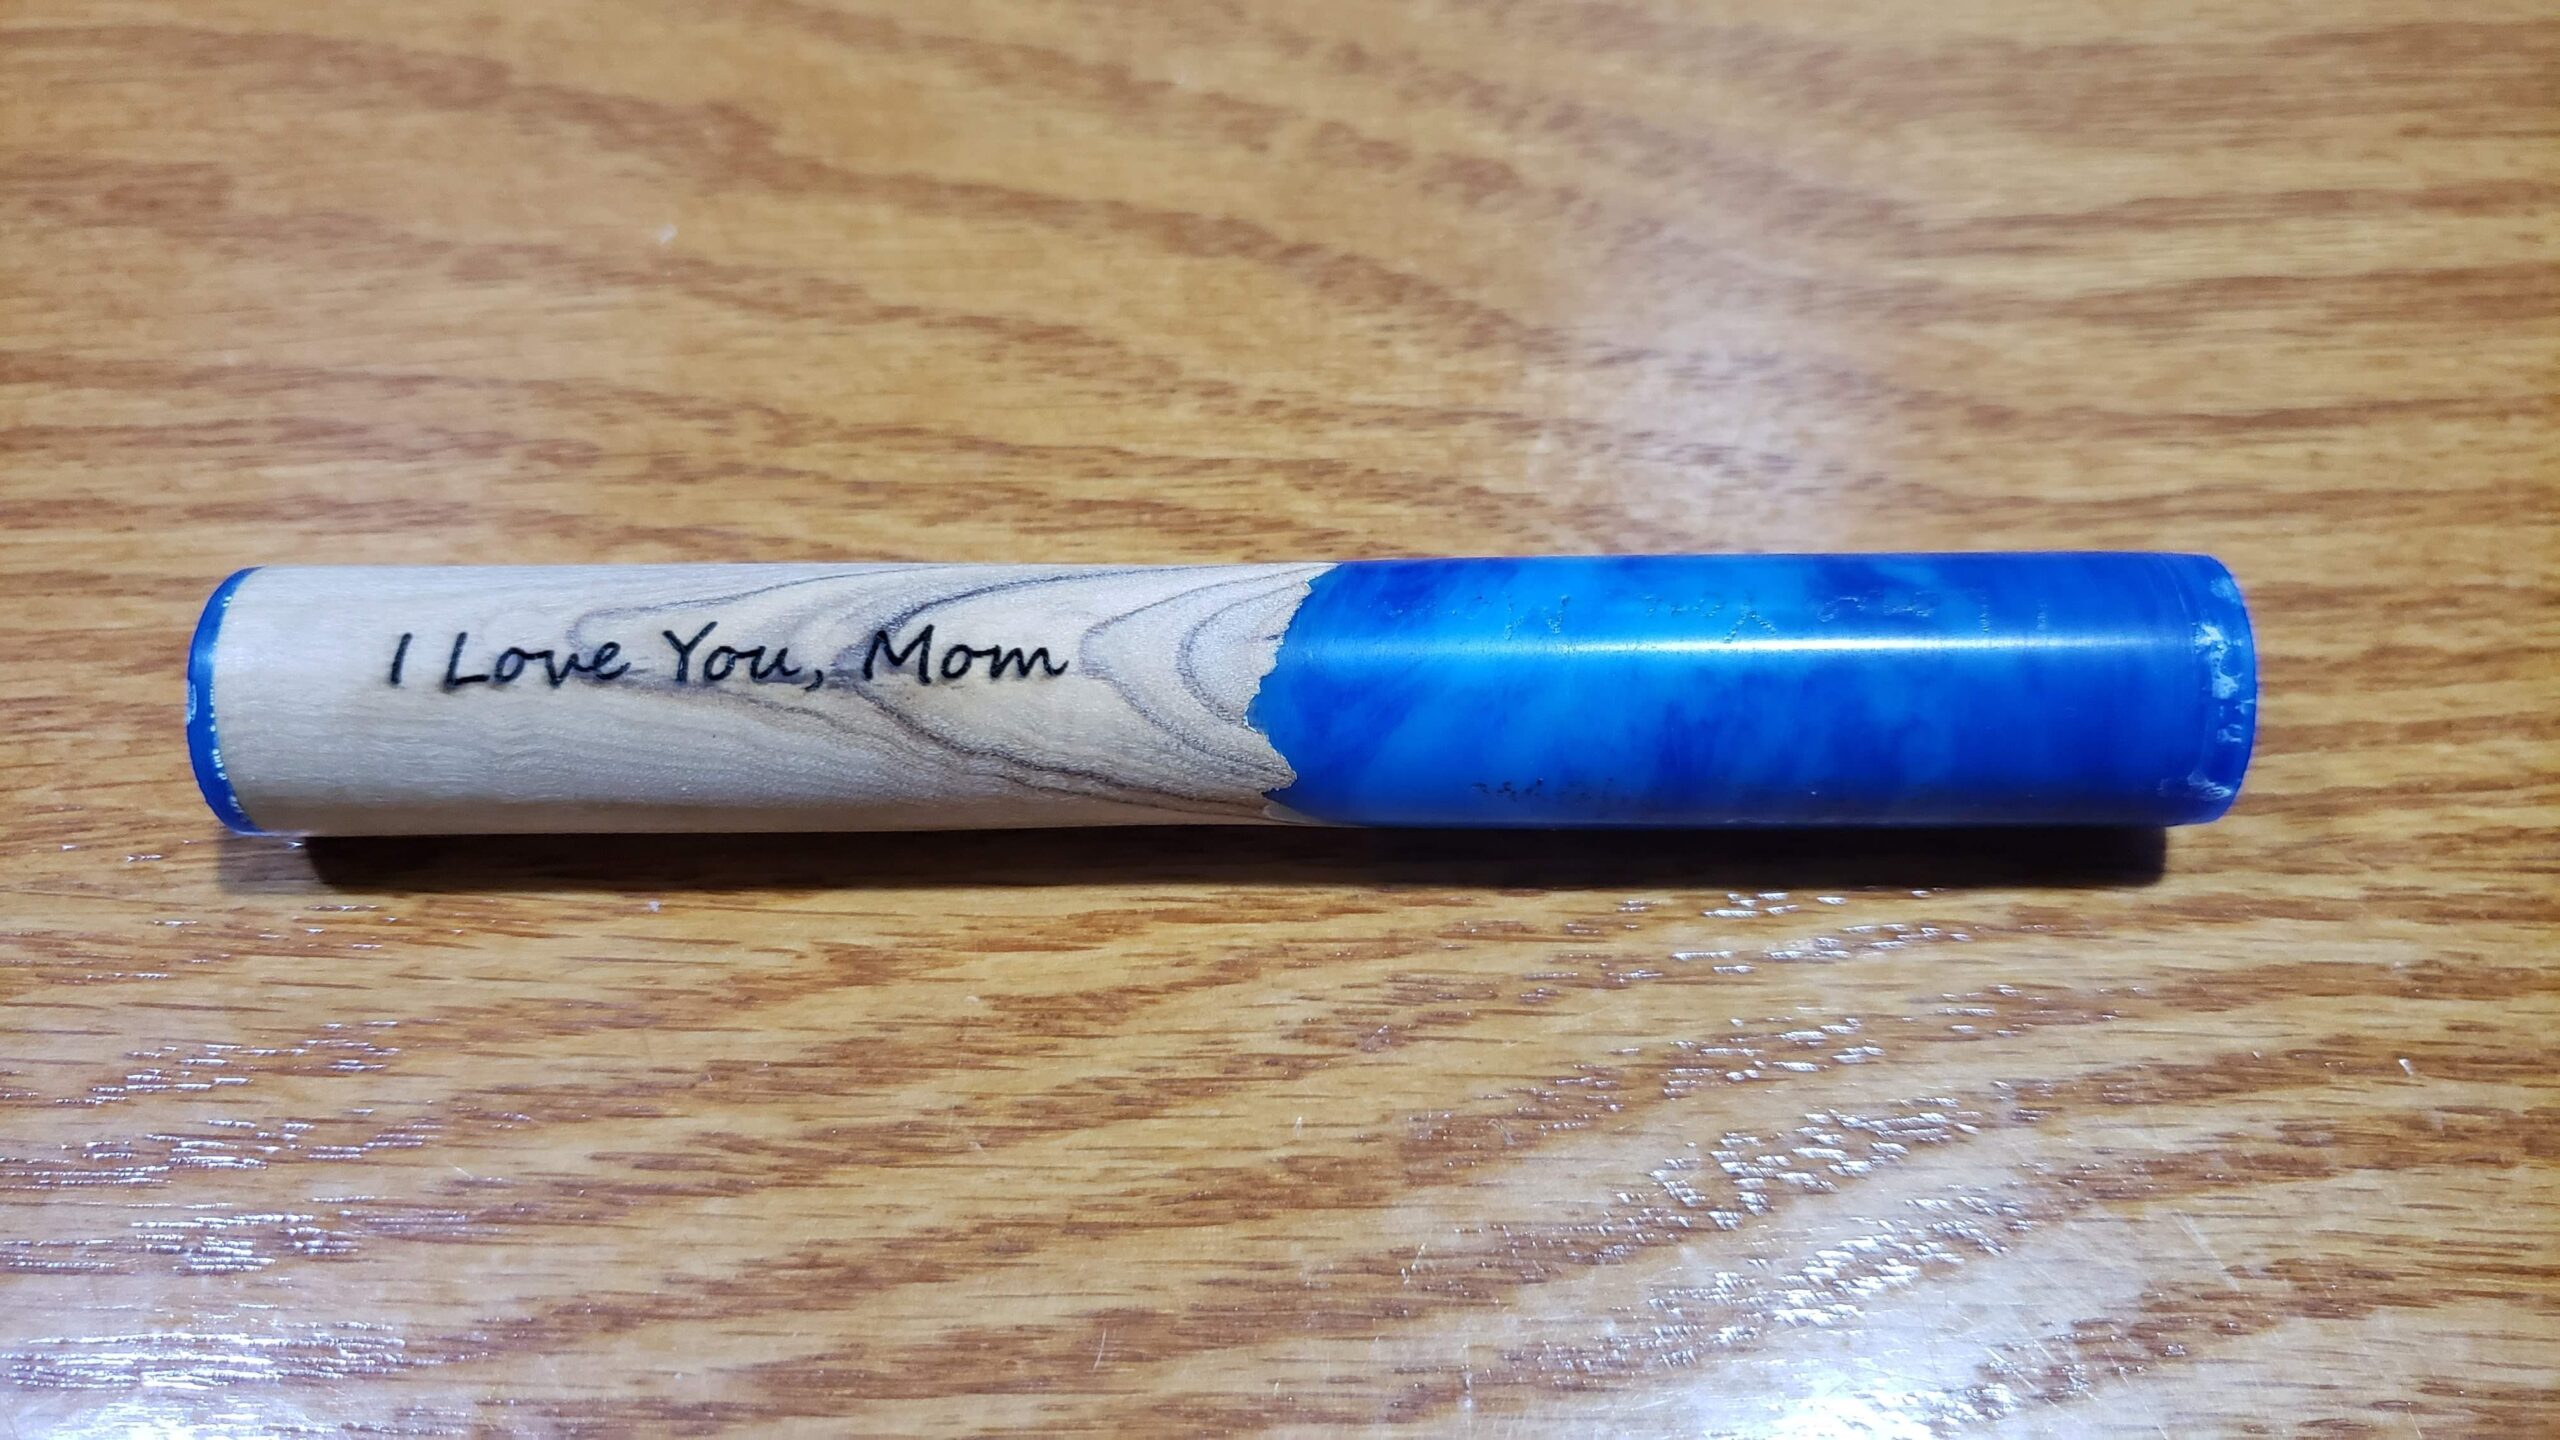
Laser Engraved Olive and Acrylic Pen Blank
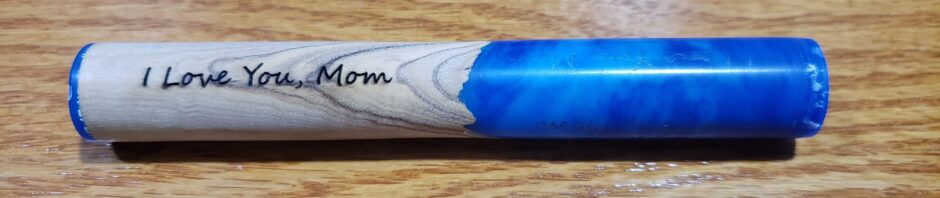
My next attempt was on an olivewood and blue Alumilite blank. I engraved the olivewood. This turned out very well. Wood definitely engraves better than resin. This was in preparation for a pen Sam had turned for a friend to give to his mother. It is a pink acrylic resin blank. I first tried on some of the offcuts, and no matter what I tried, I could not get a good engraving. Time to experiment some more.
I decided to try spraying the blank with some Dry Moly lube, like we do for metal etching.
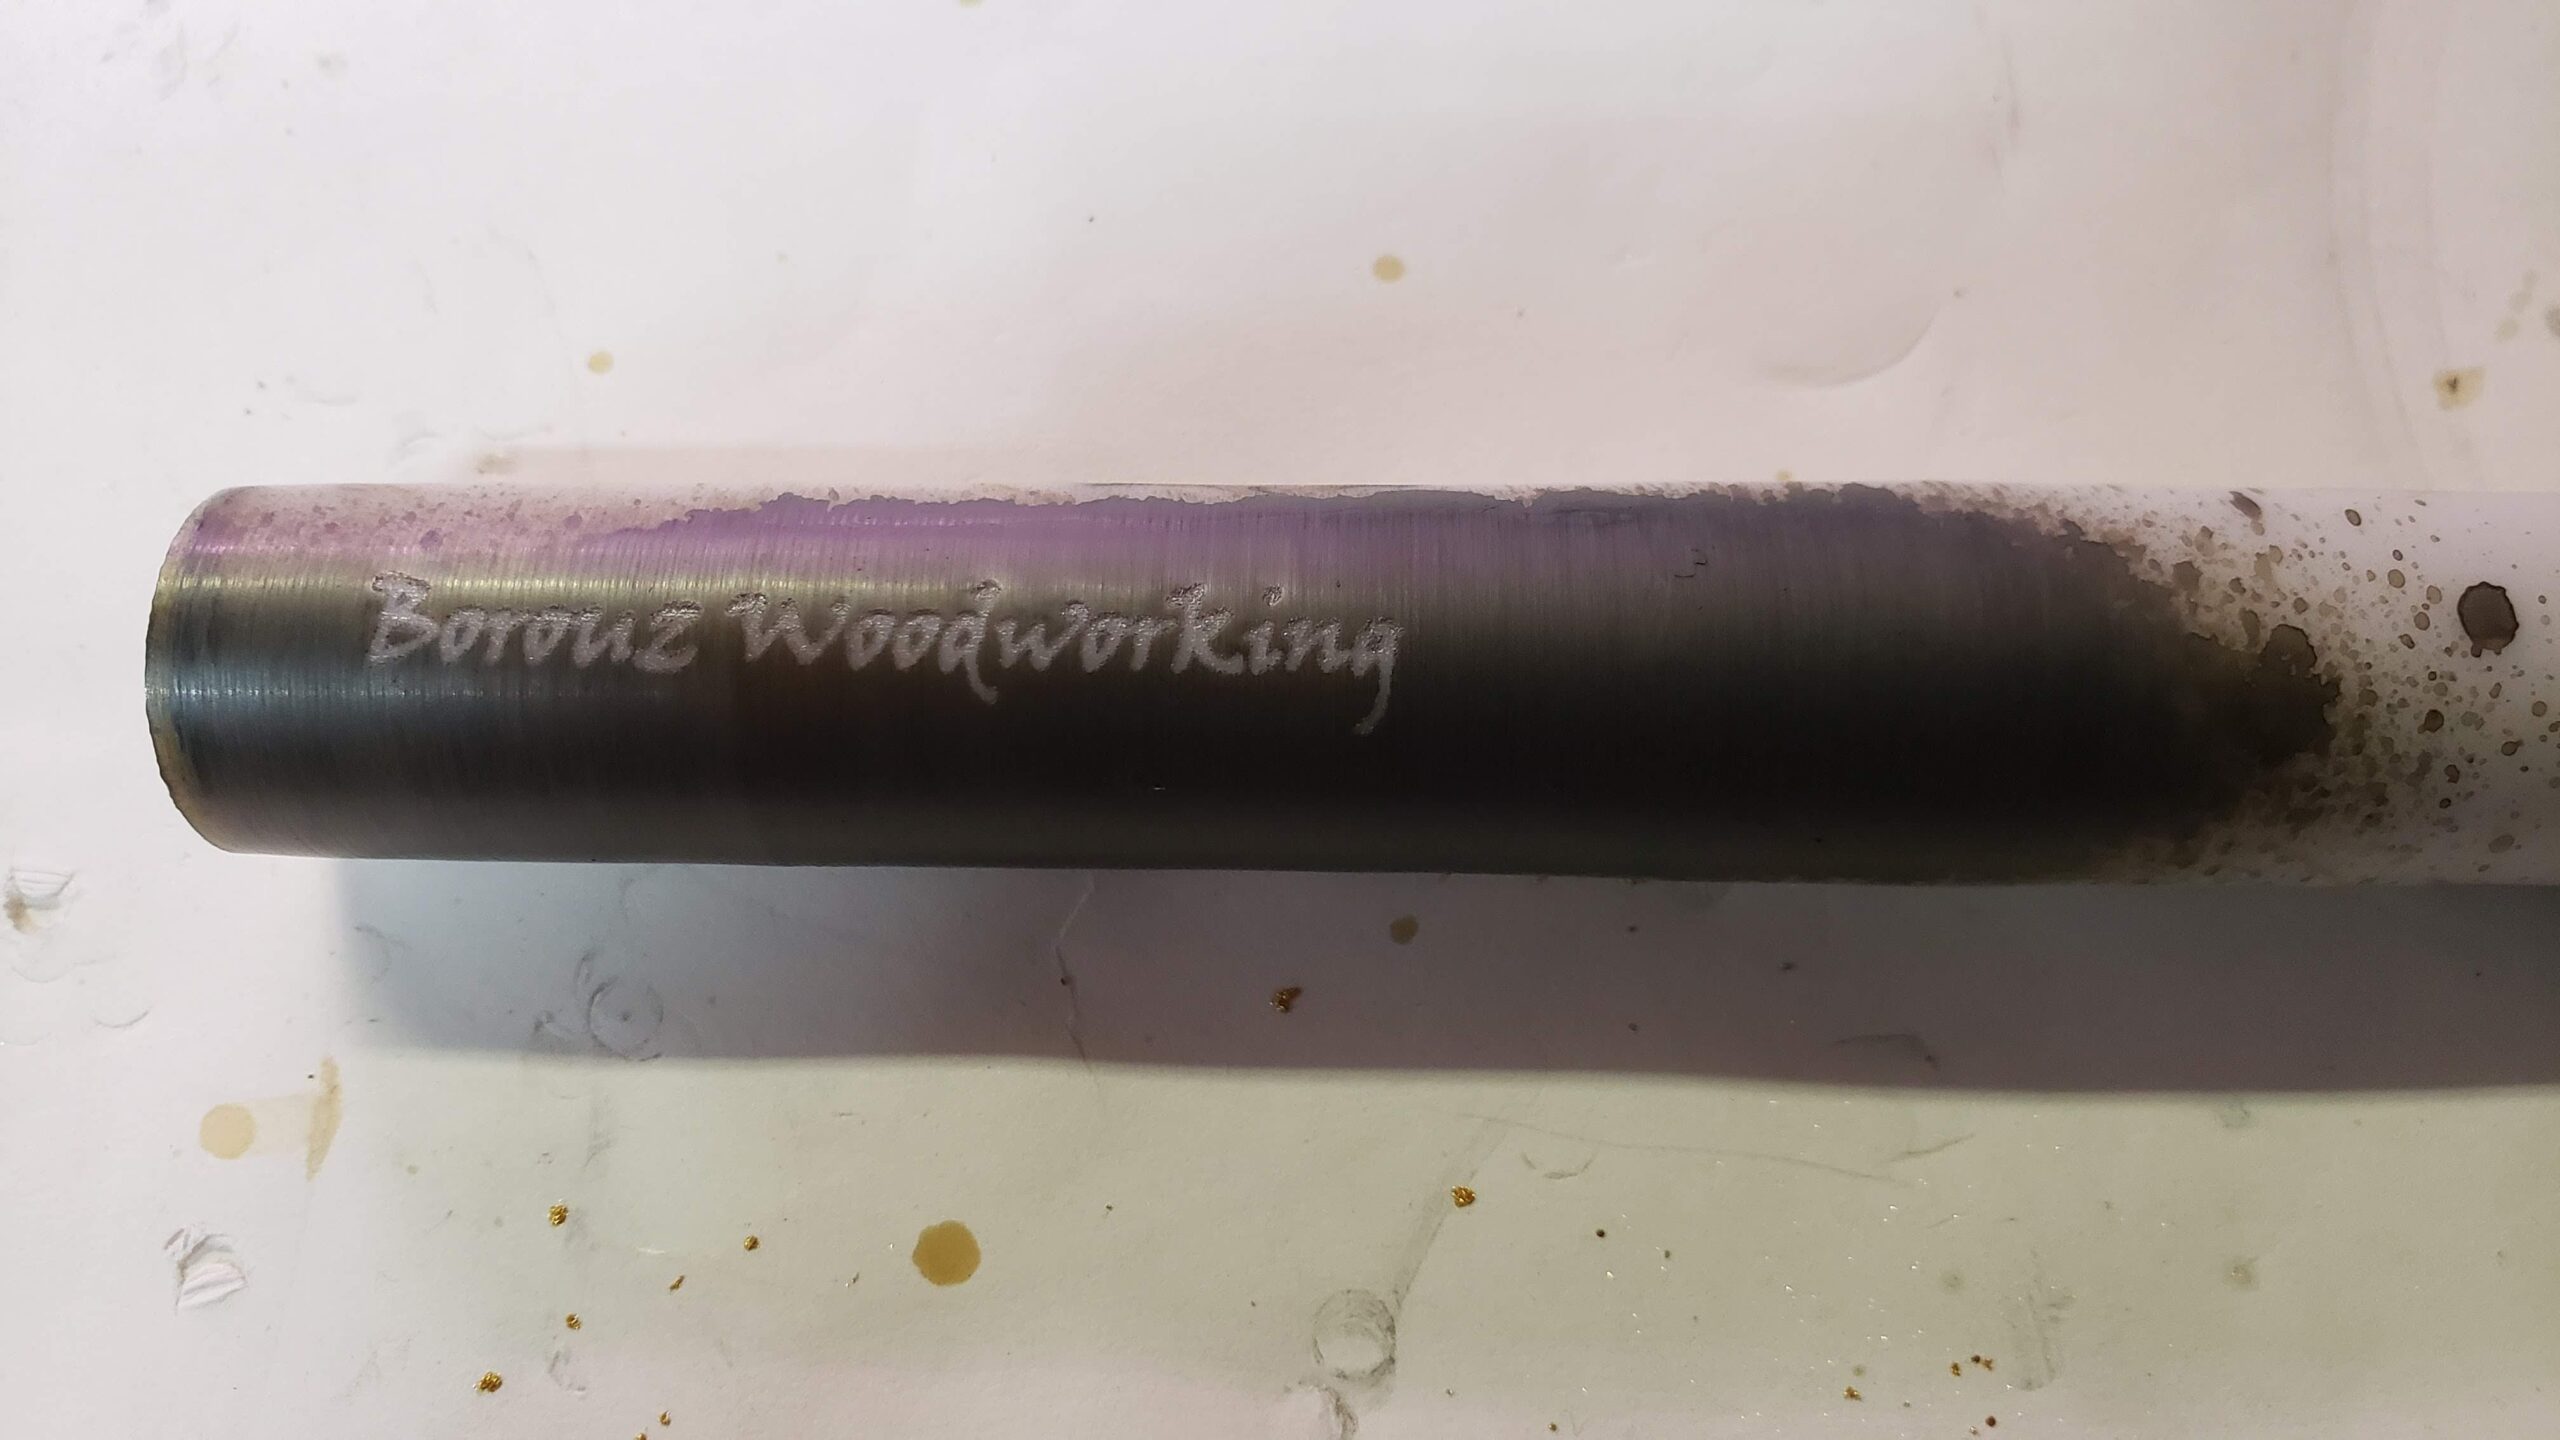
Dry Moly on White Alumilite
It looked pretty good, until I cleaned off the moly with acetone.
Moly Cleaned Off
It was there, but not very clean looking.
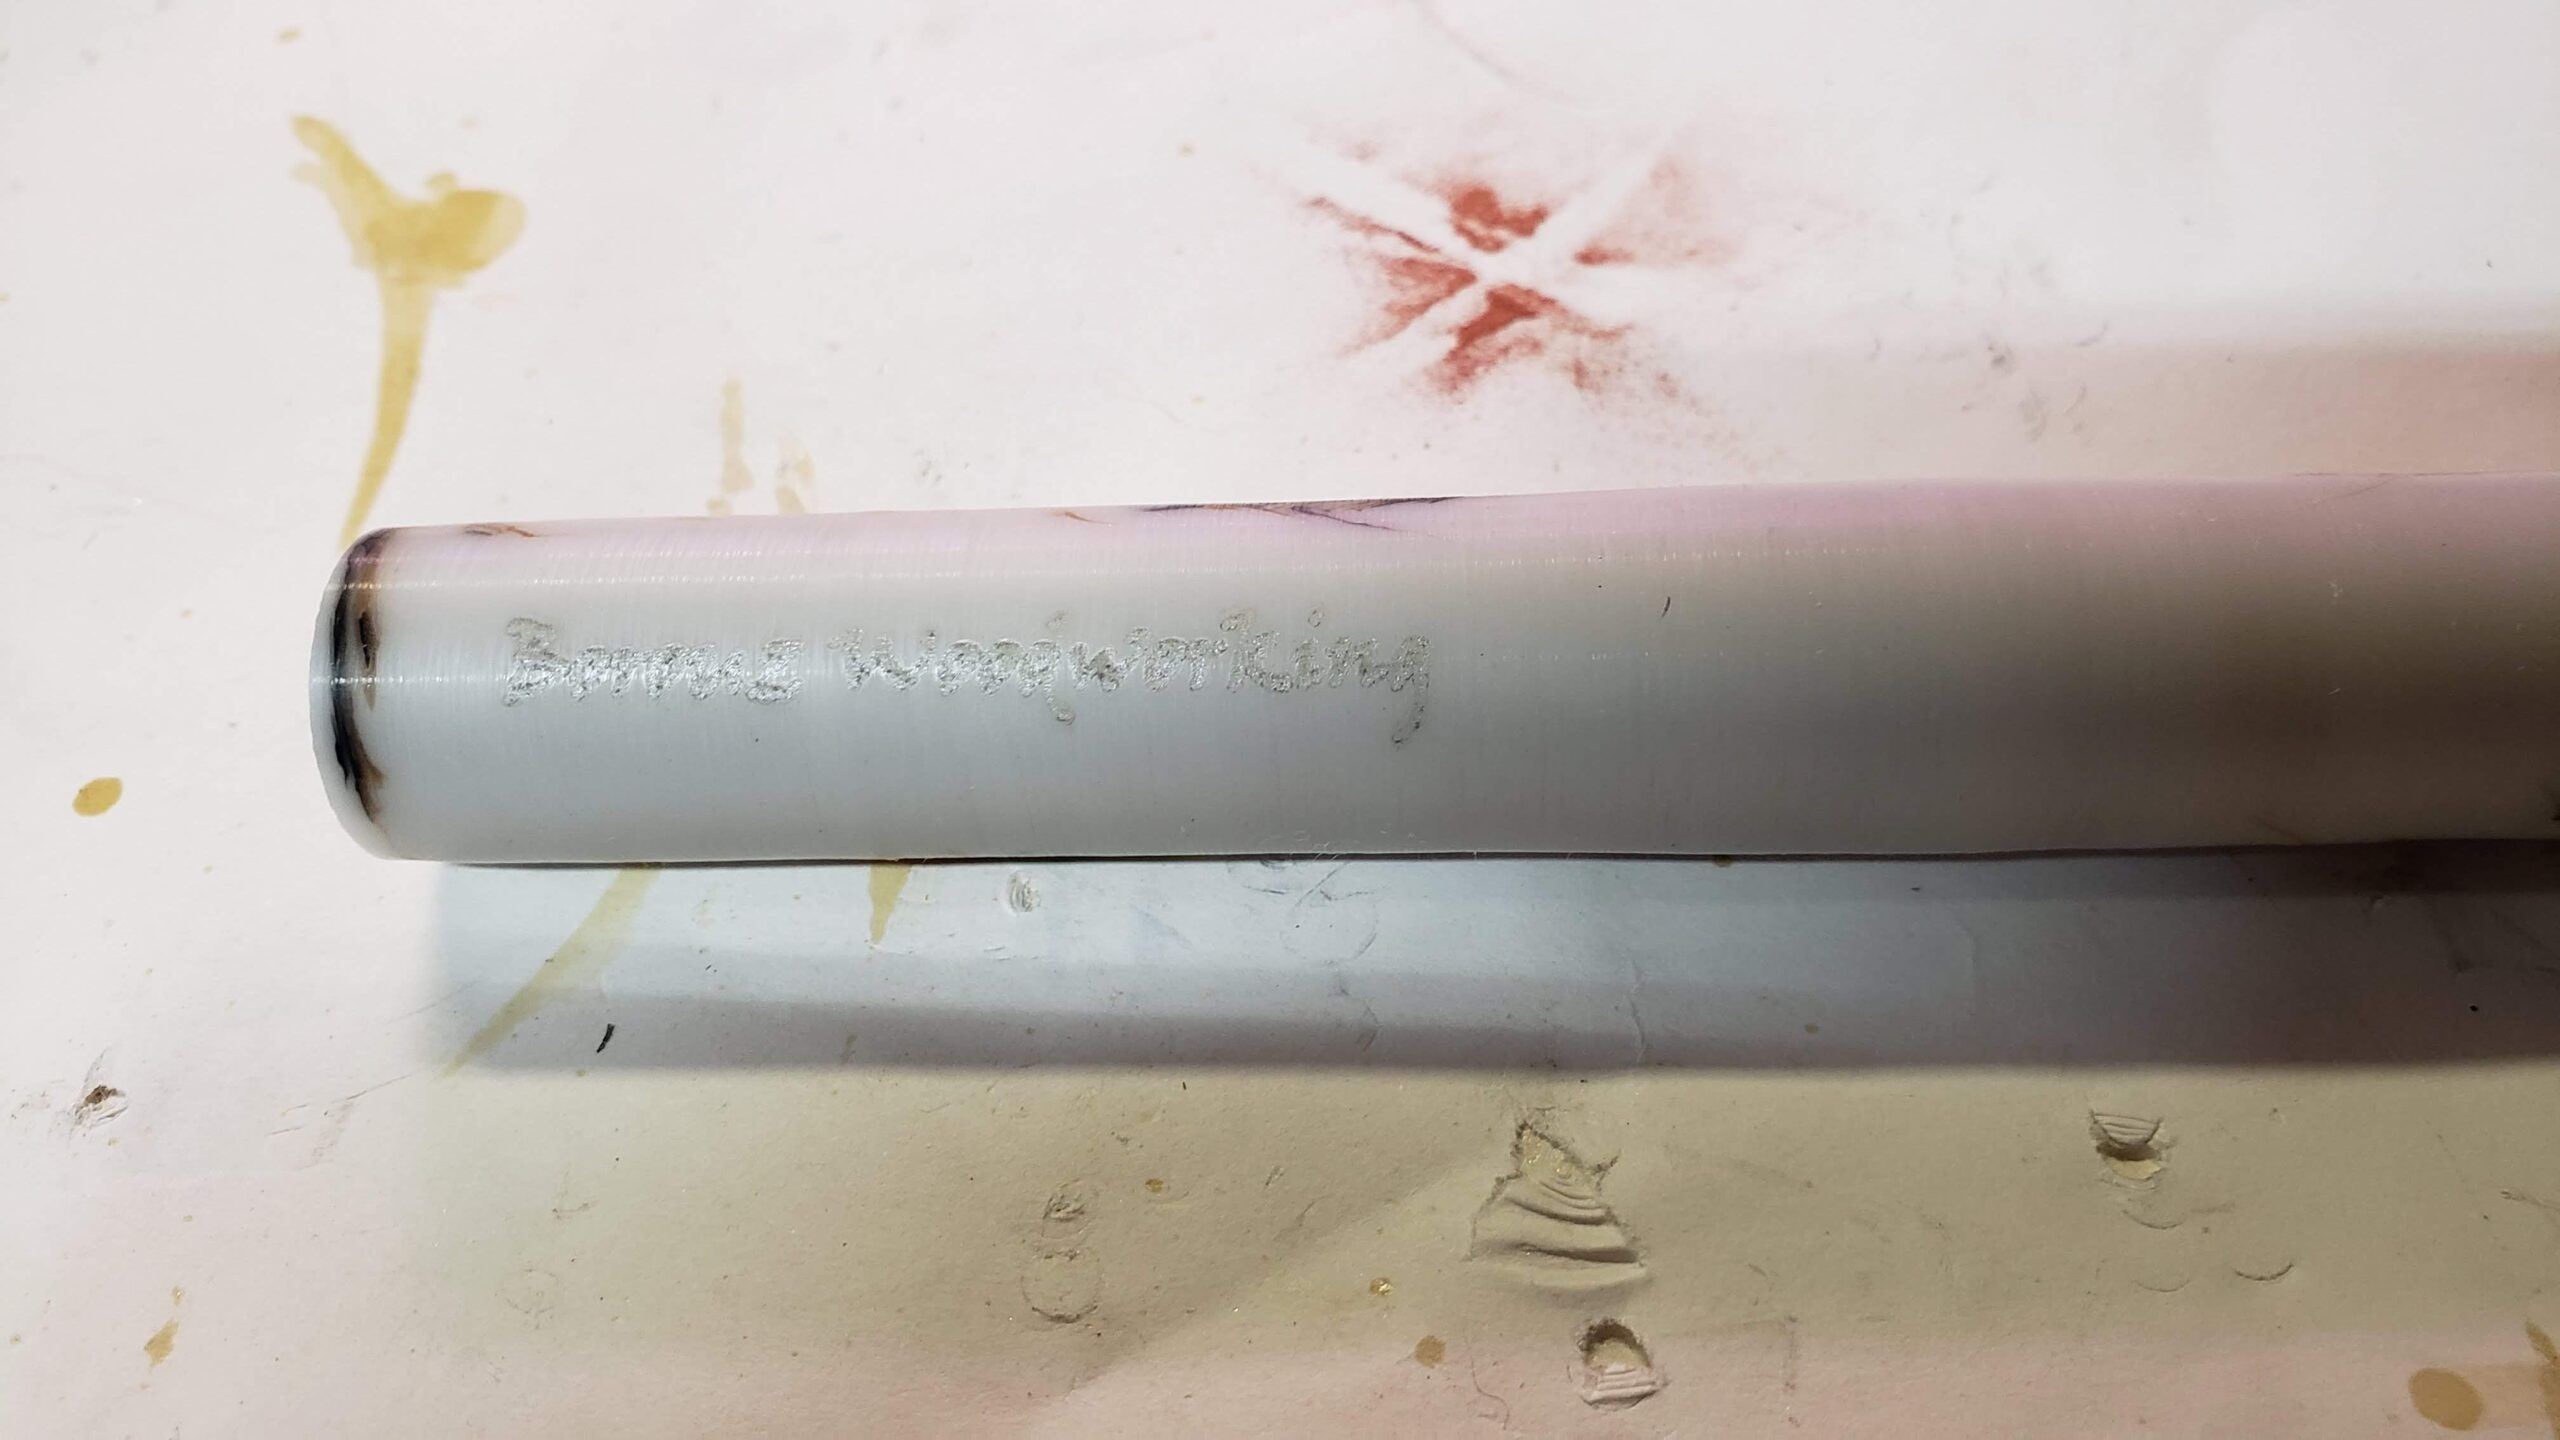
Next I tried blue tape.

Blue Tape
Again, it didn’t turn out very well.
Blue Tape Cleaned Off
I was beginning to think some colors just don’t engrave very well. After all, the dark blue one was the same Alumilite, Clear Slow. So maybe it’s the amount or color of the dye additive, or something in the dye.
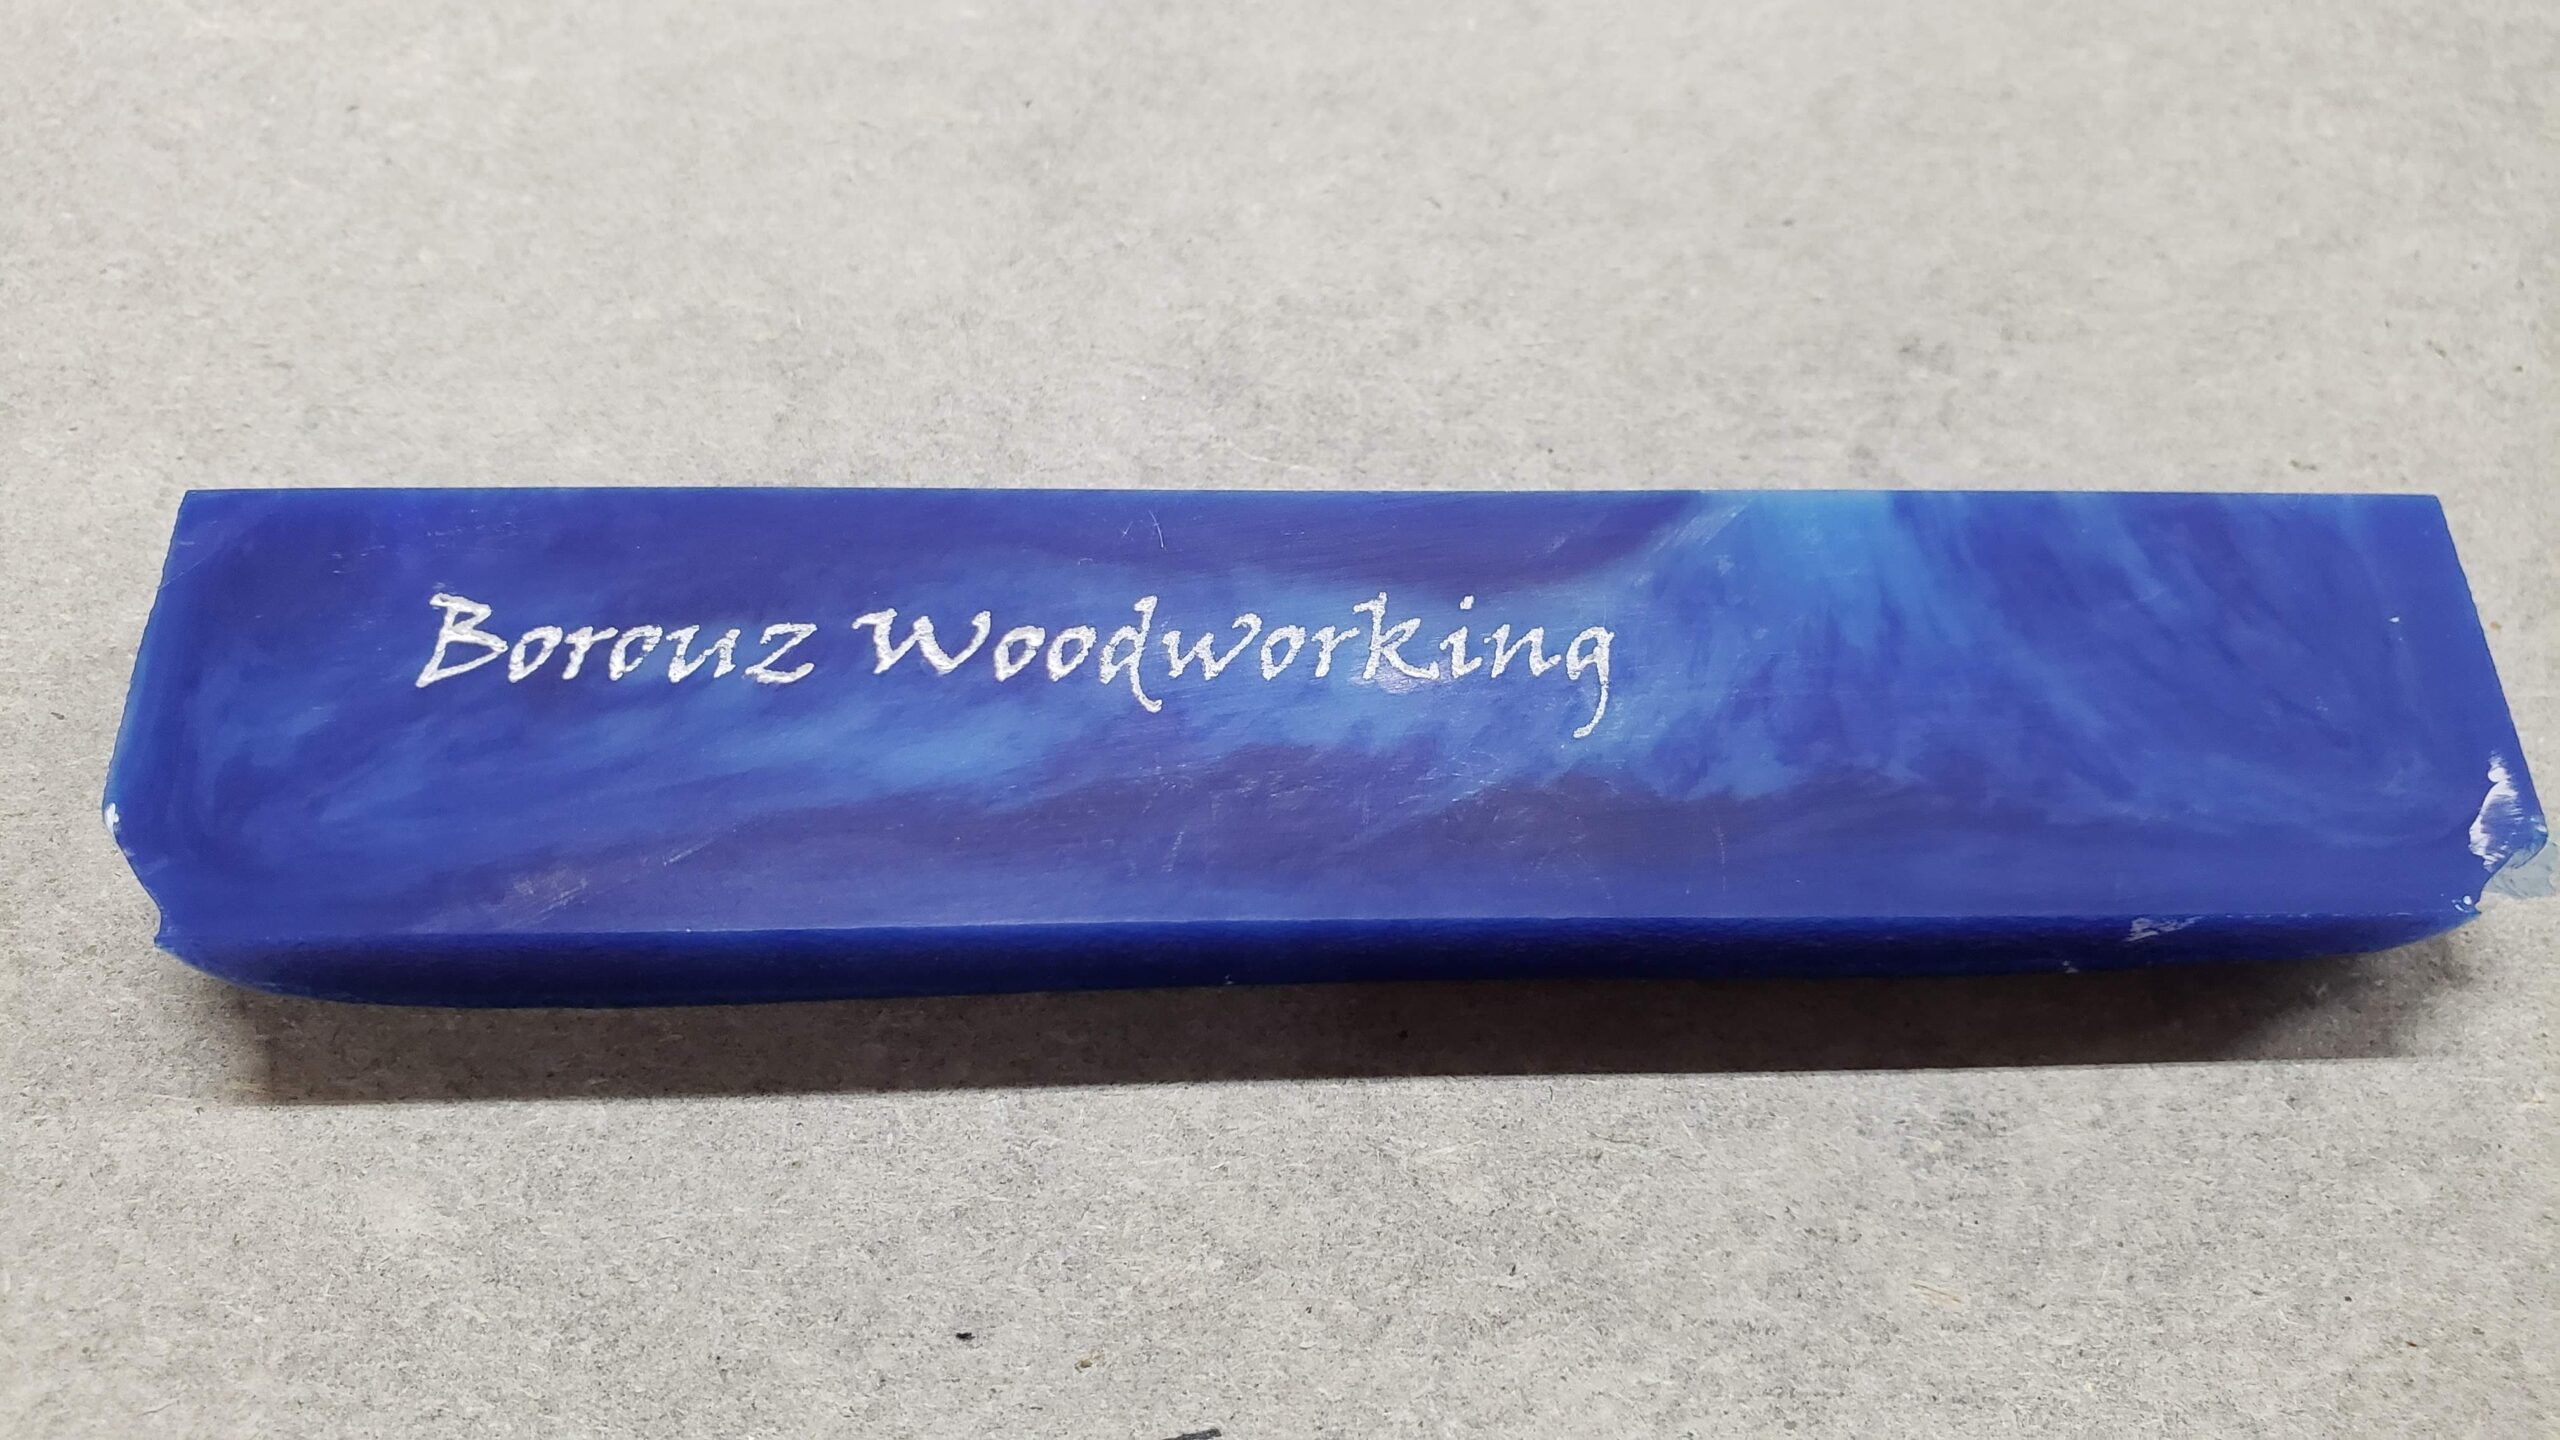
Time to try something else. Marisa suggested using acrylic paint to fill the engraving. She applied it to the first blank.

Pearl White Acrylic Paint
This is a winner. The first engraving, not being very deep, didn’t accept the paint very well. But the second looked amazing. We’ll definitely be adding these to the catalog.
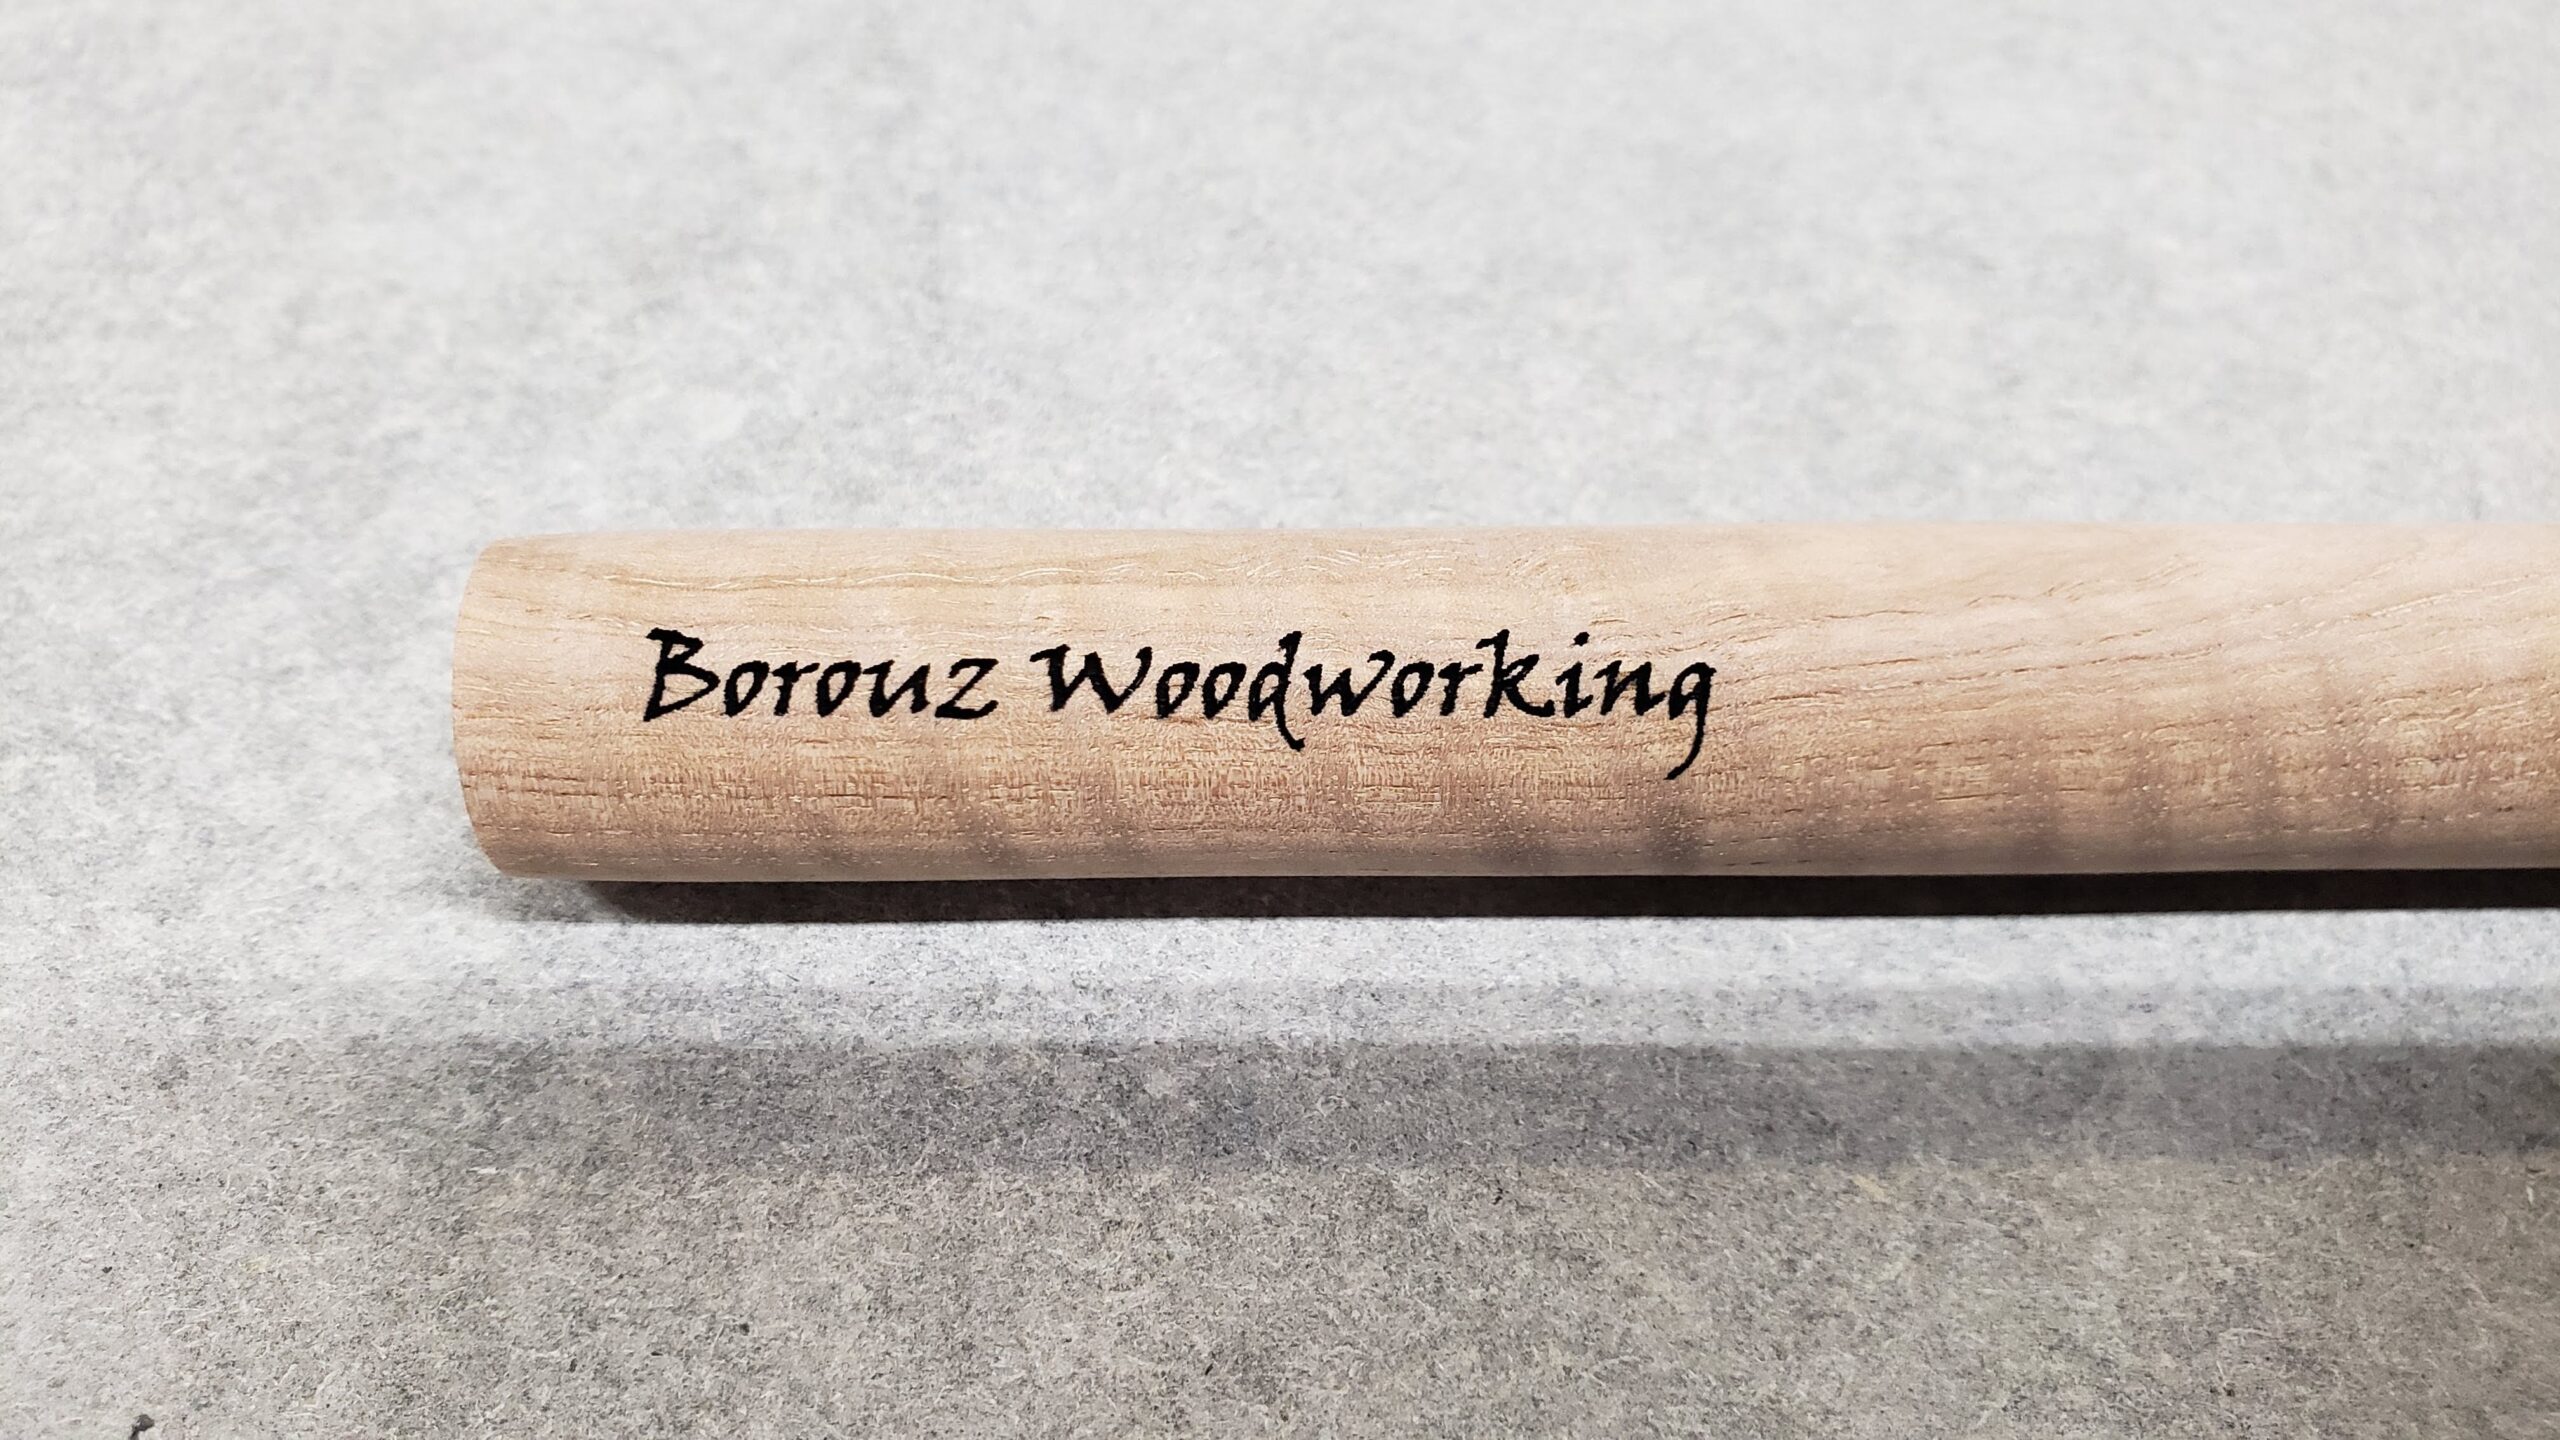
After all of the acrylic testing, I was beginning to wonder if the laser lens might be getting dirty, so I tried a curly satinwood blank. This also turned out awesome.
Curly Satinwood
We tried several engravings on some other resin cutoffs, but it seems very difficult to get a good engraving. I finally got a really nice one by slowing the laser way down to 100 mm/min. It took almost a half hour to burn, but came out pretty well, and painting the lettering made it really pop.
Engraved and Painted Cutoff
One thing that this will not work for is an image or text that wraps around the pen. That will require the rotary. Stay tuned for that.