It all started with a tiny kitten, meet Scrubbrush. 
Aka Frisky, aka Wallace, aka Wally wall killer. His mom showed up one day all alone. After deciding we would do, she brought this guy back with her. Sick, hungry, crying the only choice was take them in, it was a trap. The first indicator of trouble happened when he shredded the wallpaper in the master bedroom. Our house was on the market, I had none of this 30 year old wallpaper to do a repair with so I took it down, sanded, patched, and painted. This is known as foreshadowing.
Fast forward 10 years and many walls later he has damaged just about every wall corner upstairs. The upstairs has crazy high ceilings and wall paper. In almost 20 years I have not even considered painting the wall much less taking all that wallpaper off. I installed corner guards and it helped, some.
The basement is another story. The basement walls are all old cedar, thick planks, and we have no more of it. This is Wally’s favorite corner.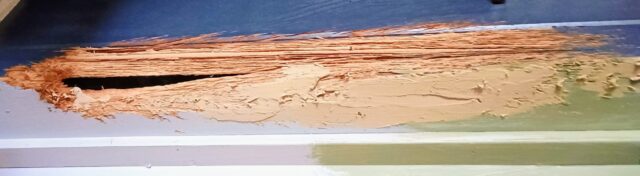
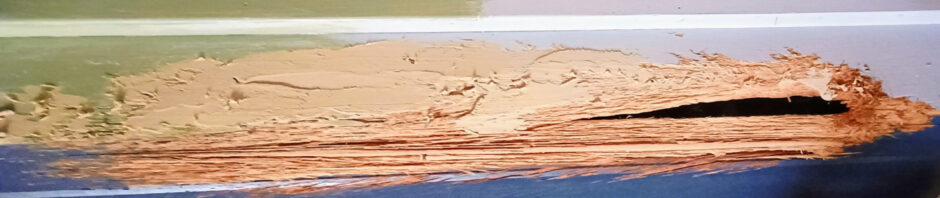
The damage is about 4′ tall and extends a good 6″ on each side. 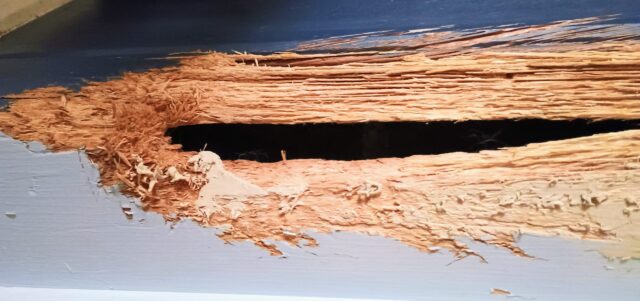 You can see there is a substantial hole in the wall. For years now I have pondered how to fix this. I’ve considered:
- Ripping out all the boards in the entire basement and then putting up drywall.
- Cutting out the damaged section and putting something else in.
- Cutting out the damaged section and using boards from a different area to replace the damaged ones.
- Putting up drywall or some other paneling over the walls.
- Moving.
- Creating some sort of decorative corner detail that looks intentional and original to the homes style.
- Hiding it with shelves or furniture.
I knew I could use wood filler and take care of some of the damage but other areas are so bad it just would not be a complete solution. Hence the reason I have put this off for years. That hole has had me stumped. I’ve thought about adding backer boards to rebuild the corner from the inside and then patching over the repair. But one of the problems is that the wood to the right of the hole is just loose fibers. There isn’t anything solid to attach a backer board to unless I use a board that’s 8″ or so wide.

You can see just how much material he has managed to remove. These are the nails they used to install the boards. That’s about a 1/2″ of nail now exposed. The wood is just fibers at this point. When I’ve tried to apply wood filler to patch the filler pulls the fibers off the wall in clumps.
Since this year seems to be the year for tackling projects that I have had on my plate for years might as well get started on this. It dawned on me I’ve done a lot of work with expanding foam. From making props for theater to costumes to decorations I’ve even used it for it’s intended purposes, why not try it here? I know it will not hold up to dings or to Wally and it’s not a long term or permanent solution by any means. I also know as long as Wally is here anything I do he will undo. So let’s get this fixed enough to not be an eye sore and so I can finish painting. The long term, actual fix will require more work and Bill.
I started by using wood filler 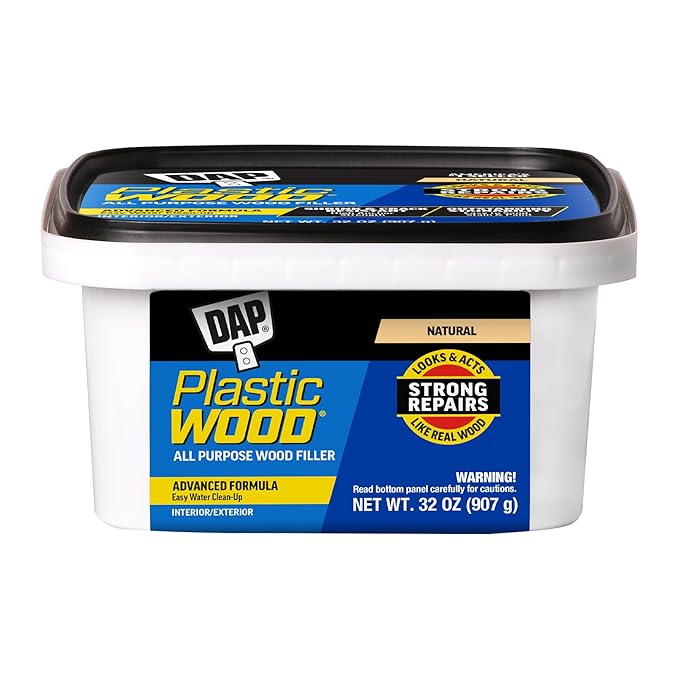 not putty. I needed it to harden so I could sand it. At this point this is also mostly unfinished wood and when I’m done with the repair I need to paint. What I’ve liked about the DAP Plastic Wood Filler is that is says it won’t shrink, sink or crack. Can be used inside or out, which I figured would be good for a basement. It’s also supposed to be easy to apply. It is thick so it doesn’t run. The consistency made it harder to apply given the state of these walls. It’s so thick and required so much pressure it pulled the wood fibers out rather than staying on the wall. I also need to go slow and make my layers thin to build up what I need but because of how thick it is I found that somewhat harder to do. You can find it here.
 This is what I had on hand. I intend on spraying into the wall cavity to build up something for the foam to adhere to because I need to carve that corner back into the wall. Once I have the “wall” recreated then I can use the wood filler to smooth it all out and get it ready for sanding. Water helps to cure the foam forming a crust. After spraying foam into the hole and letting it expand I misted it with water and let it sit a few minutes. The surface skinned over allowing me to lightly pat and push the foam forming a corner. When it has fully dried I can come back with a knife and continue the shaping process. You can find the spray foam here.
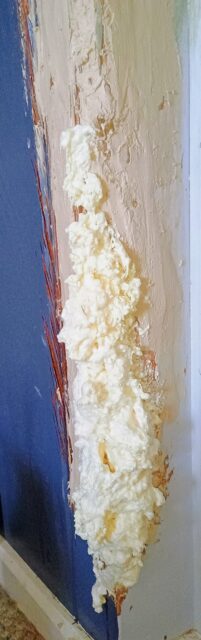
I’m leaving the foam and filler to cure for a few days. I’m also questioning a lot of my life choices that have brought me to this point. I’m also hoping that Bill doesn’t need to go into the basement or that he doesn’t read this post because I’m not sure if this is “better” than the hole. I think it is? Right now it looks like a hot mess and it is but there is hope.
I imagine this may take a number of filler coats before it’s complete. Each coat will need cure time and sanding. I can’t leave it with just the patch. Anything that hits that foam might push it into the wall at the very least it would dent it. I plan on making a scratch board that will be at least 4.5′ tall and extend at least 8″ on each side. This will give Wally something that he can take his frustrations out on. It will also give me a break from trying to curb his enthusiasm. The scratch boards can be replaced when they are worn out.
The best way to fix this would be use wood. We have boards, we have the technology to just make new boards and take out the three damaged ones. Now that the walls are painted the wood species no longer needs to be old cedar with the exact stain that was used 30+ years ago. It’s not the right time to really fix this.
You might be asking, “Why not just put up the scratch boards now and forget trying to repair anything?” That’s a good question. Where were you with your good questions when I started down this road of repair? Huh? Did you even think about that? sigh