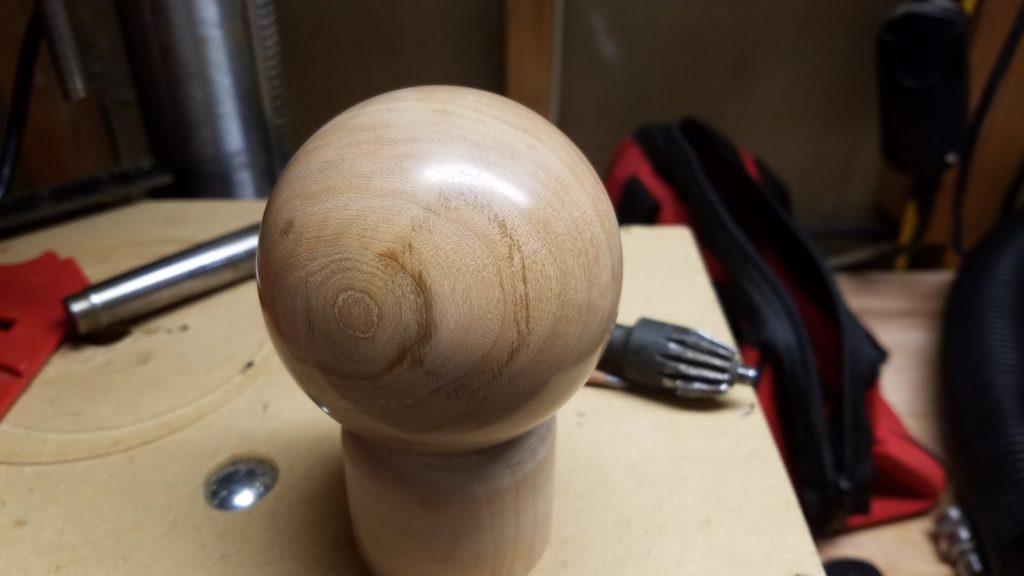
Cherry Sphere
One thing I’ve wanted to try turning for a long time is a sphere. I love the simple elegance of them. It seems to me that if you are turning things round on a lathe, the ultimate round is a sphere. Sounded like a good project to try in the
Small Shop.My first sphere is the cherry sphere above. I did not photograph the creation of this one, as it was a learning experience. But all in all, it was very successful. I learned a lot and was very pleased with the results.
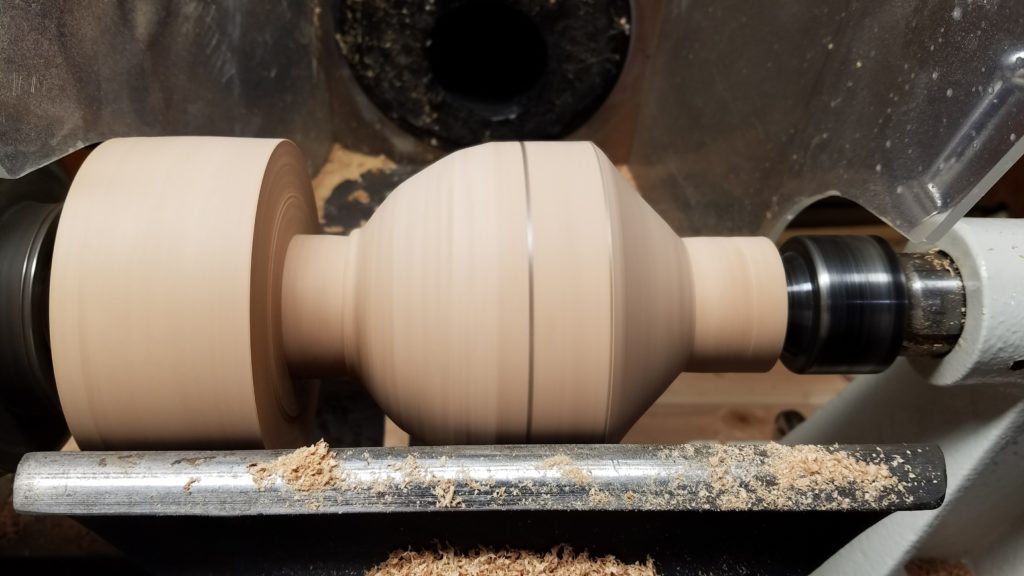
My second sphere was an oak sphere I made from an oak 4×4 I had milled some time earlier. I didn’t photograph the blank and initial prep of it, but remembered to start after I had begun. The first step was to cut a blank roughly twice the diameter. In this case, the blank was about 3 1/2″ square. I cut the blank to about 7 inches. As can be seen below, this may have been a little too long, but it would do.After roughing the blank into a cylinder, I marked the centerline of the sphere, and measured out to each side half of the diameter to the outside of where the sphere would be, and marked here. I then marked quarter marks half-way between these marks. I then parted down to about half the diameter at each of the outside marks, and then turned away the waste to a tenon. I then turned off the “corners” from the quarter marks to the tenon. Sounds confusing, and pictures would have helped, but the picture below shows the end result.
Sphere Blank Roughed Down
Here we have the rough “sphere” with tenons on the ends.
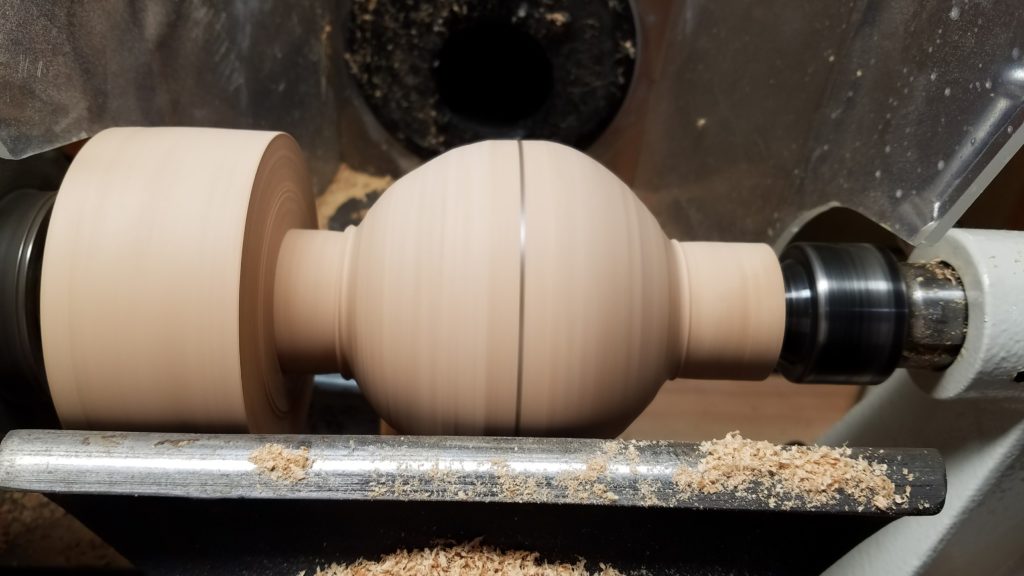
Turning First Half
Next I just rounded one side down.
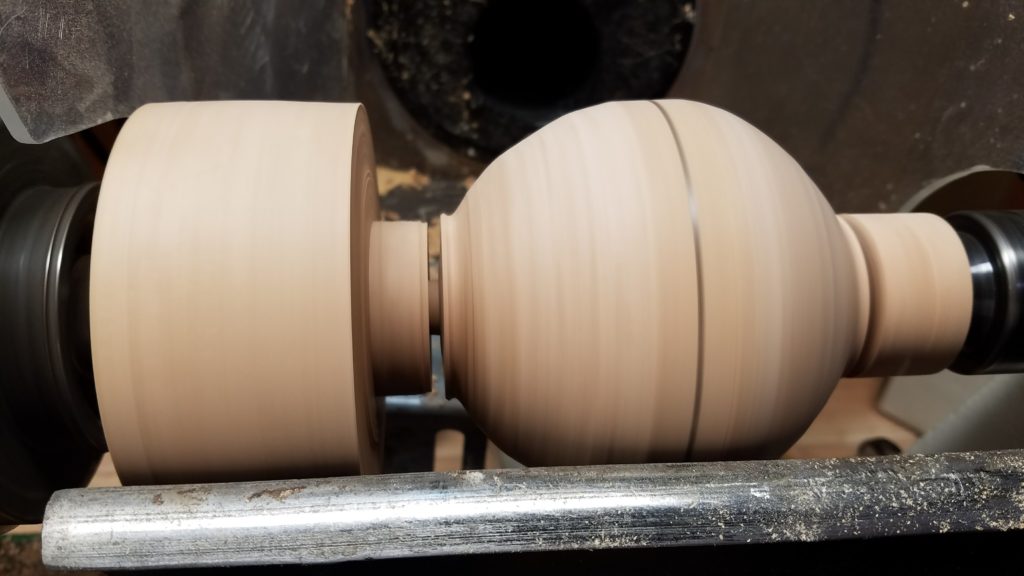
Turning Second Half
And then the other.
Parting Off the Tenons
Then I parted off the tenons.
Nearly Parted Off
Here it is nearly parted off.
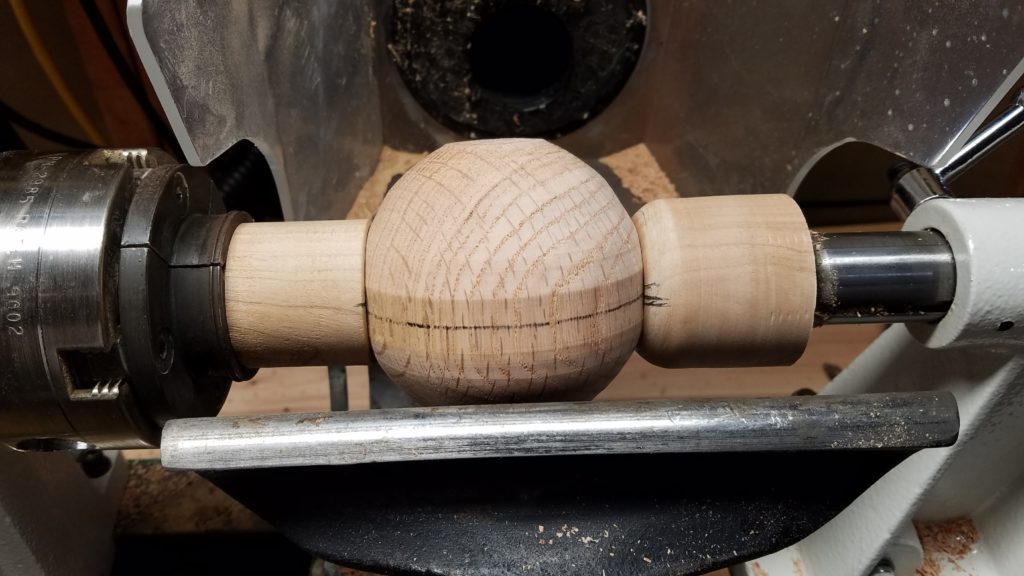
Parted Off Rough Sphere
And here it is parted off.
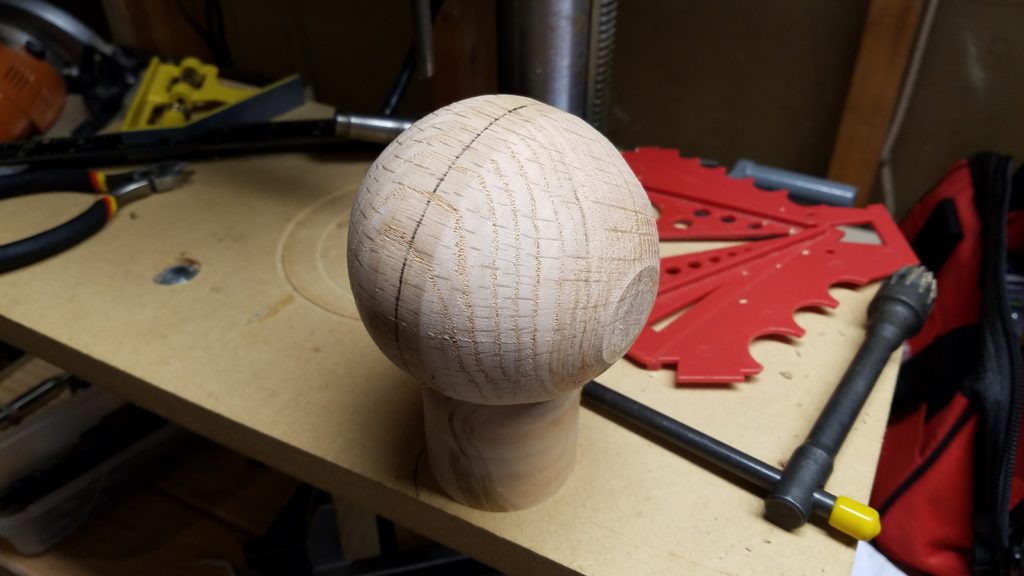
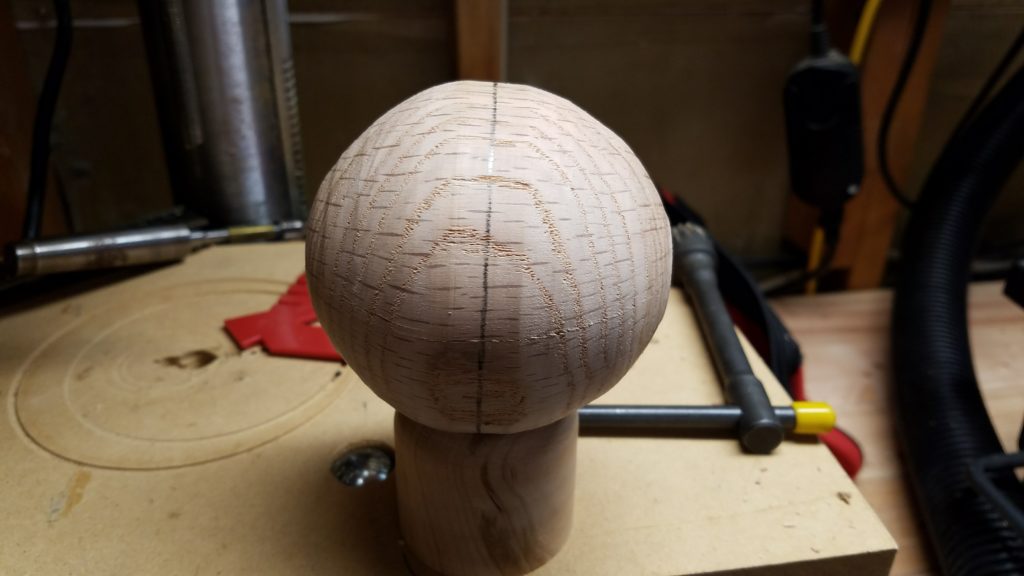
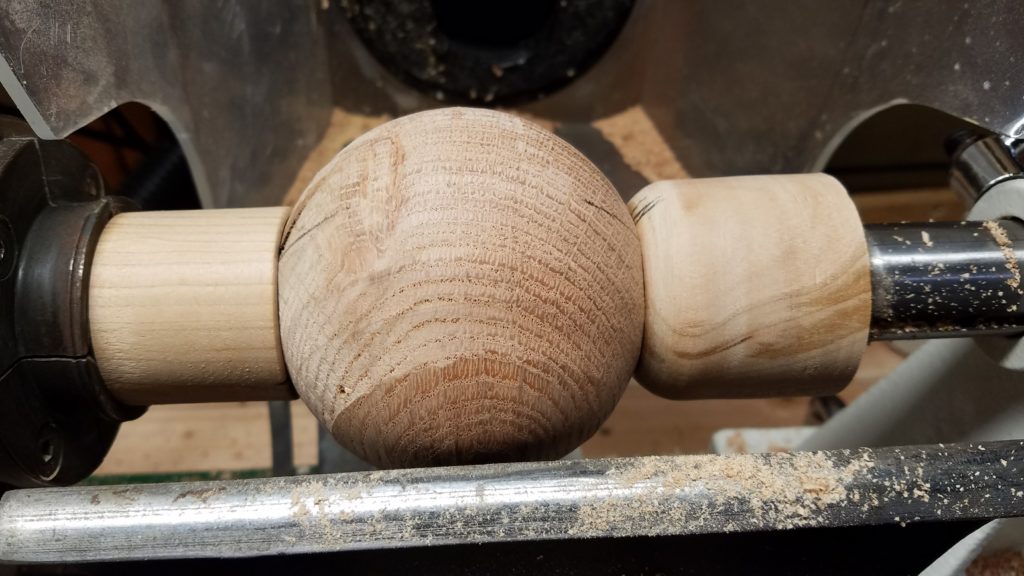
Rough Sphere
Not exactly “round”, but we’ll get there.
Rough Sphere Mounted Between Cup Centers
I turned some cup centers, shown above, to mount the sphere between. These were just turned from some scrap cherry. One just mounted in my chuck, the other was turned to fit fairly tightly over a live center. In retrospect, I would have turned the cup ends a little smaller, so that while sanding, I could get a little more surface sanded. More on that in a bit. I may also put some type of foam on them to hold more securely. They tended to slip just a little at times when the sphere wasn’t round.
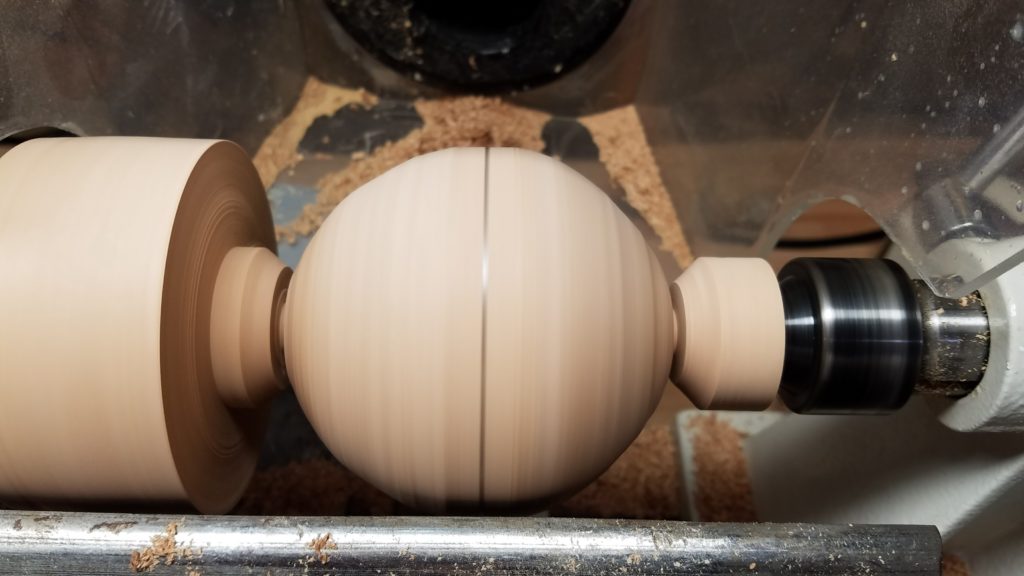
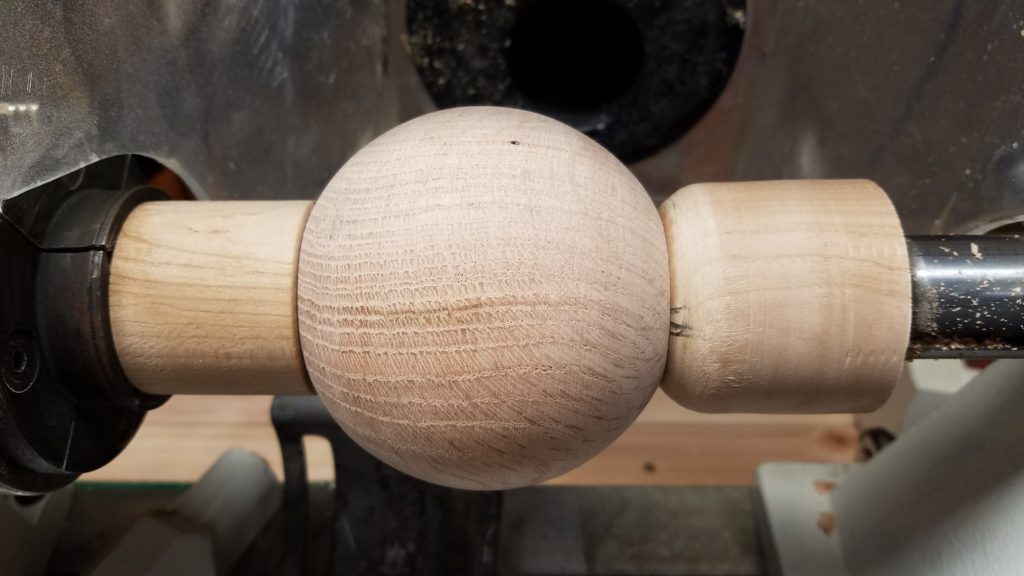
Finished Turning
Once mounted between cup centers, I began finish turning it I would lightly turn it, watching the “ghost” as it turned. This is where you can see some of the material that is larger in diameter than the rest of the sphere. It looks like a ghost or shadow as it turns. You want to turn that lightly away. Turn a little, and then loosen the centers and turn the blank maybe 1/8th turn and retighten the centers. Turn a little more, and repeat.
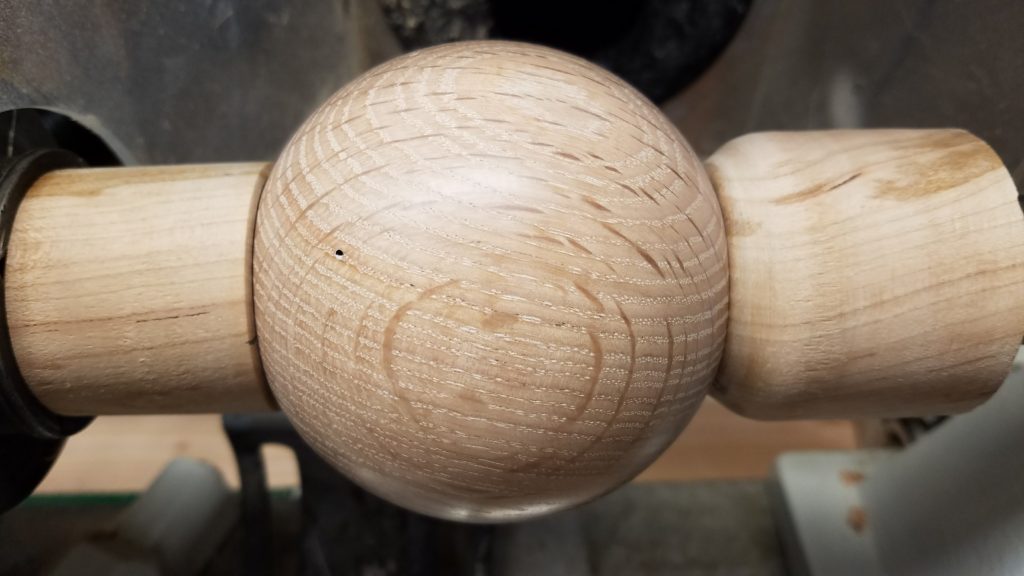
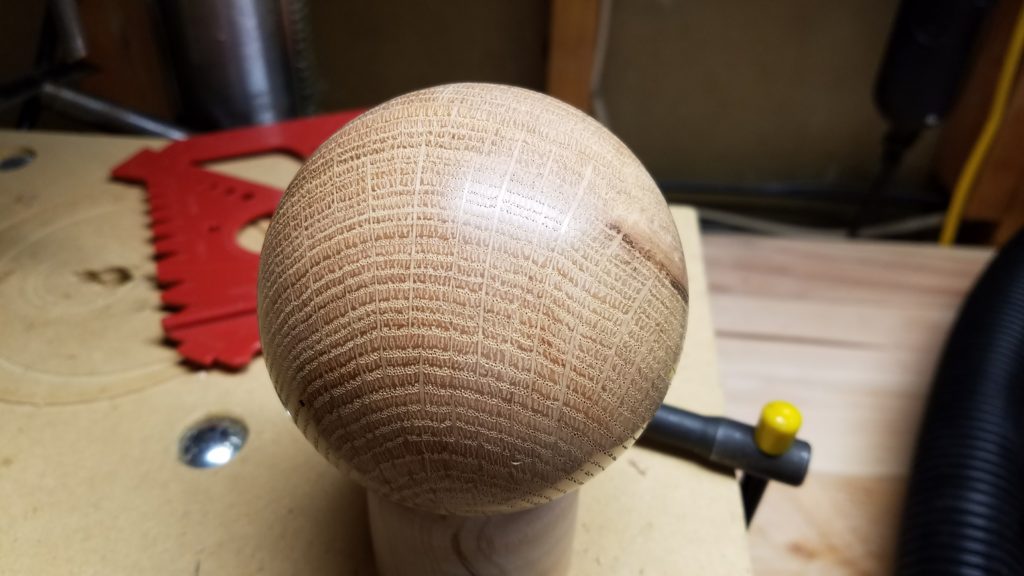
Beginning Sanding
Once it was turned, I began sanding. This proved to be time consuming. I power sanded with my drill and a 2″ foam backed sanding pad. A dust hood is a necessity when power sanding. It creates a LOT of dust.
More Sanding
I started with 60 grit, and would sand, turn the blank a little, and sand some more.
Still Sanding
I graduated the grits up in a normal progression, 60, 80, 150, 240, 320, 400. Sand, turn, sand some more.
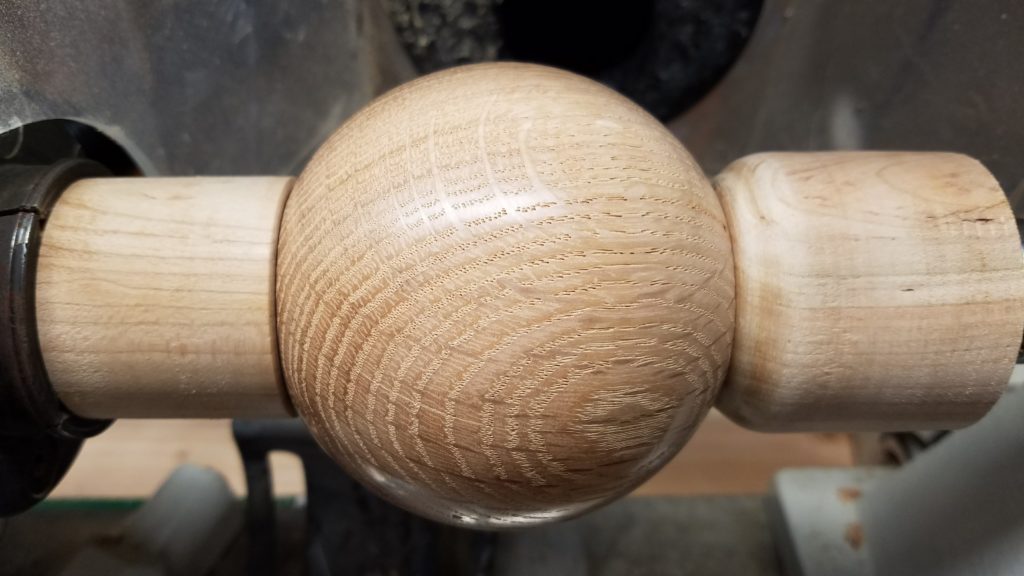
Finished Sanding
After 400 grit, It was done.
Final Sphere
I think it turned out very well. Very satisfying.Thanks for looking!