This post will be an instructional post for how I install drip tape irrigation in raised beds. There are many ways you can do this, I find this method to be effective for me.
I use mainly Irritec Perma-Loc drip irrigation tubing, drip tape, and fittings. I get them from Drip Depot. They have very decent pricing, and the best selection for all of your irrigation needs that I have found.
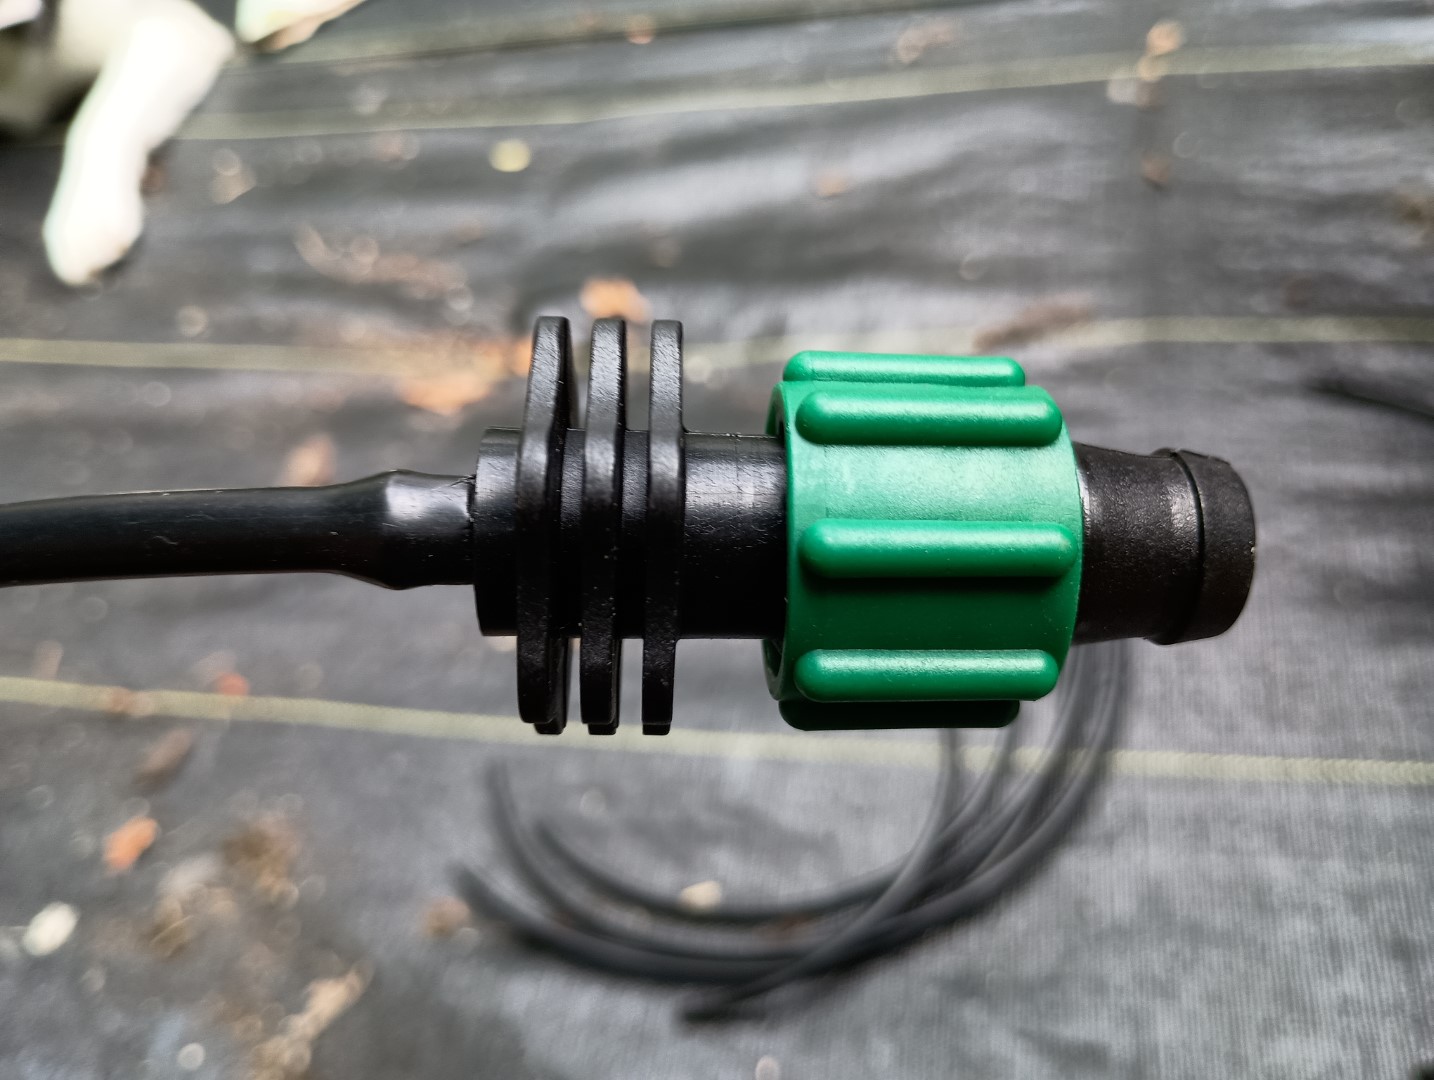
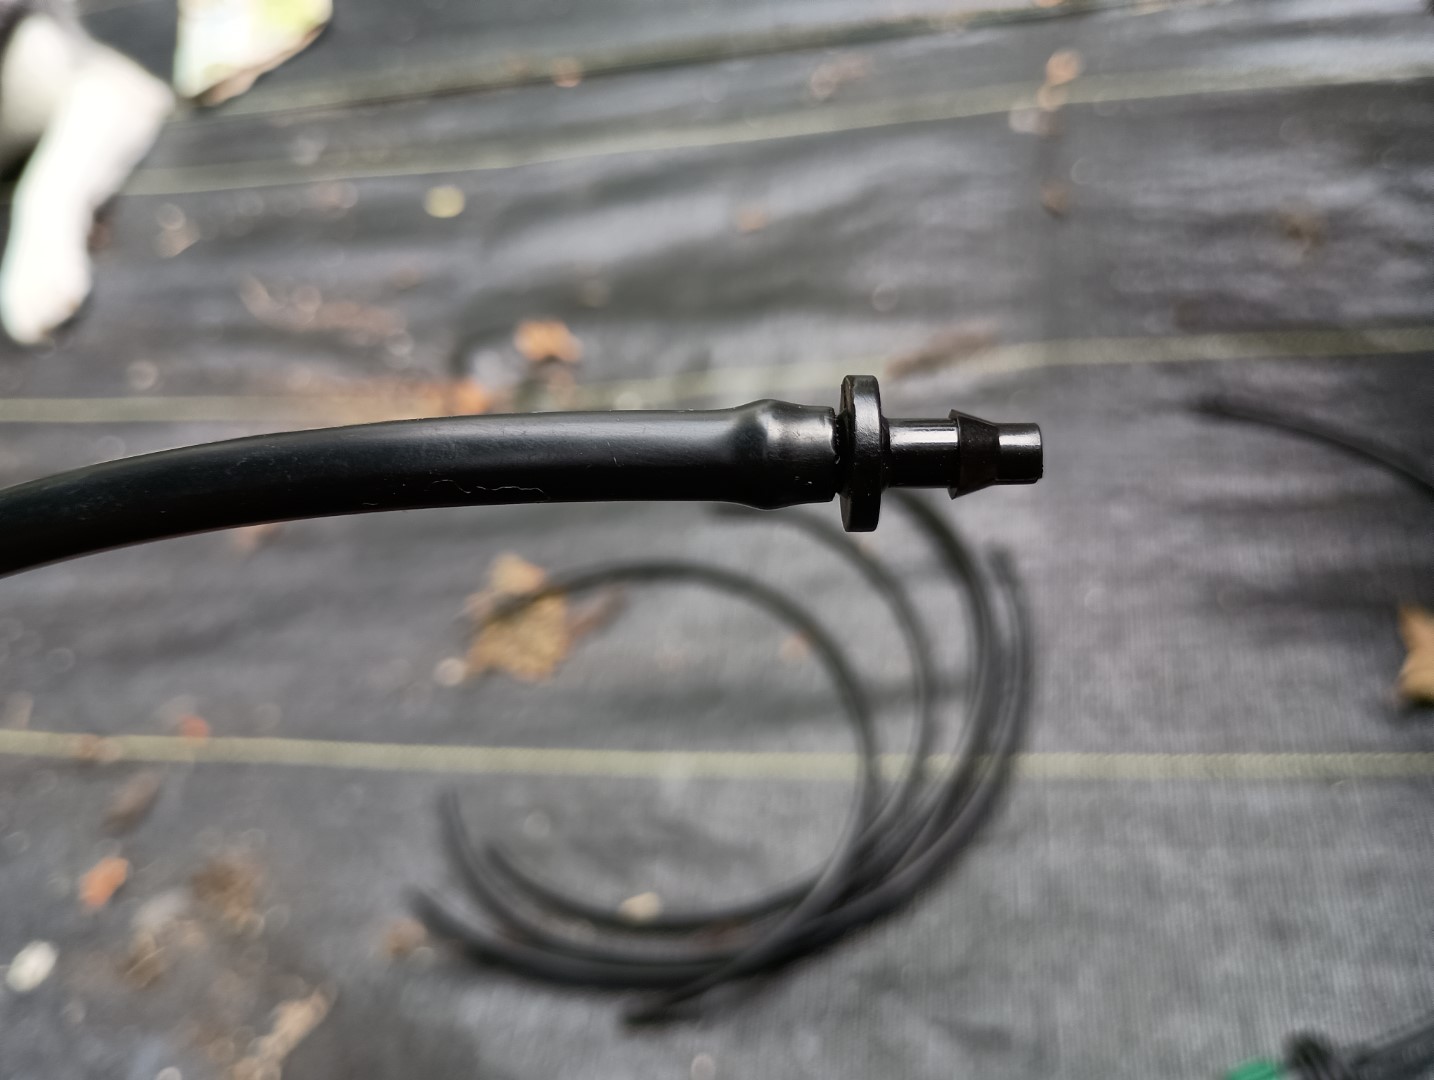
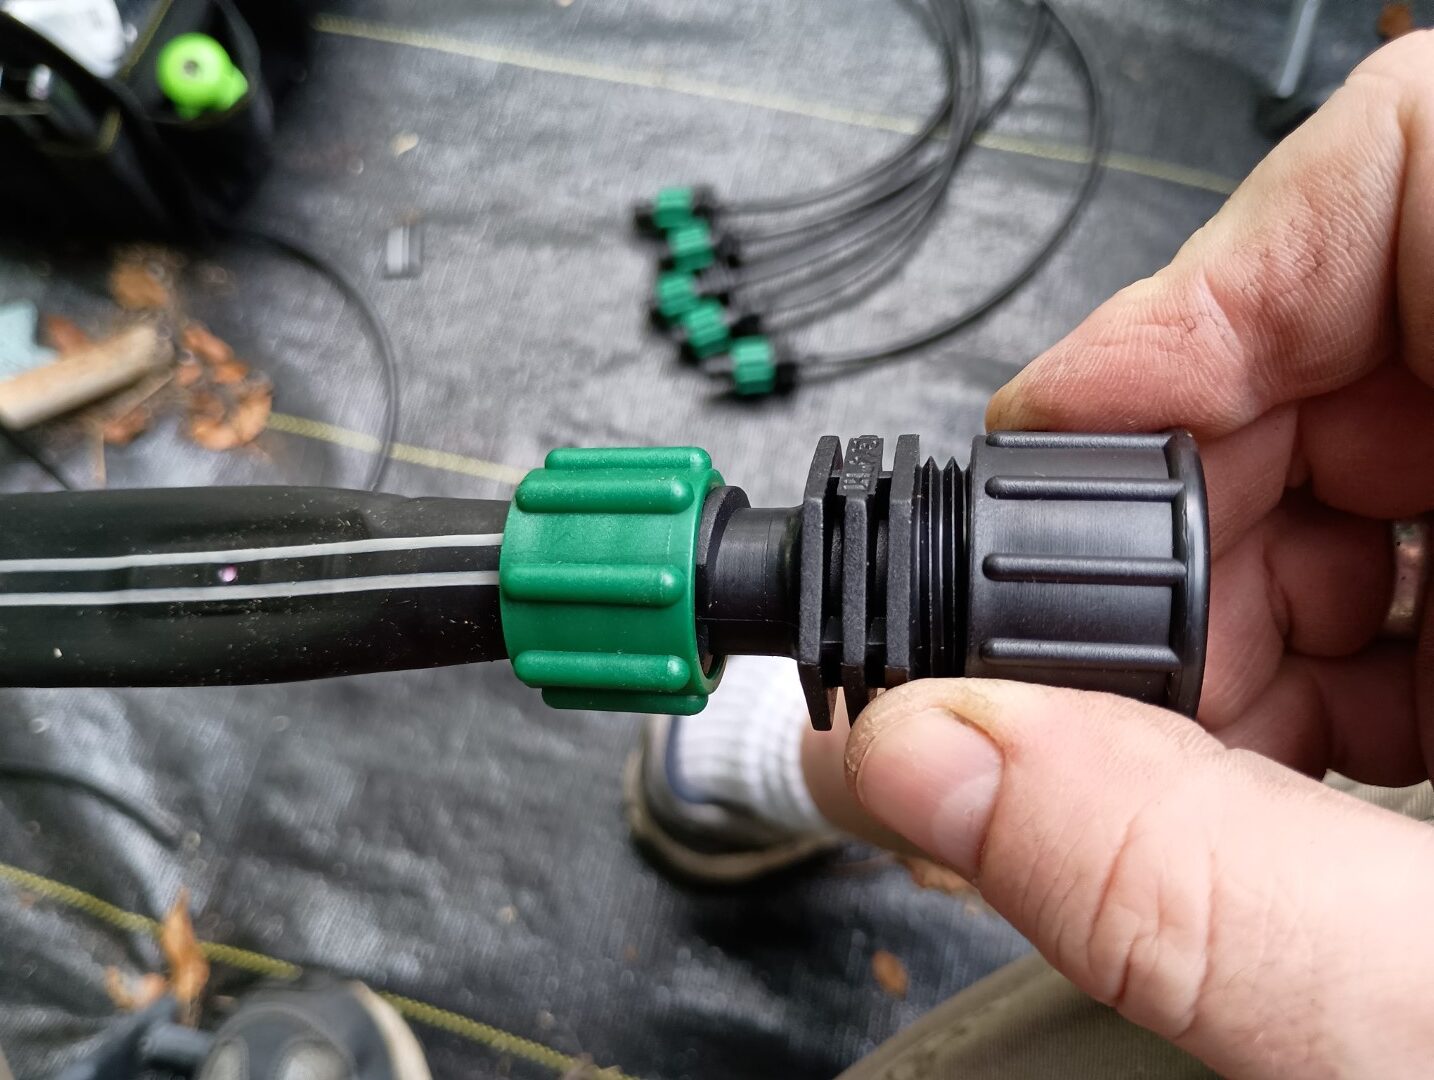
Normally, for drip tape, I will install the tape with barb adapters connected directly into a main line tube. For this installation, I created some pigtail adapters using the barb adapters, some 1/4″ tube, and tubing couplers. This allows for more flexibility in the placement of the drip tape in the raised beds.
In a later article, I will detail some of the tools used for the installation of the tubing and fittings. For now, I will just let you know that I used a pipe swaging tool to expand the ends of the 1/4″ tubing to make installing onto the barbed ends of the adapters easier.
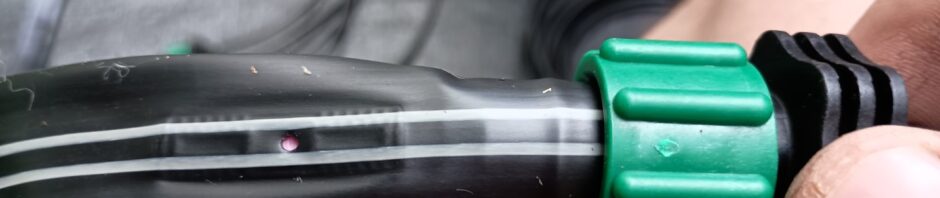
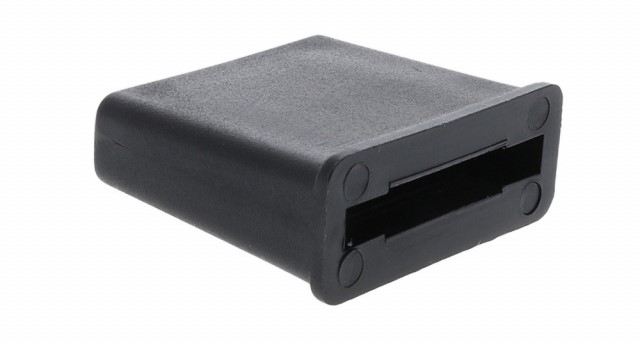
Perma-Loc Tape x Barb Adapter
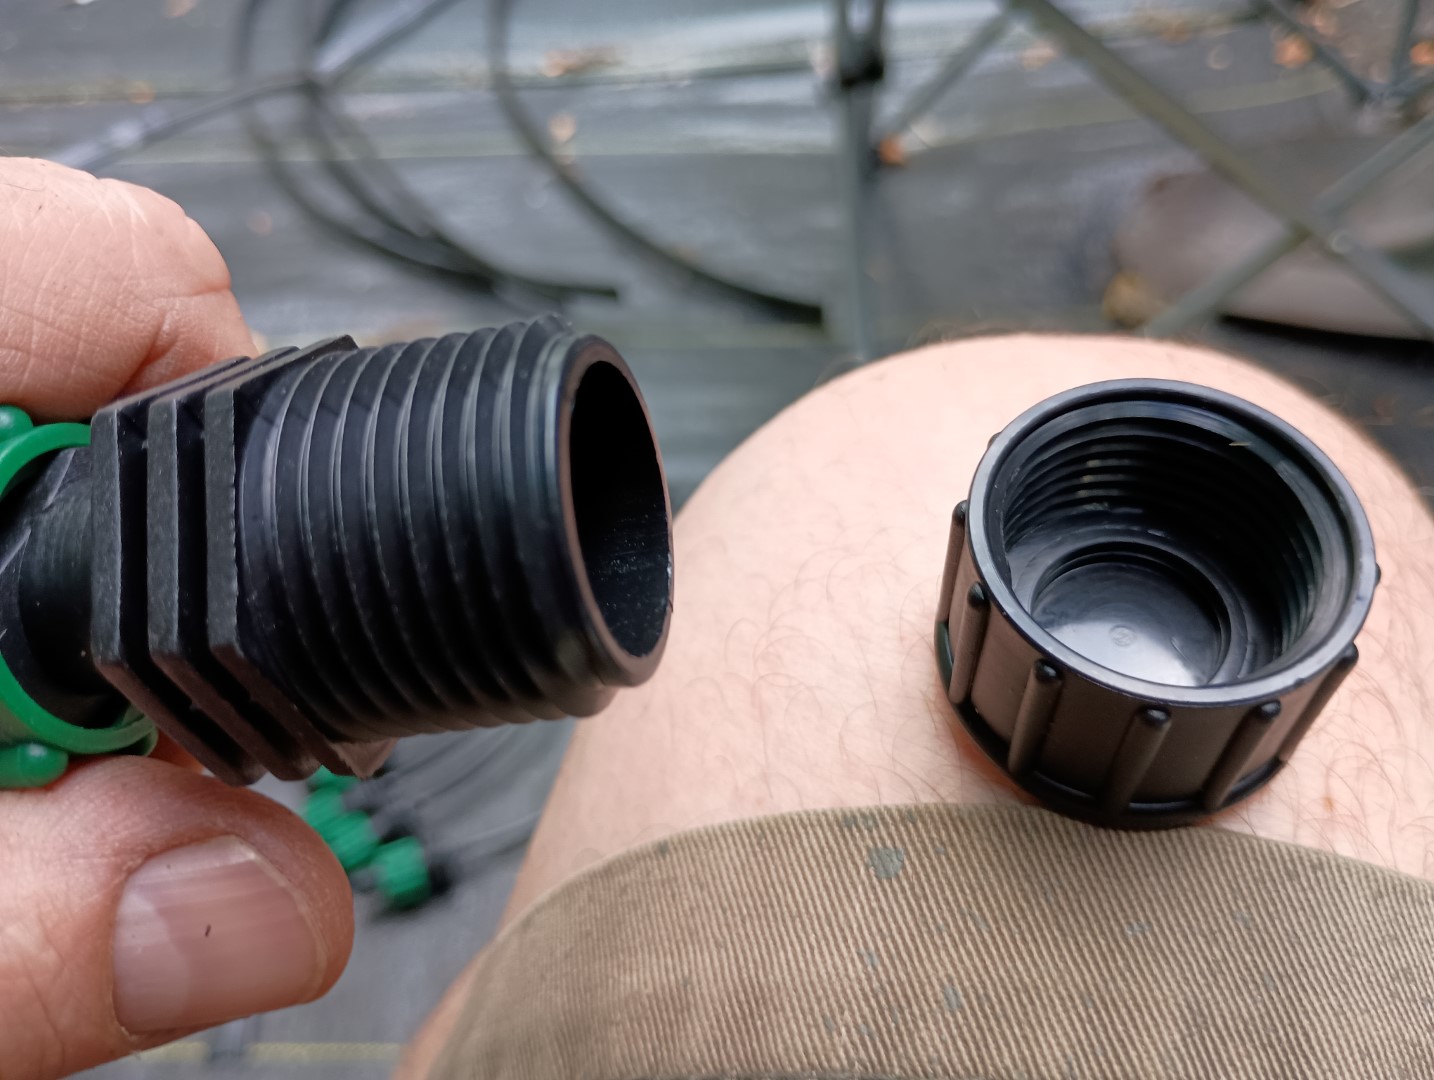
Tubing Coupler
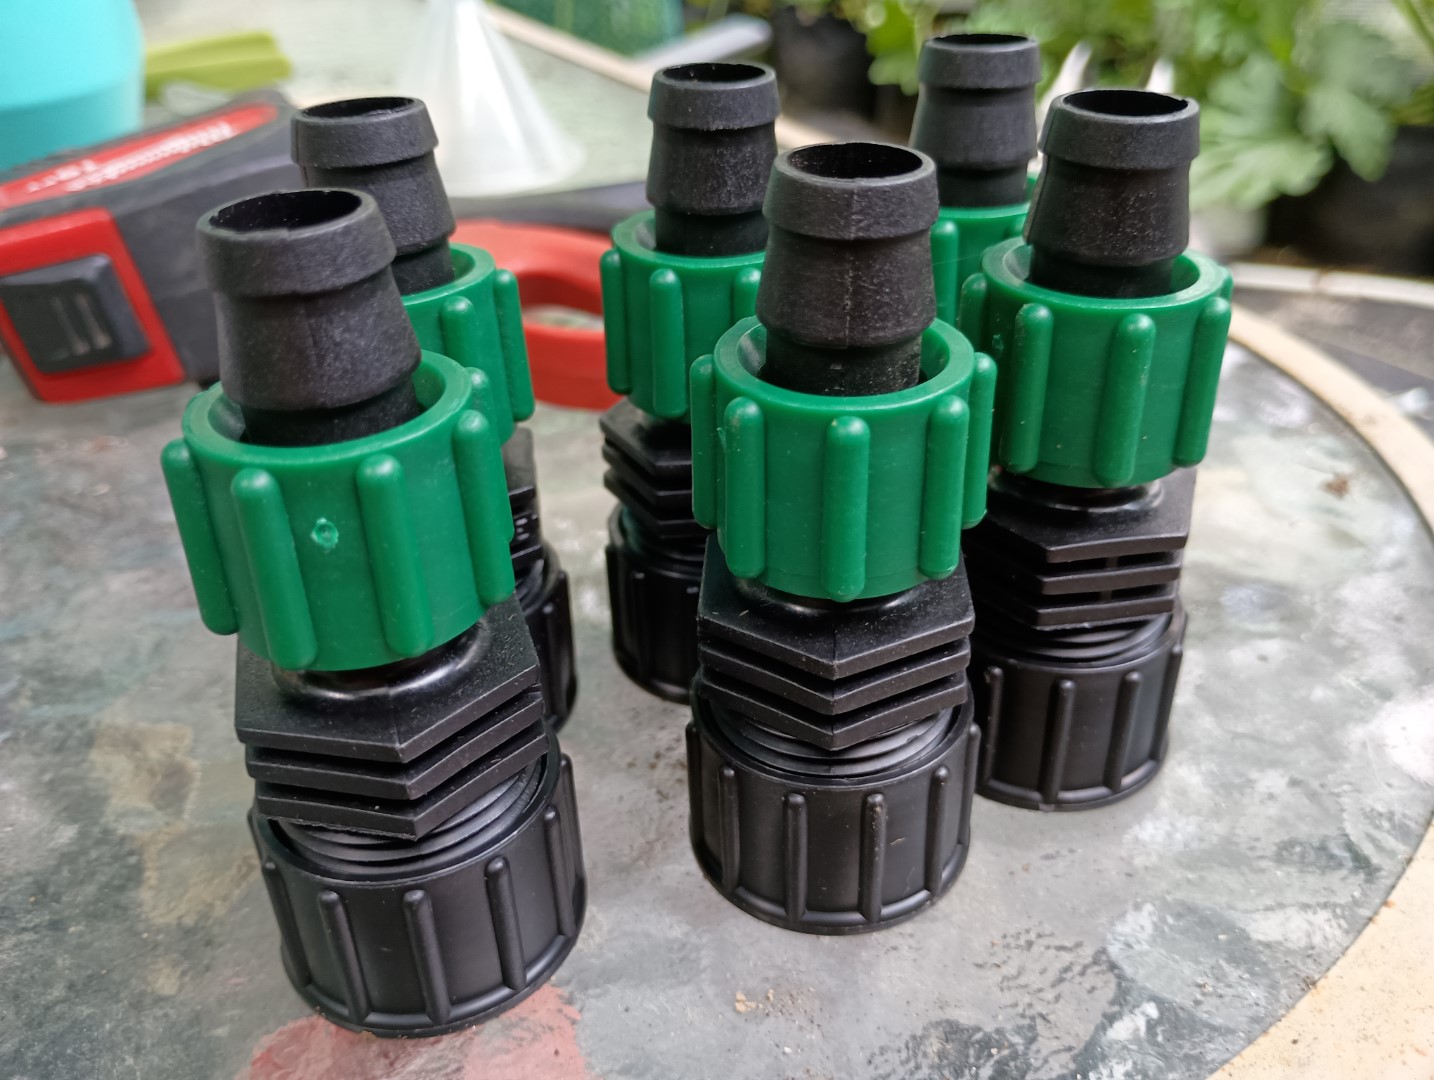
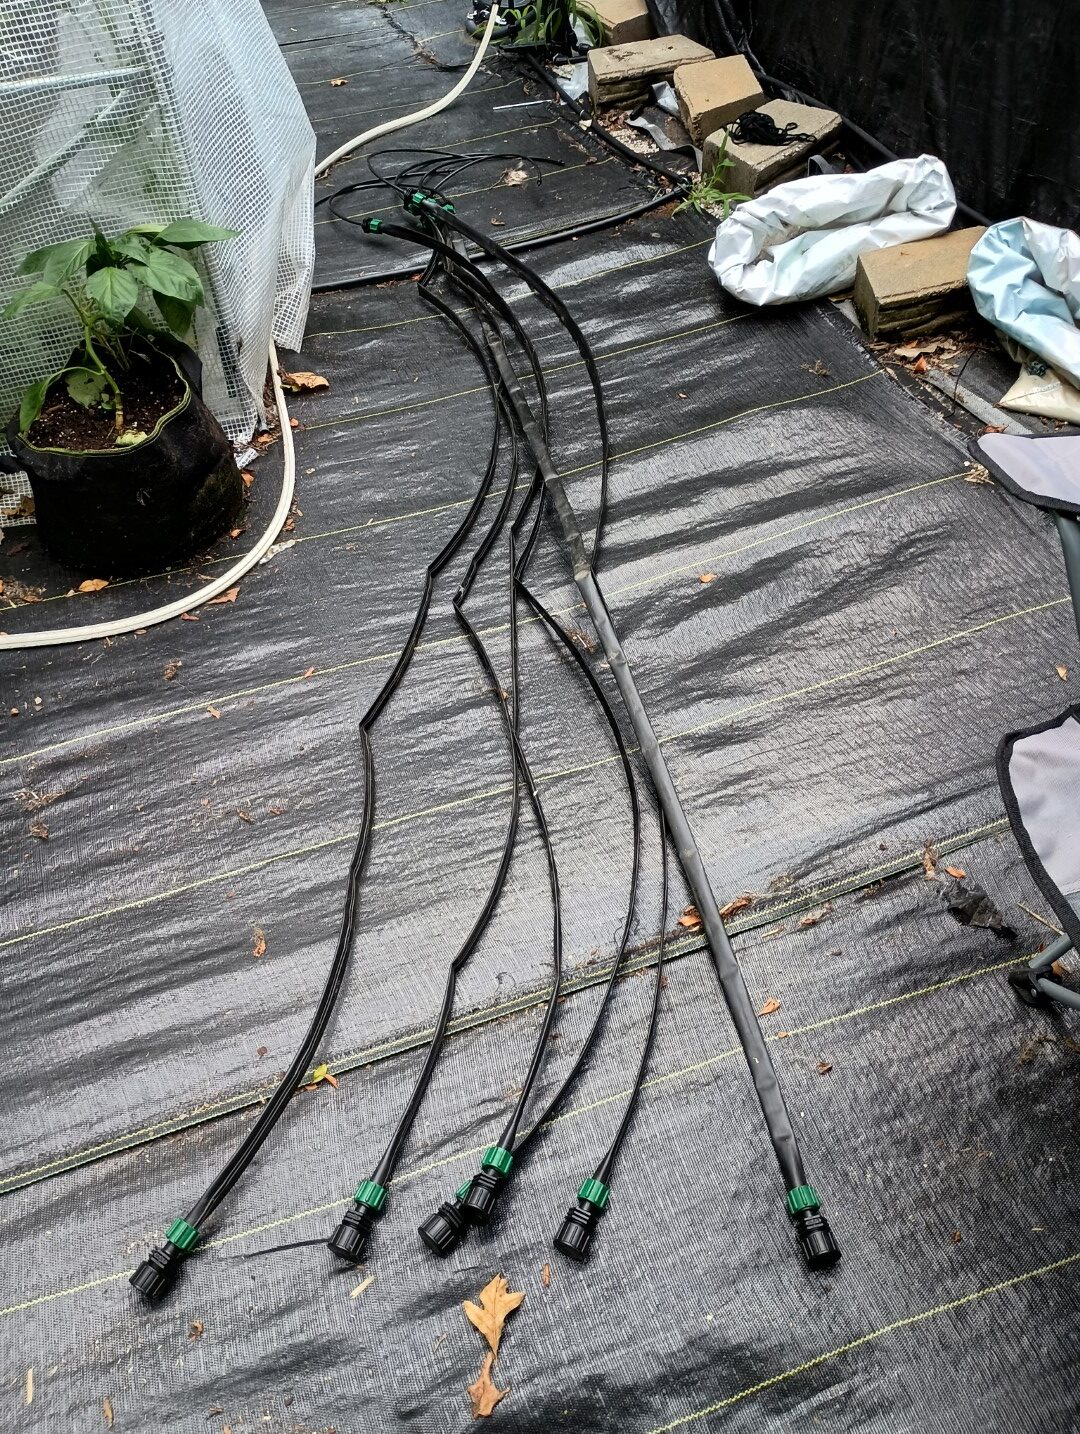
I will be installing 6 – 8′ pieces of drip tape into two raised beds, 4 in a 4 x 8 foot bed, and 2 in a 2 x 8 foot bed. Here are the pigtail adapters for each.
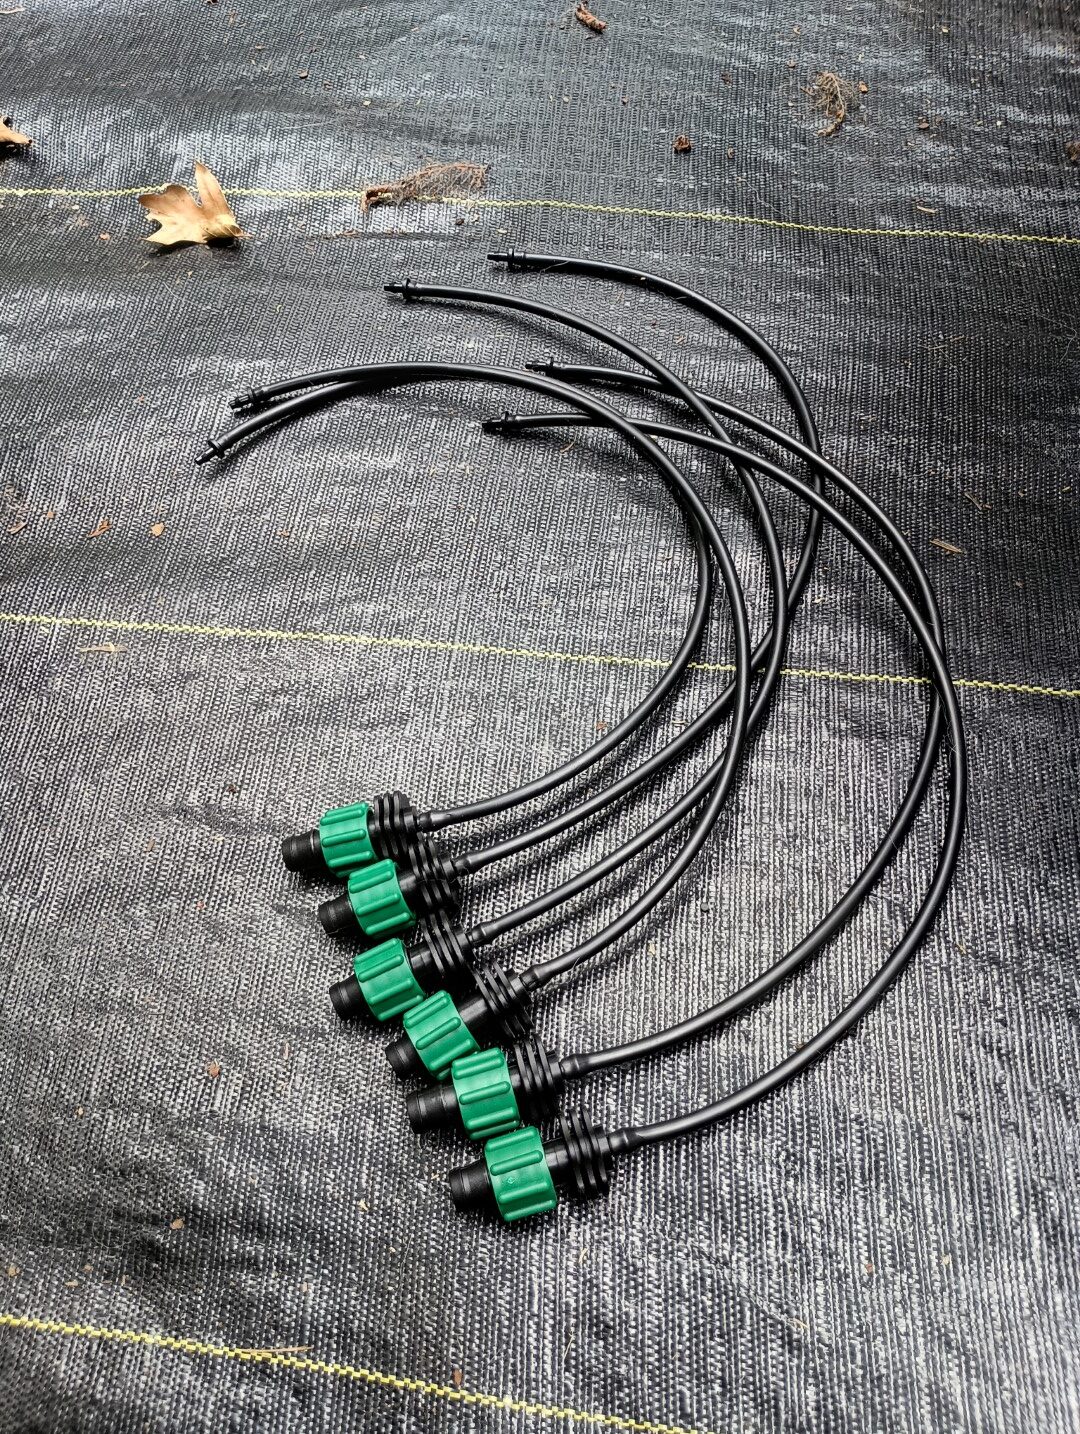
Drip Tape Pigtails
On the other end of the drip tape, there are several methods of capping them. You can use these end closures, which just go over the tape and it is folded and squeezed together. They are very affordable.
Drip Tape End Closure
I like to use these end caps with a hose end fitting. They make flushing the tape very easy.
Drip Tape End Cap
For the drip tape, I bought a 500′ roll of P1 5/8″ 15 mil drip tape. Emitters are spaced 6″ apart, with a flow rate of .25 GPH. I cut 7 1/2′ pieces.
Drip Tape
I like to finish cut them about an inch from an emitter. This allows for the installation of the fittings close to an emitter with no wasted space.
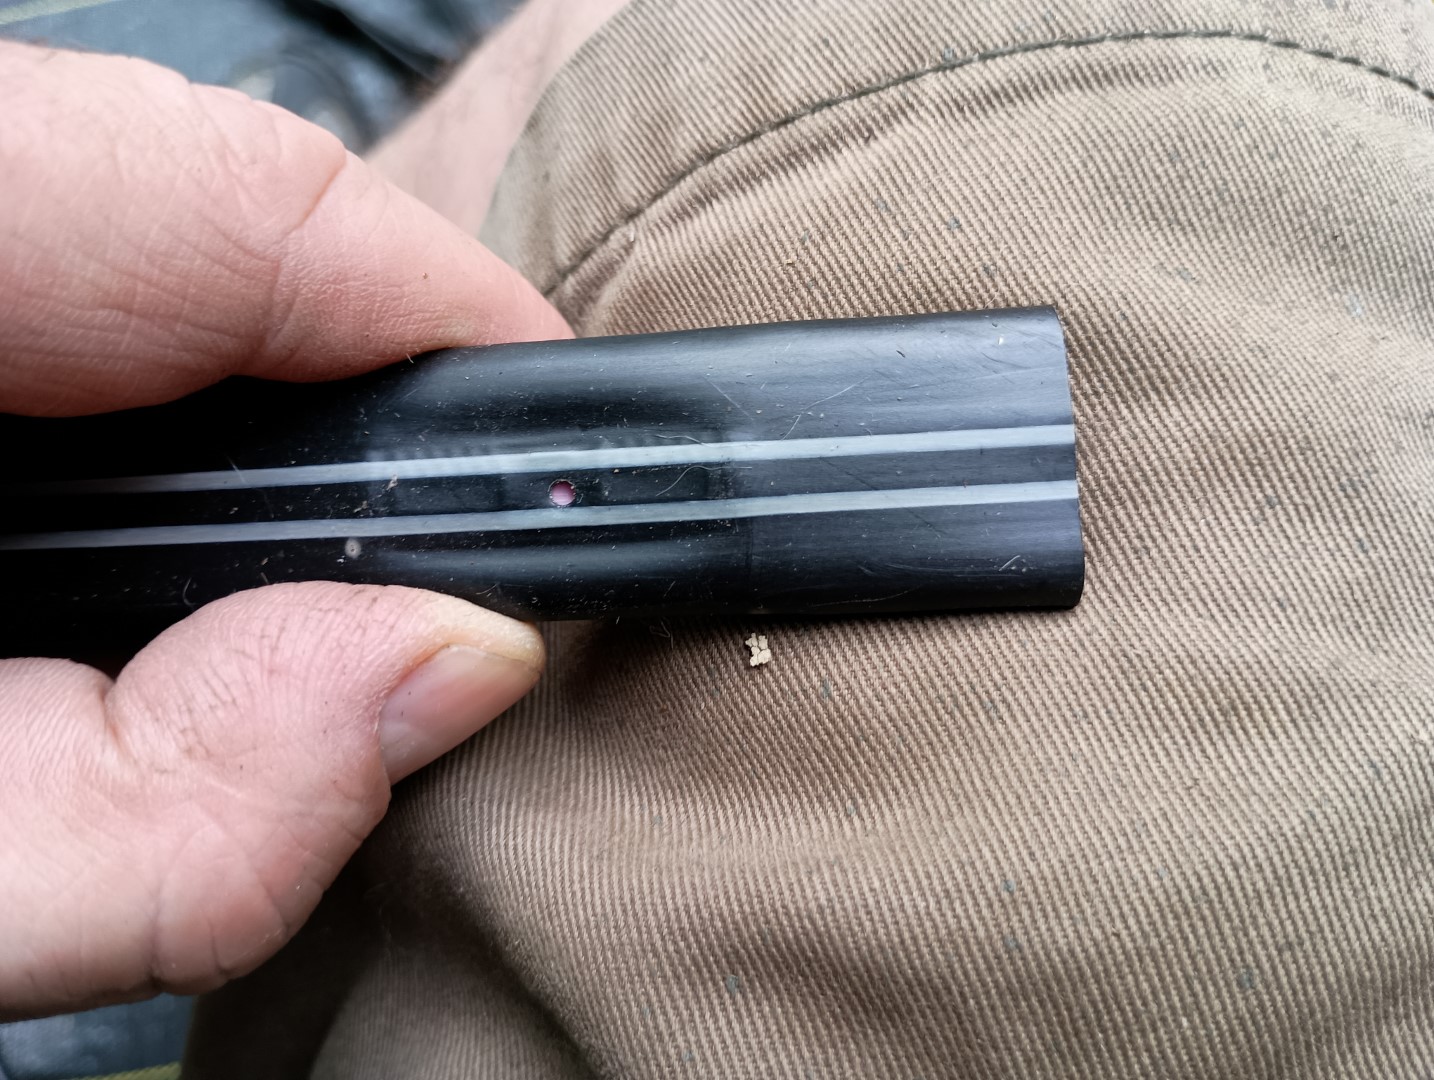
Drip Tape Cut End
Adapters are inserted into the tape.
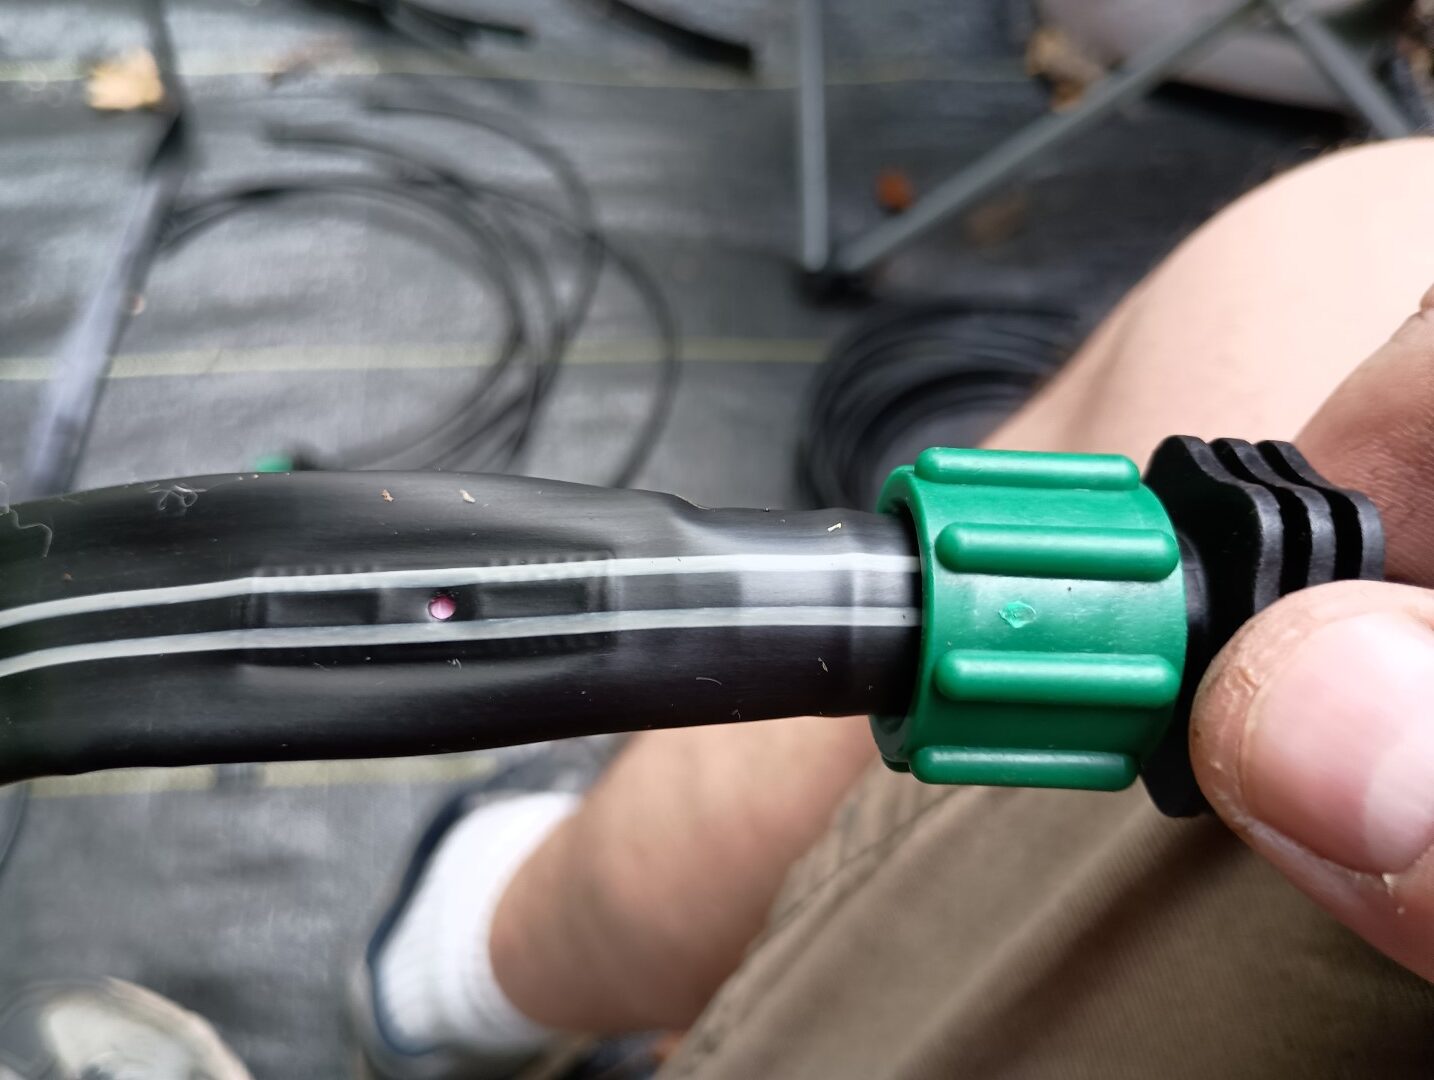
Insert Barb Adapter
The nut is then tightened onto the tape, making a leak-free connection.
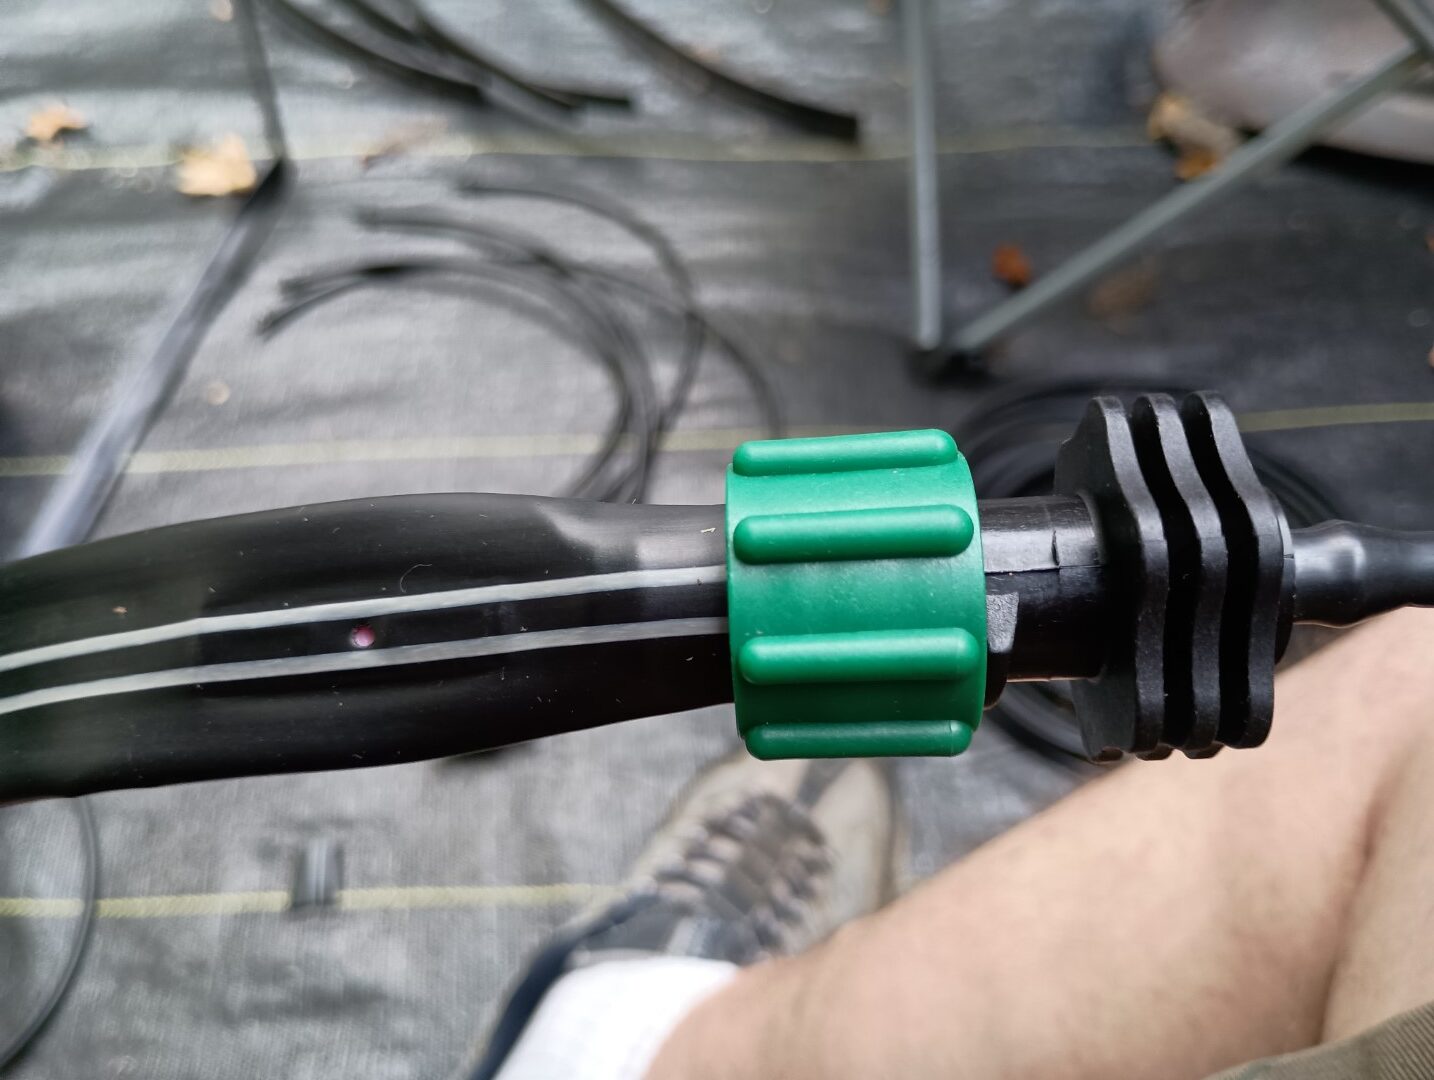
Tighten Barb Adapter
End caps are installed the same way.
End Cap Installed
Removing the cap allows for easy flushing or draining of the tape.
End Cap Removed
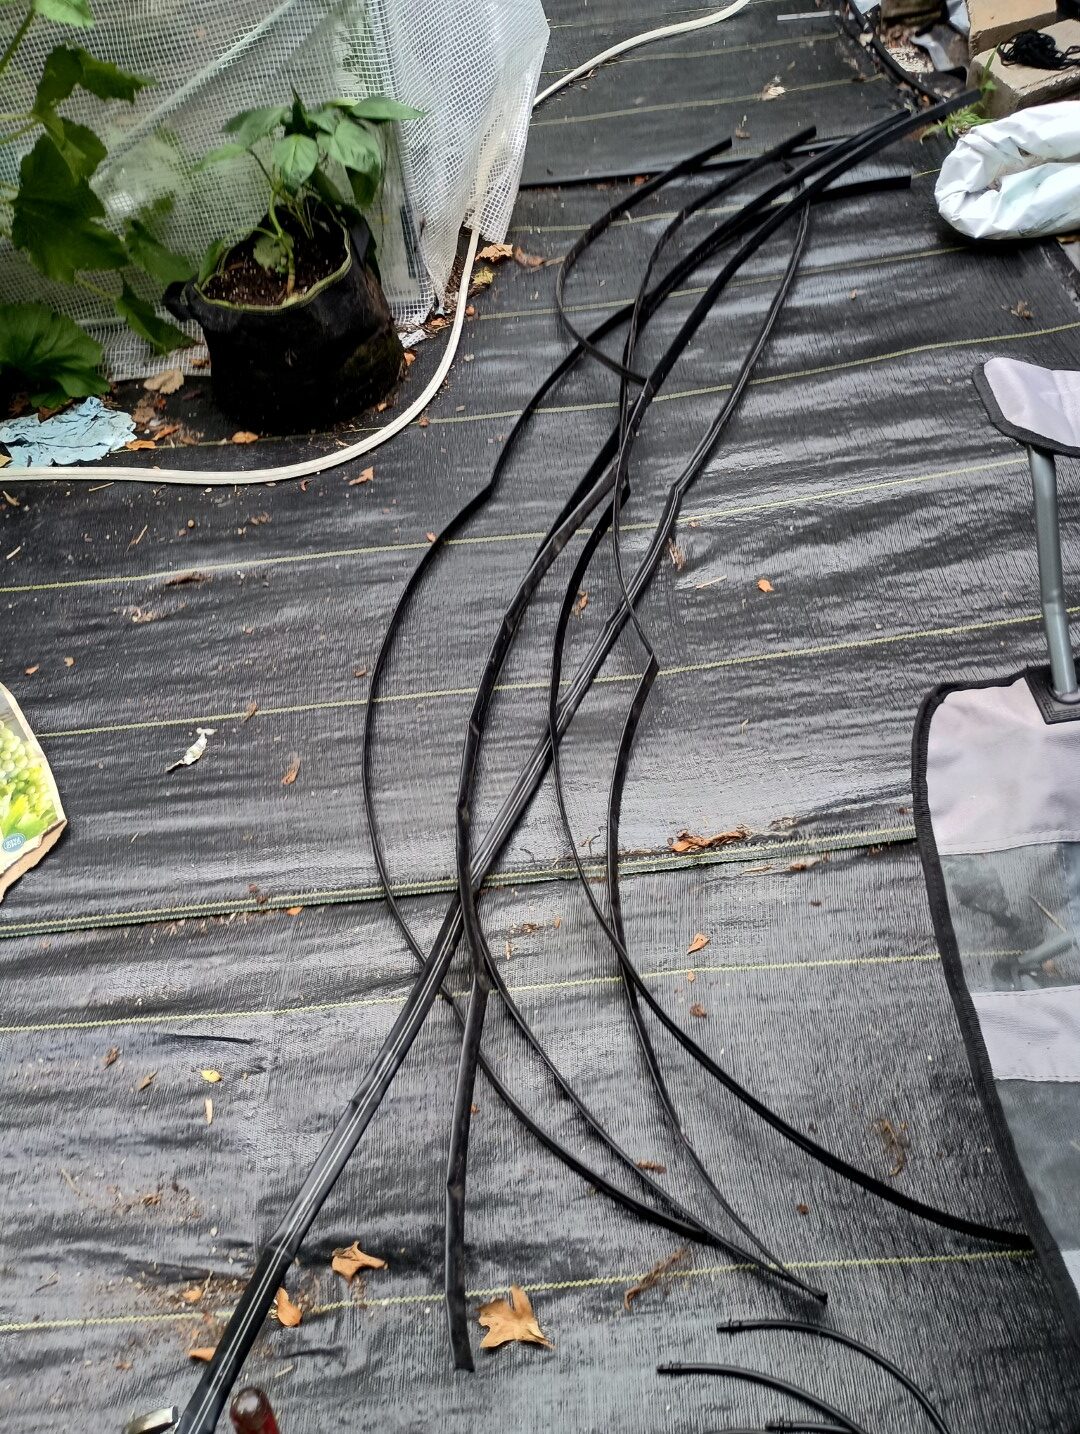
Here are the 6 tape assemblies.
Drip Tape Assemblies
for the 1/4″ barb fittings, I use a 0.270″ punch.
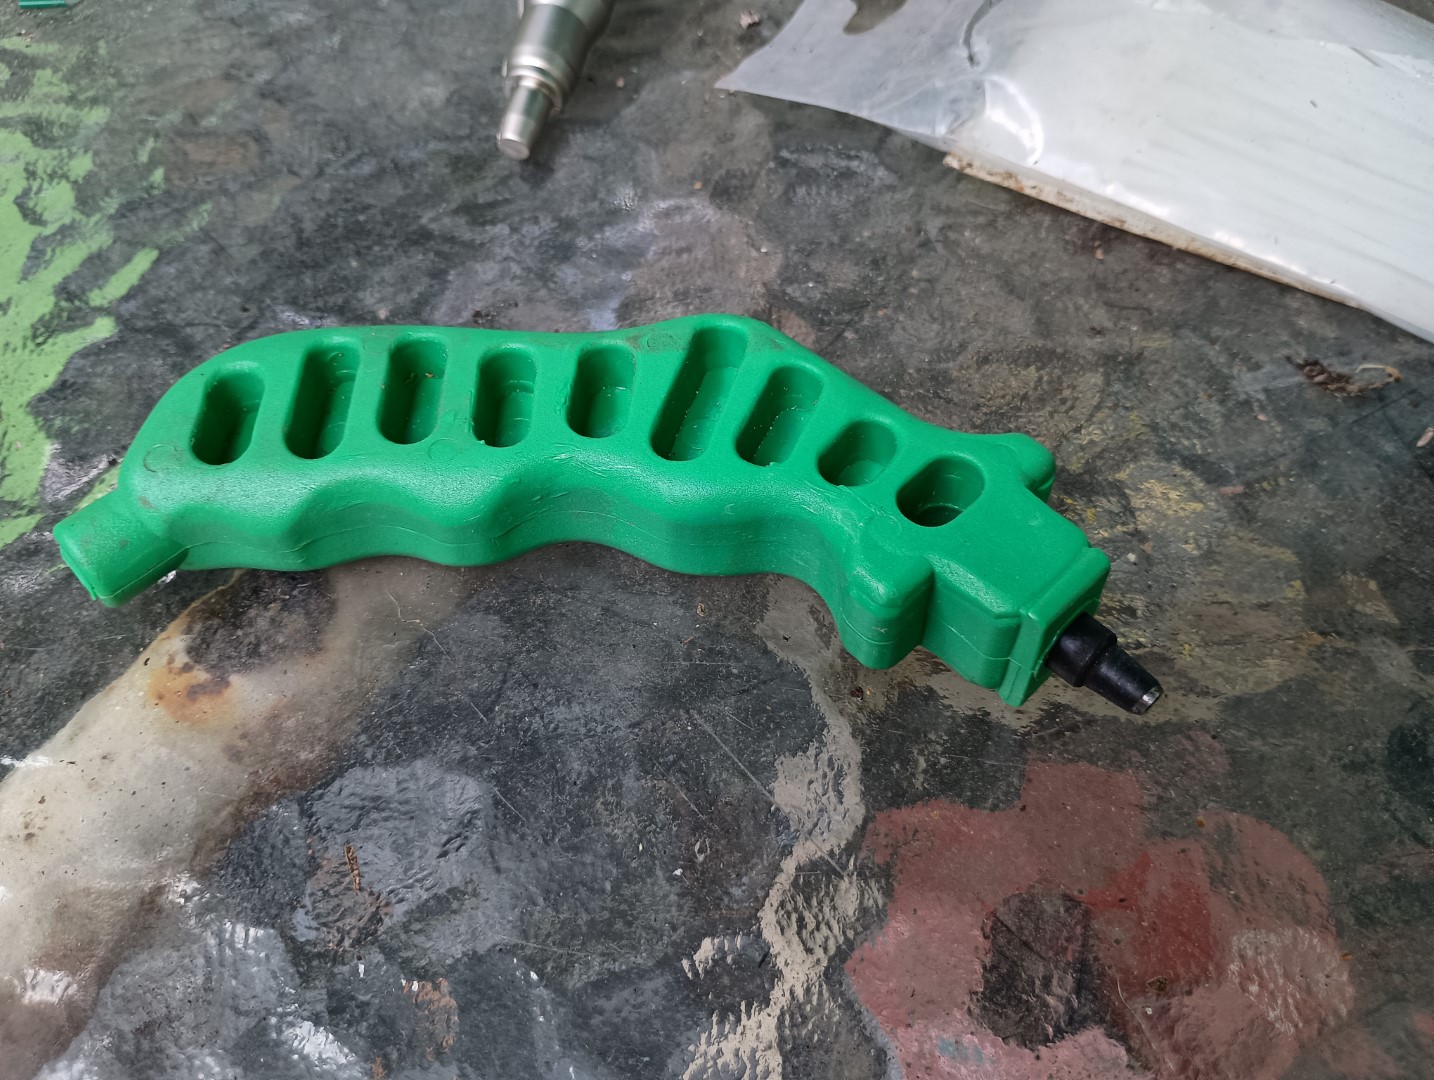
0.270″ Punch
The end is sharp enough to cut through the tubing.
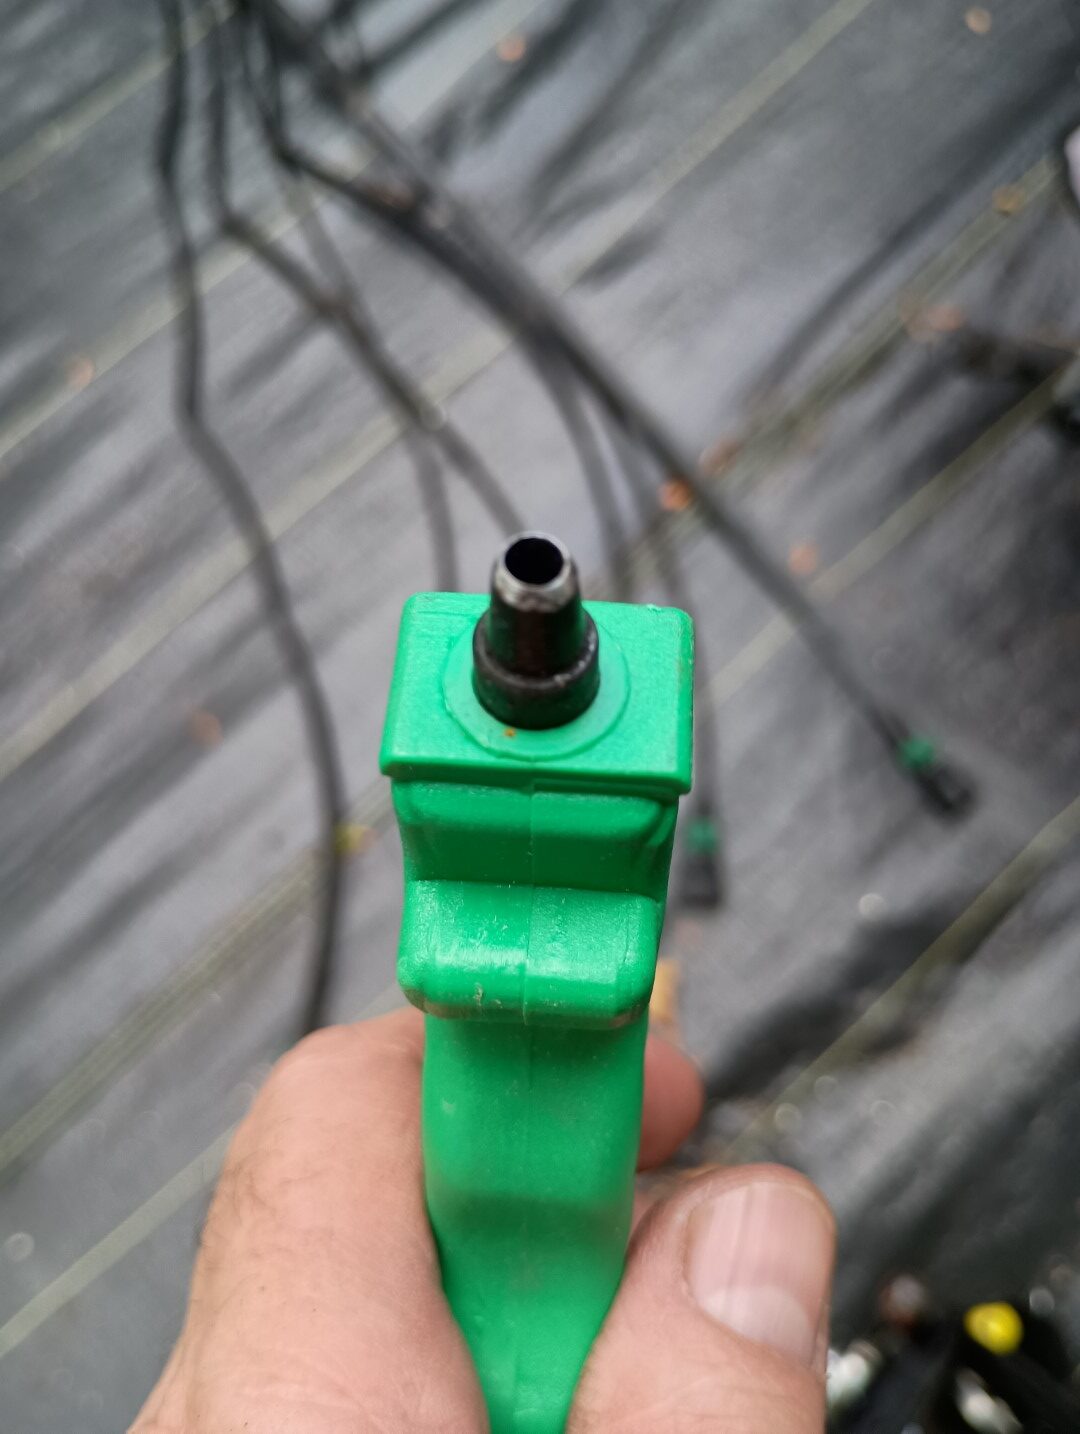
0.270″ Punch Cutter
You just push it onto the tube, twisting as you push, to cut a hole in the tube.
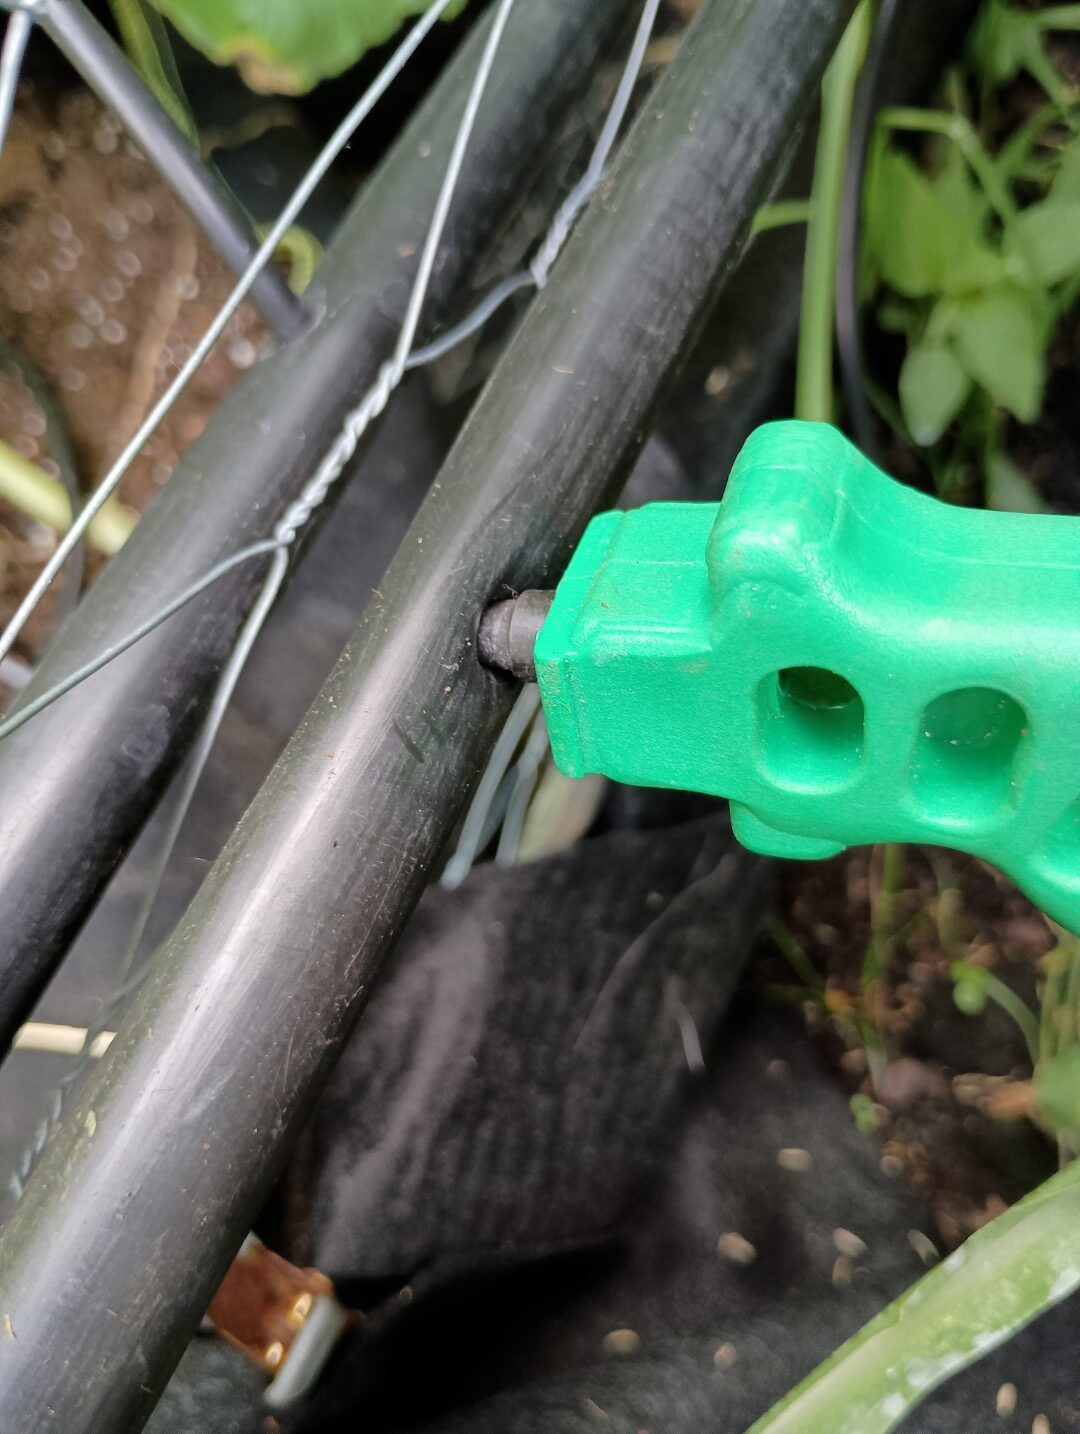
Punching Main Line Tubing
The barb fittings are inserted here.
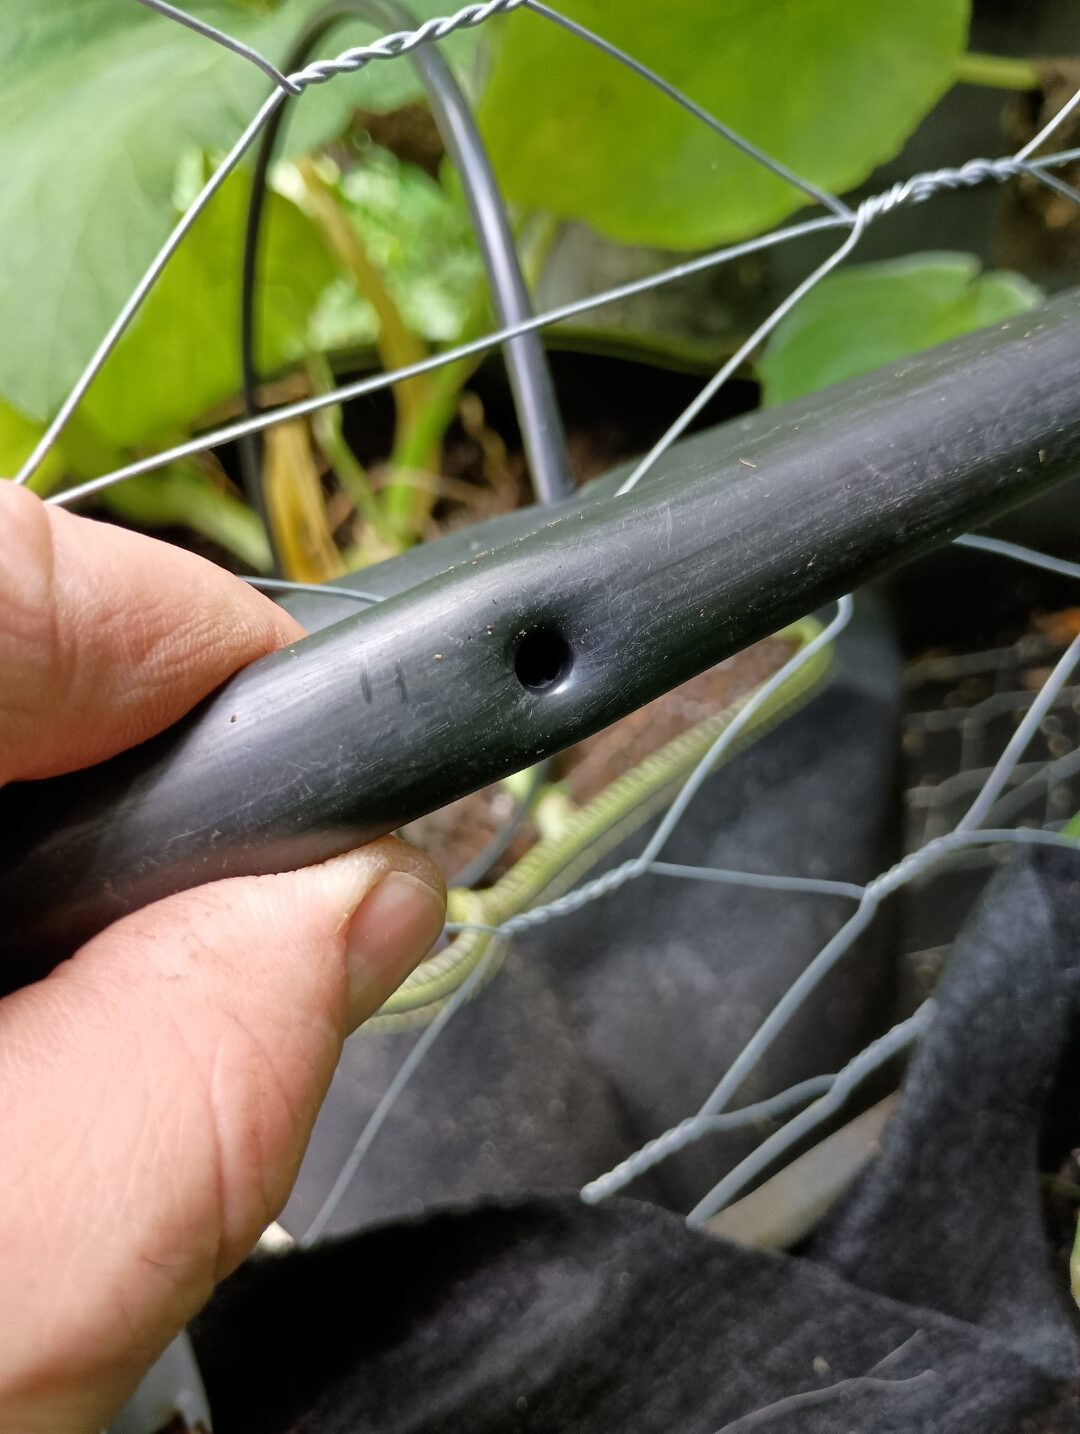
Punched Tube
This creates a leak-free connection.
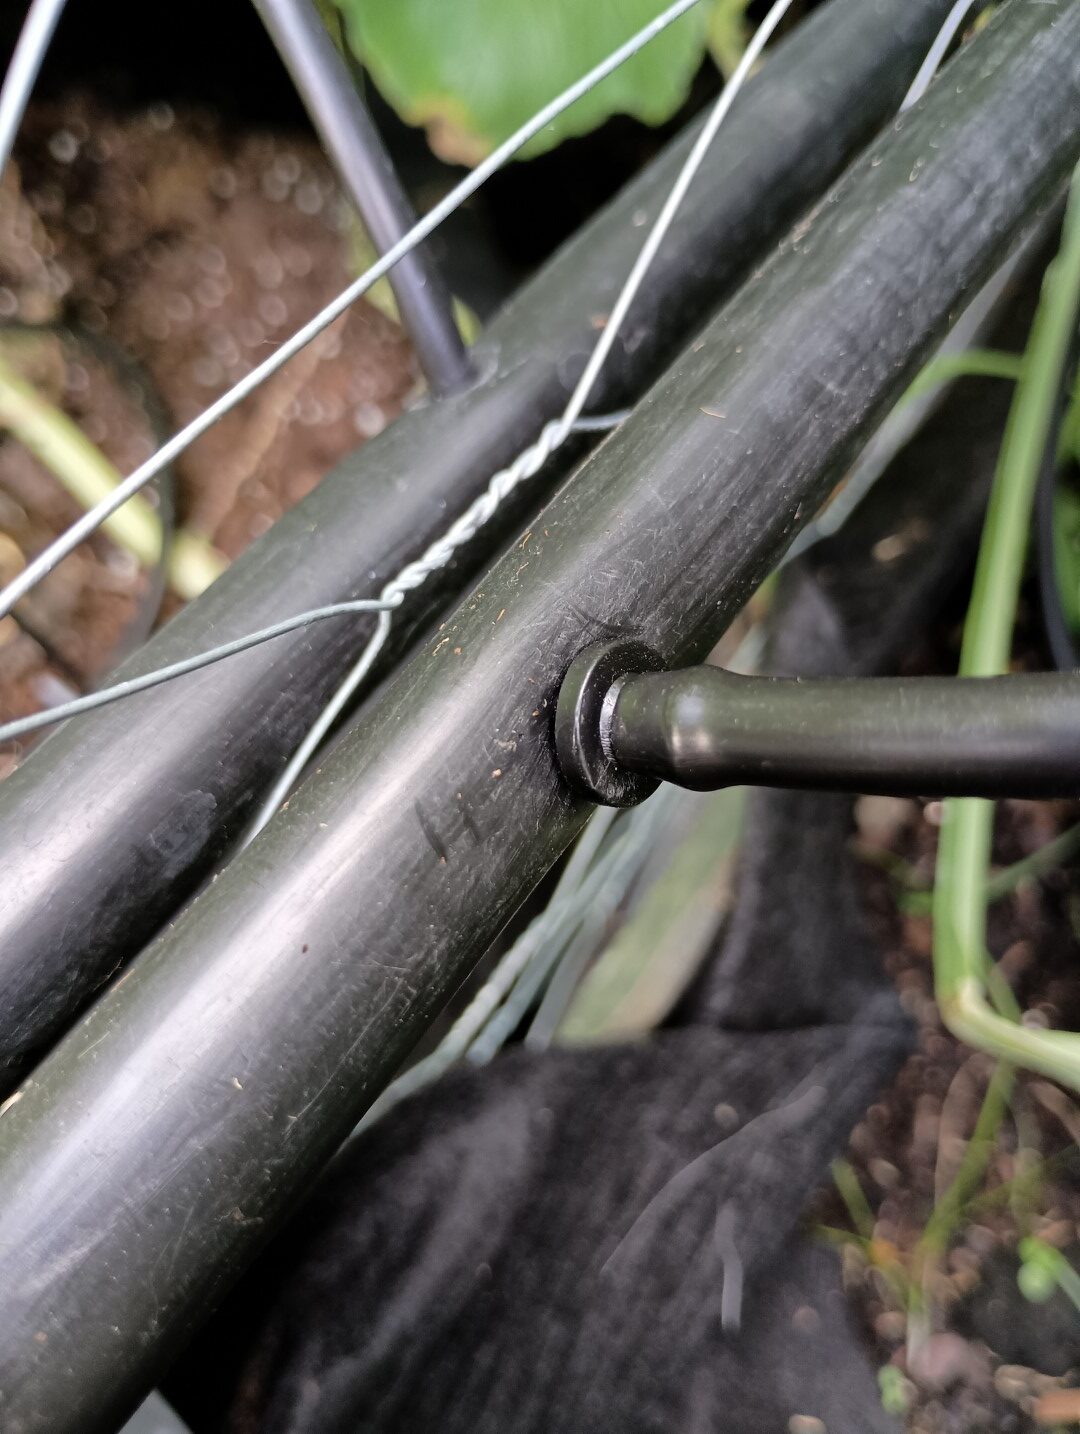
Tubing Coupler Inserted Into Main Line
And here are 4 assemblies installed in our 4 x 8 foot corn bed.
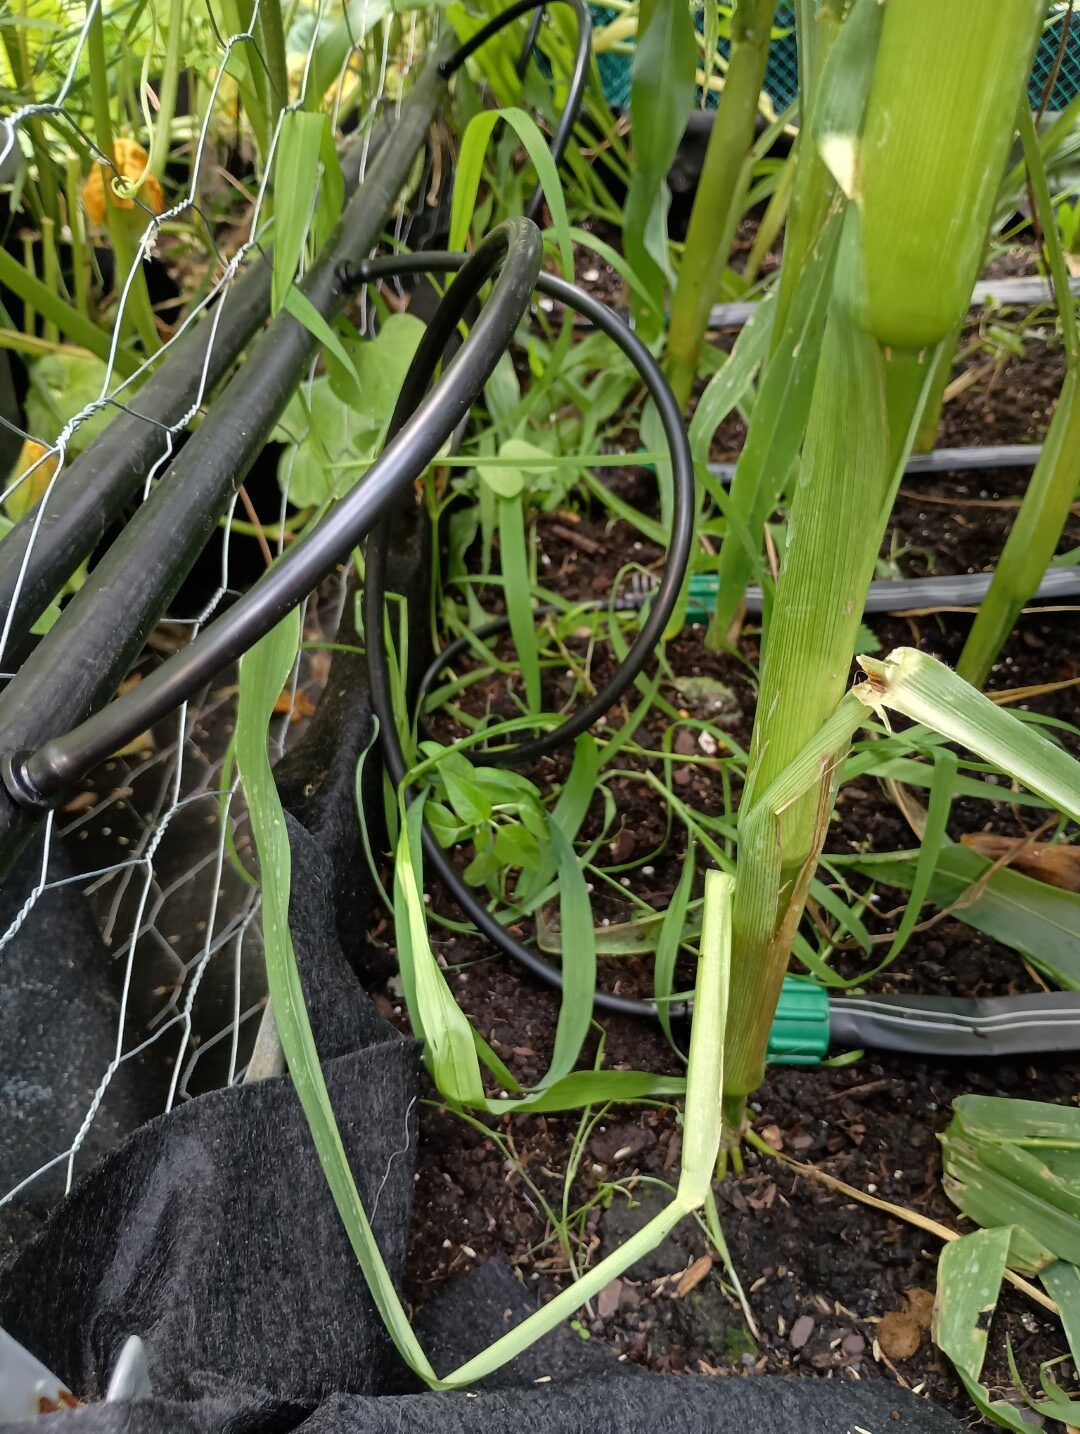
Drip Tape Assemblies Installed
Here is the emitter dripping water.
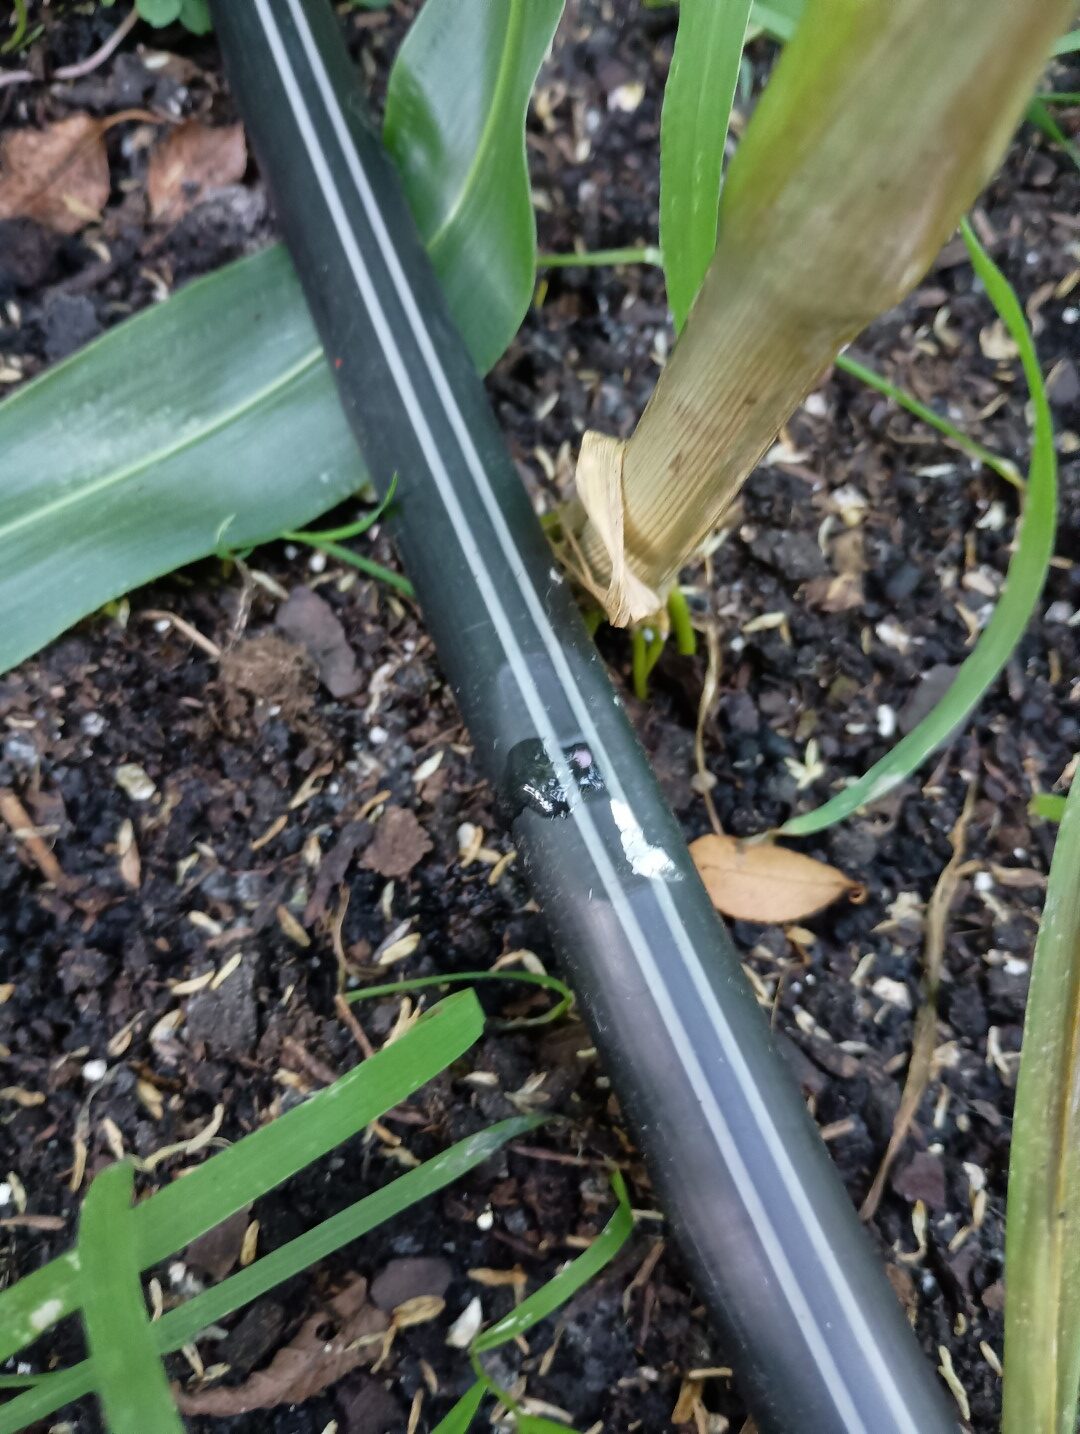
Drip Tape Emitter
I typically run the drip tape in the raised beds for 30 minutes There are 60 emitters in that 4 x 8 foot bed, so that amounts to 7 1/2 gallons of water for the bed.