Fake Ice cubes
You don’t know what you might need to know until you know you need to know it.
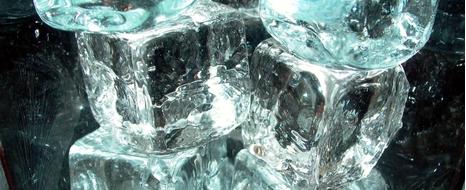
Several years ago while we were doing sets and props for a startup theater we needed ice cubes that would not melt. Until that moment I did not know, that I would need to know, how to make fake ice.
In this particular play the characters drank, a lot, someone was always holding a glass of something. They would swirl the cubes making faint clinking noises, stare at them while they delivered lines, stir them, slam the glass down and make them jump. Ice had a supporting role in the play. Using normal ice was not an option, it would melt and we would have to keep a supply of it off stage to swap out for each scene.
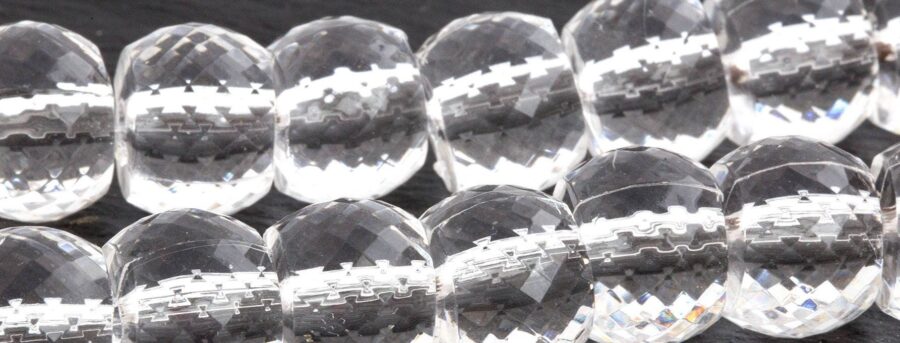
It turns out that photographers have know about this alchemy for a long time. In my search I found this article by Allen Mowery, Make Your Own Fake Ice Cubes For Photography Staging. I had everything I needed already on hand. The beads I used came from Wal-Mart just like the authors did. They were simple clear plastic beads nothing fancy. 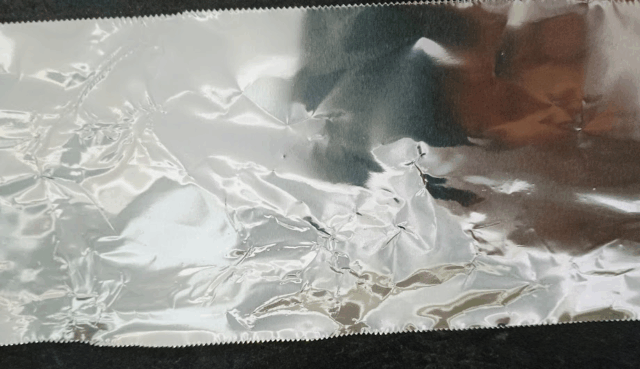
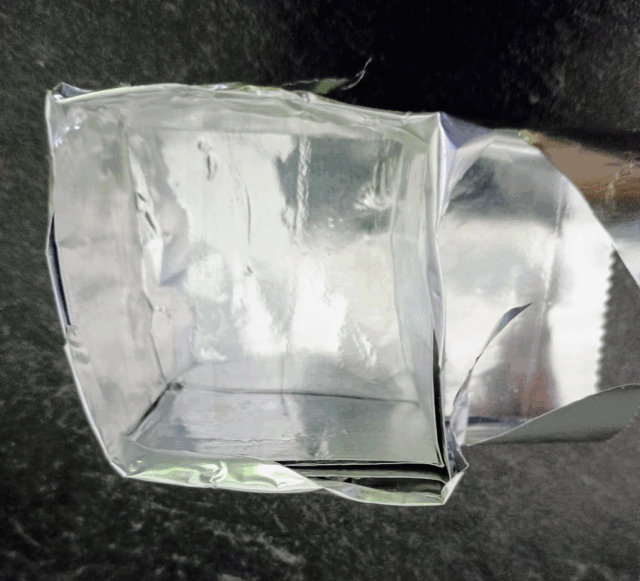
I did not use a “form” like he did, he used a small wooden box, I used only tinfoil. 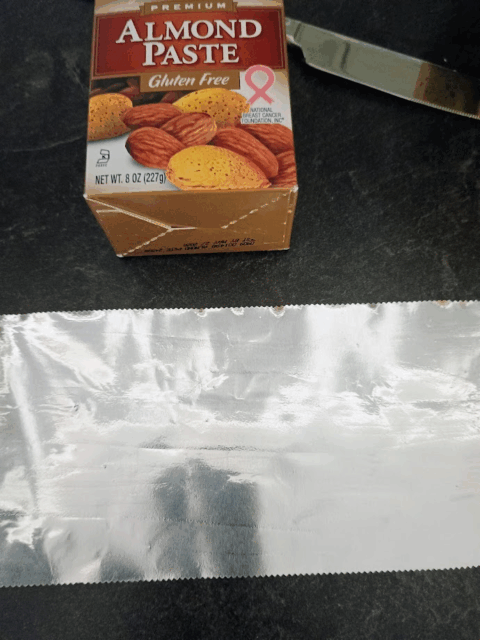 I removed wrinkles from my tinfoil by smoothing it with a small box of SOLO Almond Paste, but you could use anything that would burnish the metal without tearing it. Once I had it smooth I started on the long edge folding it up about 3/4 of an inch, smoothing that this time with the rounded handle end of a kitchen knife, then folding it again and again each time smoothing out any wrinkles.
Once I had a long smoothed strip of 3/4 inch foil I started making the bends which would form the cube. Since my height was approximately 3/4 of an inch I made my side folds slightly smaller so that the cube would be taller than it’s width. I used the end of a butter knife to smooth down each fold line. I used another piece of foil cut to be large enough so that when folded up it was slightly taller than the cube. I cut into each corner of that sheet so it would fold nicer around the cube. Bent up parallel sides and wrapped them just slightly around the upper lip of the cube and then repeated that process with the other two sides. 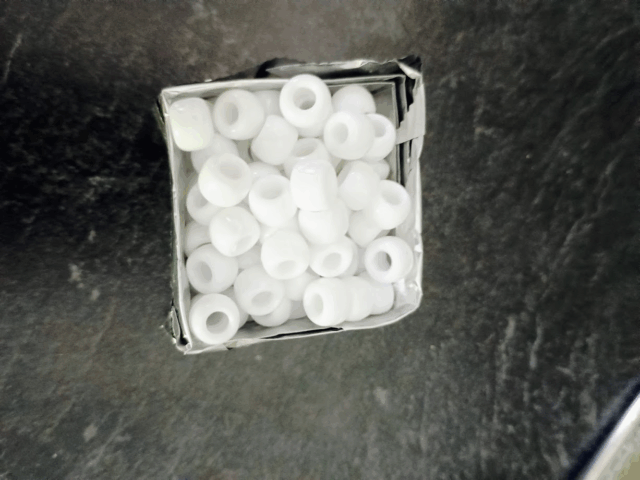 I then filled the cubes with clear beads and as the author stated you need to pour them taller than you want your finished prop to be because they will shrink as the air pockets are filled.
Don’t let the fact that these are white beads confuse you. I recently donated a large majority of my craft supplies to Camelot Care Centers I would highly recommend looking for places like this local to you if you have crafts, games, puzzles etc… you are looking to downsize. Years of teaching art, doing sets and props for theater and VBS, teaching Sunday School and having young children left me with more art and craft supplies than I could ever foresee using. While I have recently needed to rebuy some items, like these beads, I regret nothing. The director at the center for children and young adults has a limited budget, being gifted with a Jeep load of supplies helped. The center has individuals who cannot do a project but enjoy and need the sensory experience of handling all the different types of items. That was the long way of saying my clear beads have gone to a better place. What I did have on hand for the photo were these white beads which I had just bought to form vertebrae for monkey skeletons.
I did use the oven not one of my dedicated craft toaster ovens because those were packed. Would I advise this? Not sure, some might be concerned about off gassing and then using that oven to cook food. It does take a long time for the beads to melt completely and it does stink. Cooling also takes time and you do want them to cool completely before peeling the tinfoil off.
The author stated that he had to file his down and that some of the tinfoil was stuck in the cubes. Because I had burnished the foil to get it pretty smooth I didn’t have a lot of nooks and crannies for the plastic to melt into so mine came out pretty clean. Any places where the tinfoil did stick you could tear it away and then either pick it out or file it off. The author also suggested that if the unmolding caused to much surface damage you could just place the cubes back in the oven to let the surface melt enough to smooth itself out.
All in all this was a great way to get clear ice for very little cost or effort. 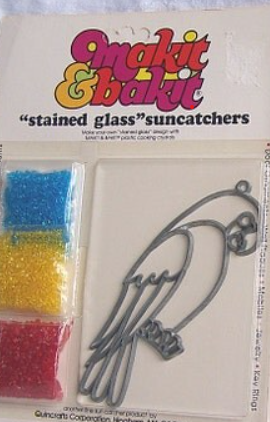
Doing a search it appears there are as many ways of making clear ice as there are uses for it, such as cake toppers! I’m thinking of all the applications this could have for prop making or cos-play or Halloween or whatever it is that you do. I also wonder if you could use this same concept with colored beads to create a faux stained glass piece. There used to be kits Makit & Bakit “stained glass” suncatchers. I loved those things, I still have some that I made when I was a kid or that I made with my oldest son.
Joanie from The Bite Shot wrote this article, DIY Fake Ice For Drinks Photography Where she used a product called Encapso K which she bought from Amazon, it’s still out there but the price has gone up it’s now $42.90 per pint. This is a Water Clear Encapsulation/Display Rubber. One big difference is that this stuff floats. She also stated that after her photo shoot it did not start to break down or discolor which I didn’t experience with the beads. Rumor has it you can use Encapso K to make fake bottles or glasses and since it says you can break or shatter it I’m wondering if this would work for those times where you need the appearance of breaking glass without the blood shed. Also since it is not supposed to heat like resin does while setting, could you use molds that you could not use with resin, things that might melt? One reviewer said you can also tint it which is very interesting. Although another reviewer said it crumbled to easily and was very fragile, and if it is rubber it won’t be hard like resin or plastic.
Of course resin is another option but I’ve never done anything with resin where I wanted it to be crystal clear and like everything else resin has it’s own set of quirks and limitations.
I also have clear glue that I have used with plastic and silicone molds. Because it’s glue it has a whole other set of issues but it worked great in a kids art class to create small coasters where they added beads and bits to the mold and then filled them with the glue. The kids were happy and it was very inexpensive.
I think I would like to try melting the beads in a silicone mold just to see if that would work. Or if you melted them into sheets and then wrapped them or molded them on something while still warm could you create a lantern/lamp or what about a crystal skull or knife or, well you get the idea.
You can buy fake ice on Amazon, there is always that way too. Nothing says I love you and I made this because you are important to me like a $900 ice cube that took six months and many failed attempt to produce. Show someone you love them and they are important to you, go make something.