One of the first things that needs to be done each spring is getting the drip irrigation systems set back up. This involves a bit of maintenance. We currently have 4 drip timers, divided up into multiple zones each.
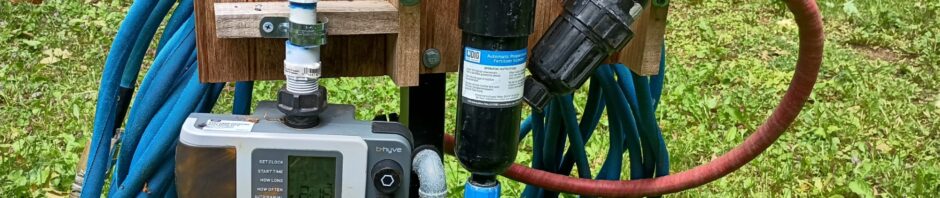
The shop side timer has four zones, but currently only two are in use. These are the boxes along the shop side, and the berries.
Current Shop Side Drip Setup
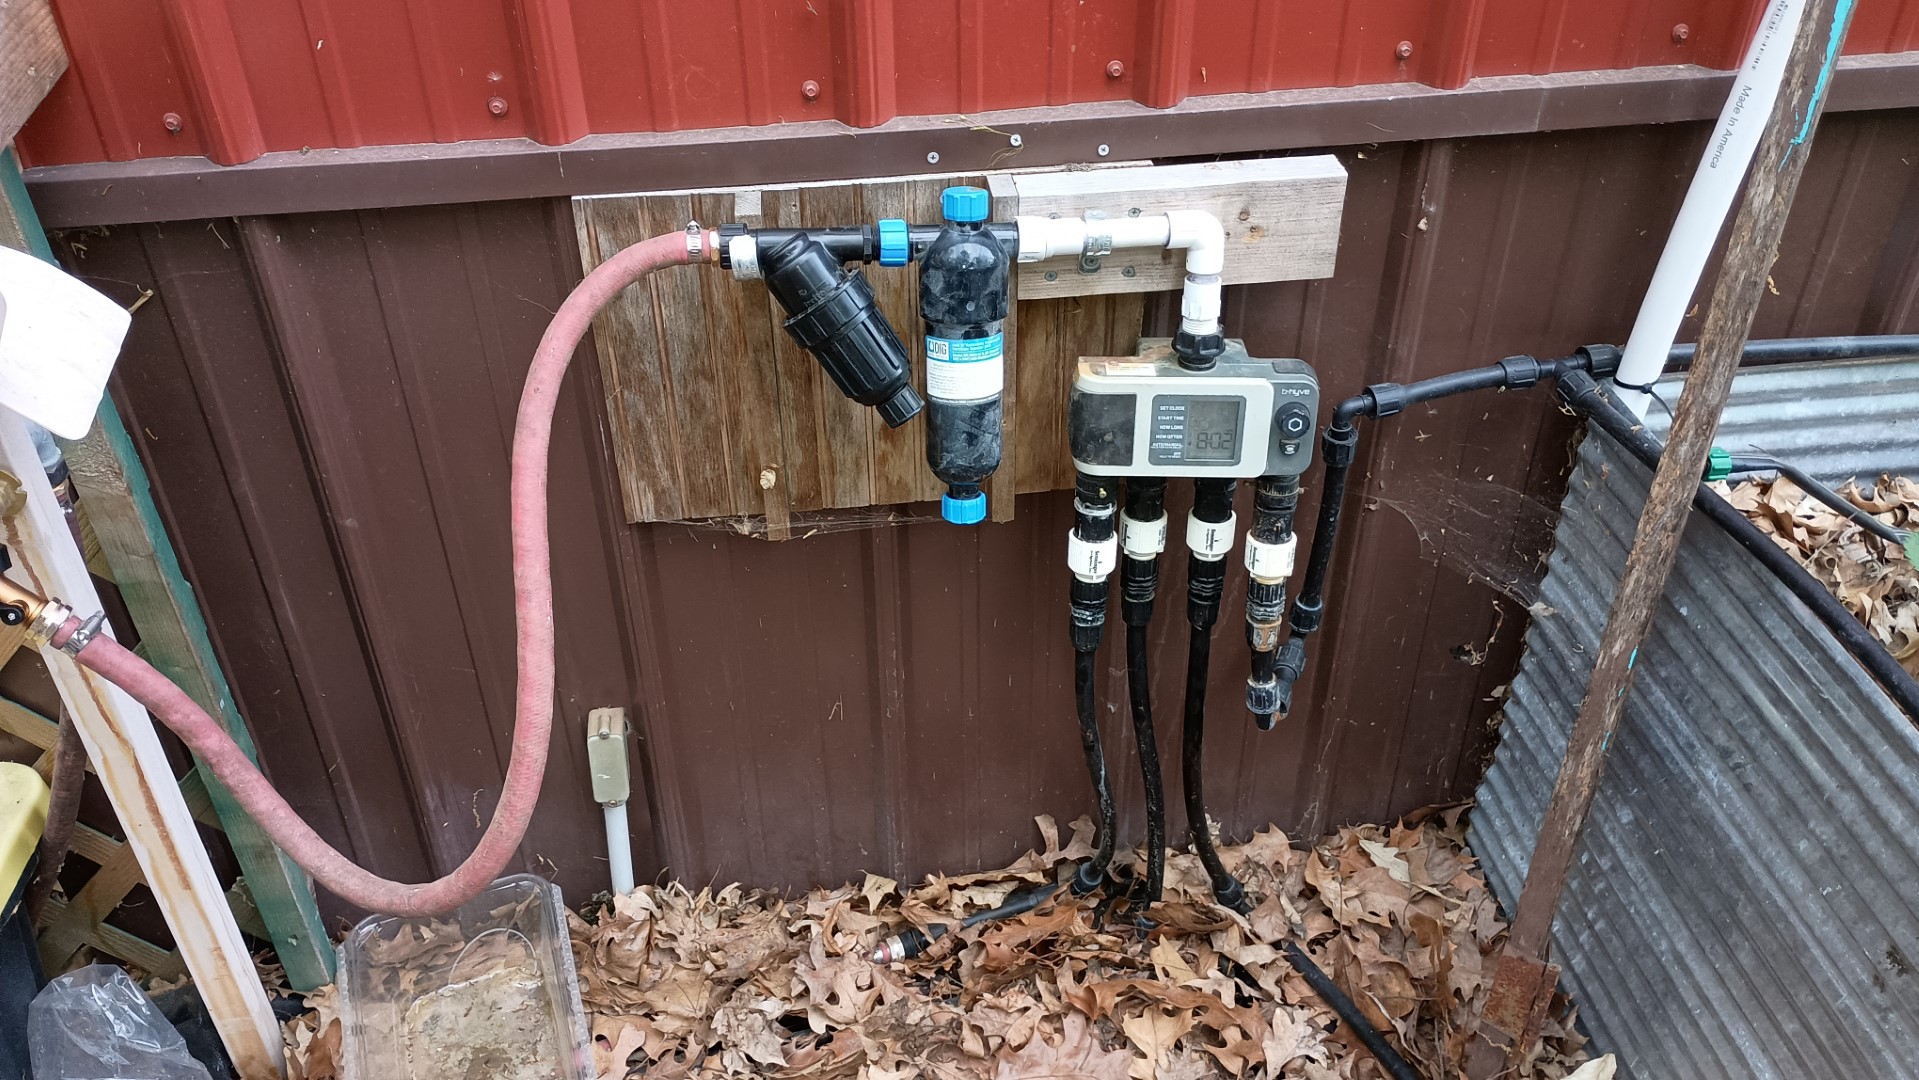
The back garden timer has four zones, with three currently in use: The raised beds, the shop wall, and the grow bags.
Back Garden Drip Setup
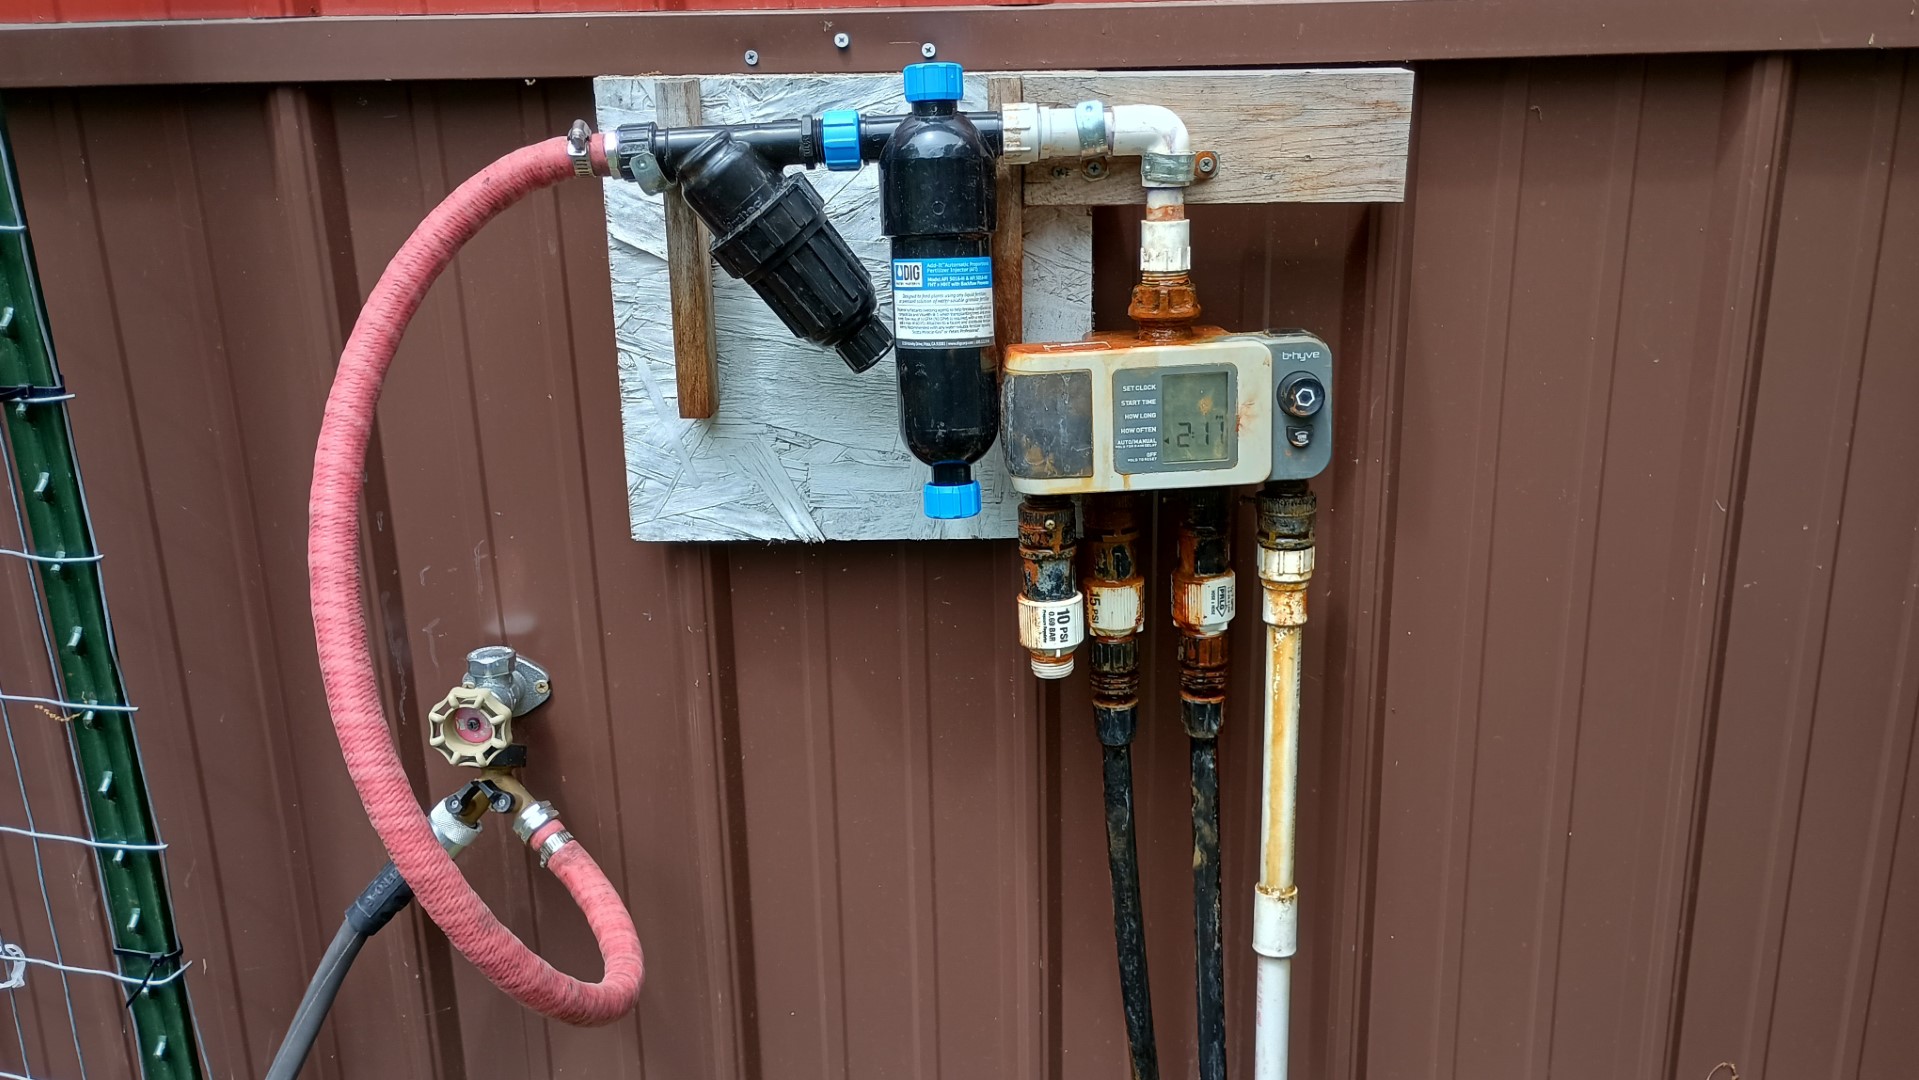
The shop front timer only has one zone, the grapes and grow bags out front.
Shop Front Drip Setup
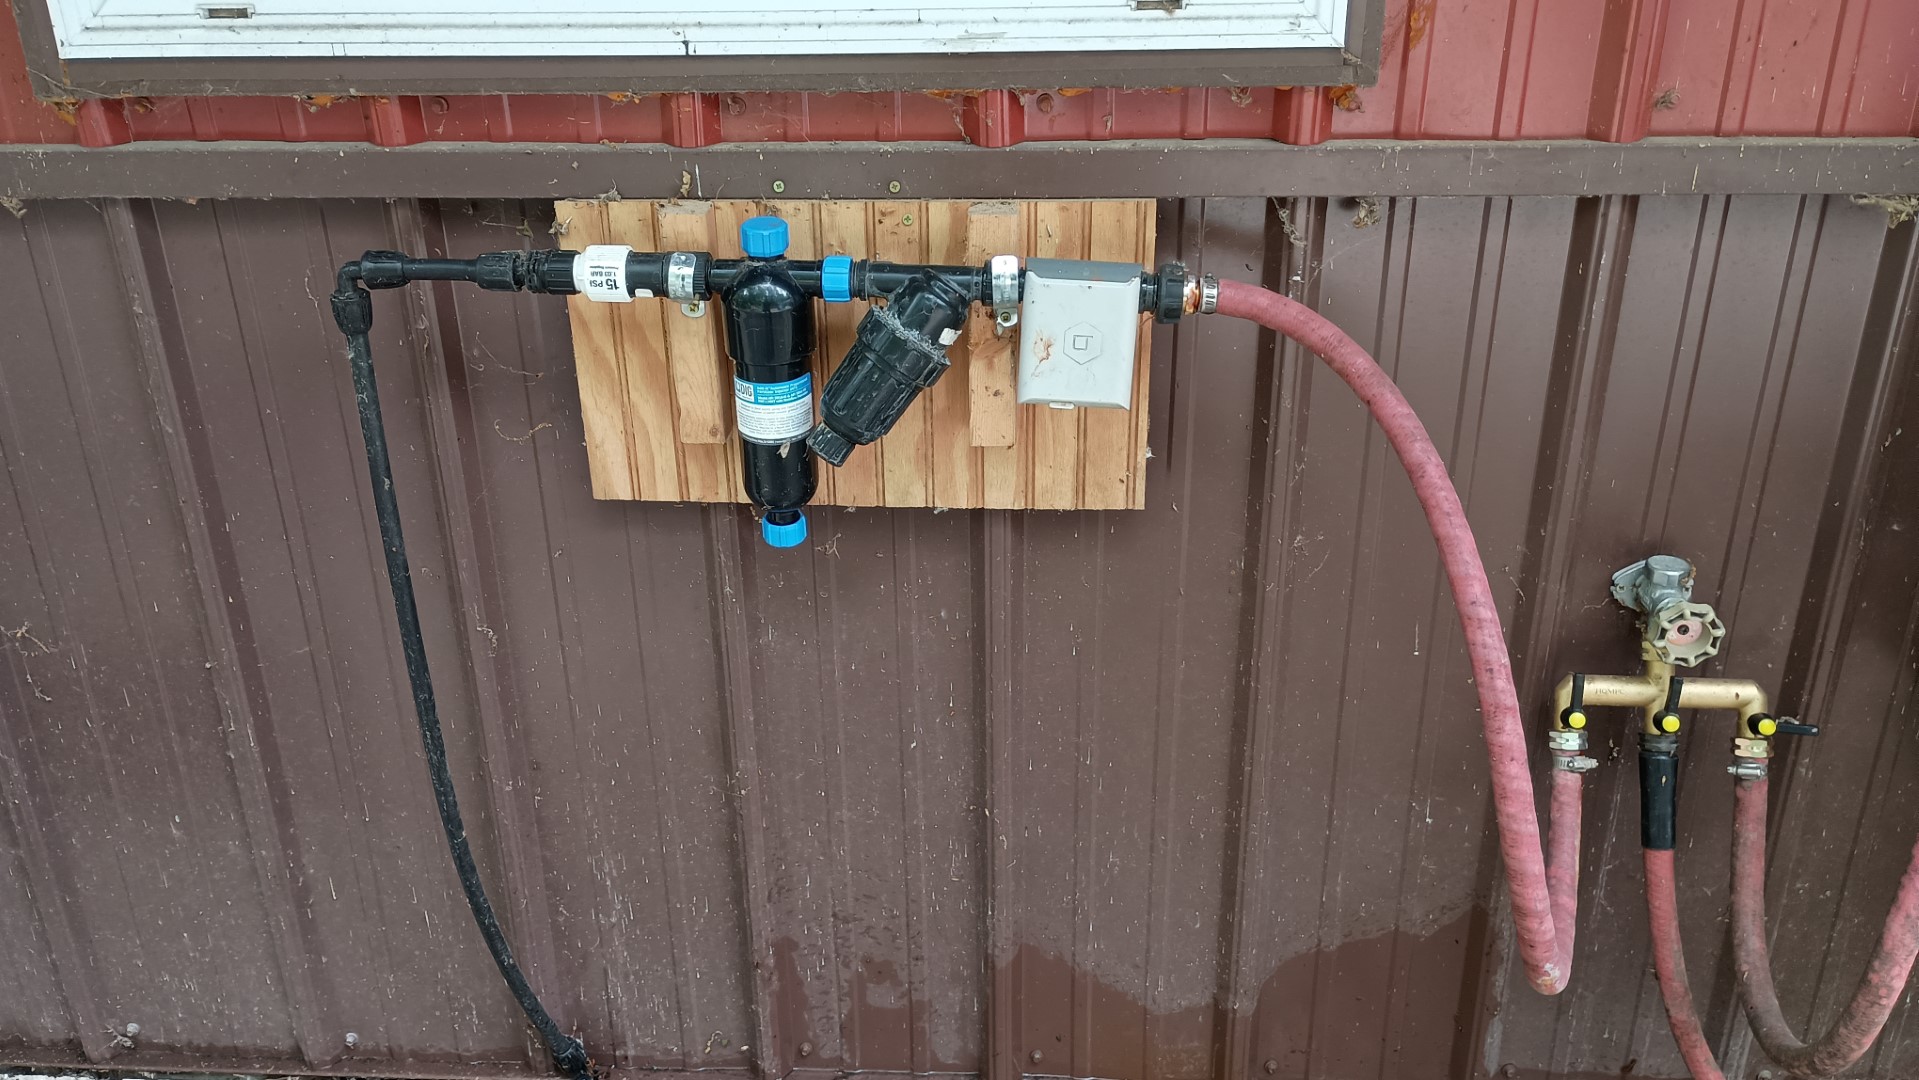
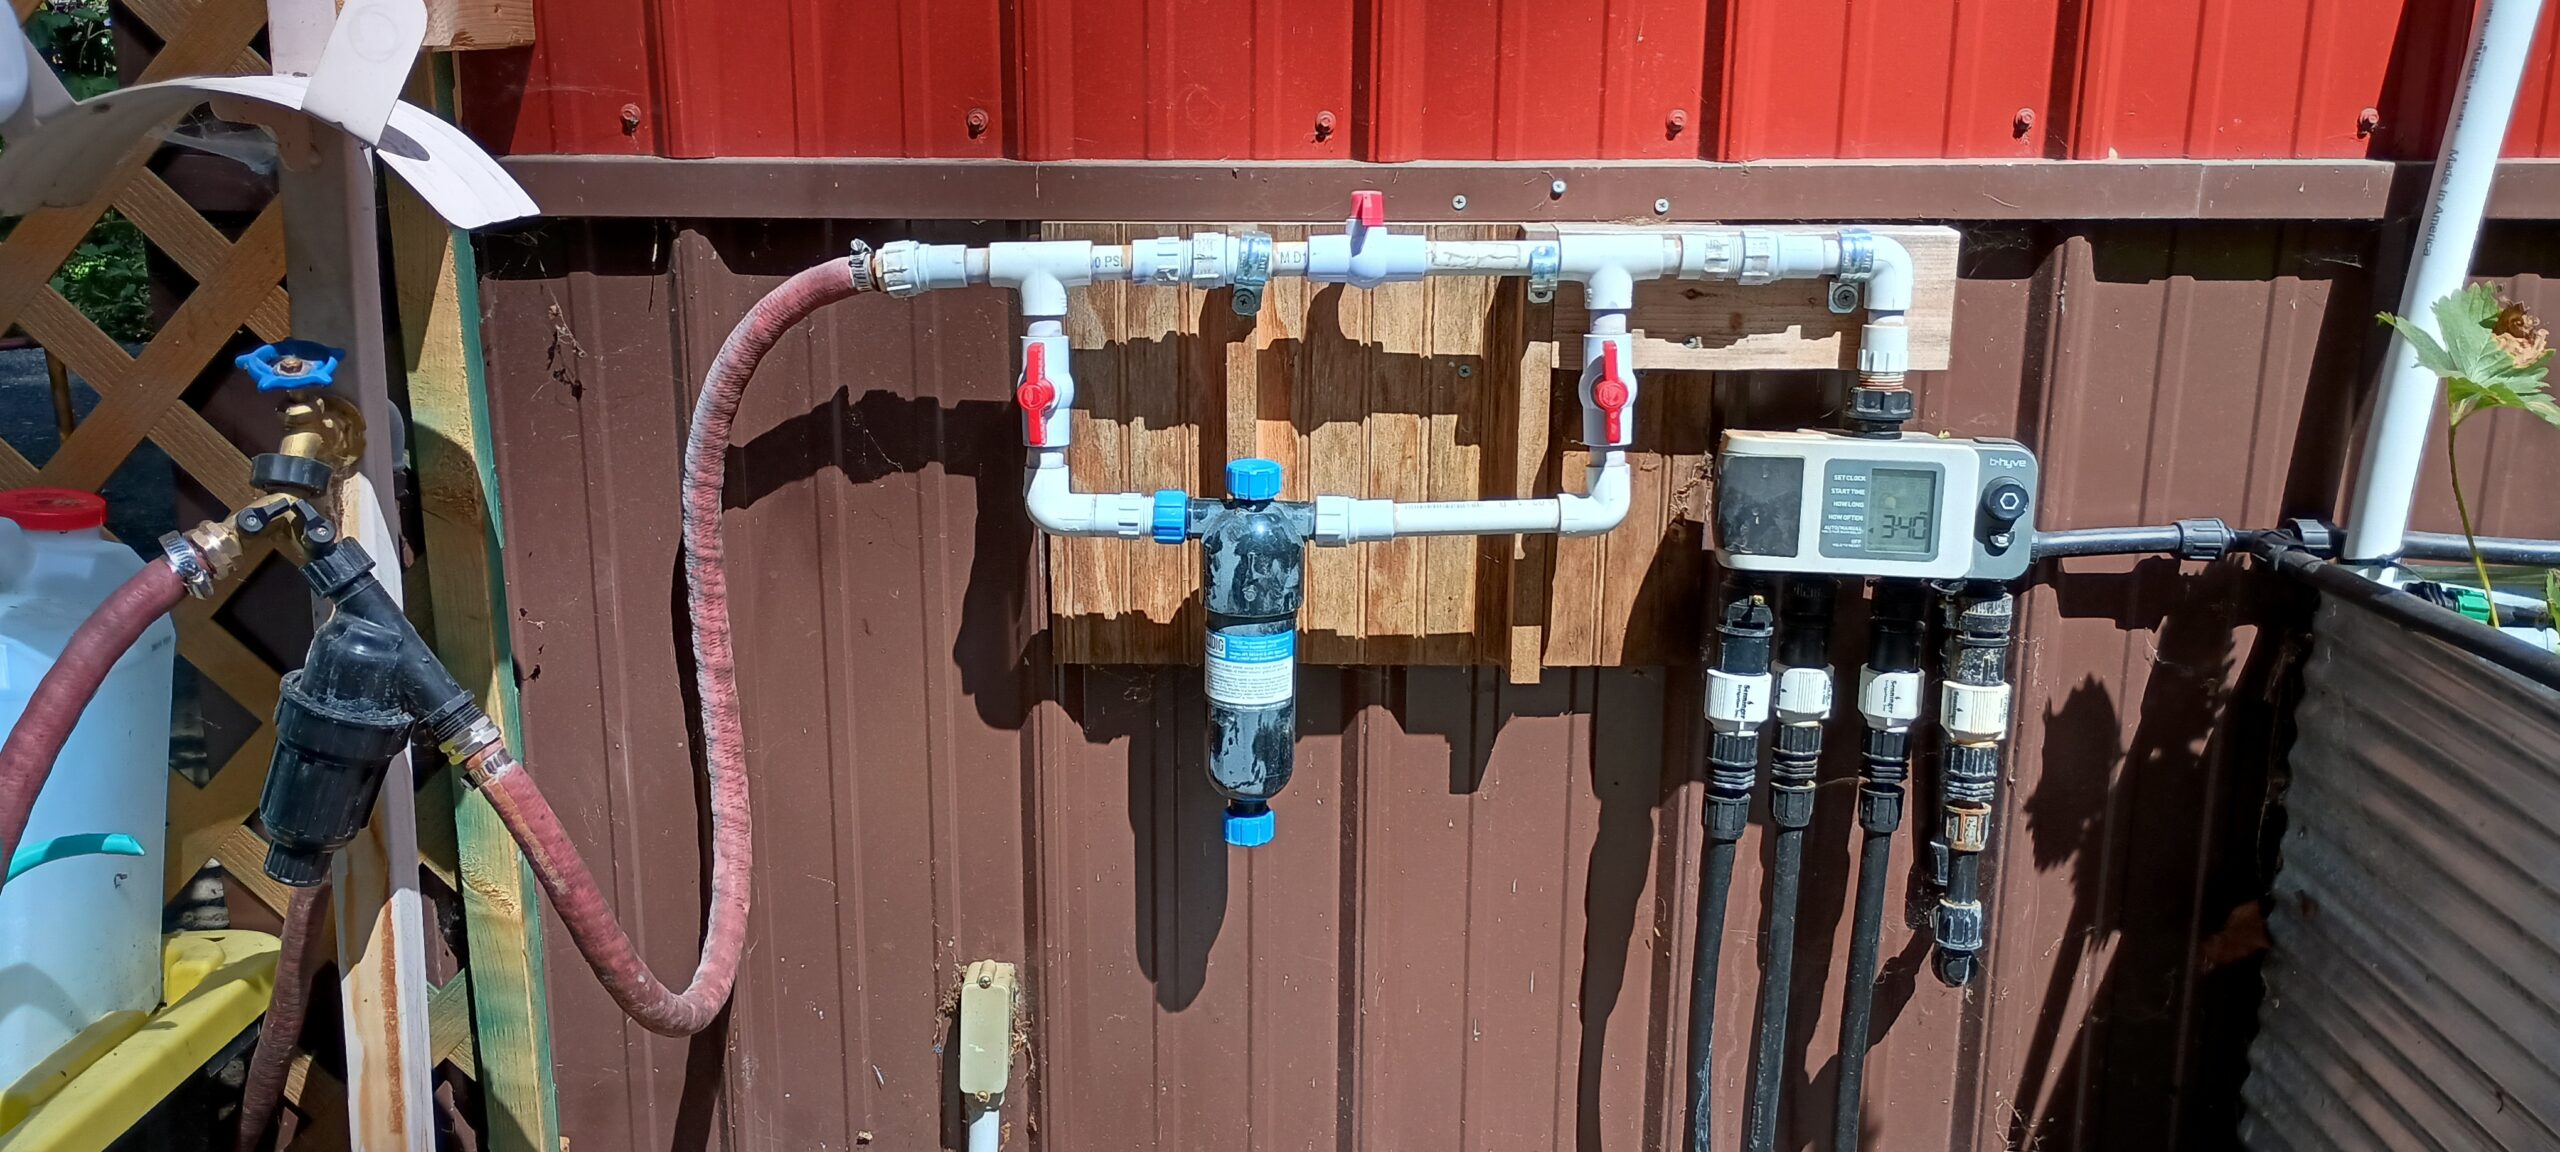
The house front timer has 3 out of 4 zones in use, the raised beds, the pots in front of the house, and the greenhouse.

House Front Drip Setup
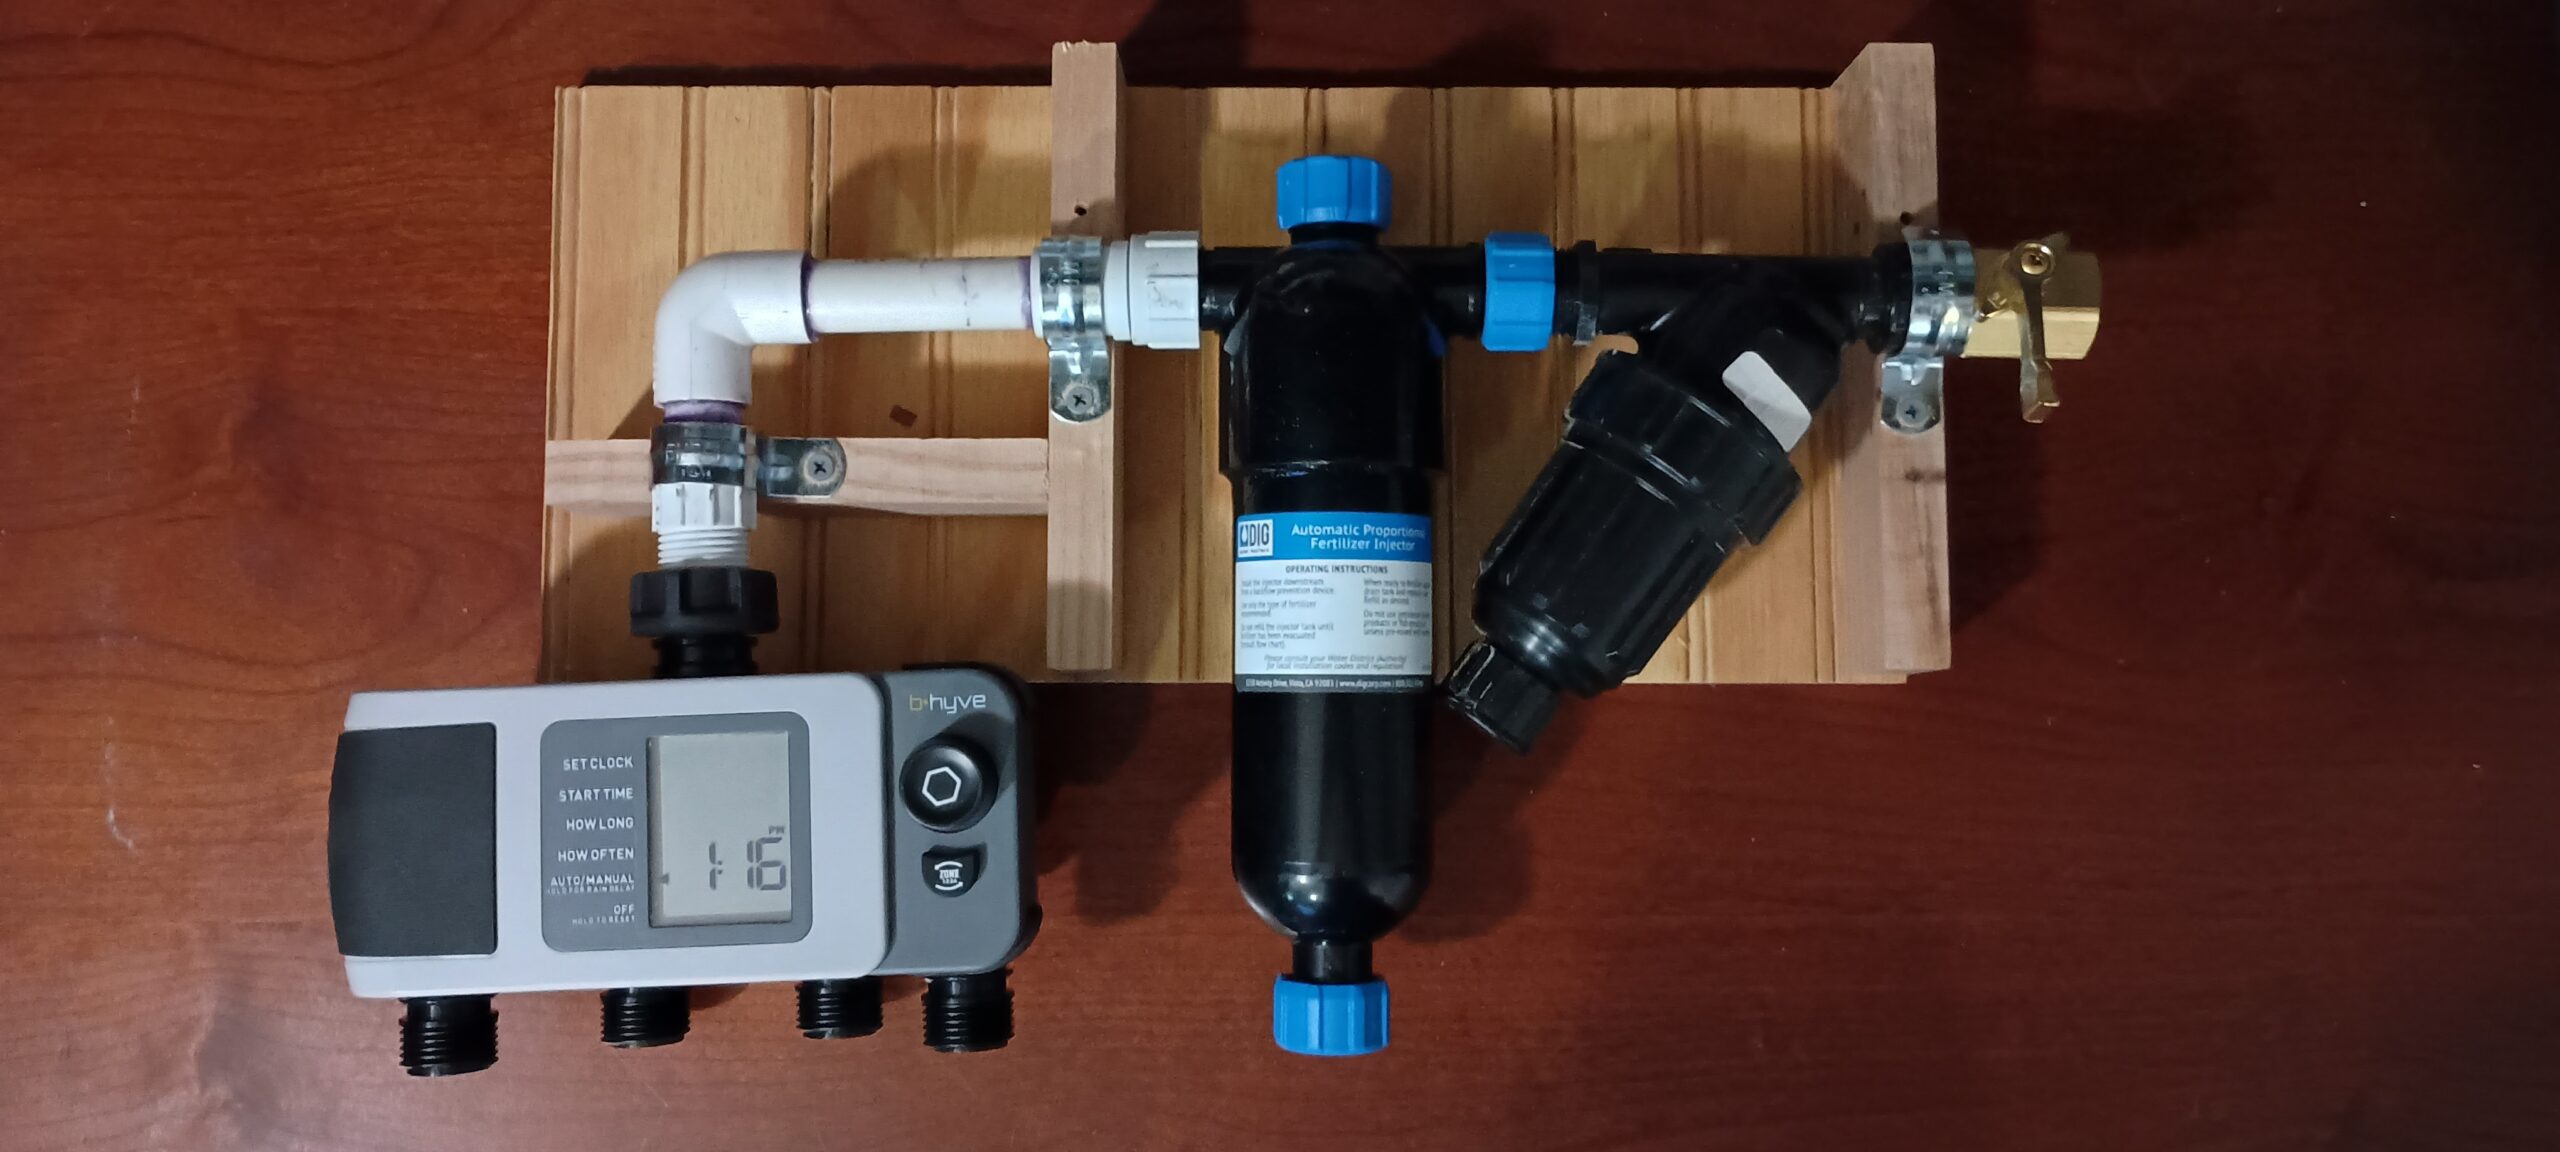
Last year, when we added a timer to the front of the house to water the raised beds and pots we have up there, I decided to simplify the setup of the timer, filter, and fertilizer injector.
Simplified Drip Setup
The injectors I use hold one pint of liquid fertilizer. The way I had previously set up the drip systems had the injectors on a bypass. But these injectors don’t hold very much fertilizer, so I decided to just put them inline with the filter and timer. This resulted in only needing one small PVC setup between the injector and the timer.
Last Year Drip Setup
The previous setup used a lot of pvc fittings, with a lot of potential areas to fail. And some did. One of the valves cracked and sprayed water out. One of the hose connectors popped apart and again sprayed water out. This new setup reduces the points of failure.
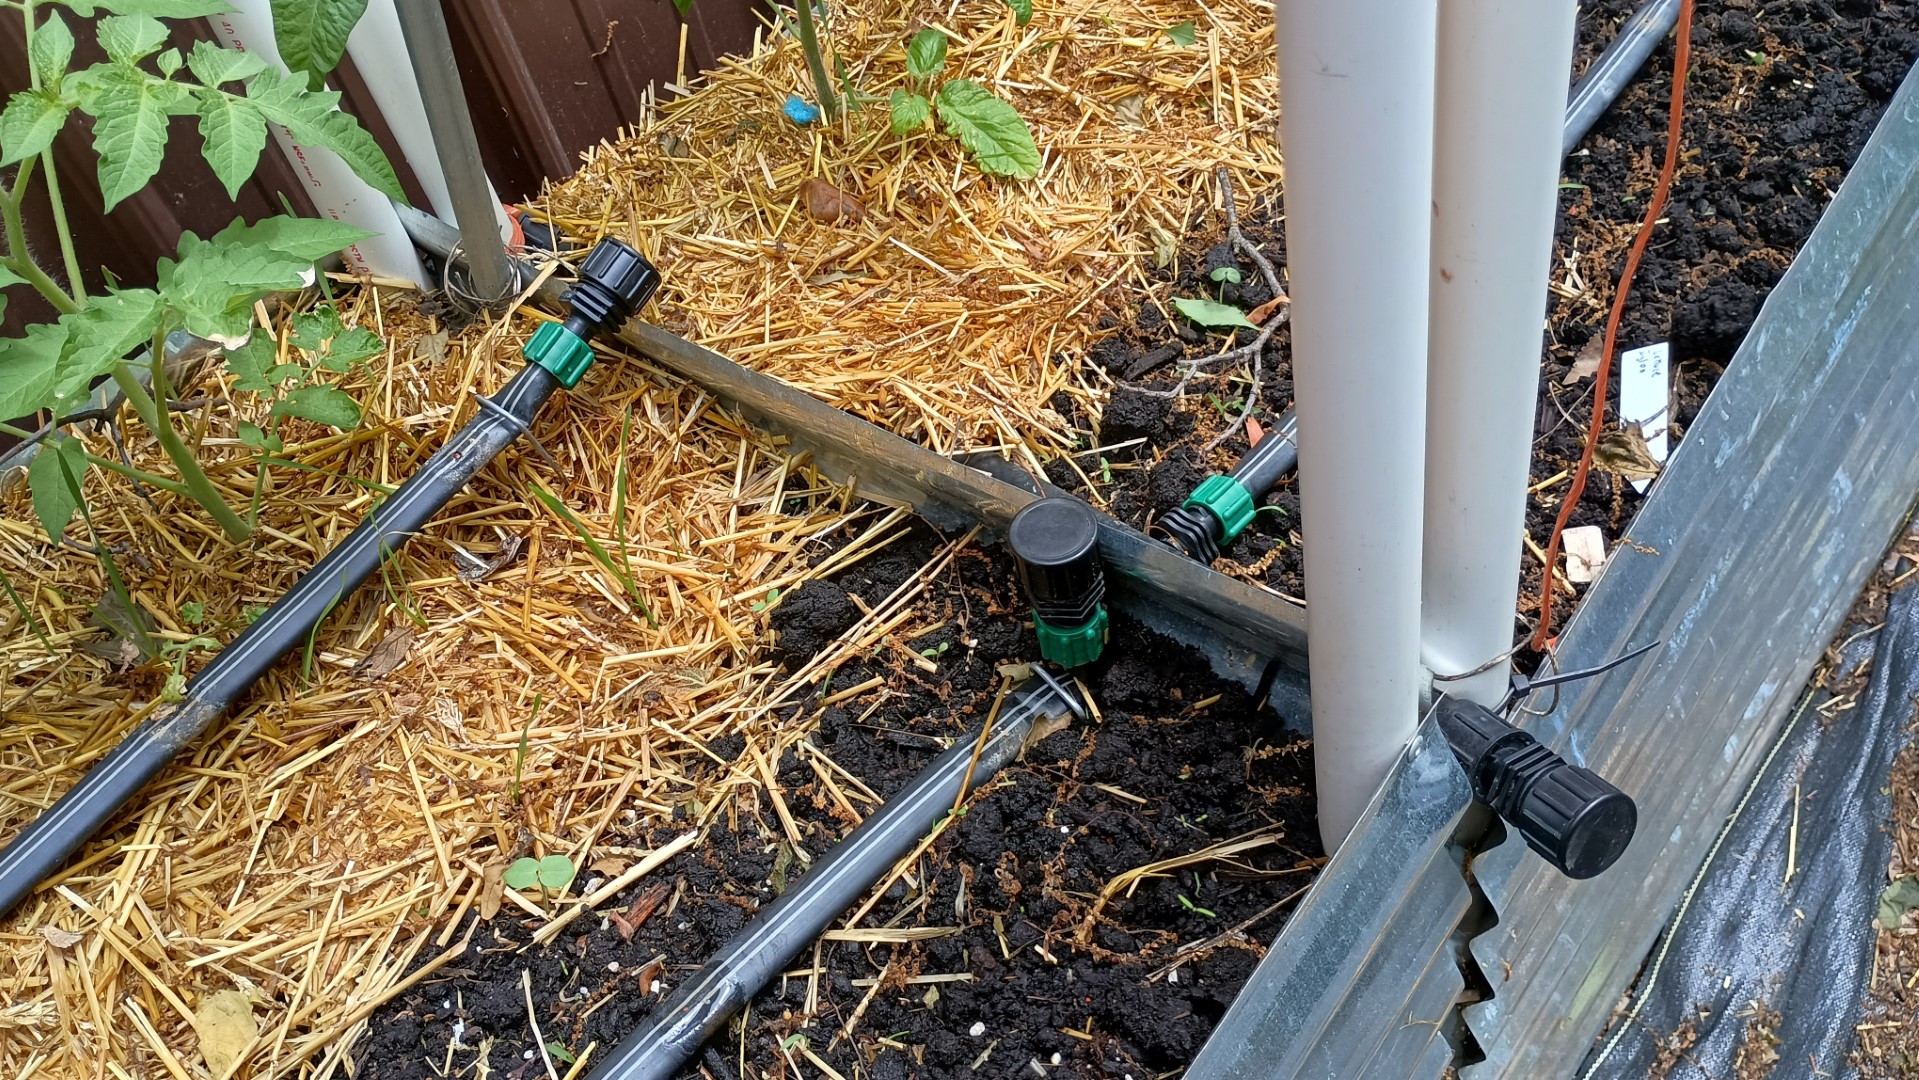
Once I have the timer setup hooked up, I like to flush out all of the line ends, wherever there is a cap. This year I started replacing caps on the ends with valves to make flushing easier. May cost a little more to put a valve at the end of every line, but it sure made flushing them easier. I know this is typically only done once a year, but now, if I notice some emitters are not flowing well, I can quickly flush that line.

Line End with Caps
The way I flush these lines is I will open all of the end caps, and then start the timer on that zone. Then I will go and cap all of the ends. The caps work fine, but you end up getting sprayed while capping them with the water running.
Caps on Line Ends
I decided to put valves at the ends in place of the caps.
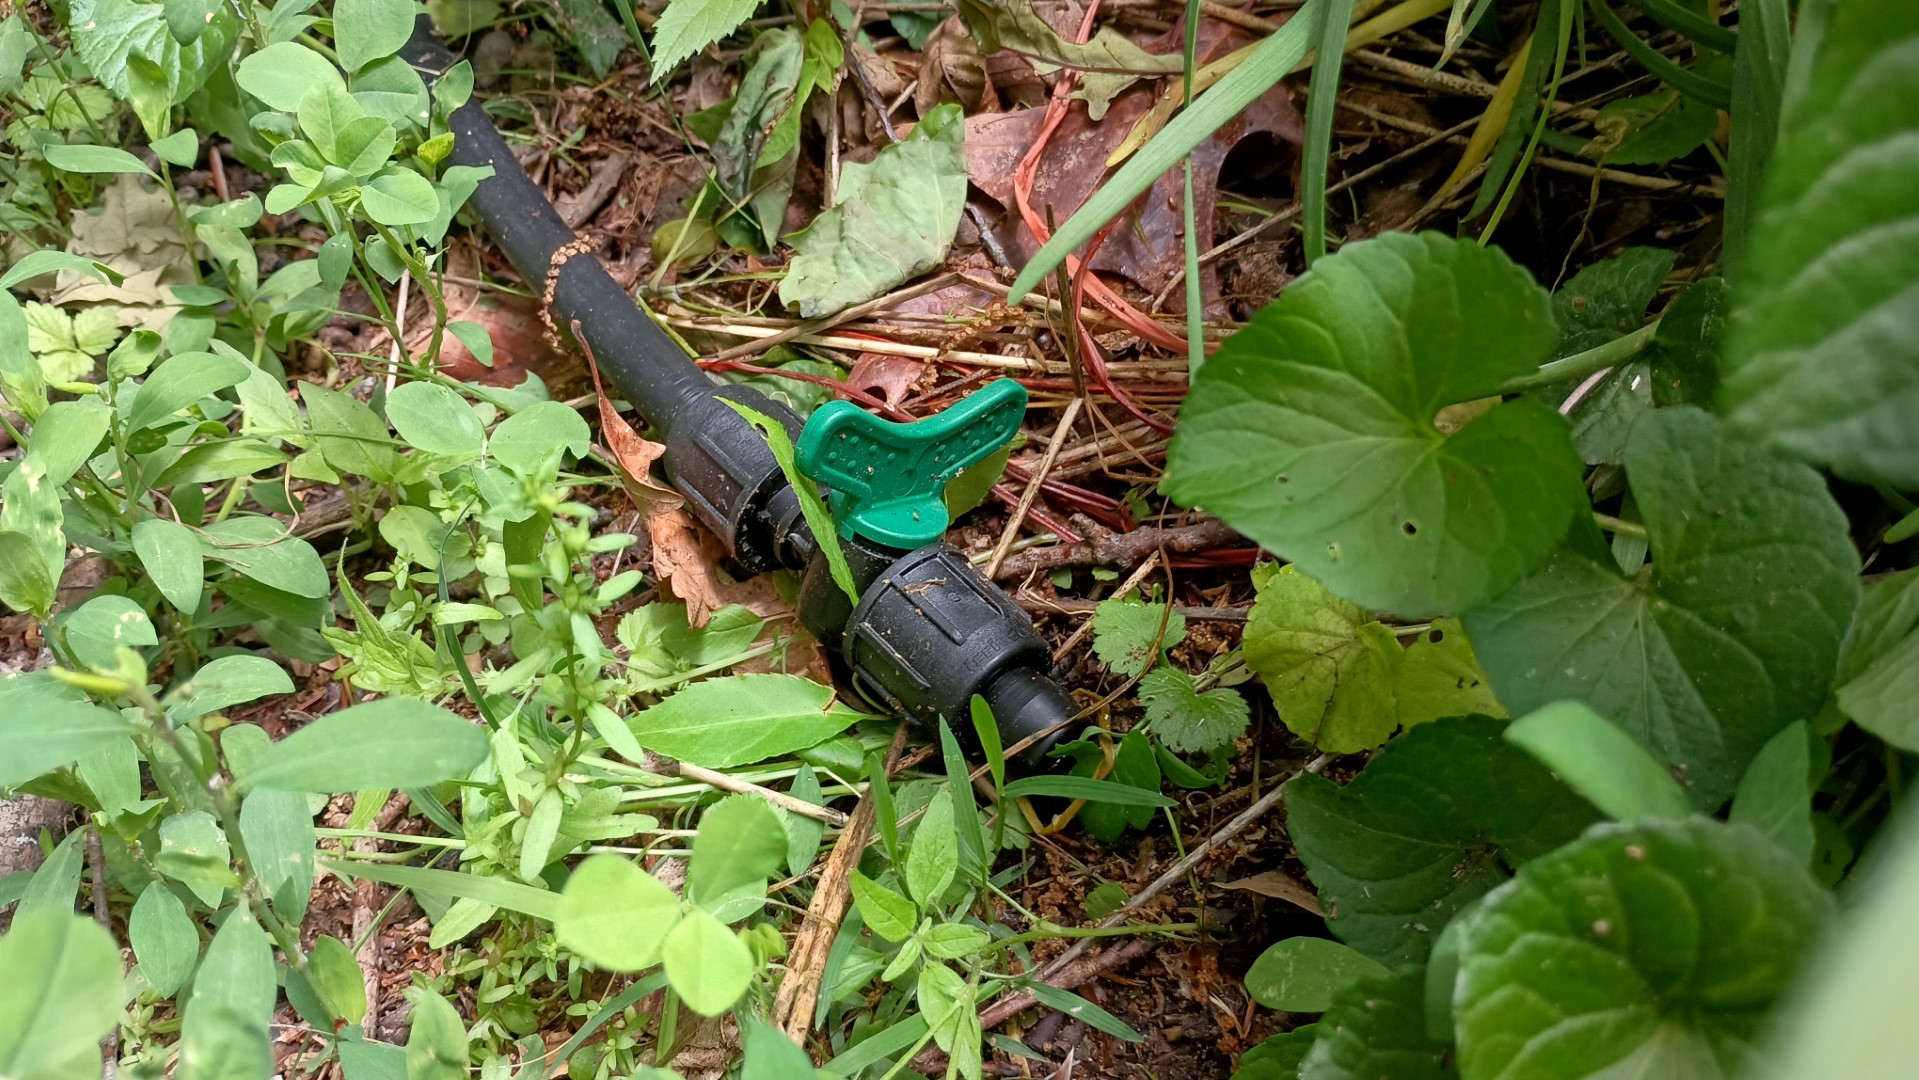
Line End with Valve
The valves eliminate that problem and makes flushing much easier.