Rough Hollowed Bowl
In part one of this series, I used the Wood-Mizer to cut an oak crotch log down to two flitches measuring 3 1/2″ and 4 1/2″ thick. Now it was time to start turning.
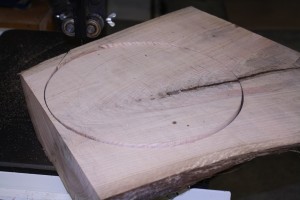
I took the 3 1/2″ flitch and laid out a 12 inch circle. The main trunk had split down about 6 inches, so I had to move the layout circle down that far. The crotch section has some very beautiful grain swirls; when I cut the other piece, I am going to be sure to get as much of the grain as possible. I will have to make a smaller bowl, but it will be worth it, I am sure.
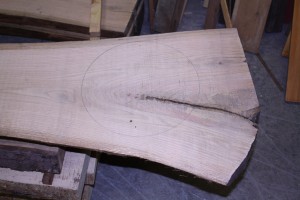
Circle Laid Out
I cut the crotch section off of the rest of the flitch, and took it to the bandsaw.
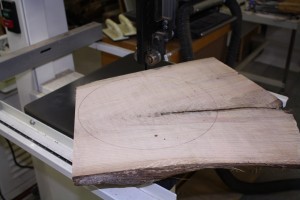
On the Bandsaw
I cut the blank out freehand.
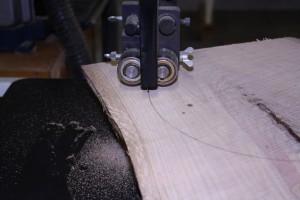
Rough Cutting on the Bandsaw
Once it was cut out, I drilled a 3/8″ hole to mount on a screw chuck.
Blank Cut Out
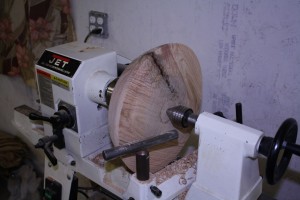
Then I mounted it on the lathe.
Mounted with Screw Chuck
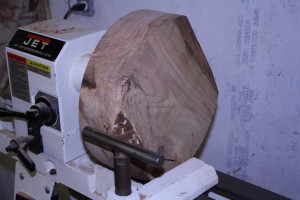
I then turned down the outside, plus a tenon for the chuck.
Outside Rough Turned
I then mounted it in my Talon chuck.
Chucked for Hollowing
The split was fairly deep, so I filled it with CA glue as I turned. As I uncovered cracks or as splits developed, I filled them with CA and sprayed it with activator.
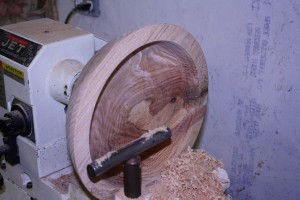
Beginning Hollowing
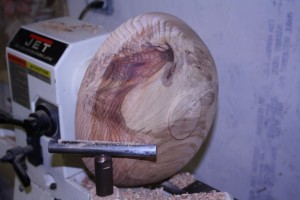
Hollowing was a little challenging because of the bark inclusion.

Hollowing
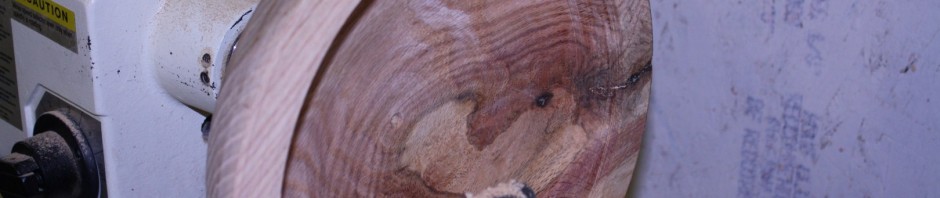
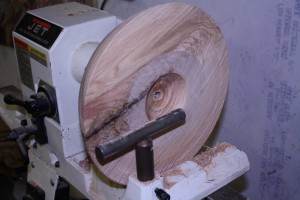
I just went slowly, and it revealed some beautiful grain patterns.
Rough Hollowed
Once it was mostly roughed, I took it off the lathe and began drying it. I wanted to try microwave drying. The first step was to weigh the bowl. I wrote down the weight, and then wrapped it in paper towels and began by running it for about 5 minutes on the defrost setting. Then I took it out and weighed it again, noting the weight. I let it sit for 10 – 15 minutes, to allow it to cool, and then I ran it through again. Allowing it to fully cool is important so that the moisture can start to equalize throughout the bowl. Moisture from deeper within the bowl walls will draw towards the surface, where it will get cooked off on the next cycle. I repeated this process about a half dozen times, weighing the bowl after each cycle. The idea behind weighing the bowl is that as the moisture evaporates out of the bowl, it will get lighter. When the bowl stops losing weight between cycles, it is dry.
I watched it carefully, and if I noticed any cracks starting, I filled them with CA glue and then sprayed it with activator. This kept the stresses from opening the cracks further. I’ve had my share of bowls crack, and this helped save it.
I repeated the microwave drying process again the next day. I gave it probably 10 cycles, and then put it aside to equalize.
Part 3 will show the finishing of the bowl.