Kitchen Island Legs
One of the things about little local craft shows is that you might not sell much. You might spend a lot of money on a booth. You sit there all day peopling. You have to pack and unpack and sometimes drive down many a long and winding road. And it all seems like you do it for nothing. I won’t try to tell you that you will always make back what you spent on the booth, drive, and all the food you ate at the venue. It takes some tweaking to find your market and what types of events work best for you. That being said even though you don’t sell at the event you need to get busy handing out your cards, talking to people, make sure that you have interesting things for them to look at and talk to you about.
Case in point: a woman and her son stopped at the booth and were checking out the turned spheres. She said to her son, “Maybe they can turn those spheres that I wanted.” We were like, “Sure we can do that, what did you have in mind?” She said she wanted these five inch in diameter spheres but she could not find them anywhere. No problemo. We chatted for a bit and she took one of my cards, which really upset my son because she had his first and I was like, no, no, no here is the card you really want! Not long after the show we got a call. She didn’t want just spheres, she wanted a pair of kitchen island legs. There was a photo from Instagram of a kitchen and she was in love with the legs they used. The photo she sent to try and explain what she wanted was tiny, grainy, sent to a cell phone.
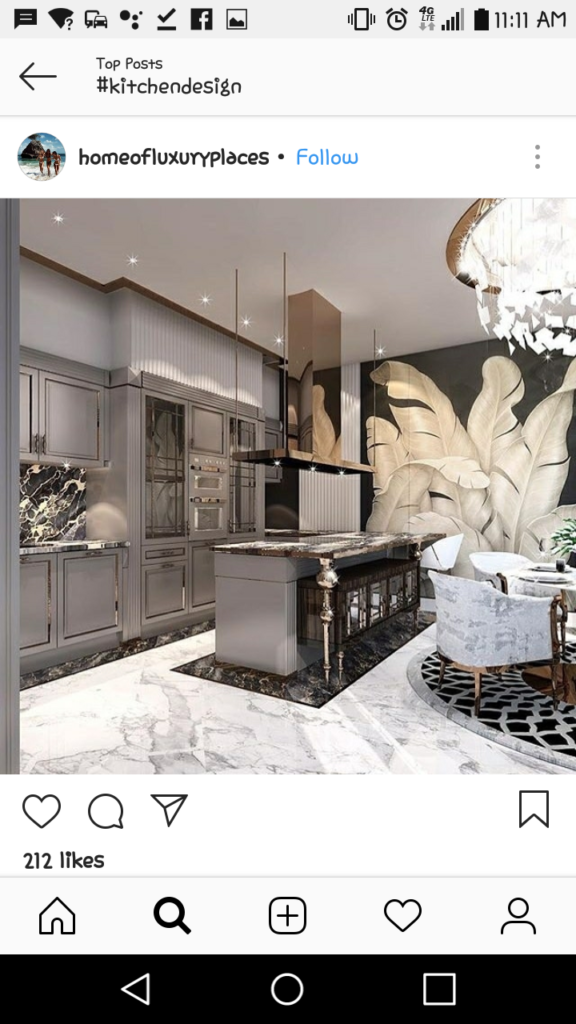
Requested Design
I tried everything to find who to give credit to for this design. The only thing I could ever track down was a photo on Instagram with no contact information. If anyone knows who to credit let me know and I will update this post.
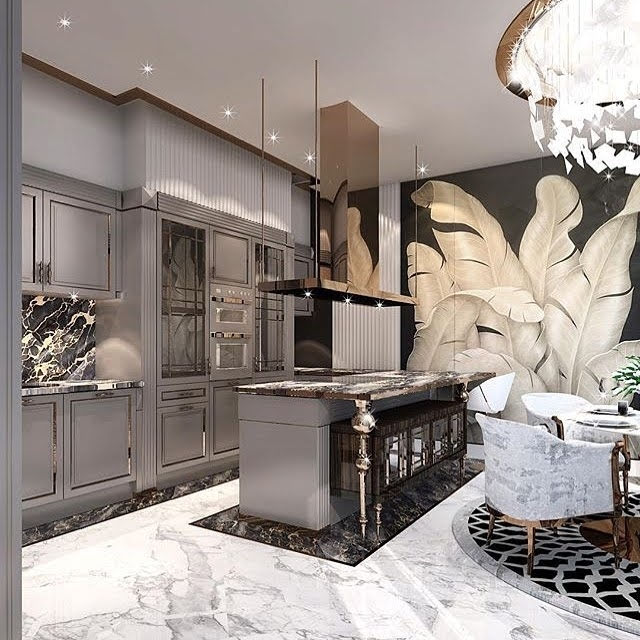
Better Image
So how do you go about getting from a customers idea to a completed project? No really I’m asking, how do you do that? I’ll wait.
The way I did it was by asking questions based on that small image. How many spheres do you want? Do you want them to be the same size or taper from larger to smaller or visa versa? Do you want the pieces between the spheres to taper or be uniform? Once I knew that she wanted the three spheres and she wanted the sizes to taper from largest to smallest it was a matter of finding out how large to make the biggest one. She thought five inches would be big enough but not crazy big. Then we get to the good stuff. Math! My favorite! Oh boy! No, really! One of the surest ways to get things like this right is to use the Golden Ratio: Golden Ratio. So if the first sphere is 5″ then the second would be comfortable 3″ and the third 2″ ish. Does it have to be exactly like that? Nope, it’s just a good way to get an idea of what you want it to end up being. She also wanted the connecting portions to taper so that the leg had a solid but slender feel to it. She did not want any finish applied because they were going to handle that. Didn’t care about wood species because it was going to be painted. All I needed now was the length she was looking for. We also needed to agree on a price.
Not being sure what a custom designed and turned leg runs I went to the Google. I found a website that does custom legs from a standard set of designs that they offer. Looking at how others priced their work helped me to come up with a price. Now there are lots of things that can come into play here too, such as how much did that piece of wood cost you? Did your wife already have plans for that piece of wood? What kind of gift will you need to buy her to make up for using it on a customers project? There are some costs that directly pass on to a client. Others not so much. Lumber yard price for the wood passes on. Wife’s gift, not so much. Another dilemma can present itself here. What if you mess up when you are turning and have to buy more materials? My first instinct says no, not if it’s my fault. If the client makes a big enough change after the project is started and you have to completely redo the entire thing then I would say yes the client should pay for the extra materials. As for paying for time, that’s a hard one. You have to talk to your client about that because there will be a price point they just can’t handle. If you need a certain amount of money to make the job worth your time you may have to pass on the project. Me? I’m as giddy as a school girl so I would have paid whatever she was charging to be able to turn the legs.
Once I had all that information I used SketchUp to create a model. This allowed me to do several things: show off my mad SketchUp skillz, lay it out so it was clear in my own head, attach all the dimensions to each section, have something for my records, and most importantly to send to the client. Since we were essentially designing this from her idea, I wanted her sign off on the design. I’m glad I did because she got back to me and asked if the portions between the spheres could be more slender. She did not feel that the spheres stood out enough. This is where you can’t get all in a tizzy. The client has an idea and you are trying to make it a reality, so don’t get upset if they ask you to change your design. Get your paper bag and breathe into it, get into your zen position, whatever you need to do to calmly change your design and send it for final approval.
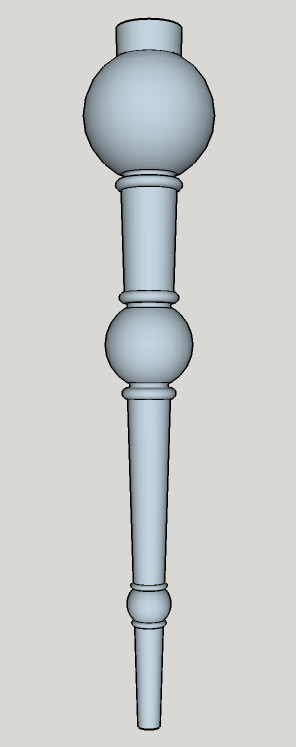
Island Leg 3D Mockup
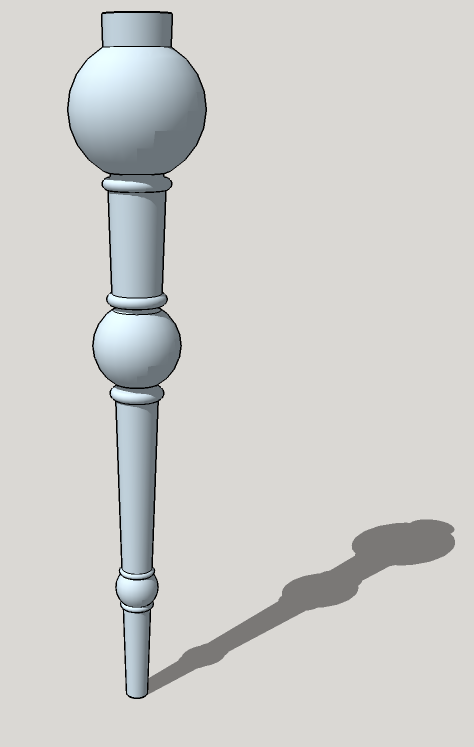
Island Leg
The material in question is a flitch of ash I had milled about three years ago. I left a 6 inch thick slab of it sitting on a shelf in the shop. I had planned on cutting bowl blanks out of this slab. Since there is no shortage of ash logs at the present time, I happen to have about six logs currently on the ground, I wasn’t too concerned with it.
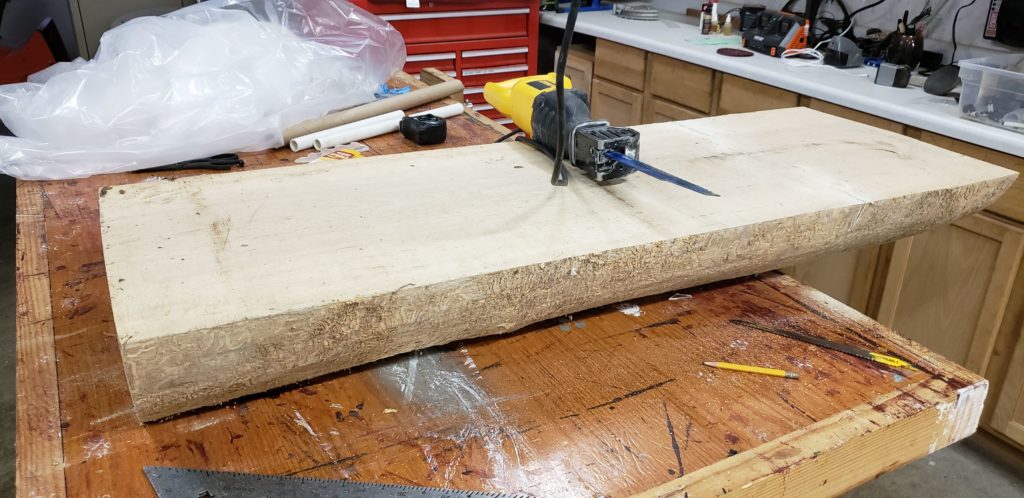
Ash Flitch
This monster was heavy. 4 feet long, 18 inches wide, 6 inches thick. The Engineering Toolbox says that the density of white ash is 40 – 53 lbs/ft3. I estimate about 2 cubic feet, so 80 – 106 lbs.
6 Inch Thick Ash Slab
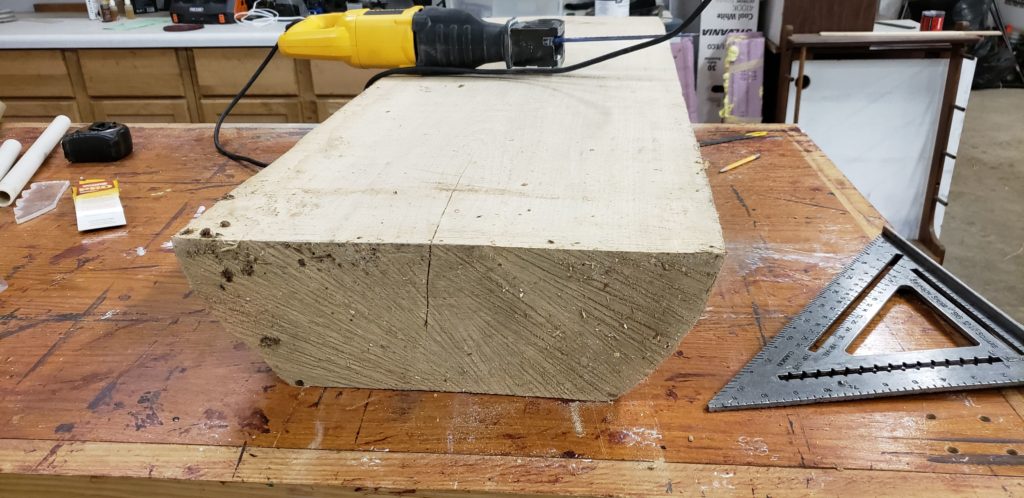
Cutting it to length was the next challenge. 6 x 18 was too big for the miter saw. Chainsaw would make quick work of it, but I really didn’t want to fire that thing up in the shop, and I didn’t want to haul that slab outside. I settled on a reciprocating saw. I tried a couple of 14 TPI blades, but they wouldn’t cut it, so I tried a pruning blade, used for pruning branches and such. This one did the trick. Cut through it pretty well.
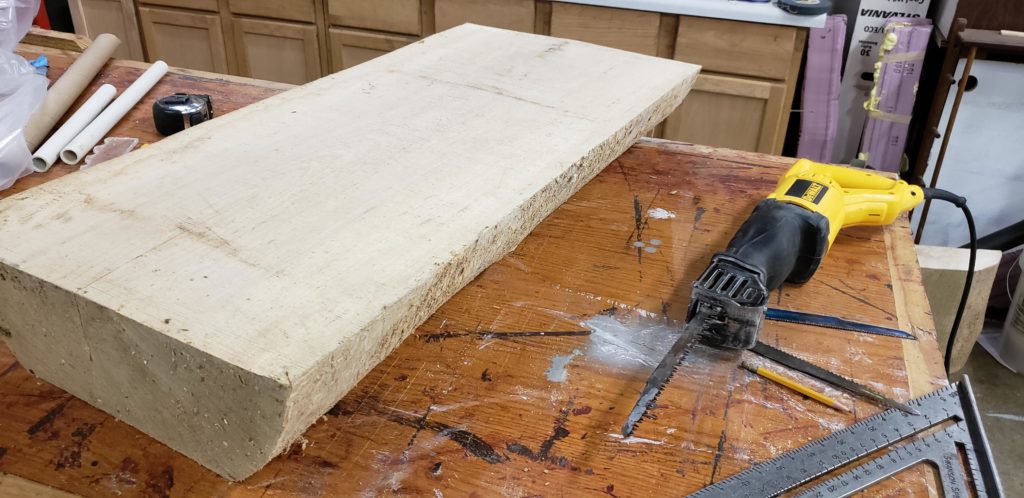
Slab Cut Down
I cut about a foot off of it, so now it was down to about 75 lbs. Next I ripped it down on the bandsaw. I cut about a 2″ piece out of the middle. Each blank was now down to 30-ish lbs.
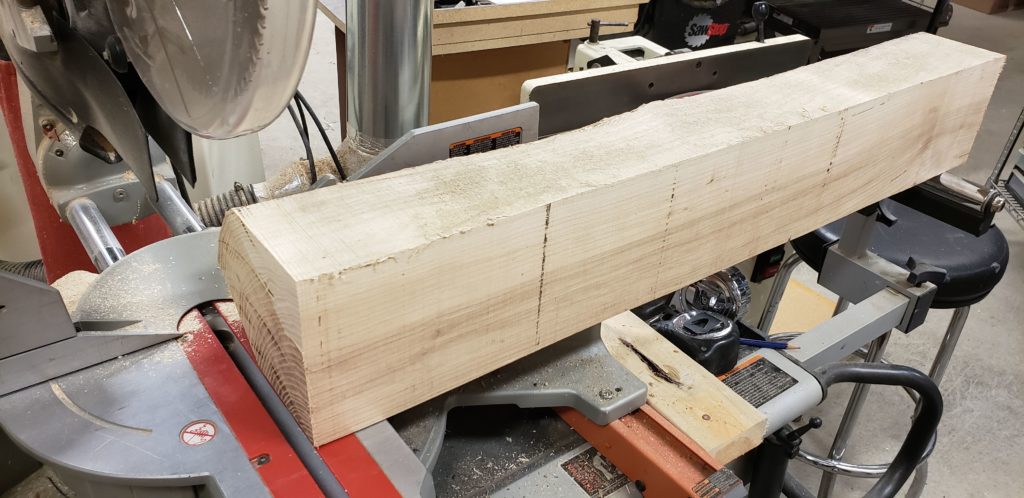
First Blank
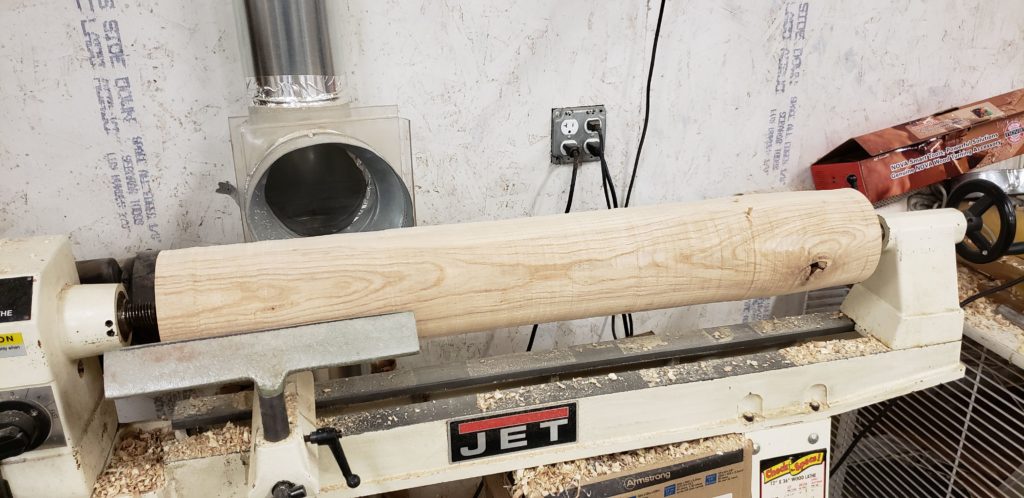
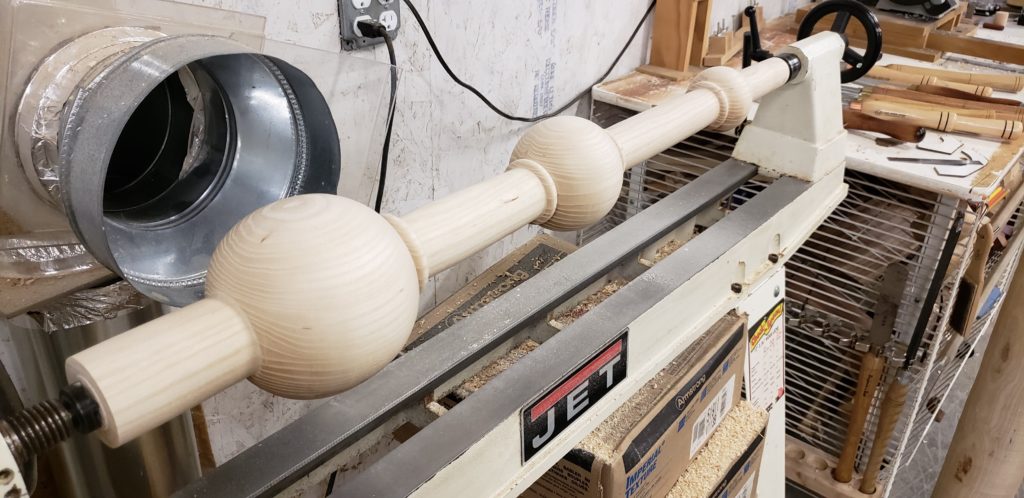
I trimmed it square on the miter saw, and then mounted it on the lathe. This took a little bit of tweaking. Even though the lathe is technically 36″ between centers, the longest blank I could mount was 34″. This was a bit of a problem, since the request was for 35″ legs. We’ll talk about the solution in a bit.

First Blank Mounted on Lathe
So I got it mounted. It was fairly well balanced. Fairly well. Not perfect. The slowest speed on this lathe is 550 rpm. As you can see in the pictures, it’s not very round. When I fired up the lathe, it shook pretty good! I turned it off pretty quickly. I have 4 boxes of industrial tile on the shelf of the lathe. They are about 45 lbs each, but they were over on the headstock side. I stacked three of them and moved them down to the tailstock side, and tried again. Better. OK, time to rough this thing down.
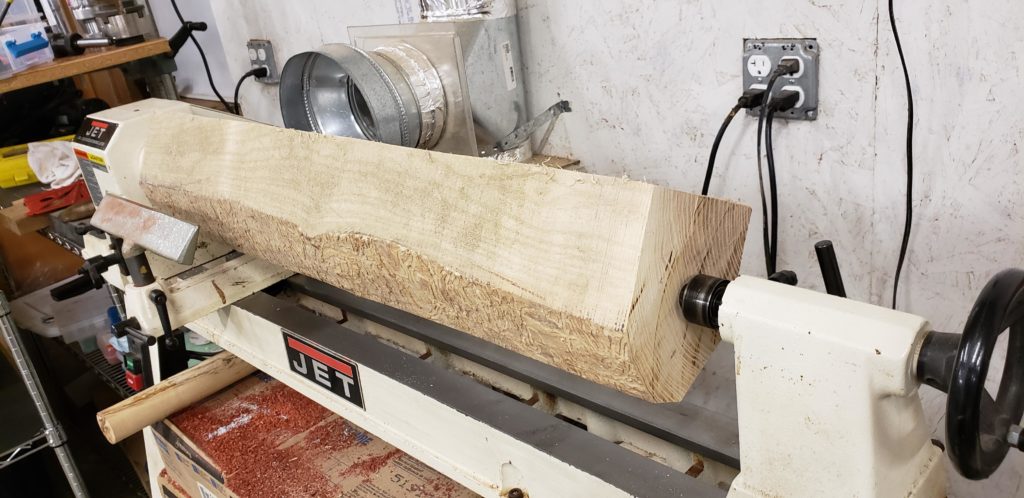
First Blank Mounted on Lathe
That thing beat the snot out of me. But I prevailed! Next blank, I’m knocking the corners off even more.
First Blank Roughed
I got it roughed down.
A Few Shavings
It made a few shavings.
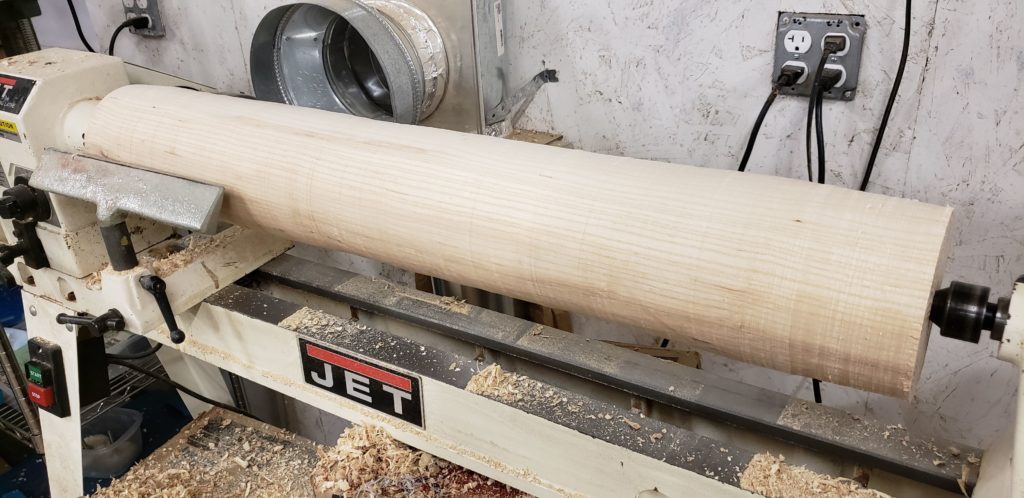
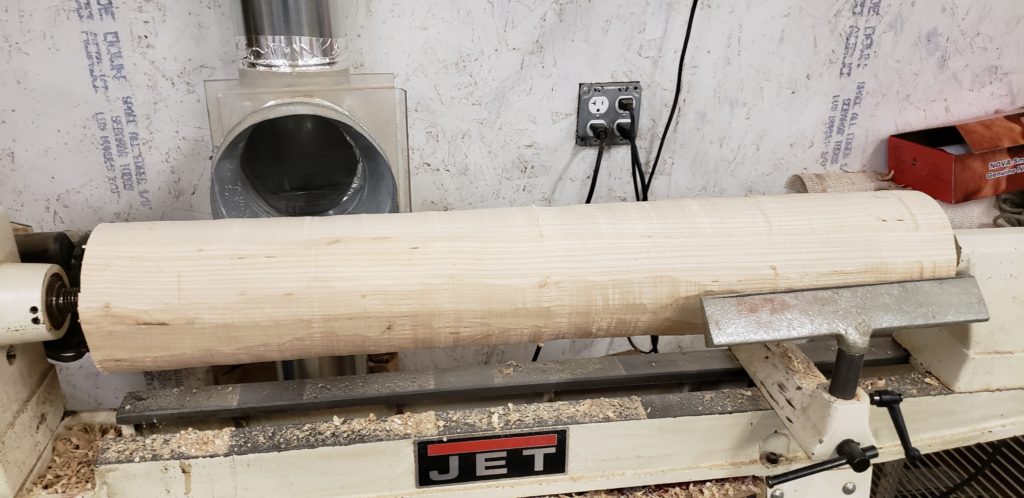
Rough Blank
But it was round. And still heavy.
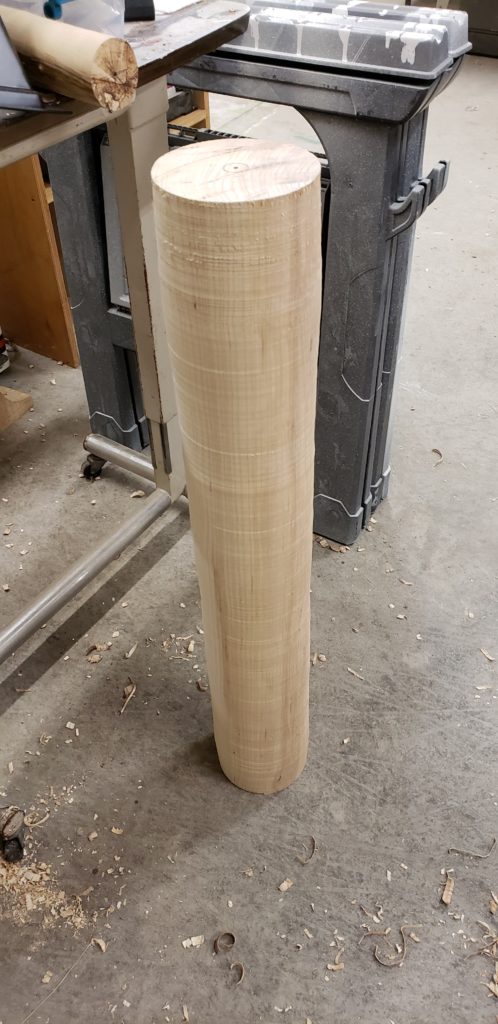
One Leg Roughed
I decided to rough the other one before finishing the first.
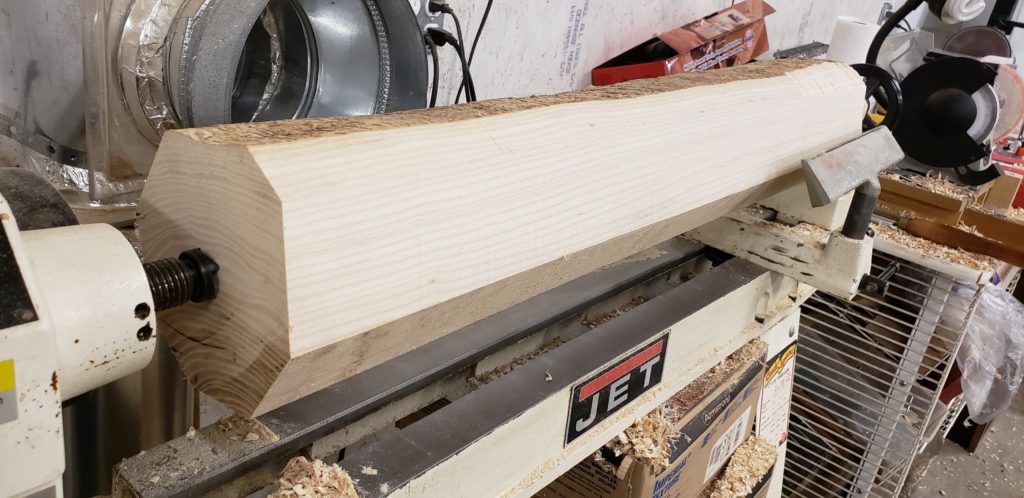
Second Blank Mounted on Lathe
I cut the corners down more on this one. This one turned much less violently than the first.
Second Leg Roughed
It turned much easier than the first.
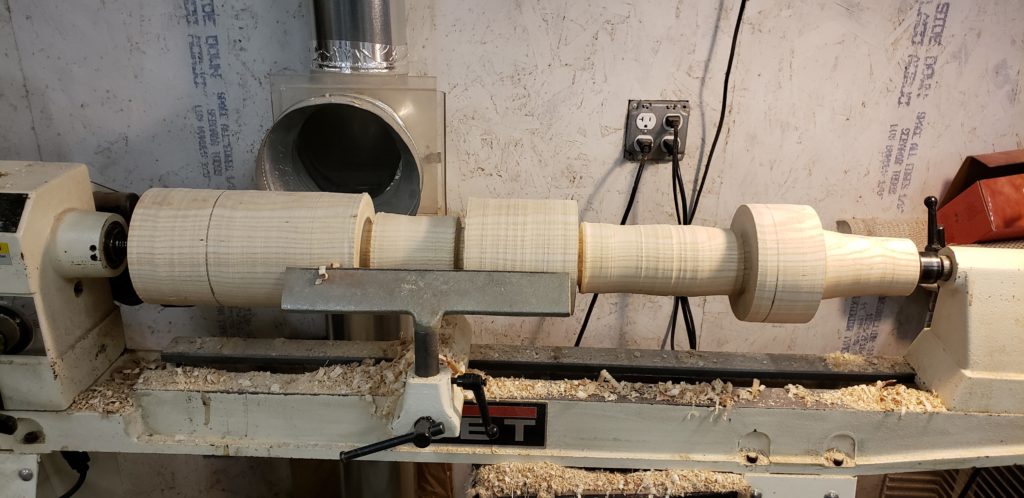
Turning Down at Major Points
I missed a shot here. I should have shown the round blank with the markings for where the spheres would be. I marked the locations, based on my sketchup design, and turned down to near the final diameter with a parting tool.
Starting to Shape the Spheres
Then I started turning the shapes.
And Then a Catch
As I was turning the largest sphere, I got a catch.
That’s a Good One
It was a pretty good one. Luckily, this would get turned away, as it was still early in the rough shaping.
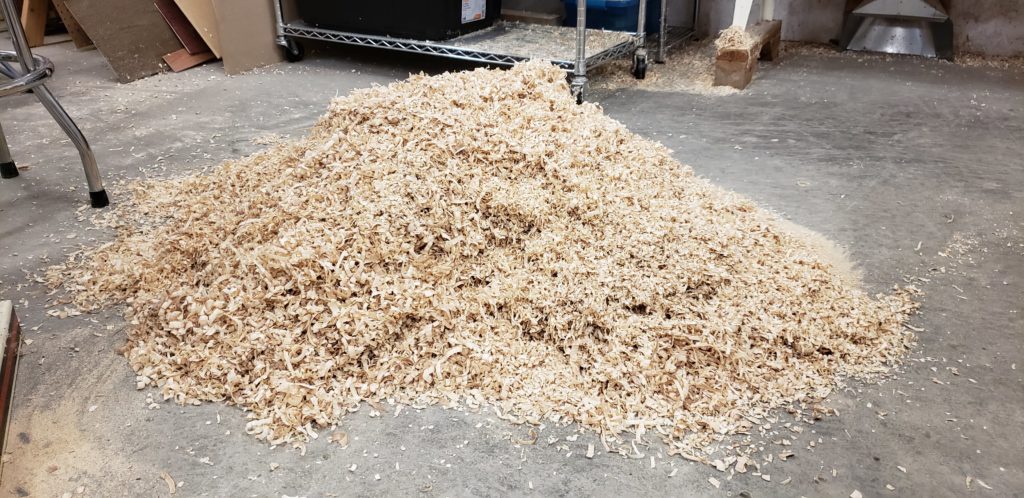
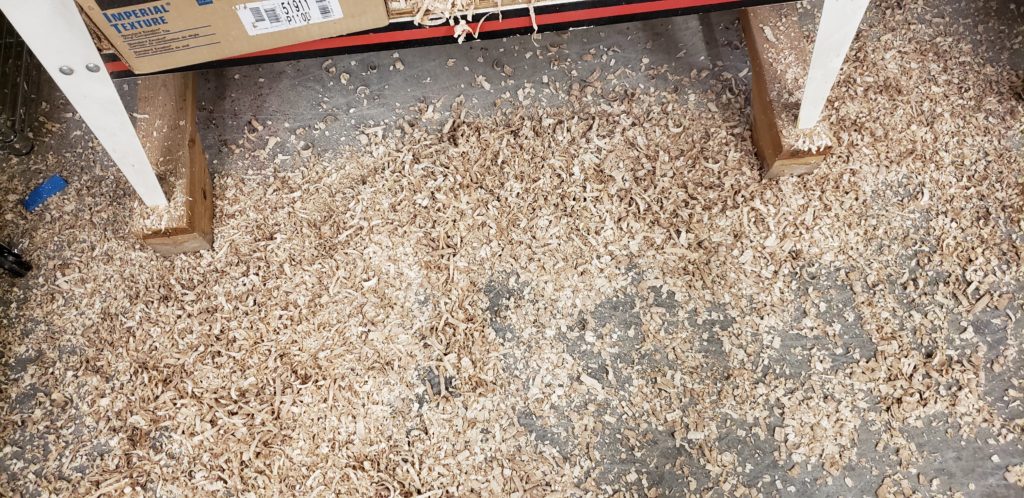
A Small Pile of Shavings
This made a pretty decent pile of shavings. These were used to cover some new grass seed. It did a really good job!
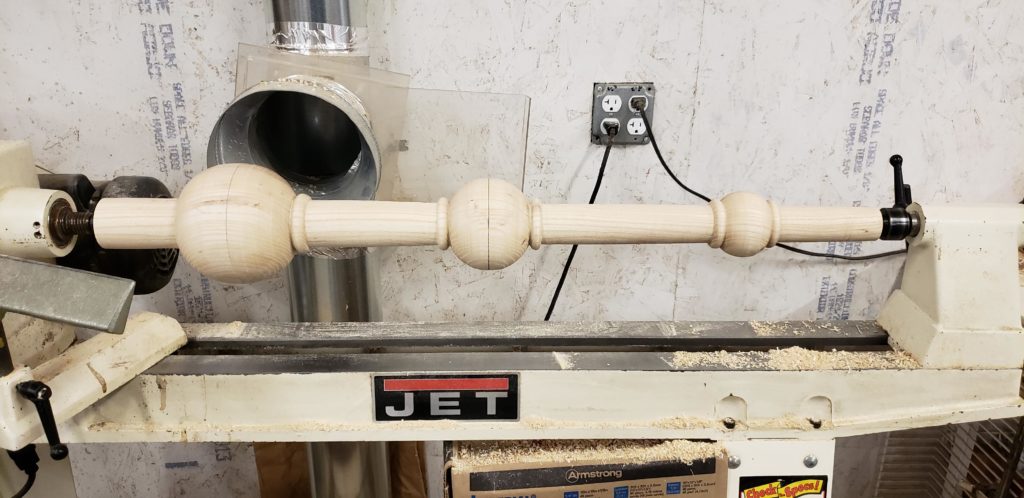
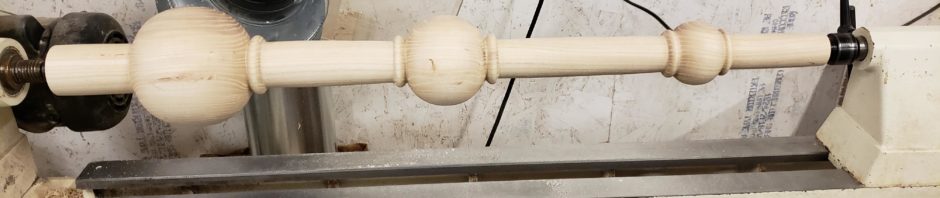
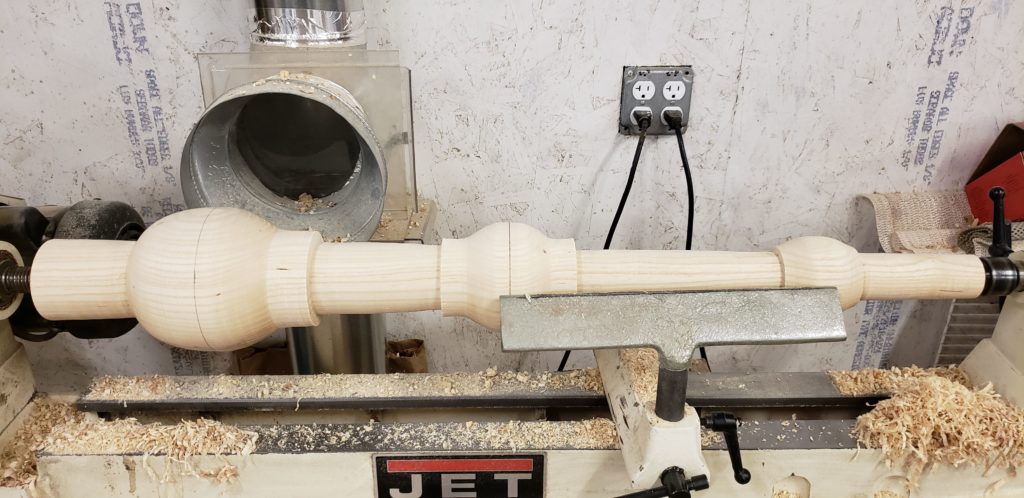
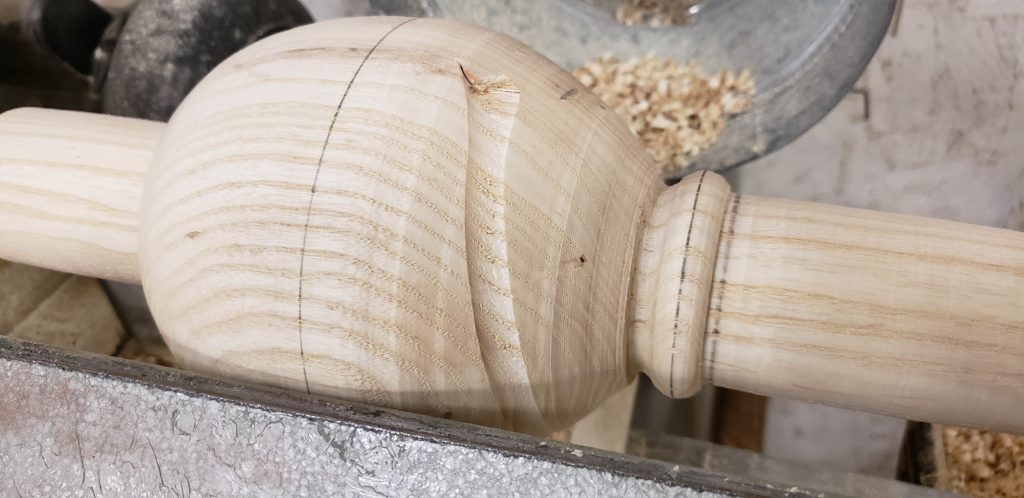
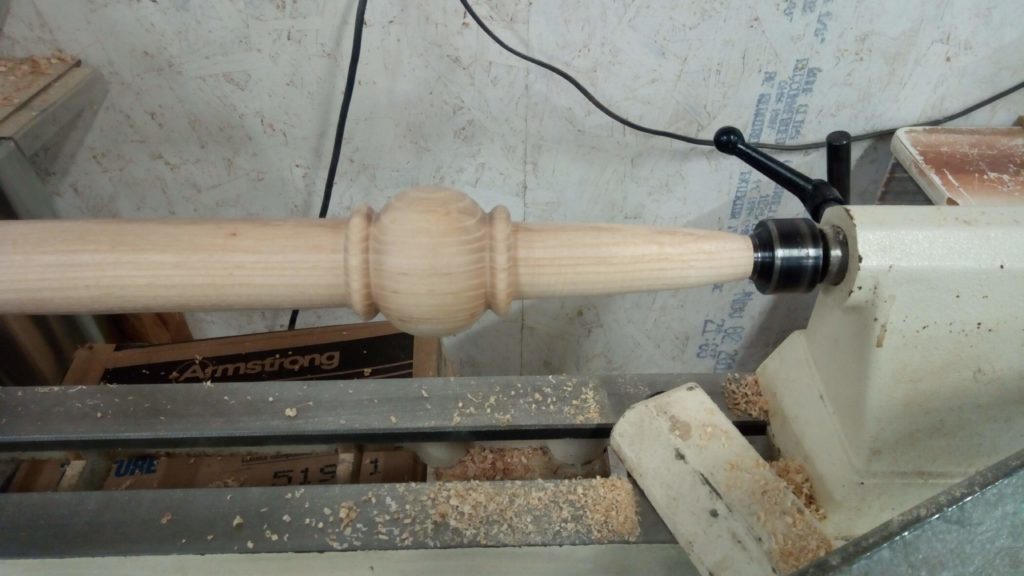
Final Turning
The final turning turned out pretty well. Now that the first leg was mostly turned I sent her a photo of it. The reason is that the 3D design layout is different than the 3D leg. The spheres do look flattened on the layout. They kind of have that baby bump feel rather than here is a ball and here is a stick feel she wants. Being able to see the real leg will allow her to better visualize what the final product will look like. It gives her one last chance to ask for changes.
Sanded Leg
On to the sanding. I power sanded this with my drill and 2″ sanding disks, starting with 60 grit, and proceeding down to 400 grit.
Another Angle
It turned out really well.
Because I decided to have kids instead of money, I don’t have a CNC lathe or even just a CNC of any kind, I needed a way to manually make these legs match. This amounted to measuring with calipers and transferring that diameter to the second leg.
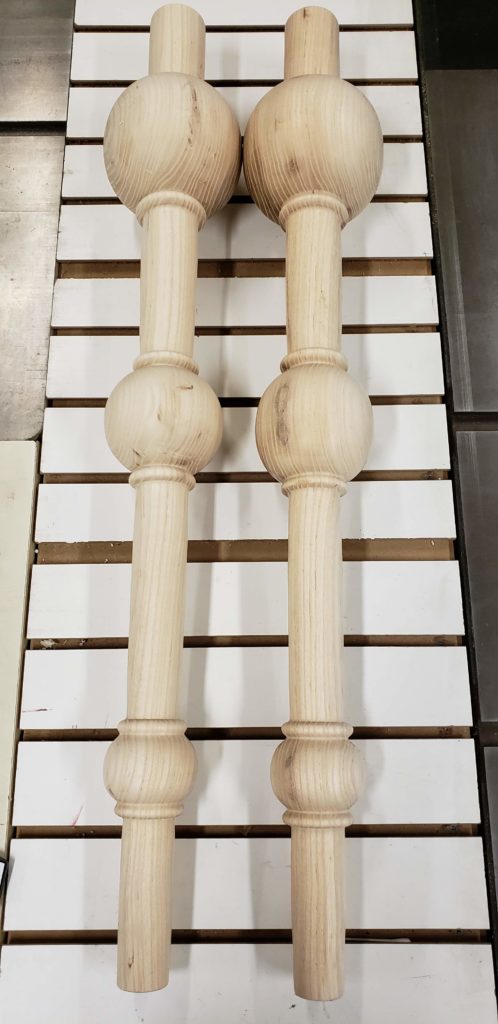
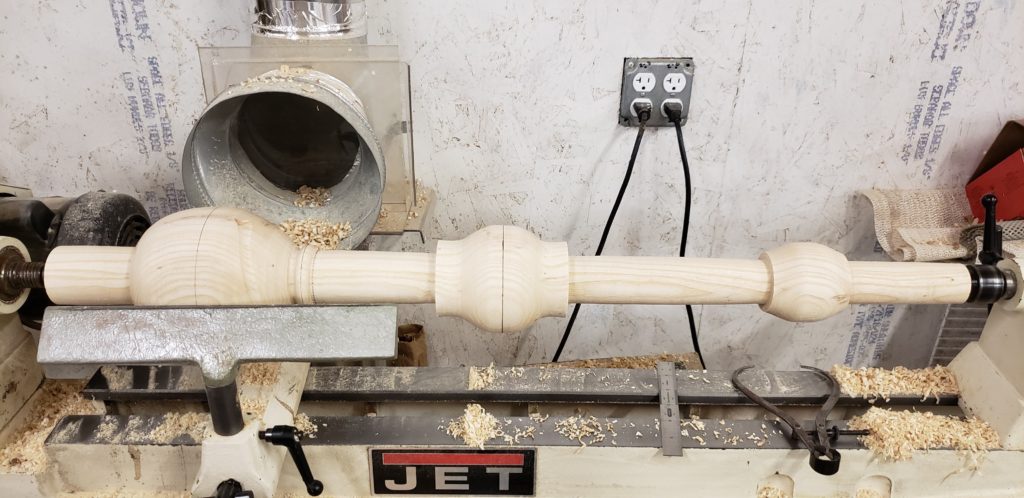
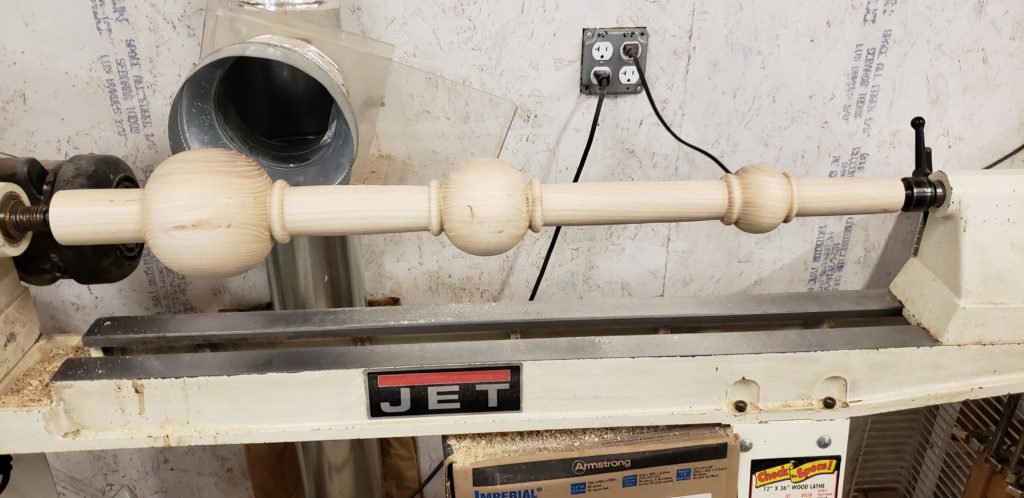
(Almost) Finished Legs
I turned the second one the same way, except for the catch. The middle sphere was a little long. I messed up with how I measured. I measured the top half from the top end and the bottom half from the bottom end. I should have measured everything from one end.
I sent pics to the customer, and she asked if the foot could be made a little more slender and tapered. So I remounted them and turned the foot a little more.
Tapered Foot
I do think they look much better.
So now I had to figure out how to make them an inch longer. My board stretcher is in the shop, so I had to come up with something else. I turned a couple of cylinders the same diameter as the top out of an offcut from one of the blanks. I turned a bead on the bottom part, to hide the joint, and then drilled and screwed them to the tops.
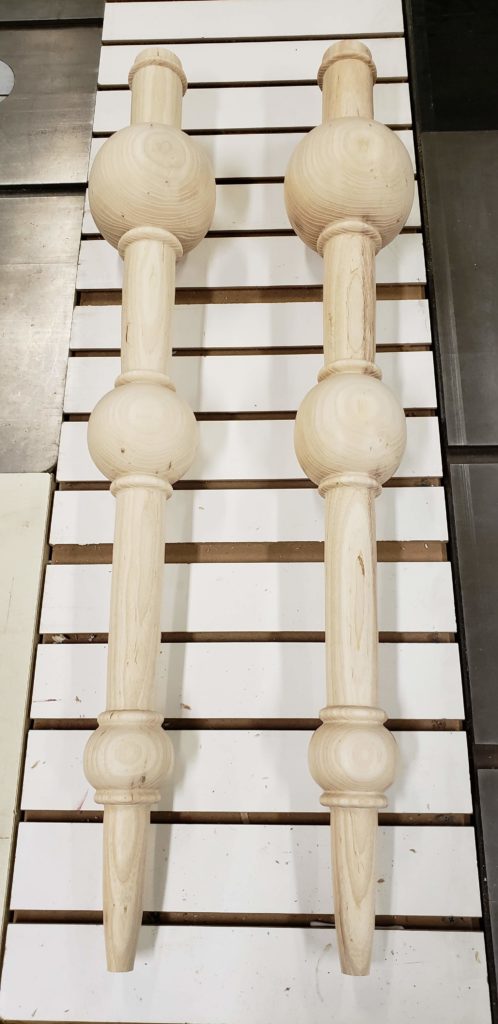
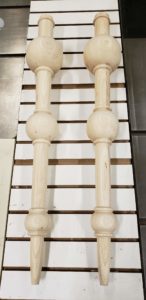
Finished (Really this time) Legs
Viola! 35″ legs! The final bit of this will be storing all of this client’s project information together. If she ever comes back and wants more I want to be able to easily get that done for her without having to reinvent the sphere. I think that client storage will be something that develops along with the business. Right now it’s a mystery like stuffed crust pizza. How do they get that cheese in there?
Nice explanation of the process. Storing client information is early. Just create a file on your computer and store the sketch-up, notes and information. Then store all of the files on a USB so you have a back up